

Texture Test Tiles
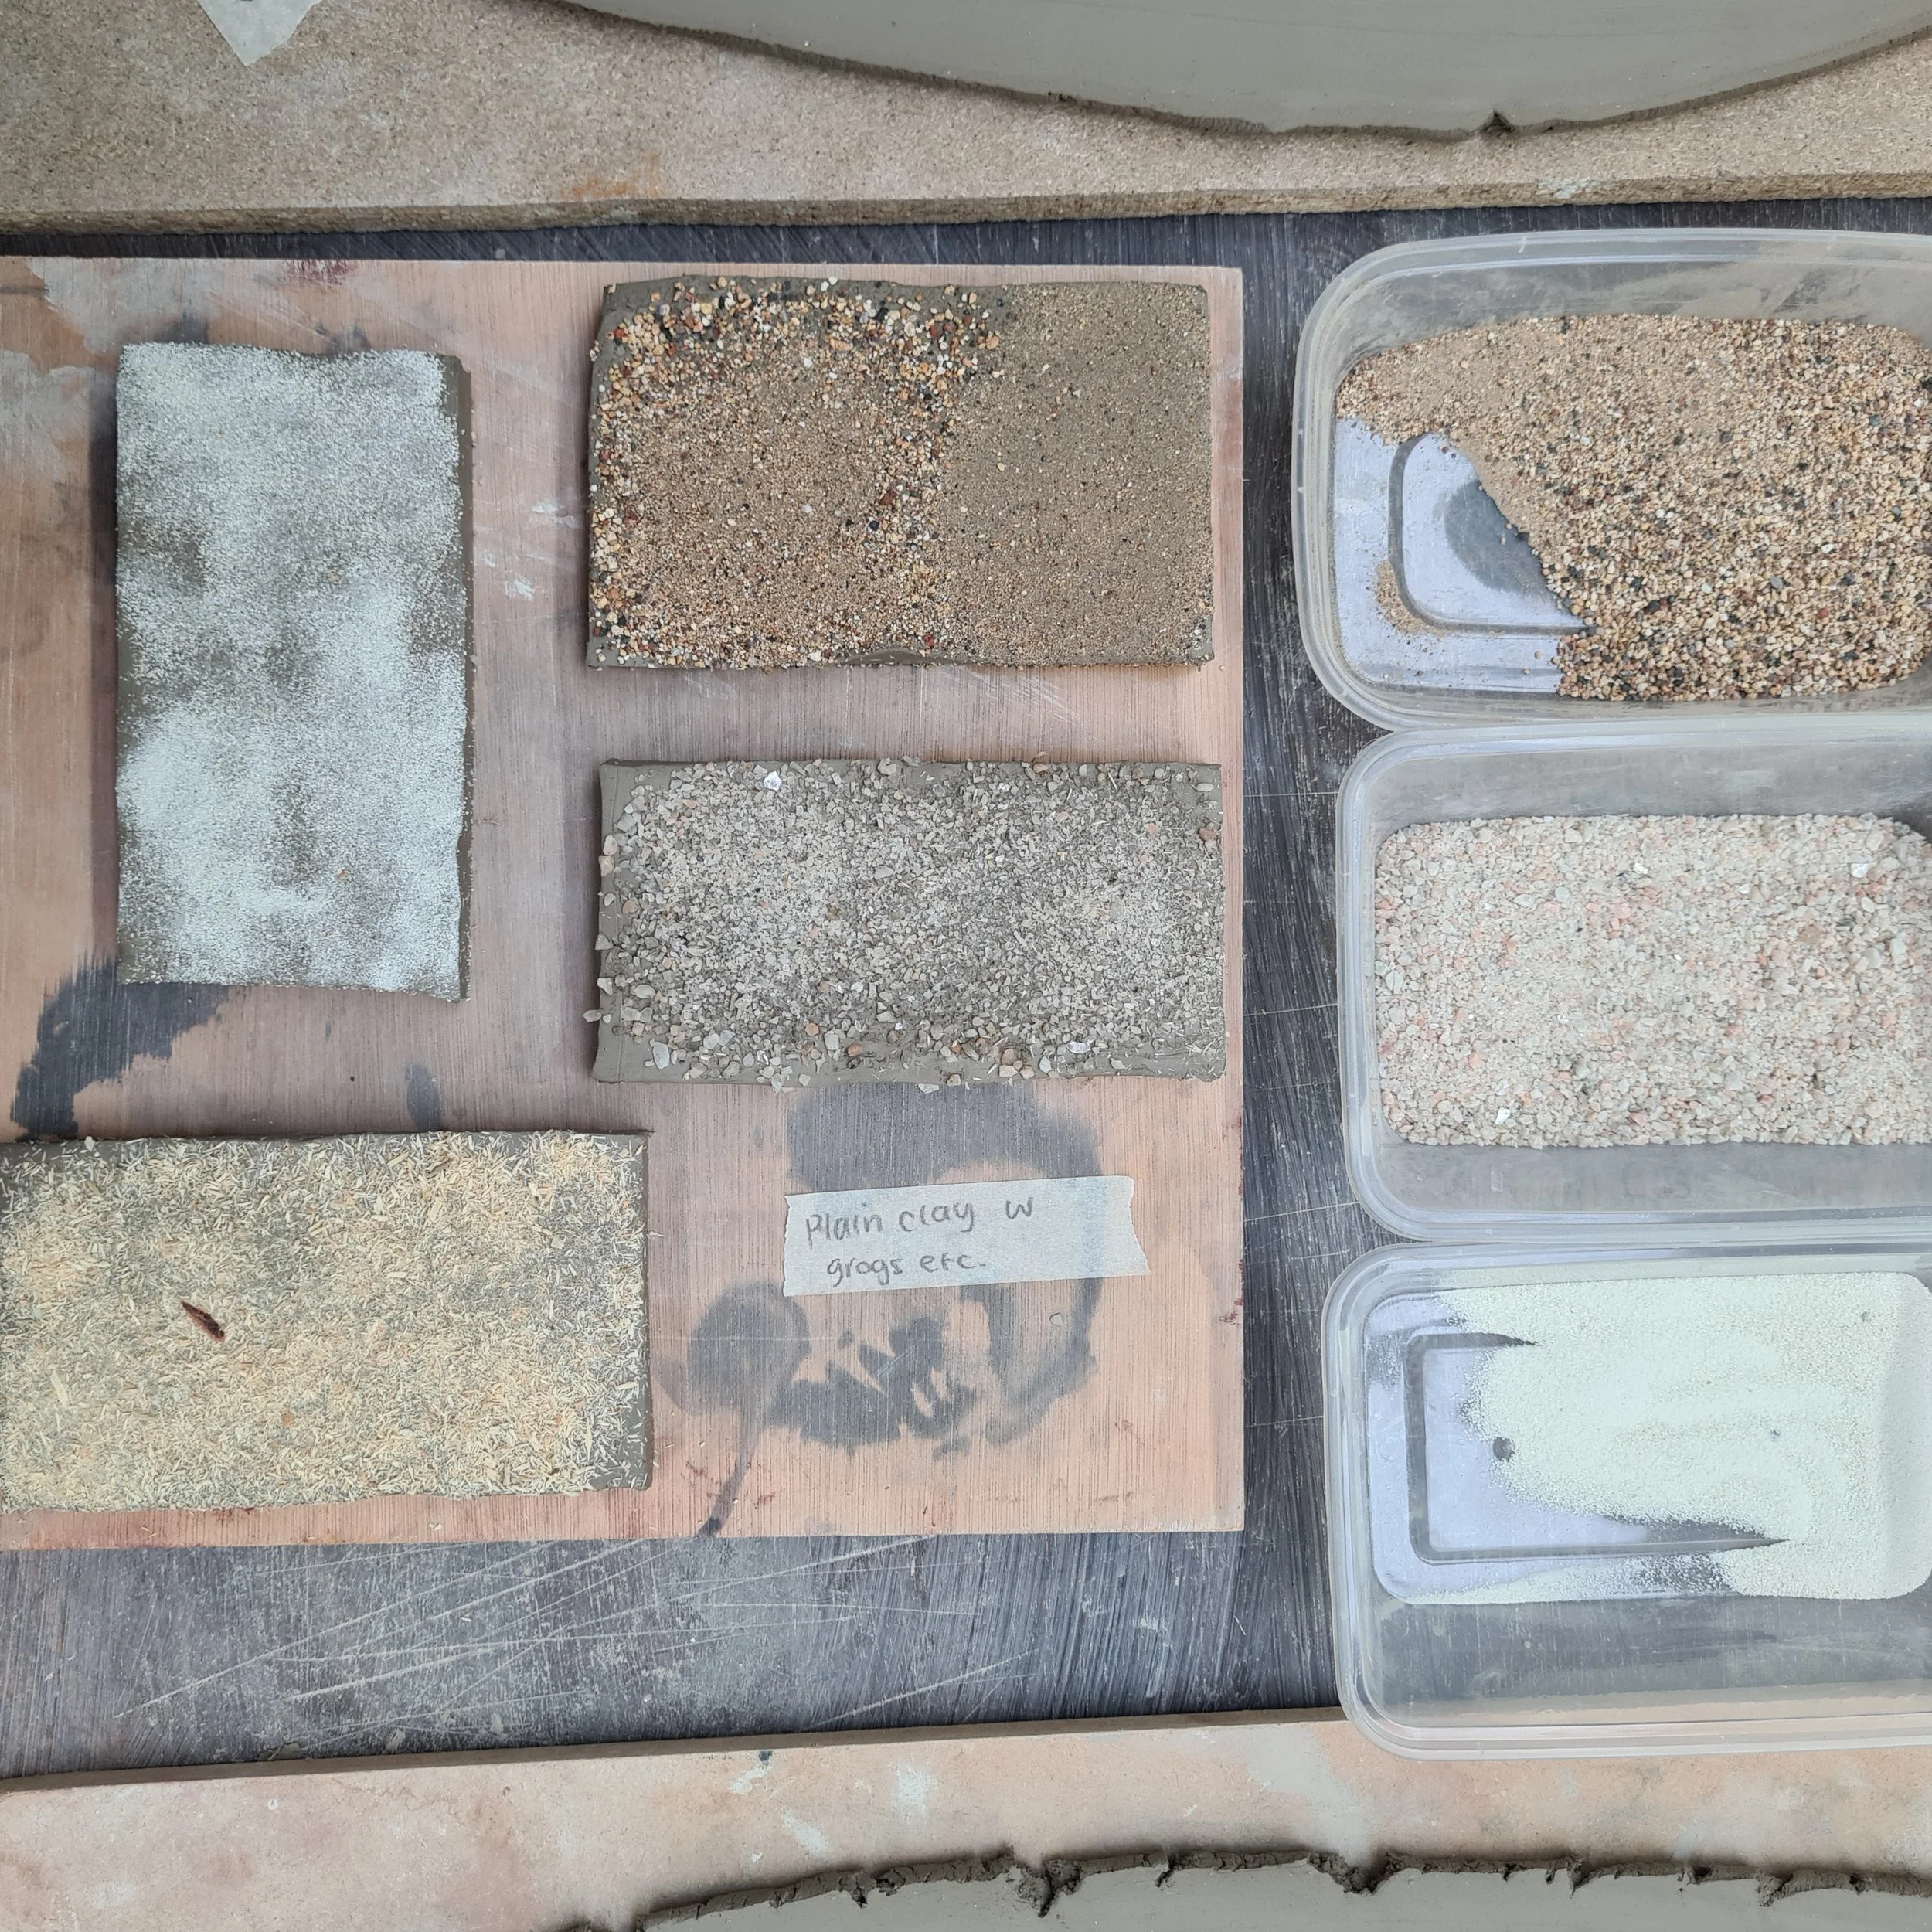
I’ve just added the textural elements to the surface (Granular Feldspar, Molocrite, Grog and Sawdust)
When bisque-I added transparent and white glaze to each halve.

Adding texture using a piece of Kiln shelf, digging out holes then using the rubber kidney to smooth it out, using my metal kidney to dig and rip out parts and a piece of bark
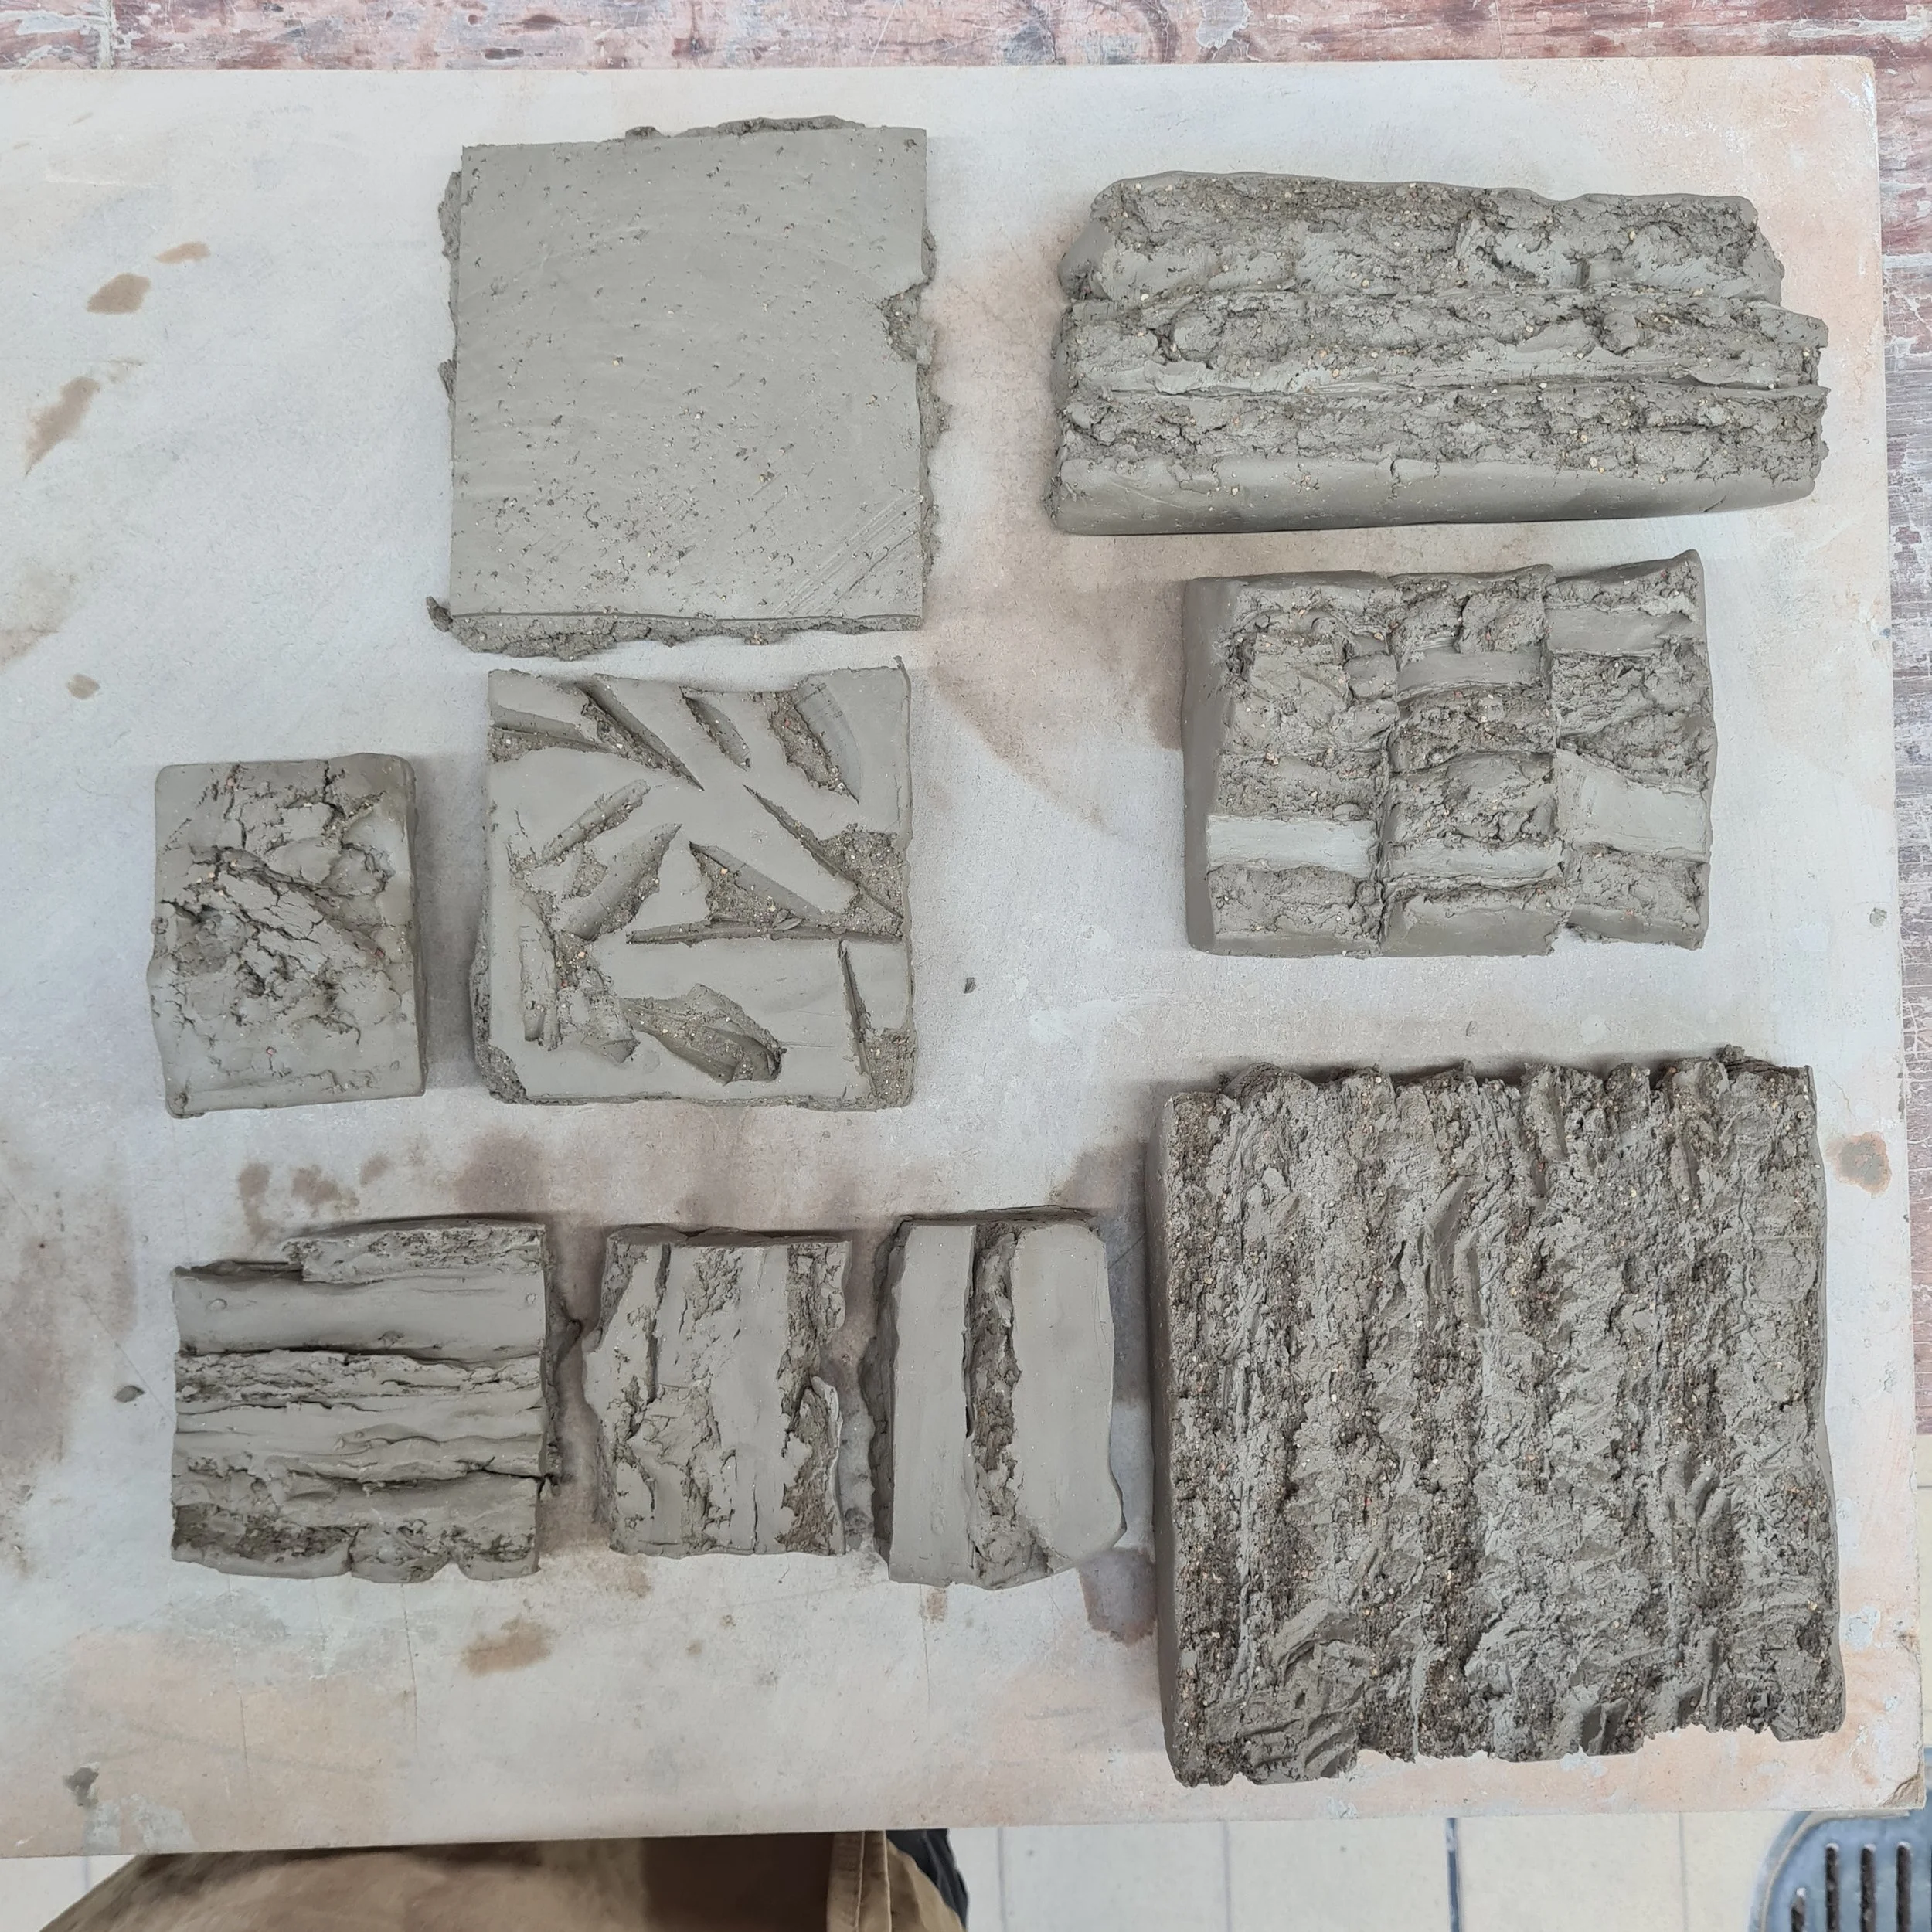
Ripping grogged slabs into 2cm slices then stacking them to create a new slab
The smaller ones are exploring the layering qualities, alternative ways to stack the ripped pieces of the grogged slab and then heat-gunning it to encourage cracking and splitting.
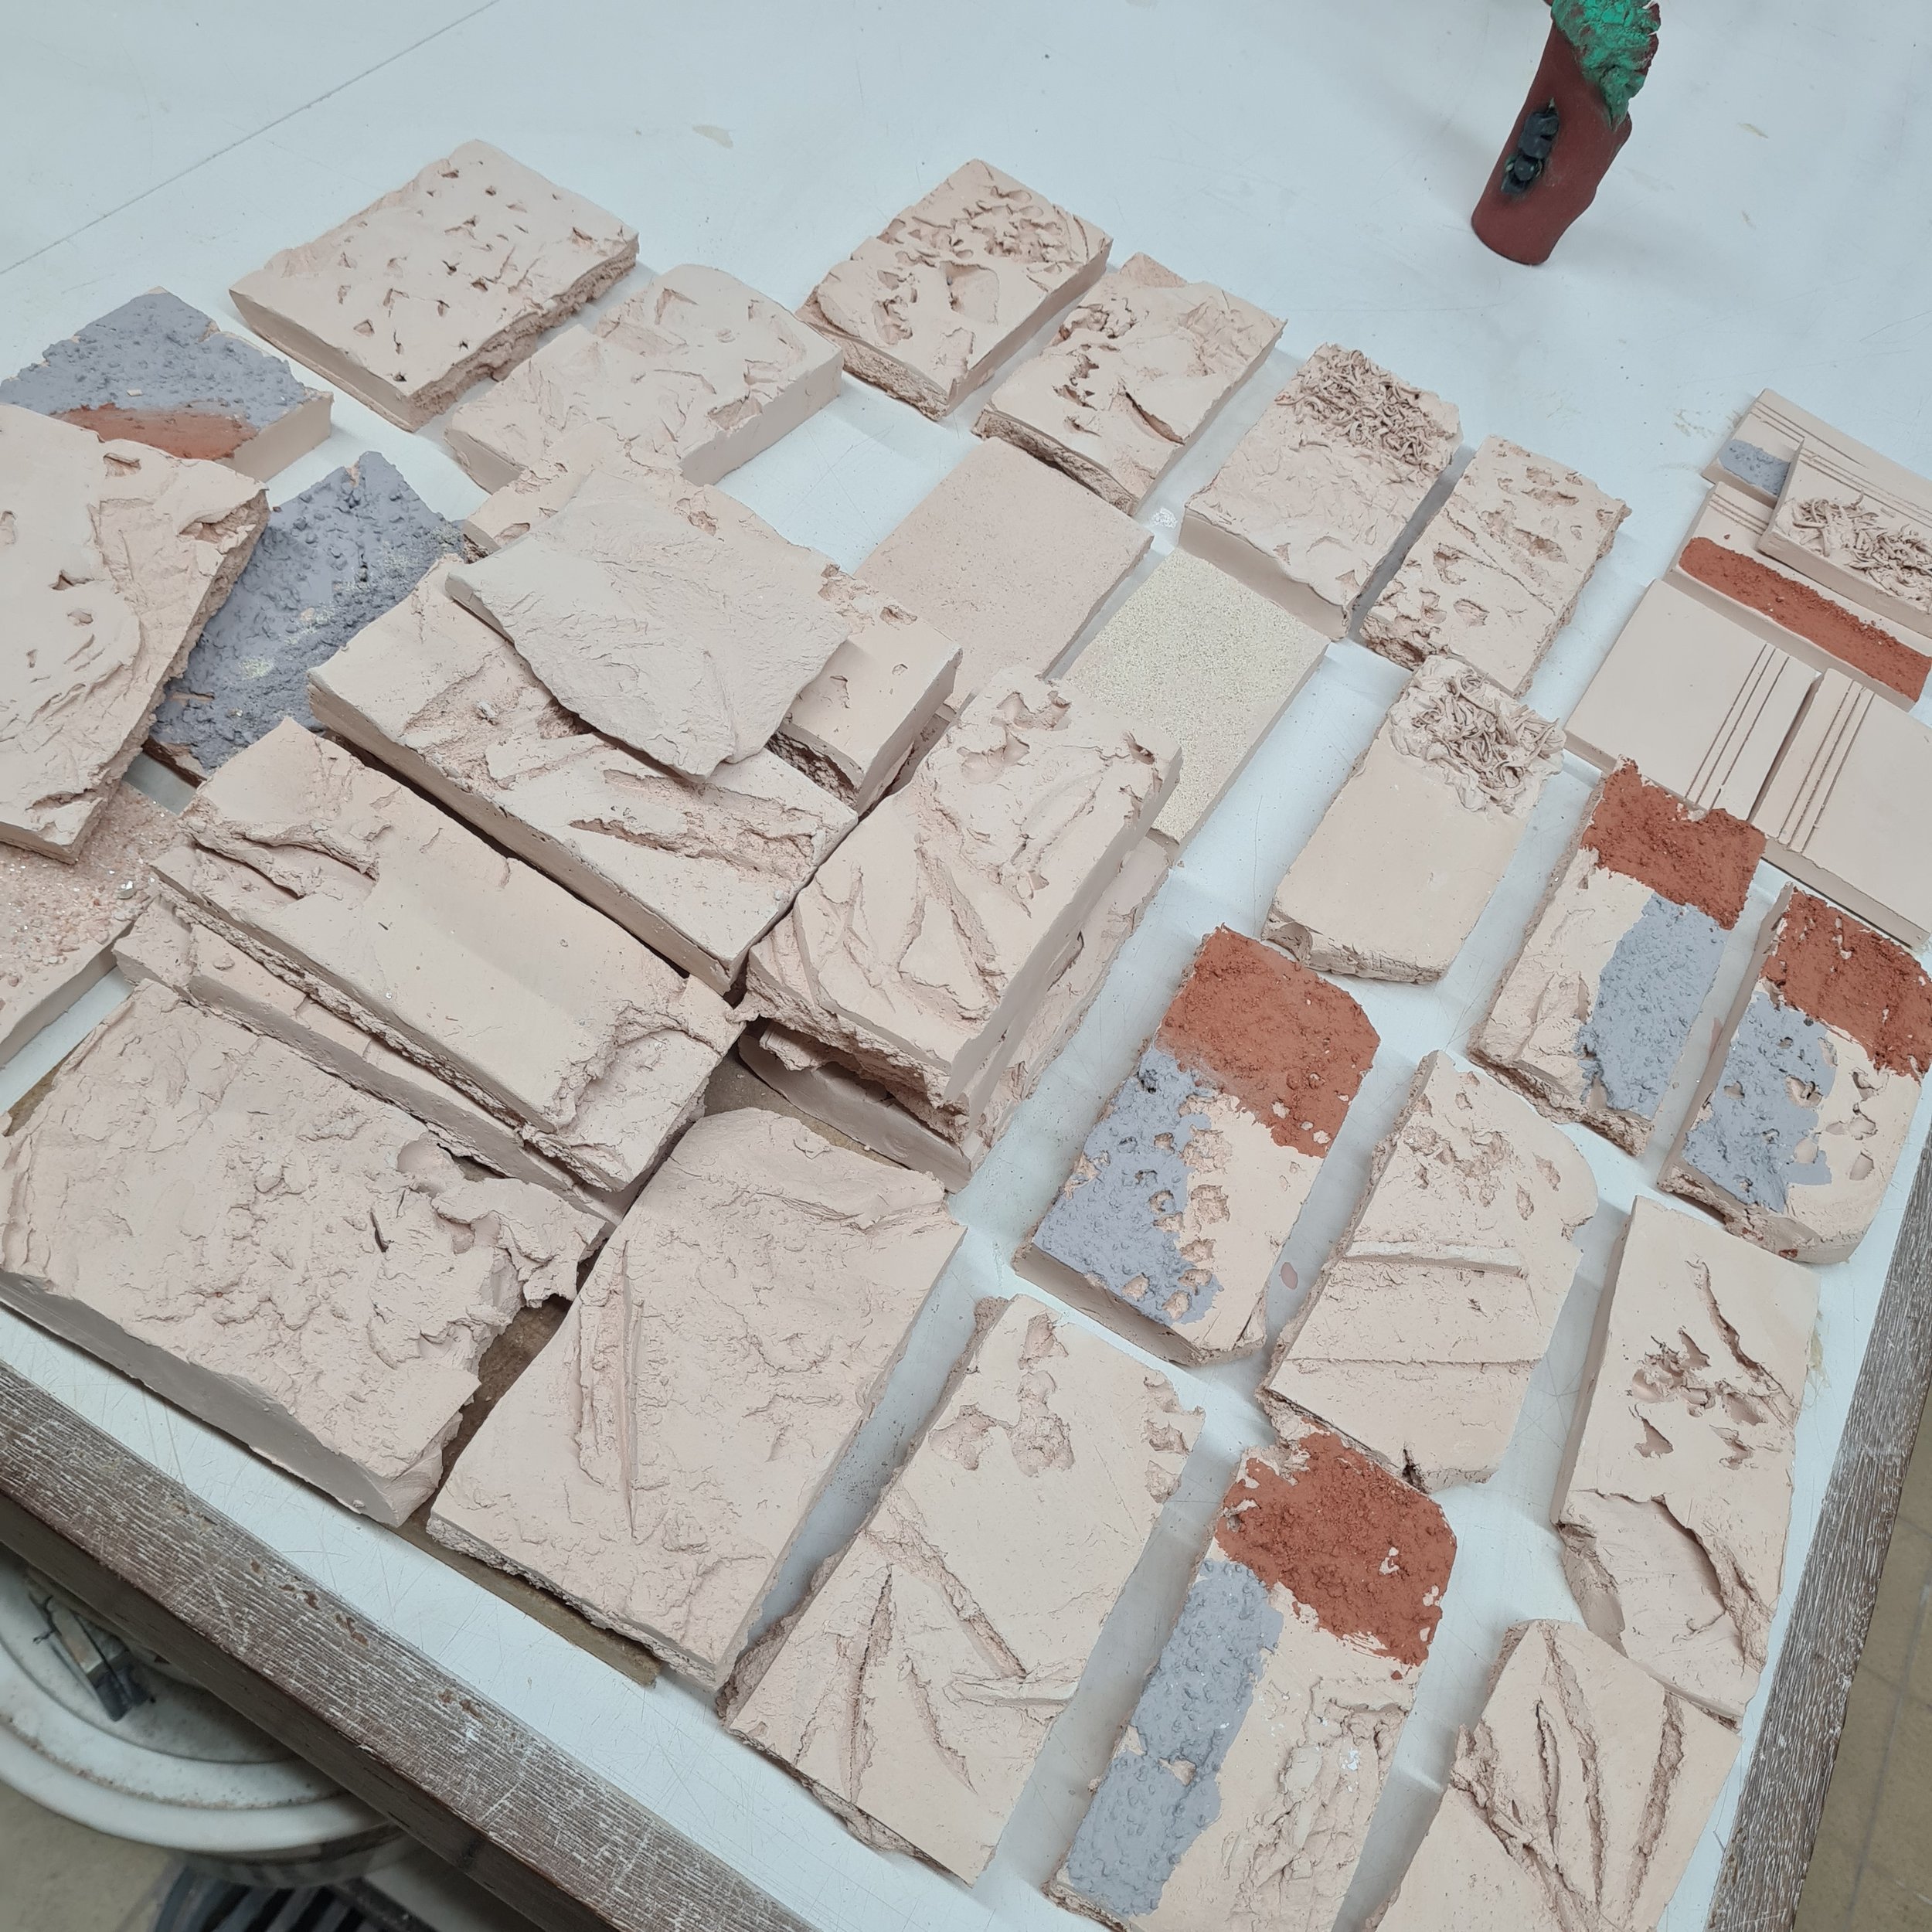
Bisque fired test tiles
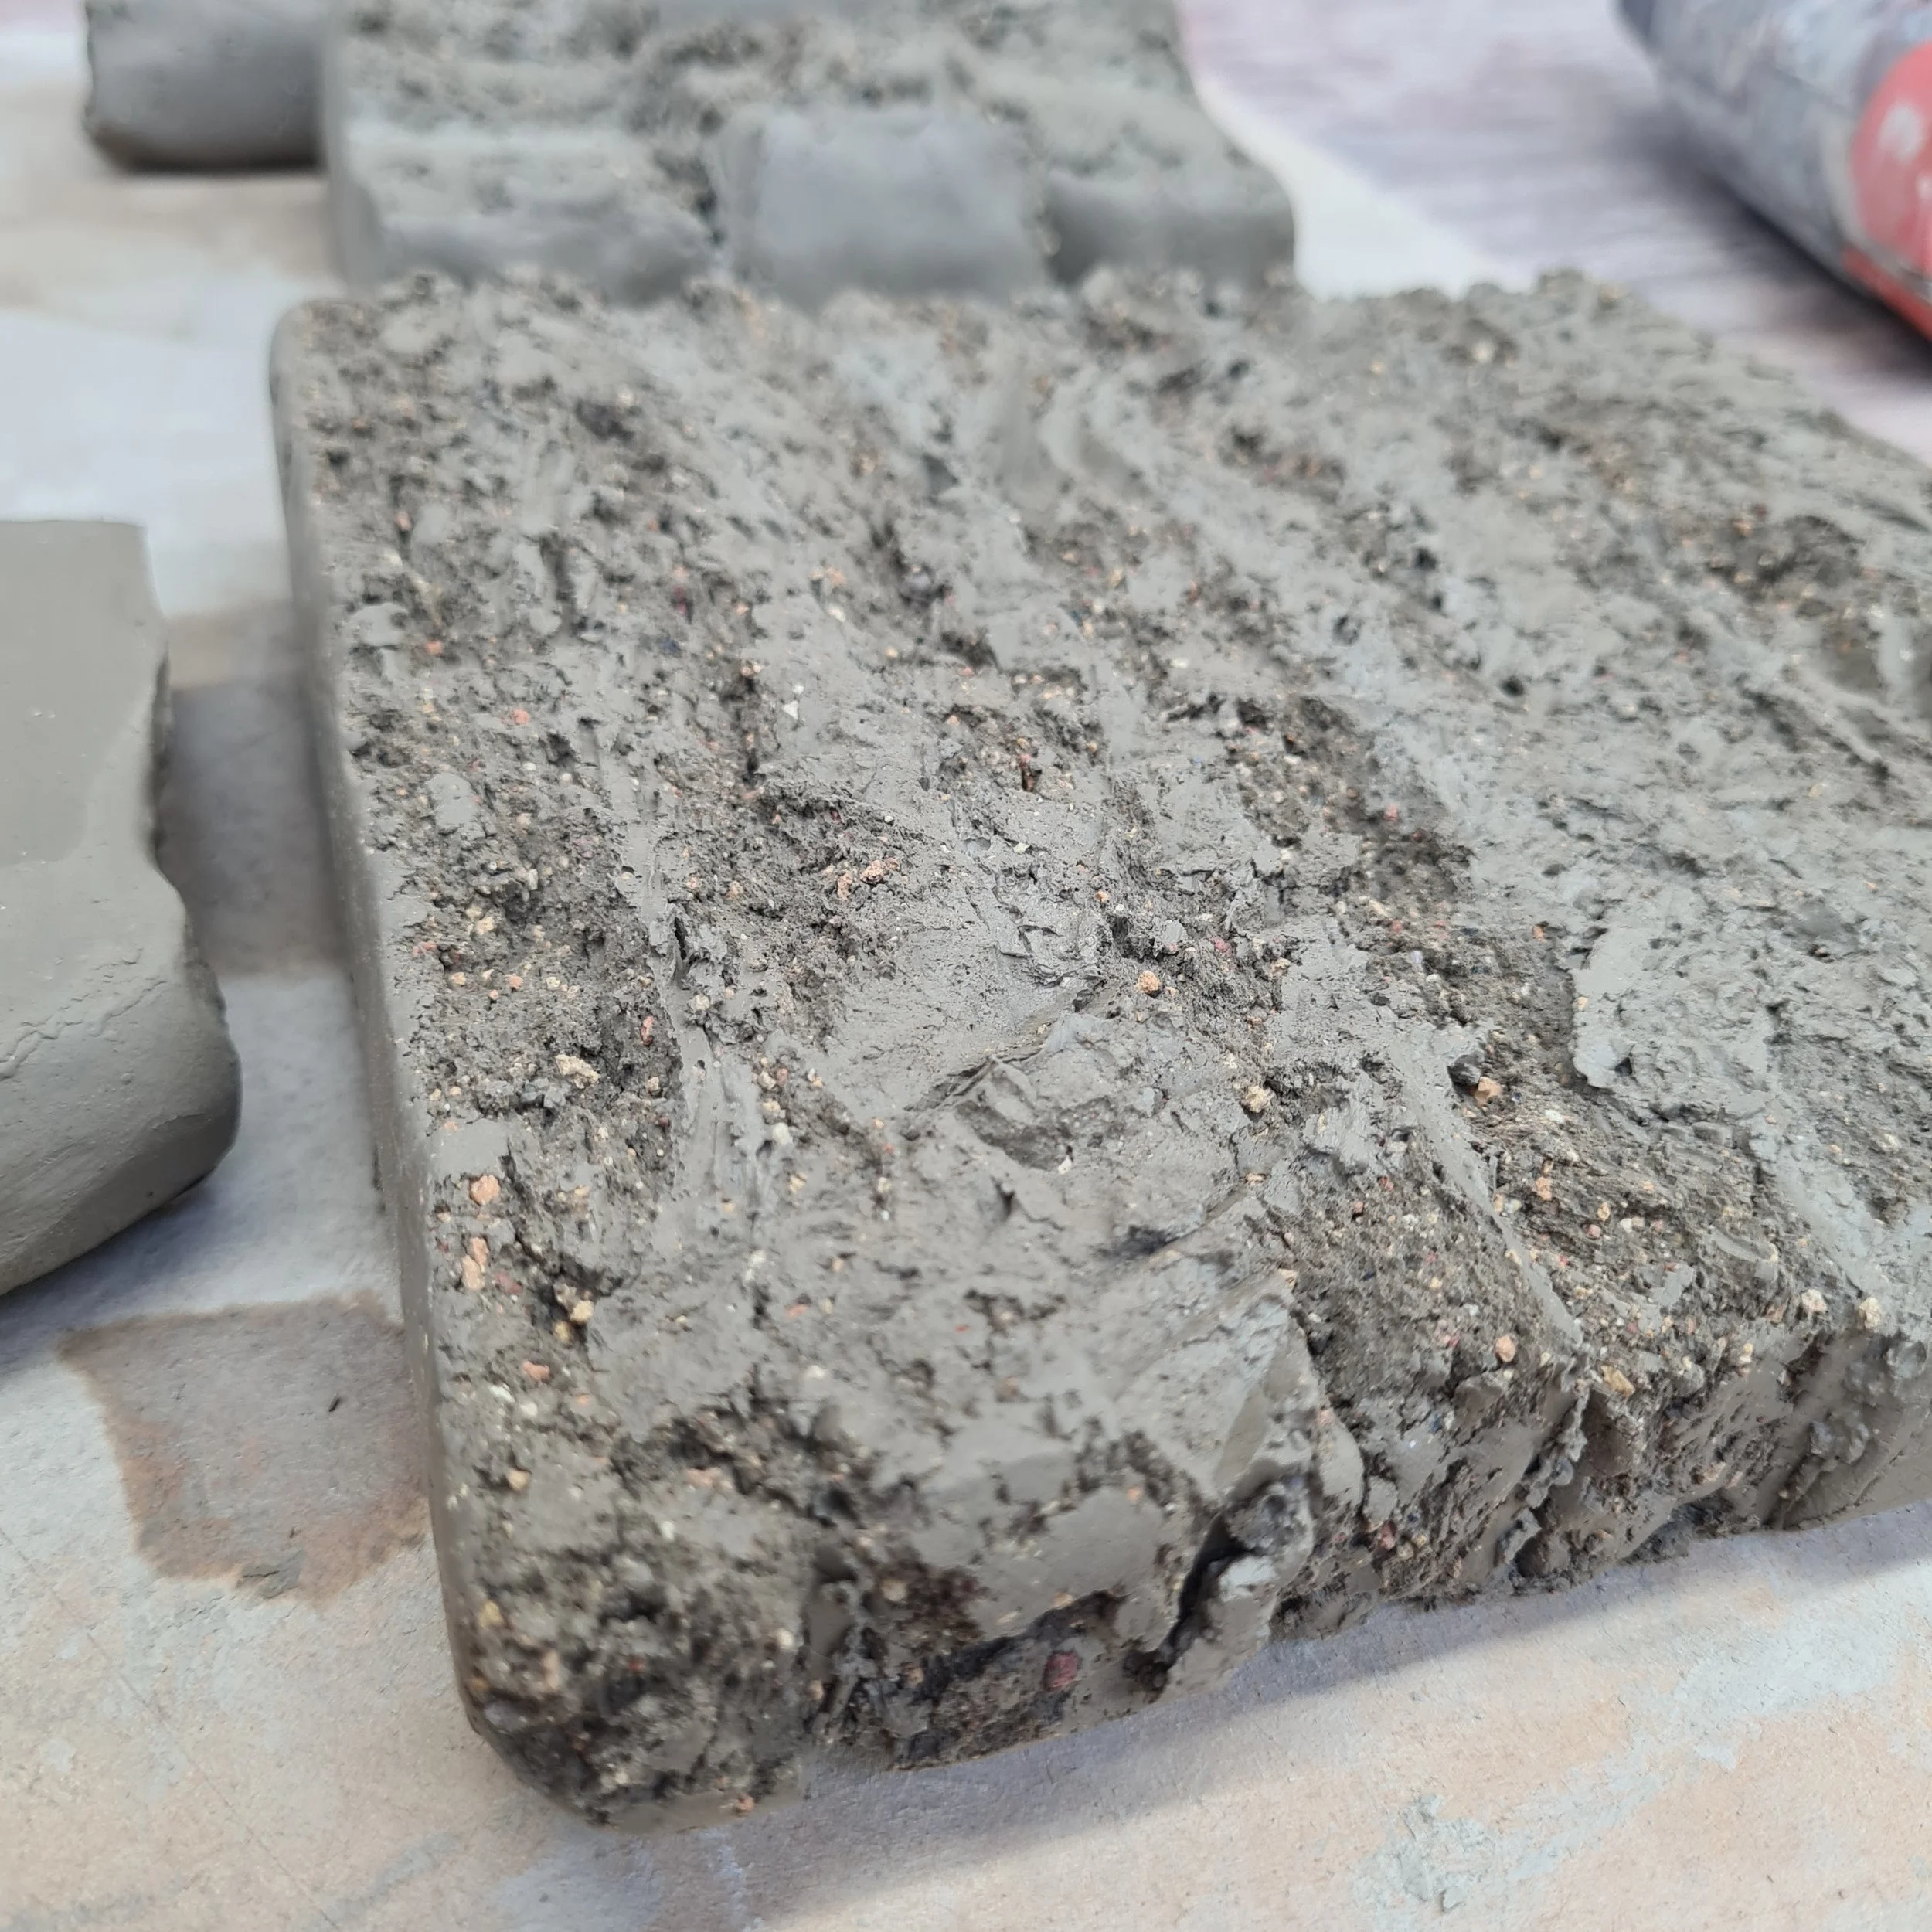
Thick slabs with each textural element incorporated- around 3cm thick
The grog and sawdust slabs dried out the clay and encouraged cracking.
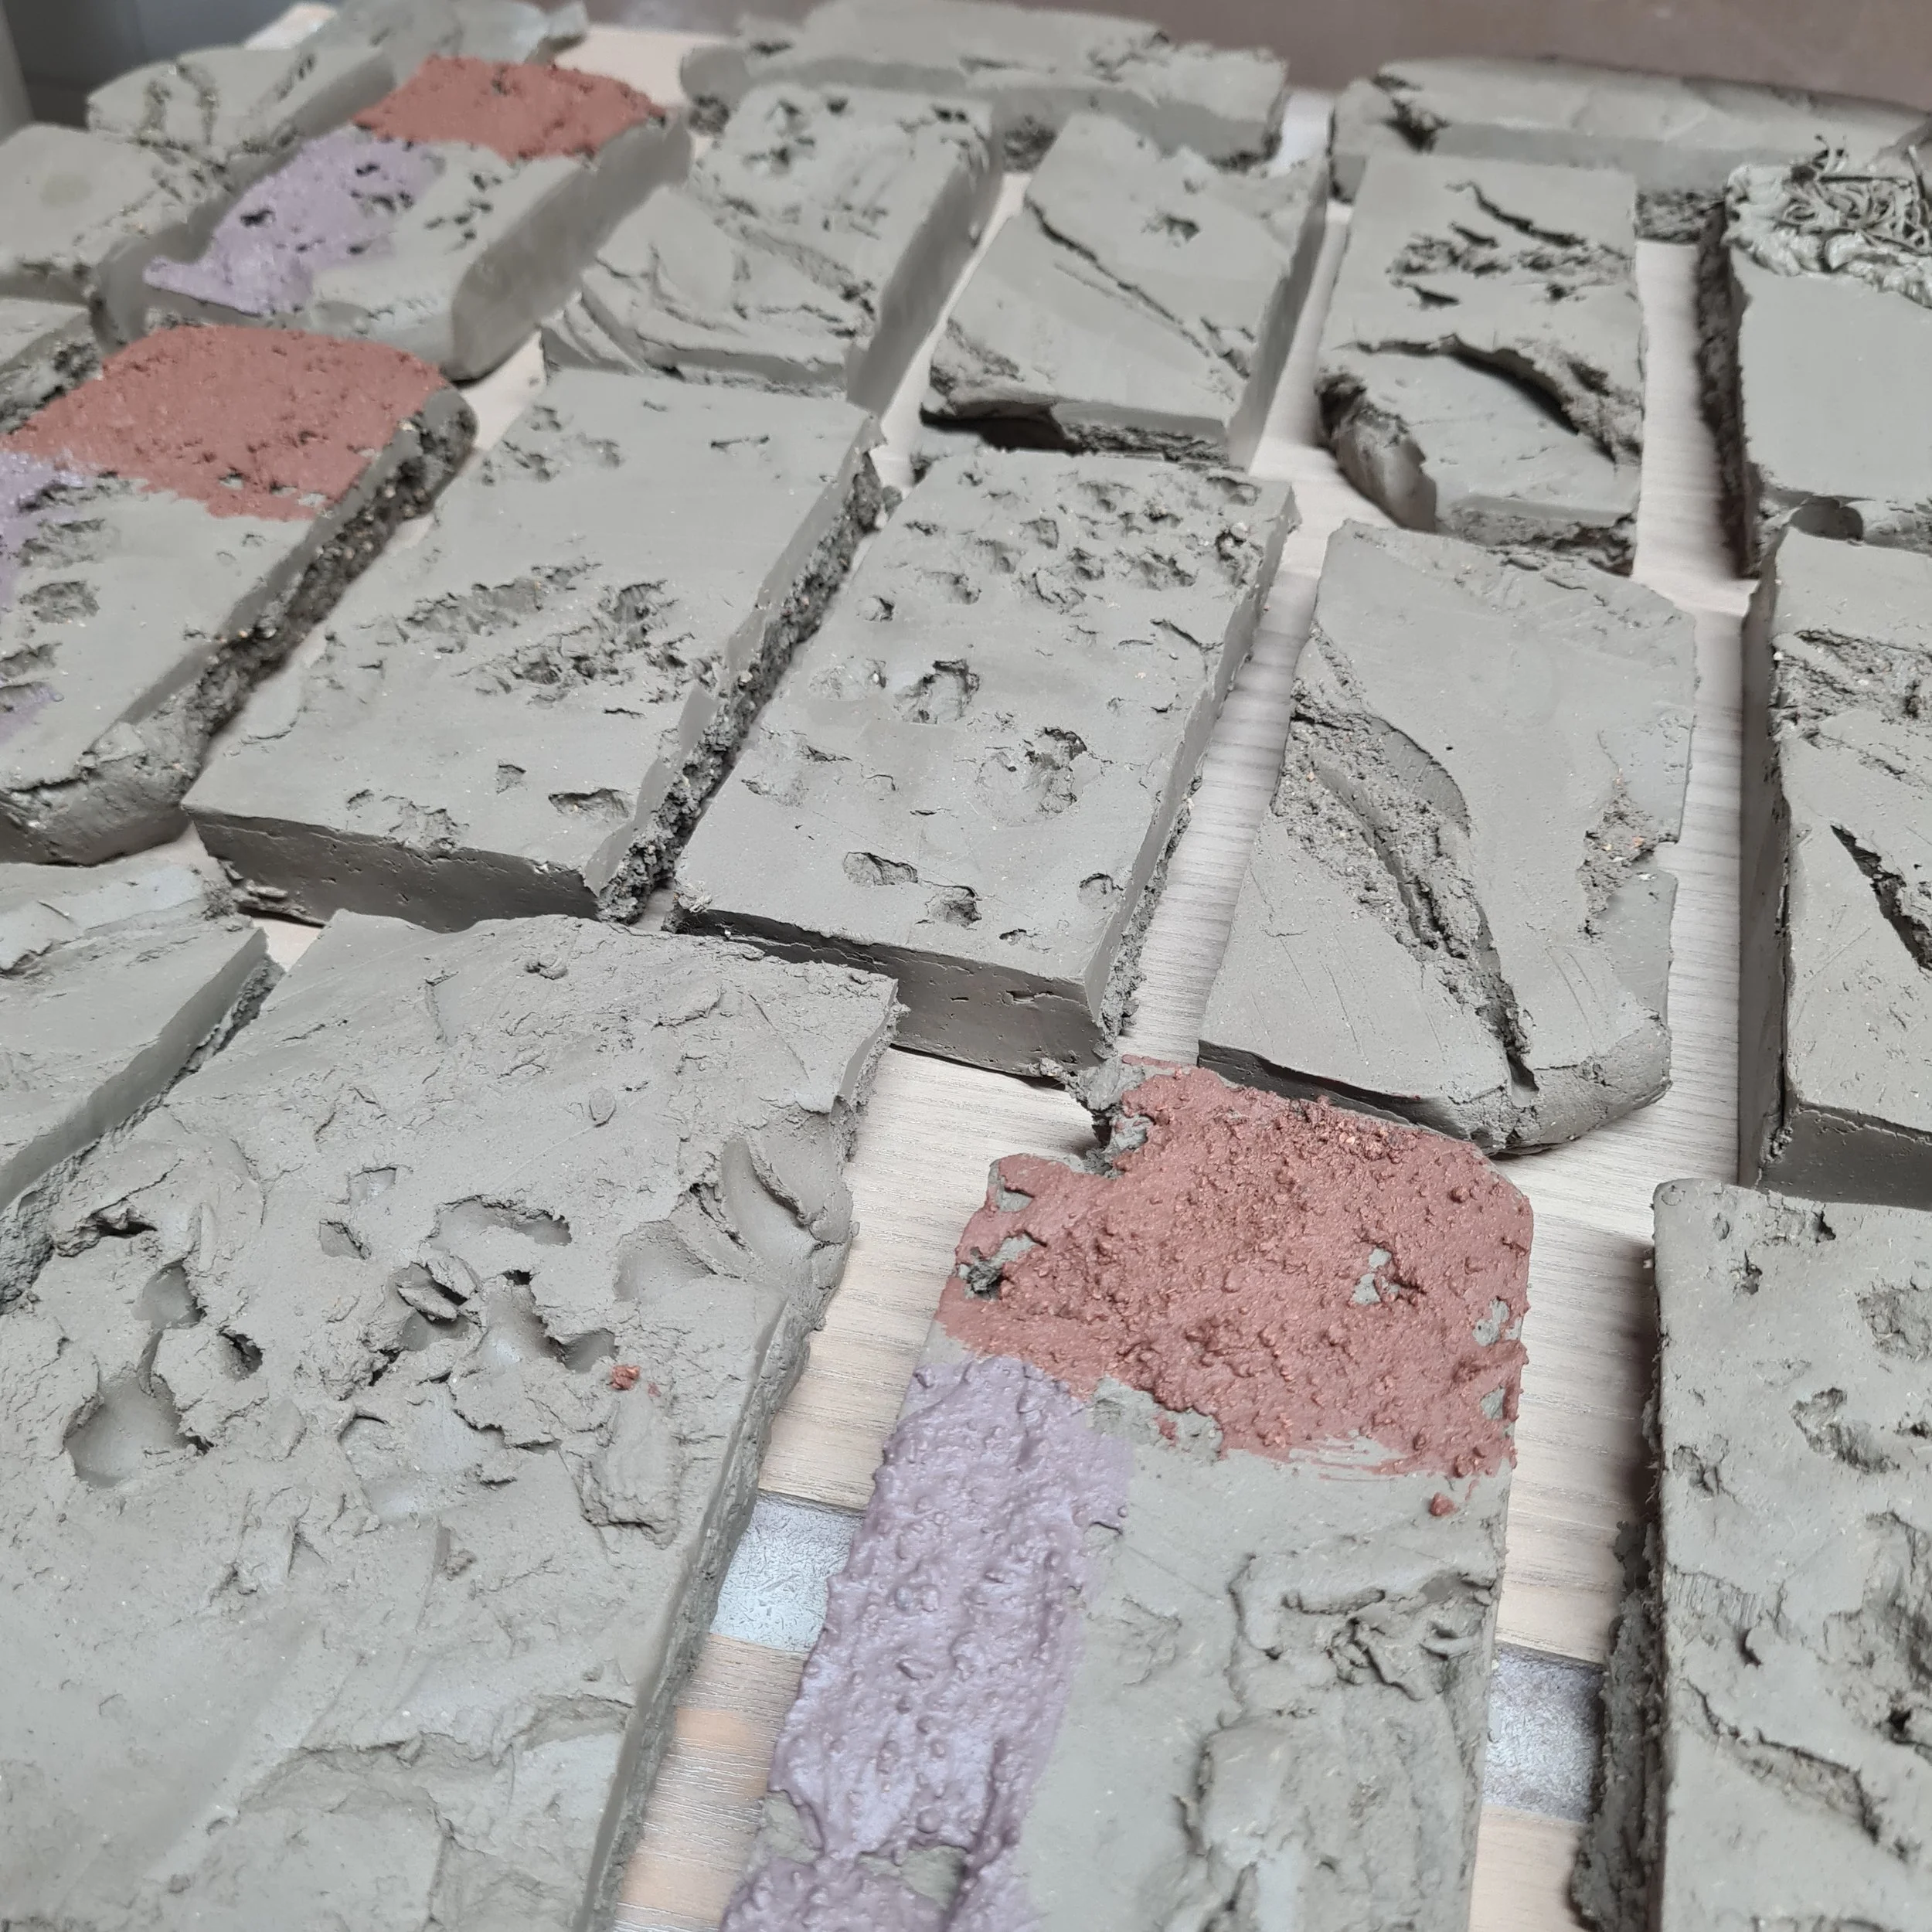
Texture tiles all labelled and drying- with the application of terracotta and black slip and added elements. Mainly grog- but I applied granular feldspar into a slip too and sprinkled molocrite over the top of the slip.
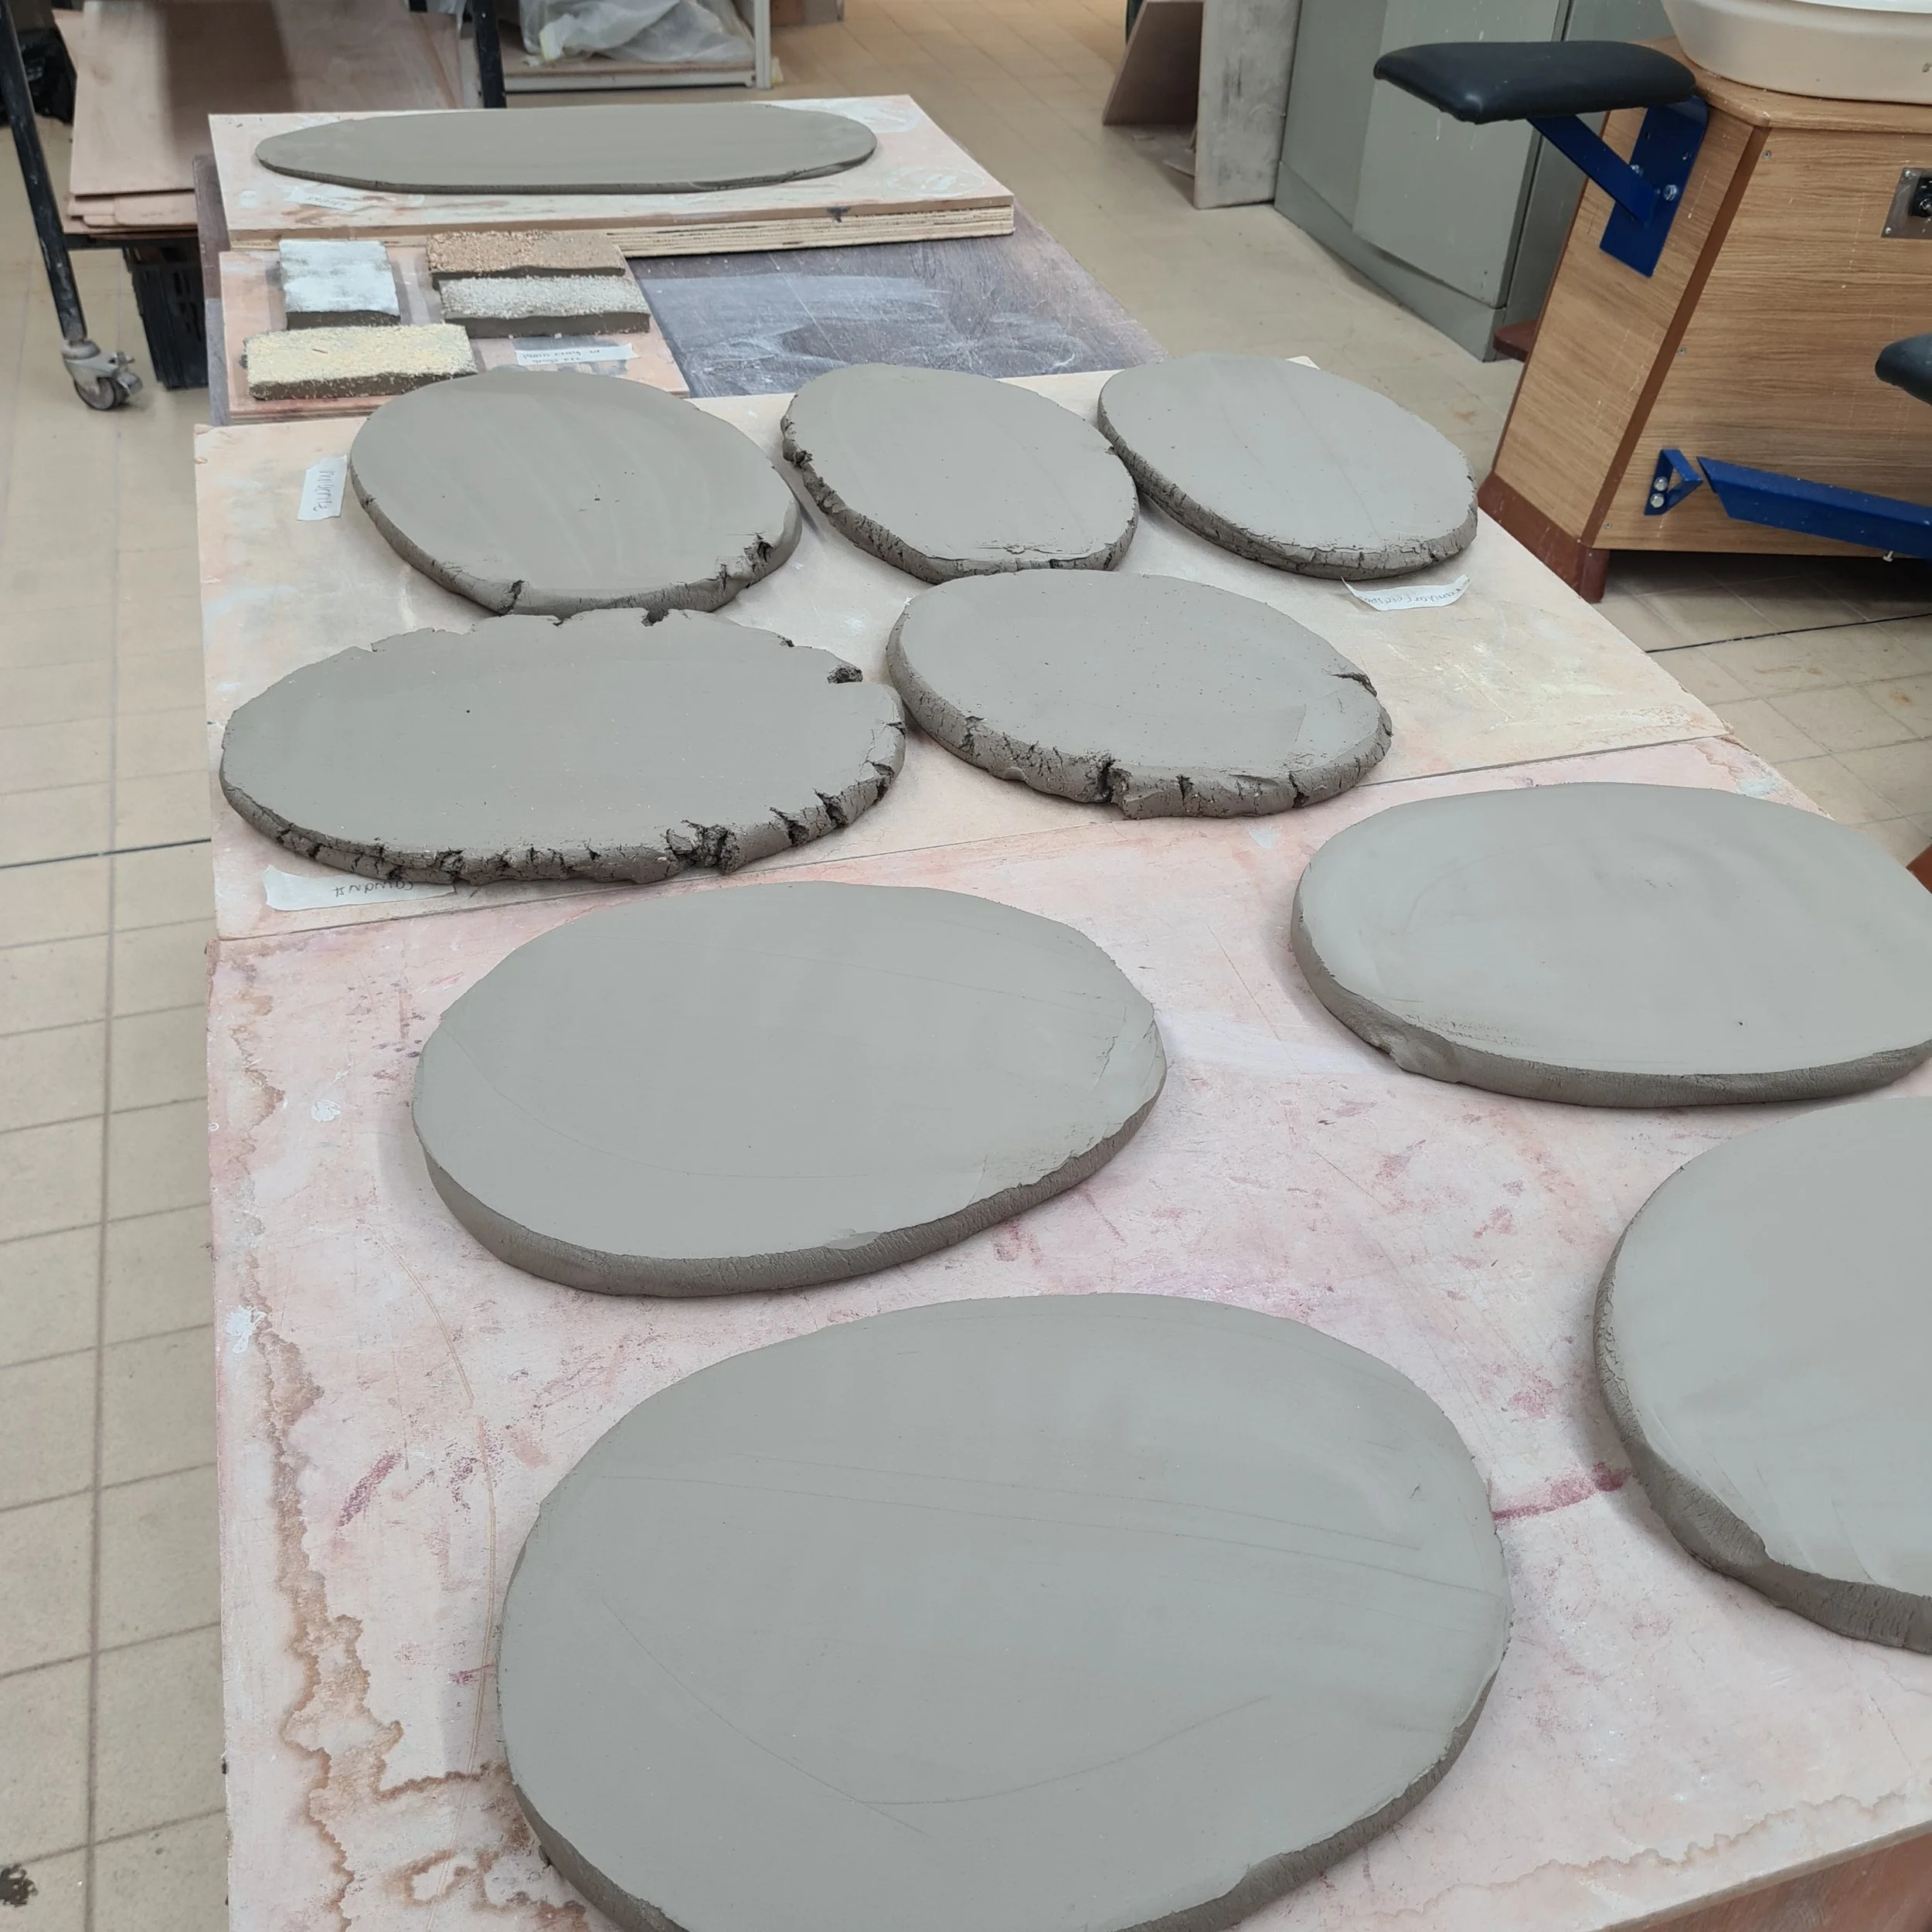
Grogged slab made up from ripped pieces of a previously grogged slab
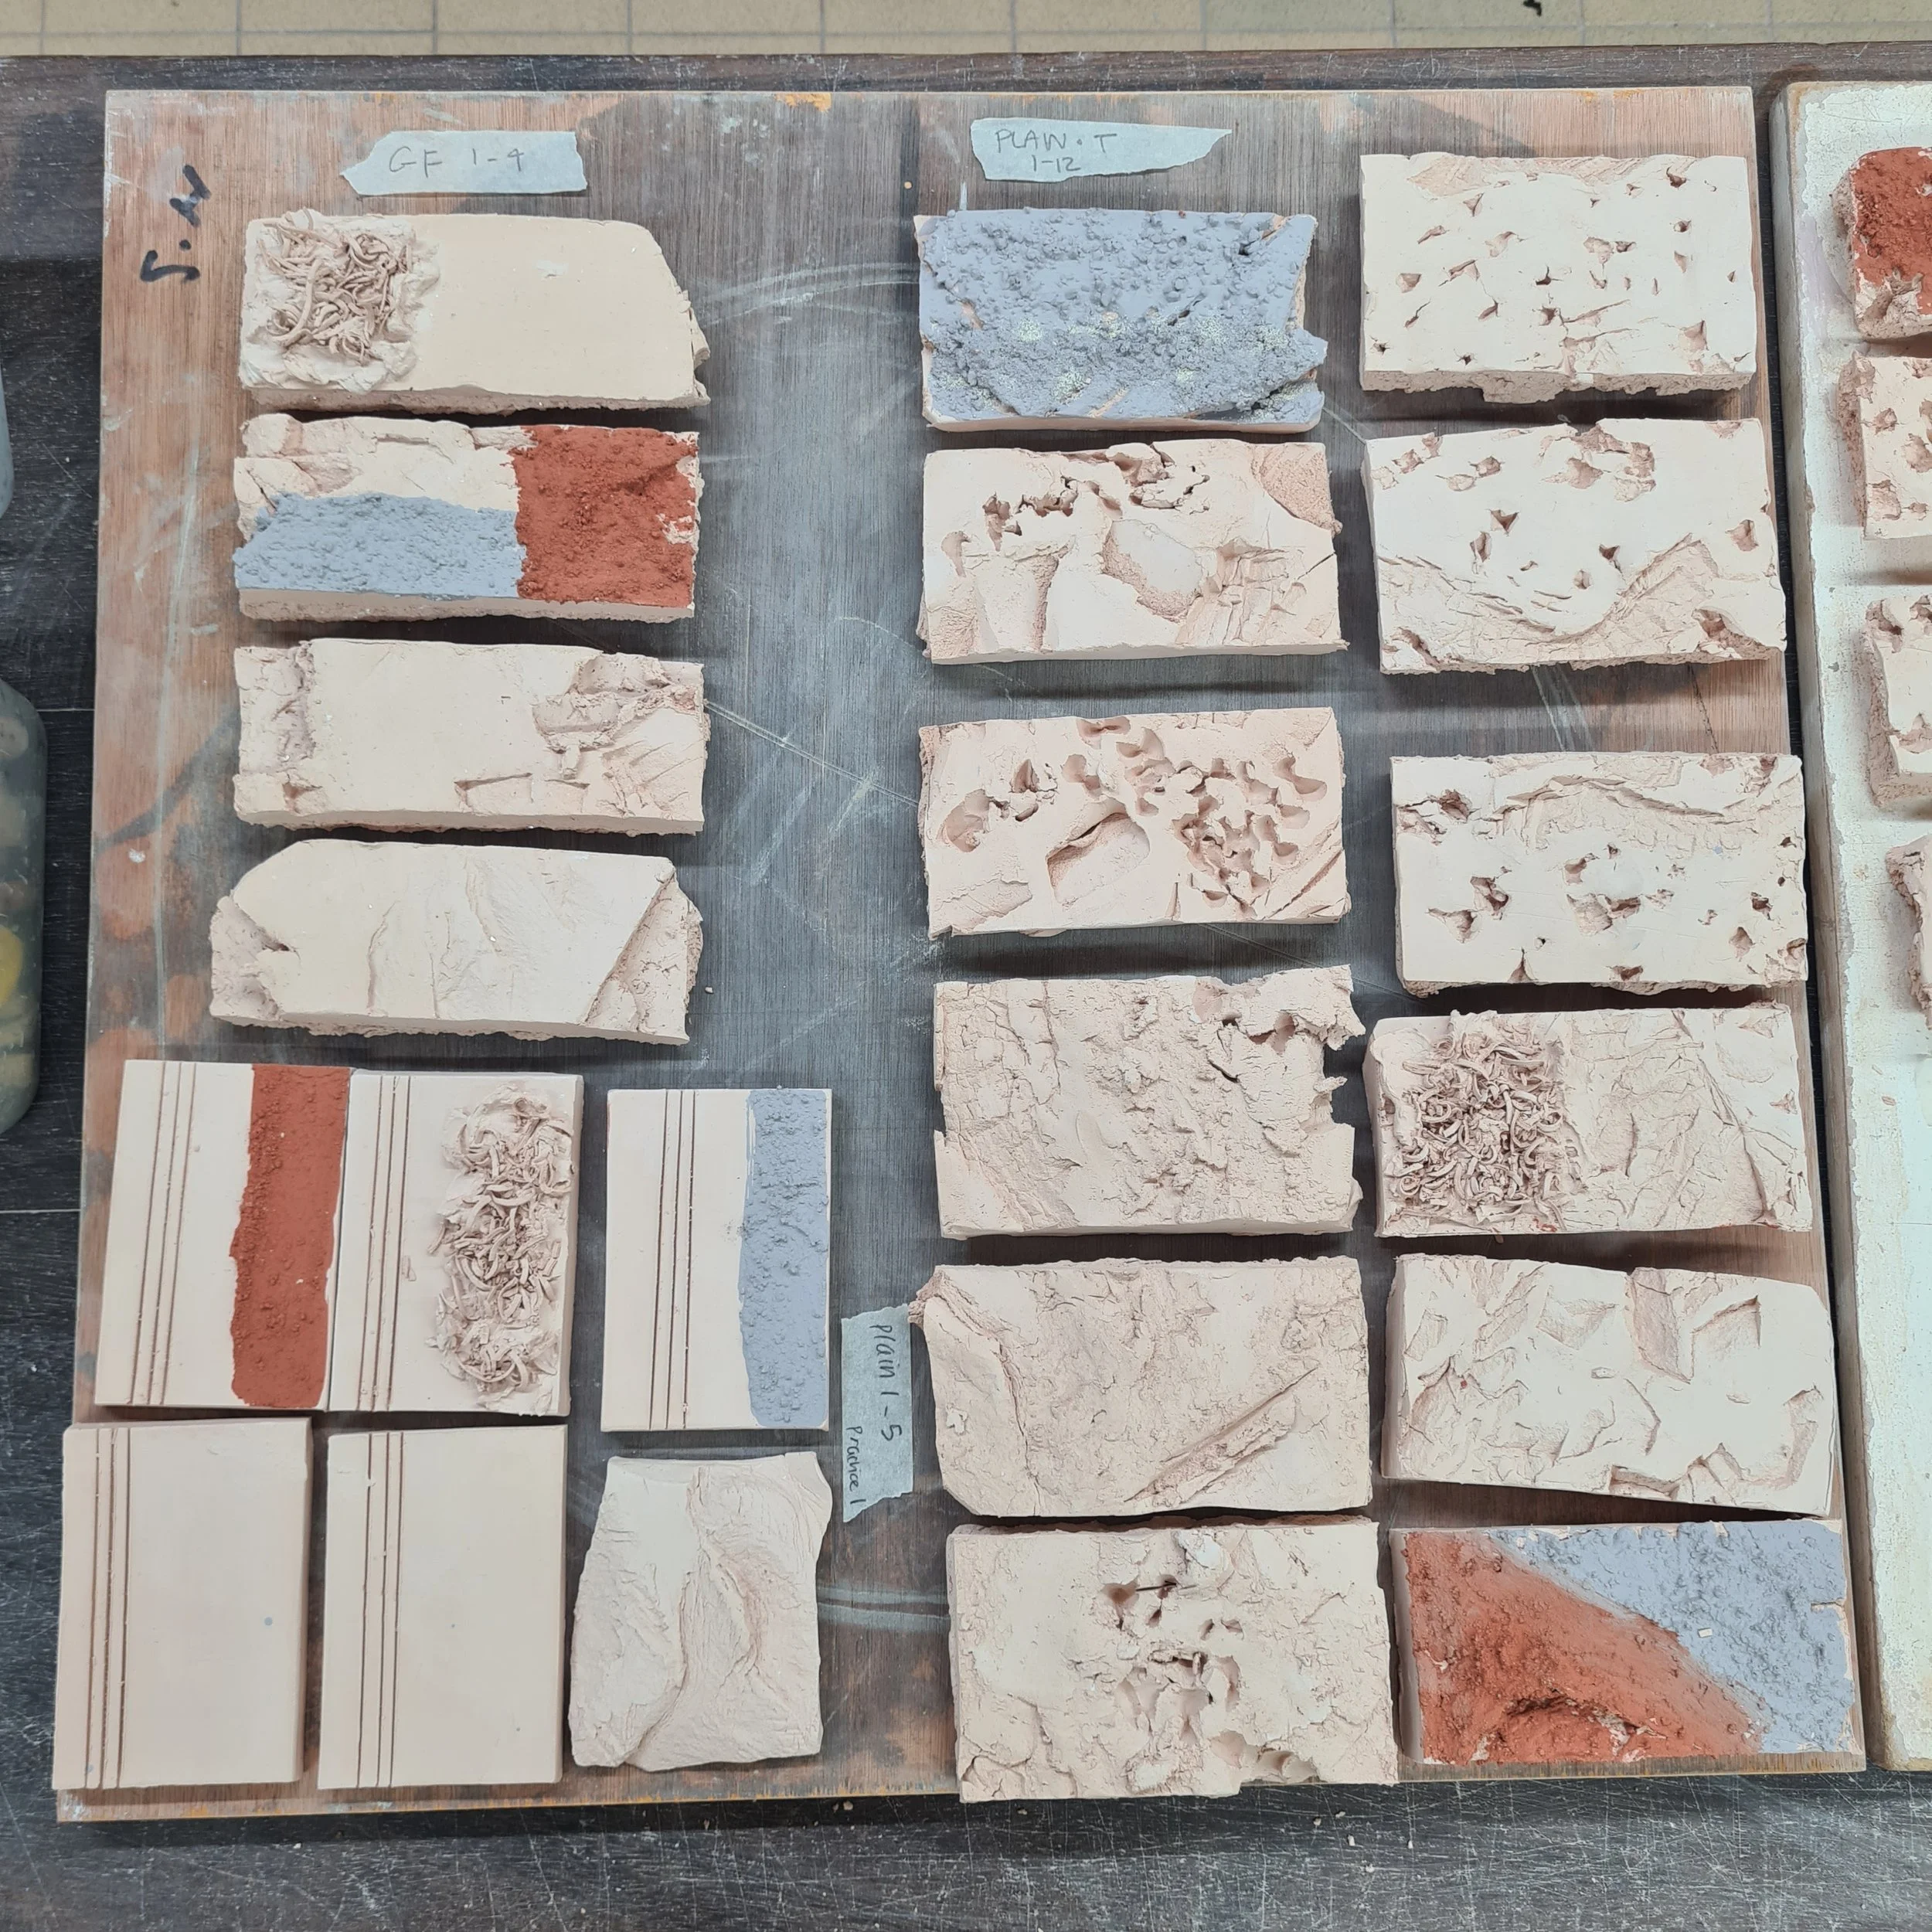
Preparing them for glazing as I’m putting my own glazes onto some and also firing some in different conditions so I needed to ensure they were all labelled correctly