

3-Dimensional Glaze Test Results
From April-August 2026
Please refer to the test tile excel document to see names of glazes and their recipes/methods here
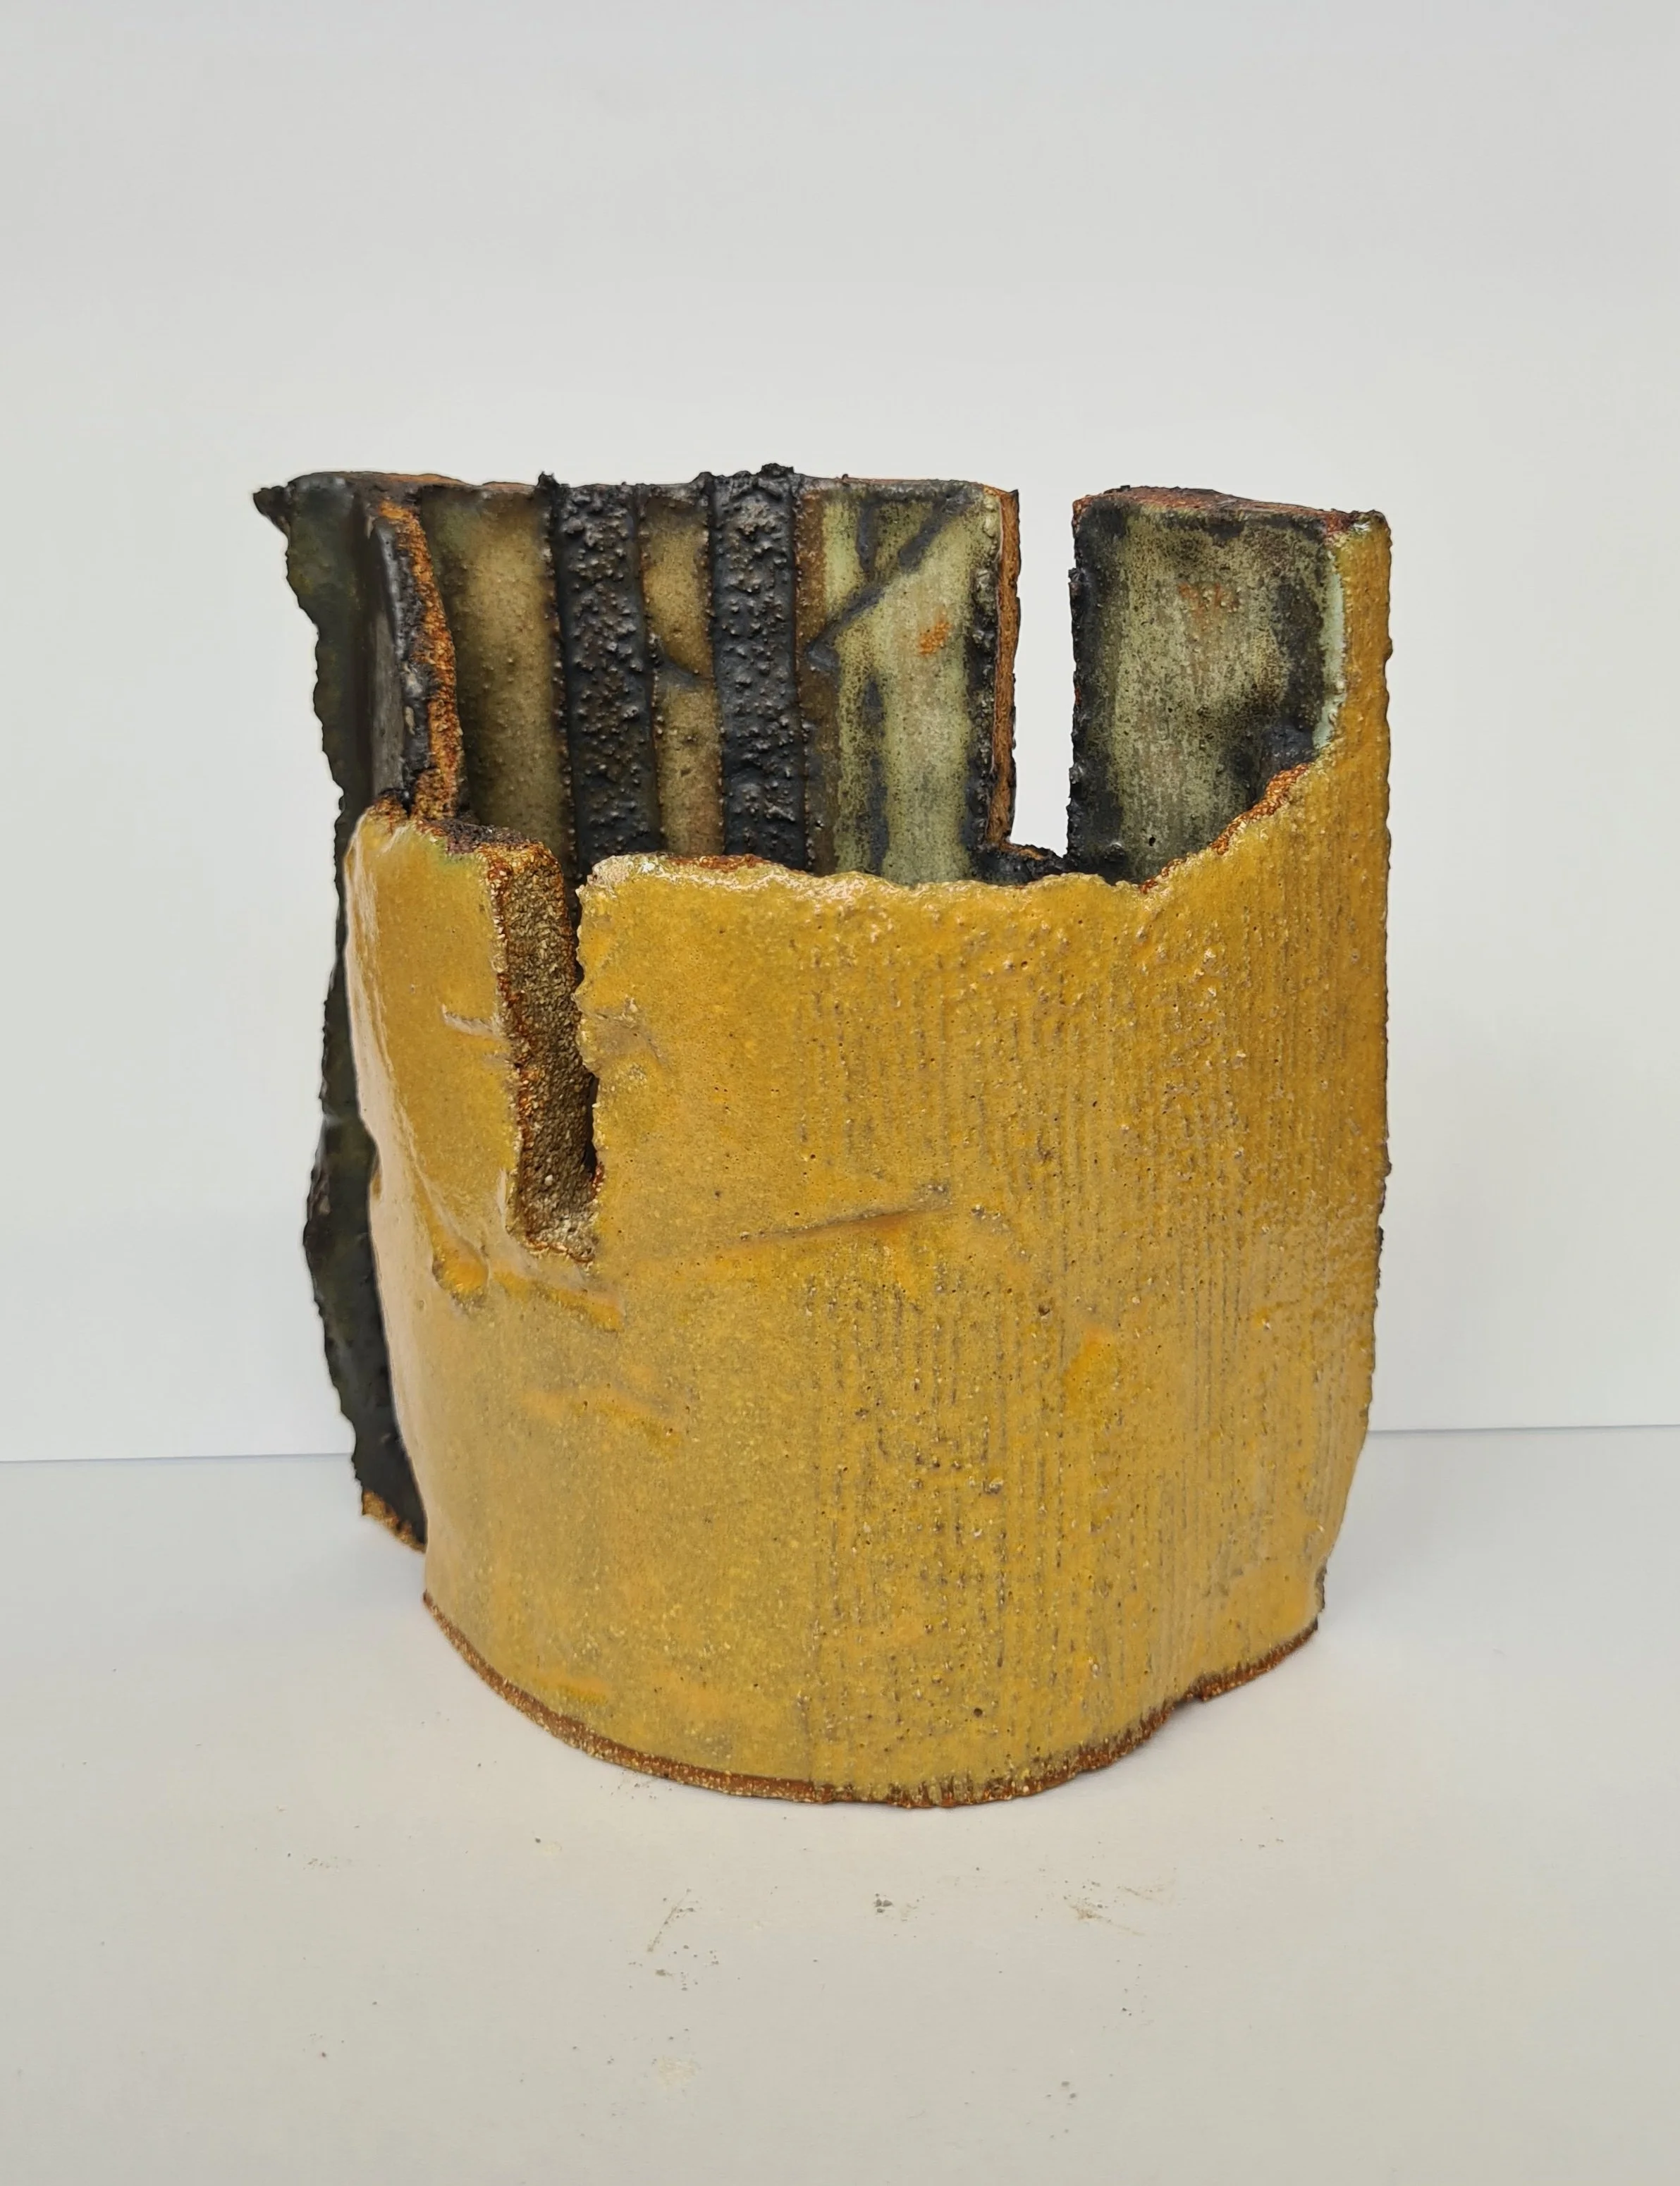
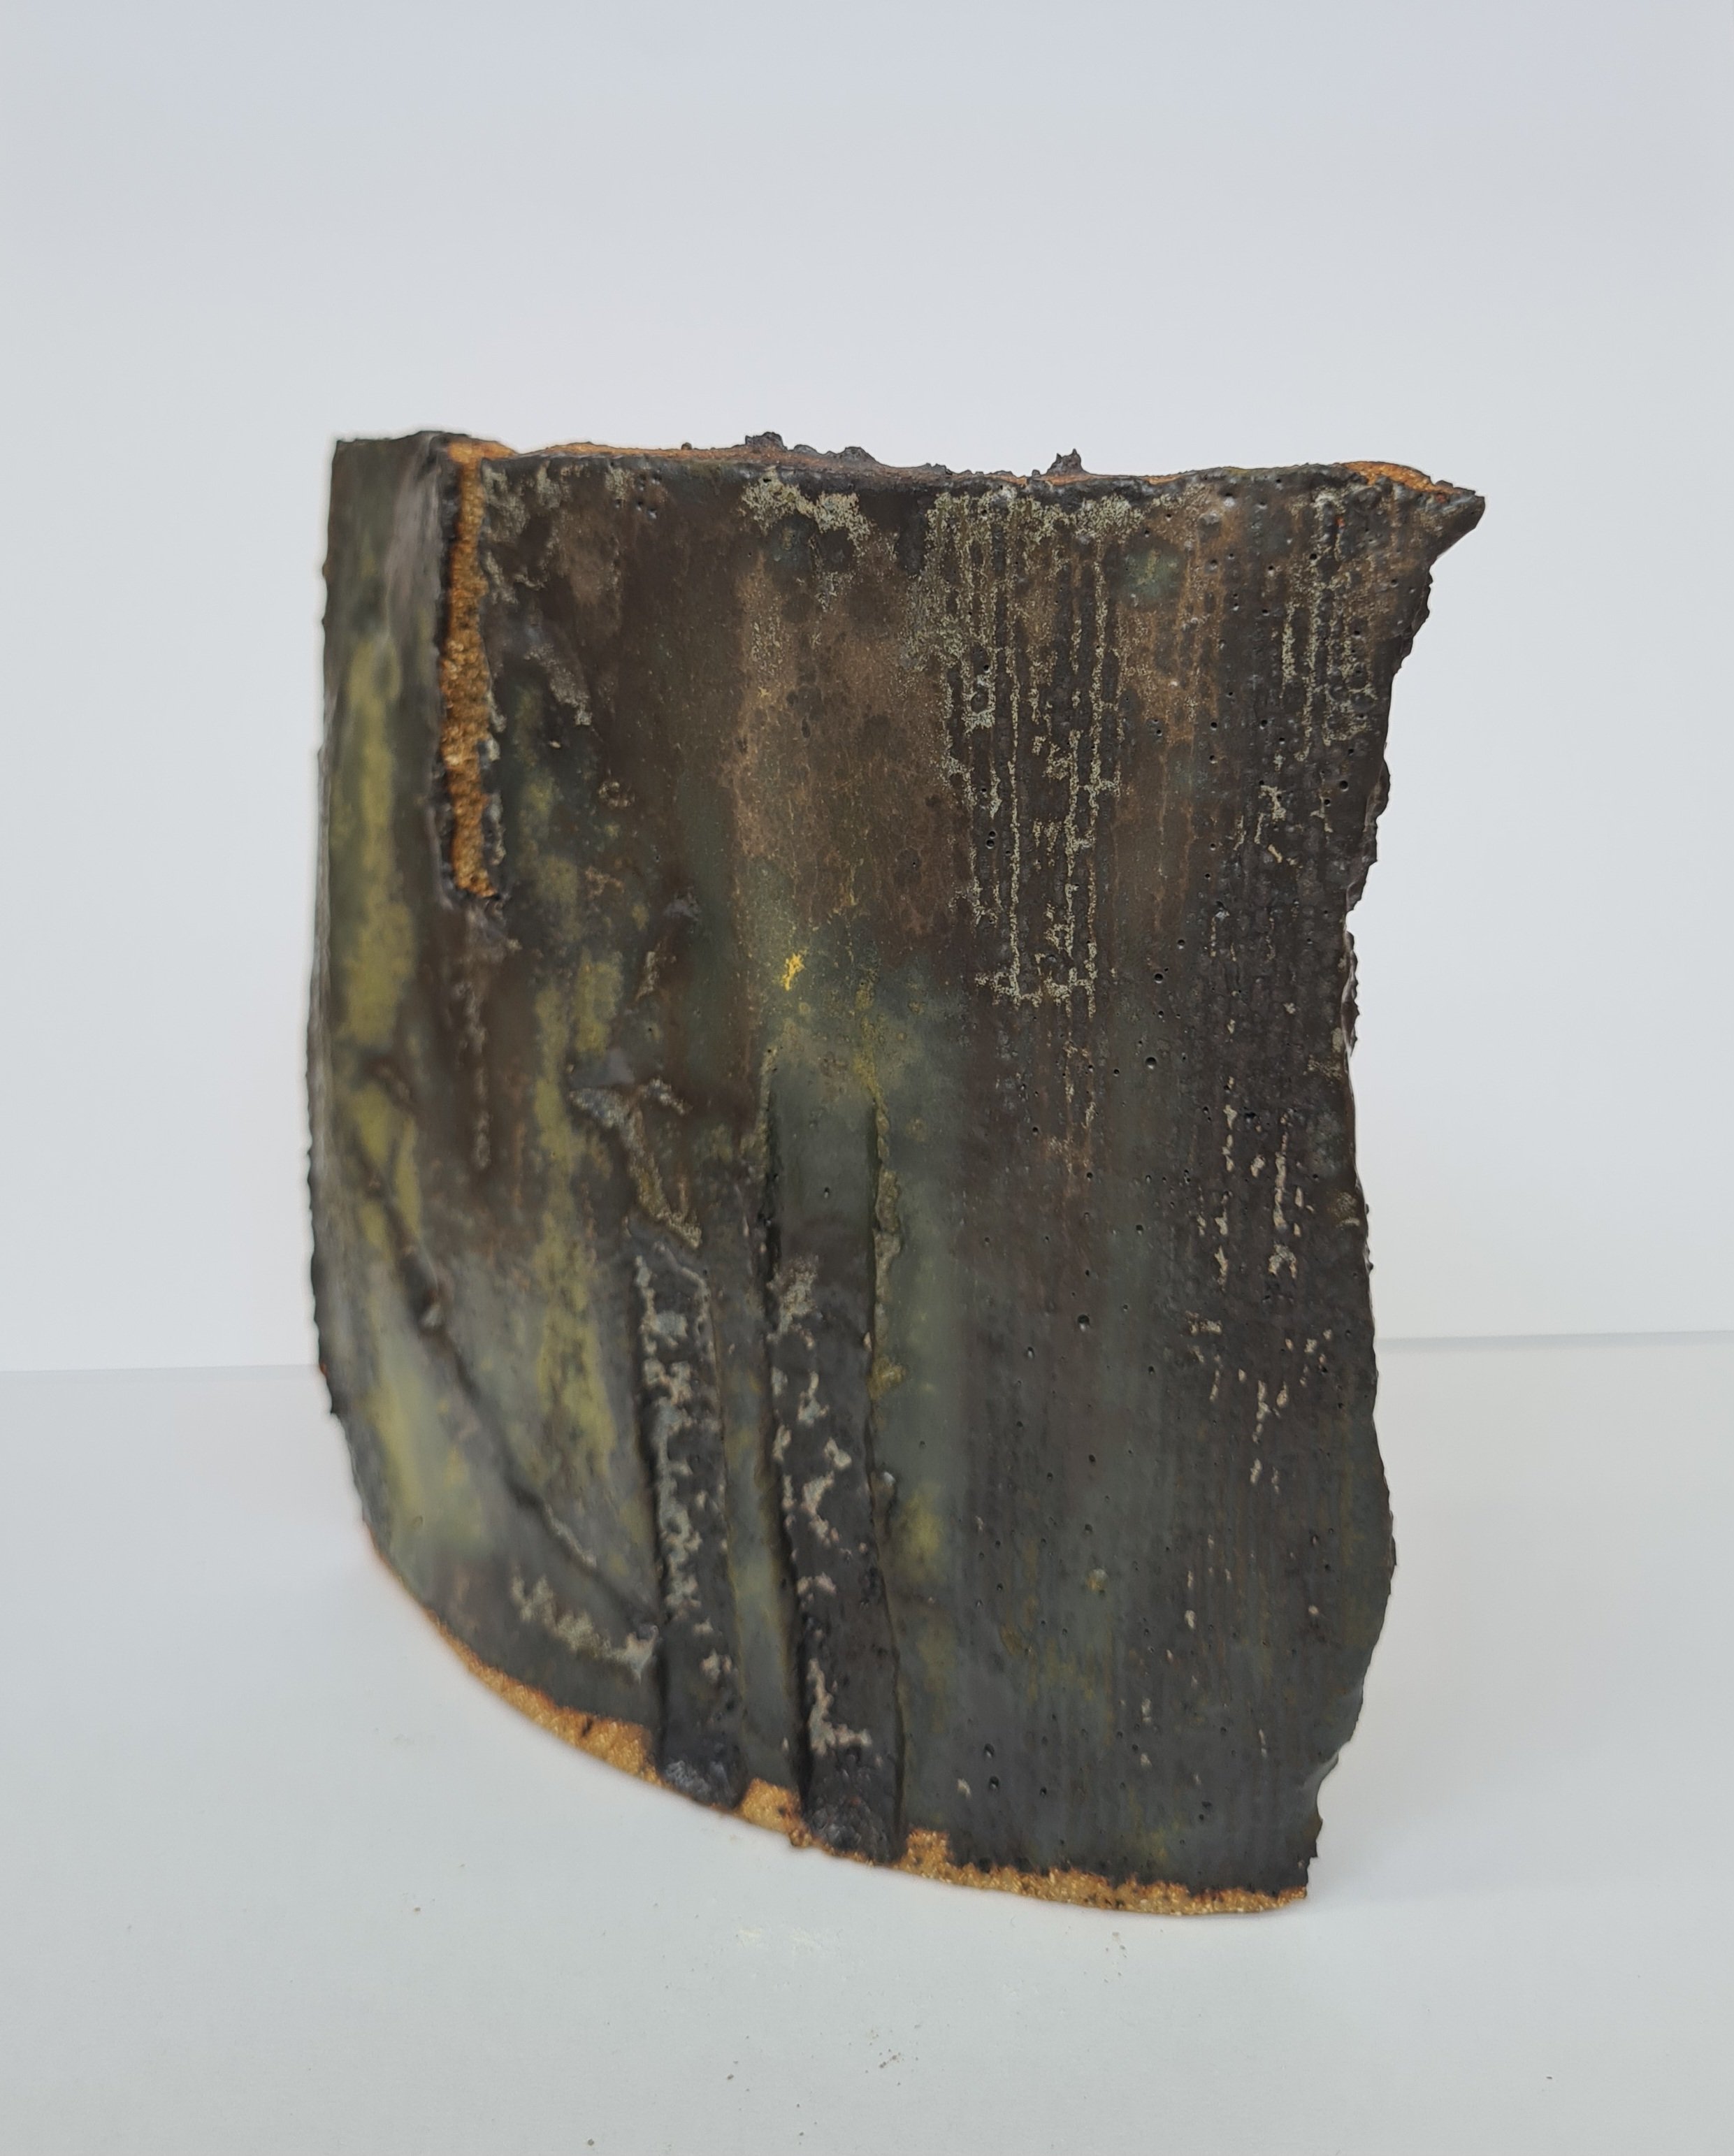
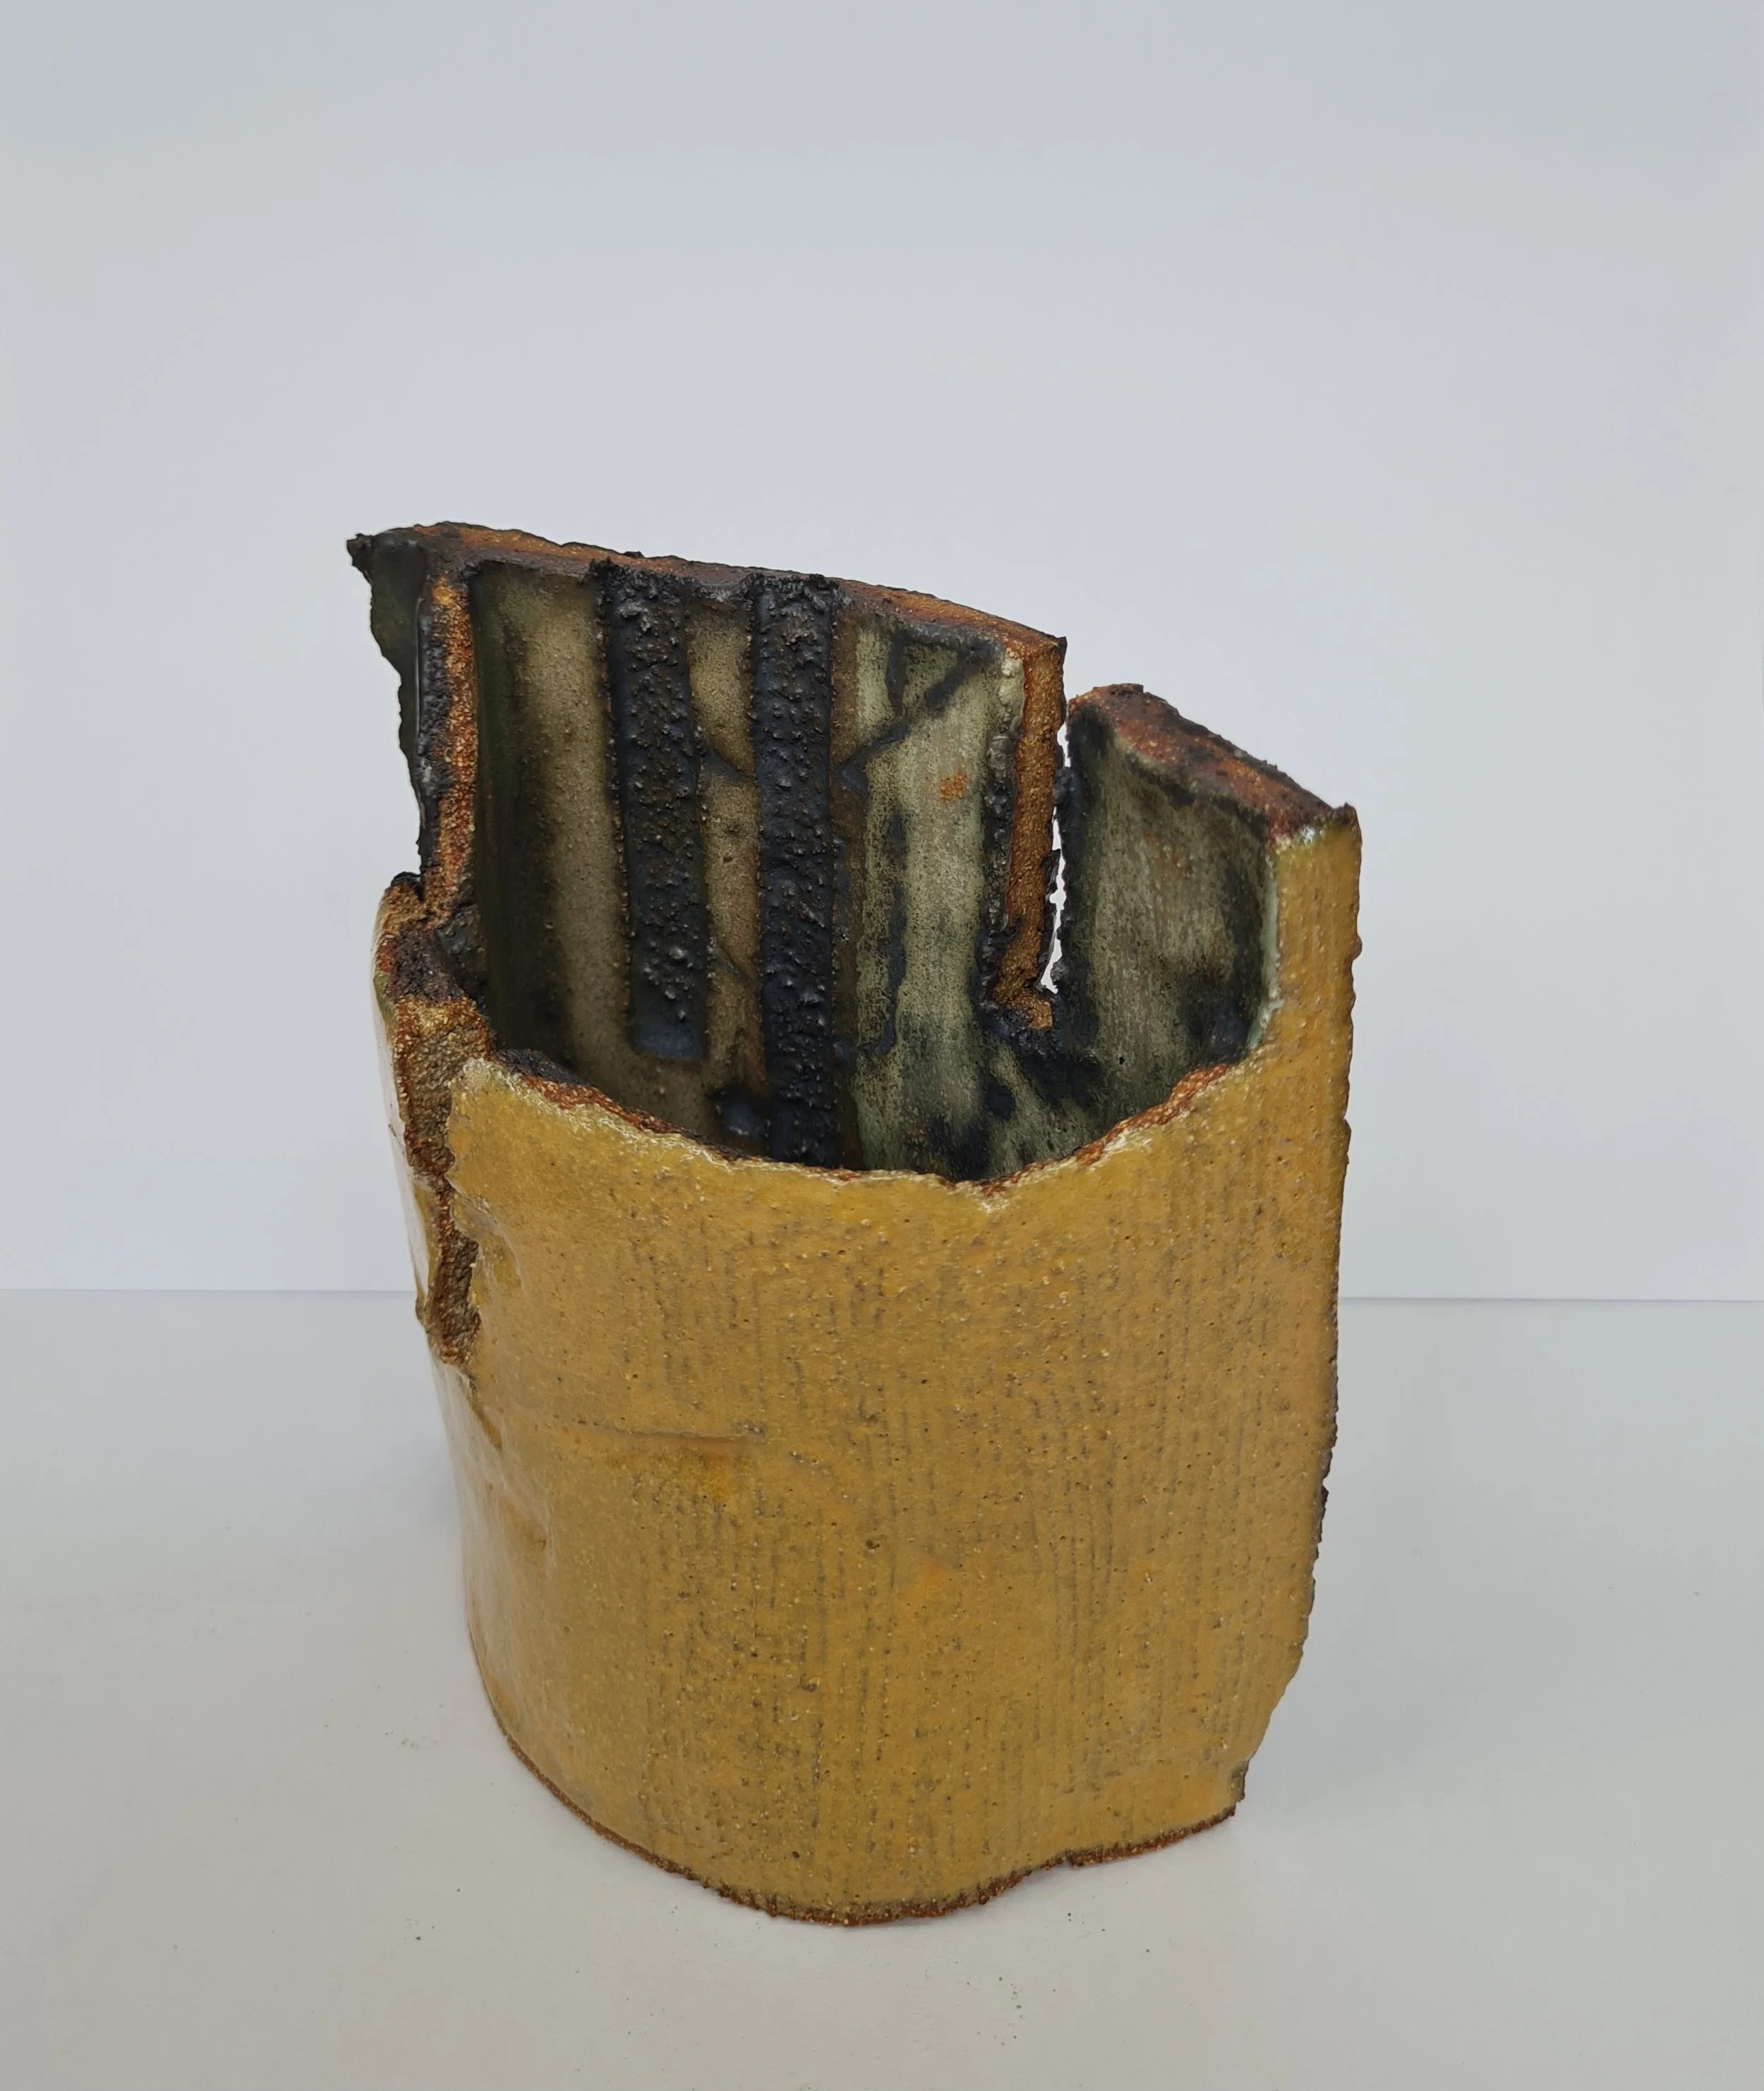
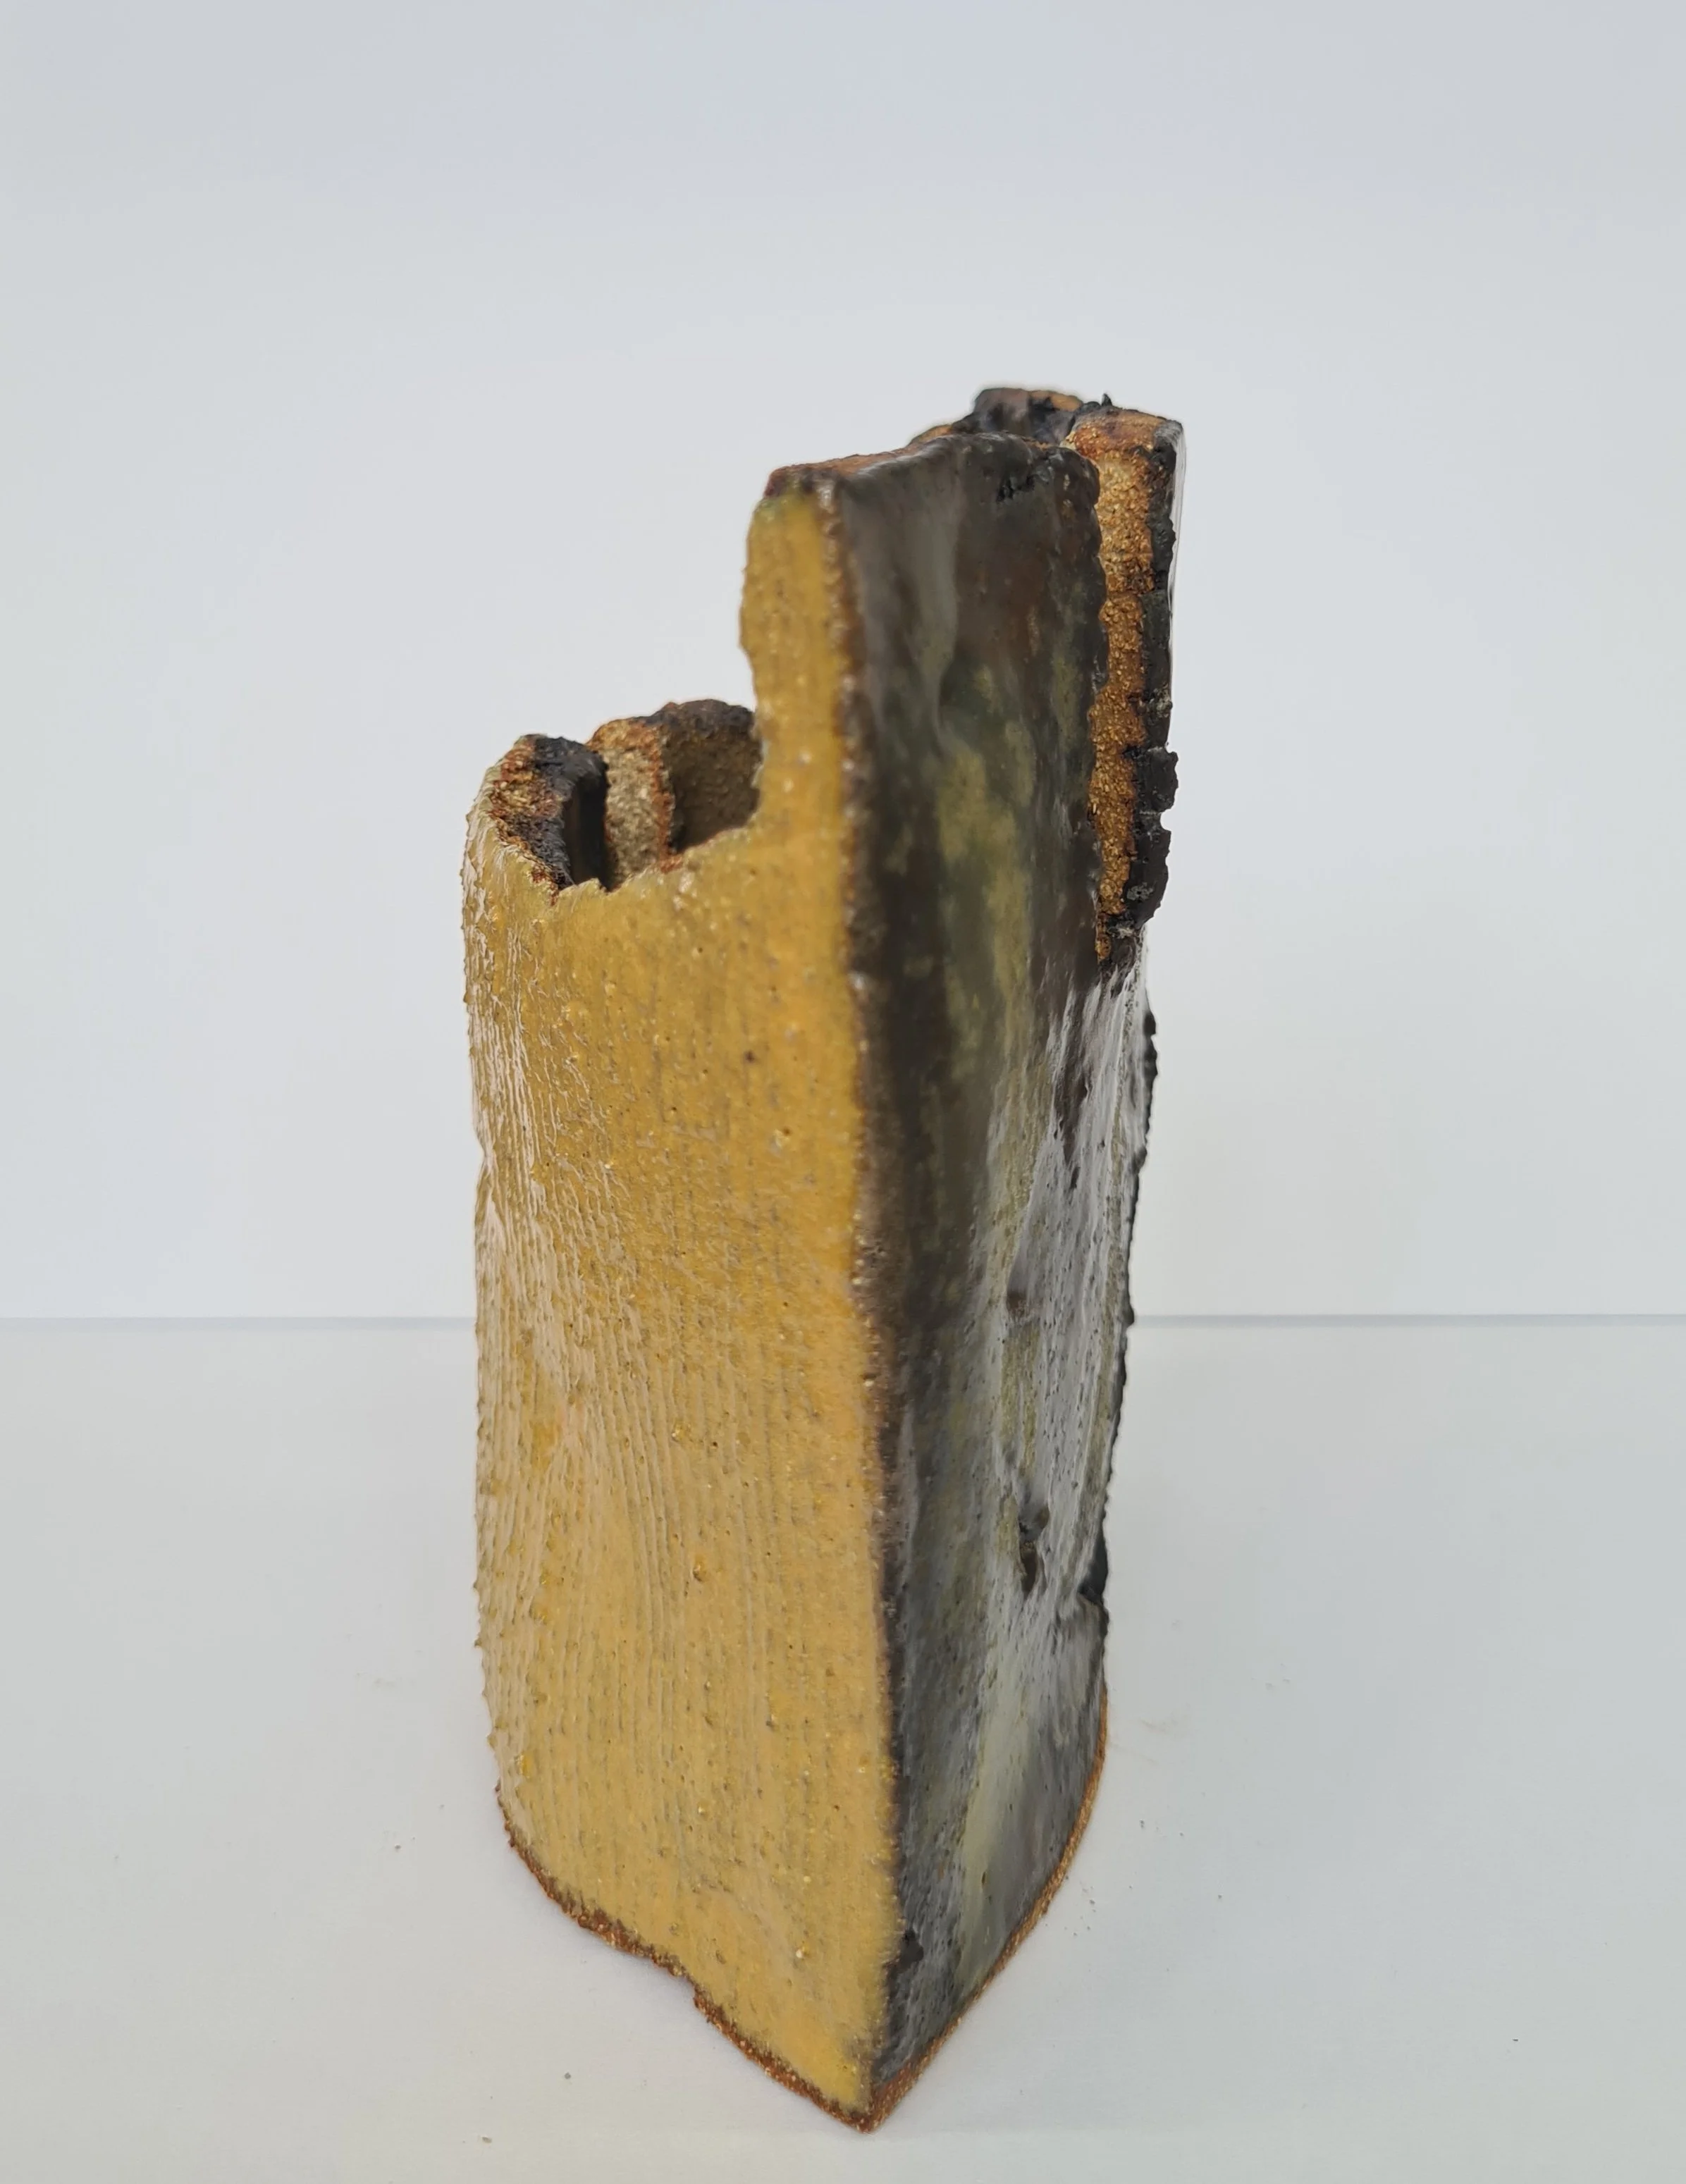
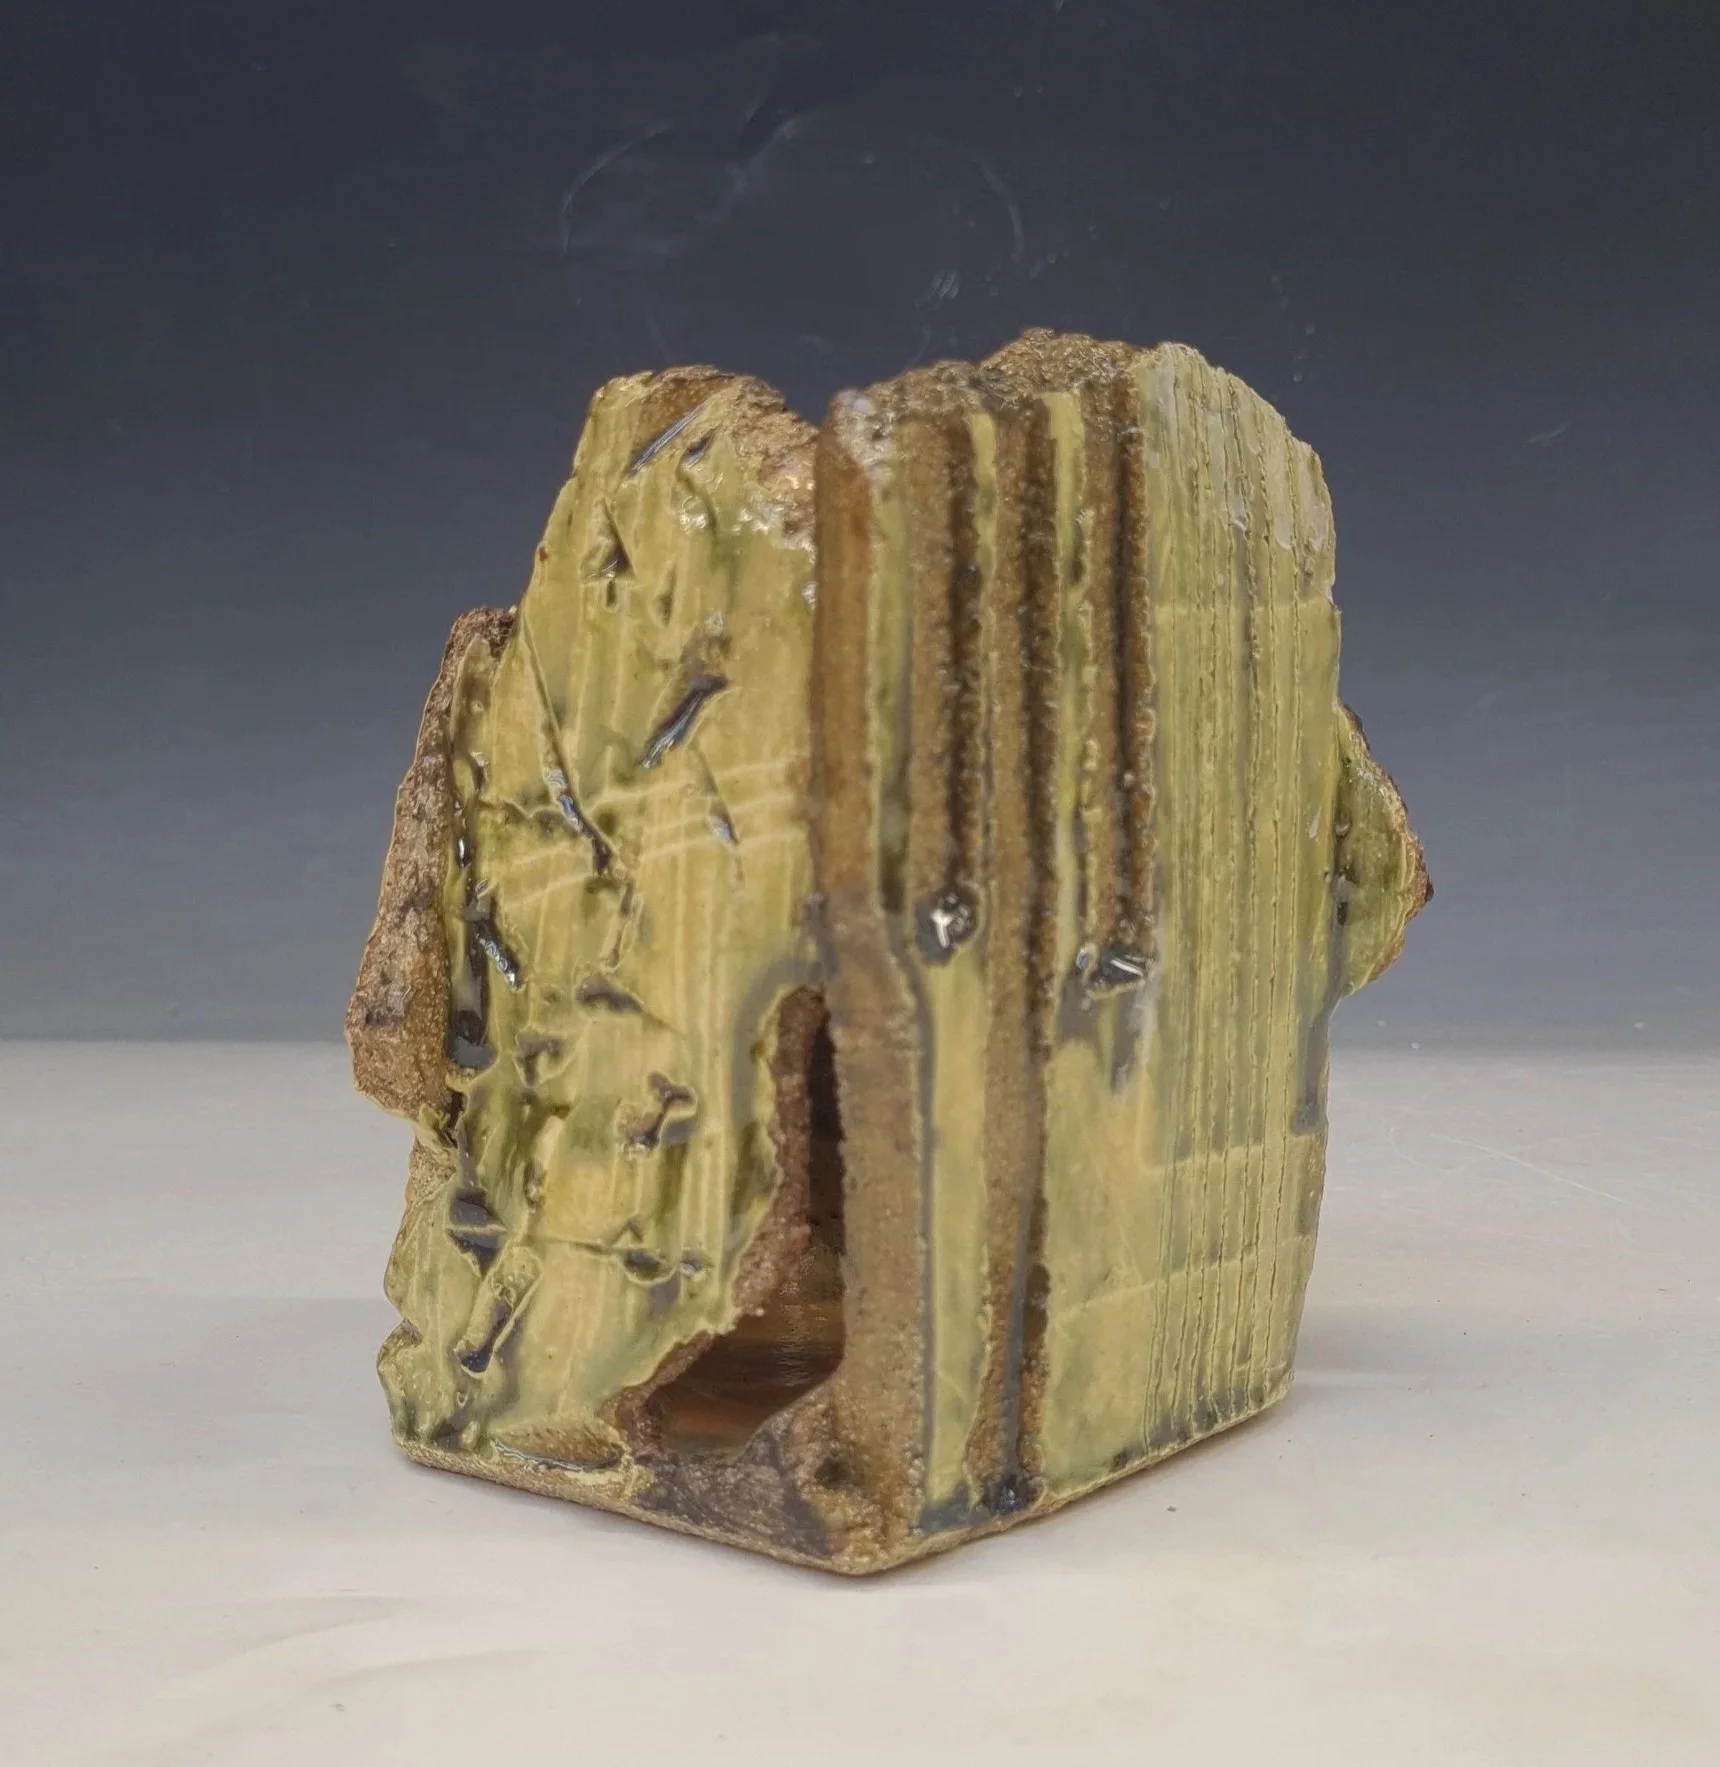
1- This test above was fired in Oxidation at 1280’c and I used Craft Crank clay- I used the Glossy Yellow glaze on the front, on the back I used transparent glaze with 8% Vanadium Pentoxide with a copper ox wash underneath. On the inner left side I used the transparent glaze with 8% rutile and a copper carb wash. On the inner right hand side, I used 8% Titanium with a copper carb wash- This was a continuation from the crank test tiles I did where I increased the % of the additions slowly, I wanted to see how they would change on a vertical surface.
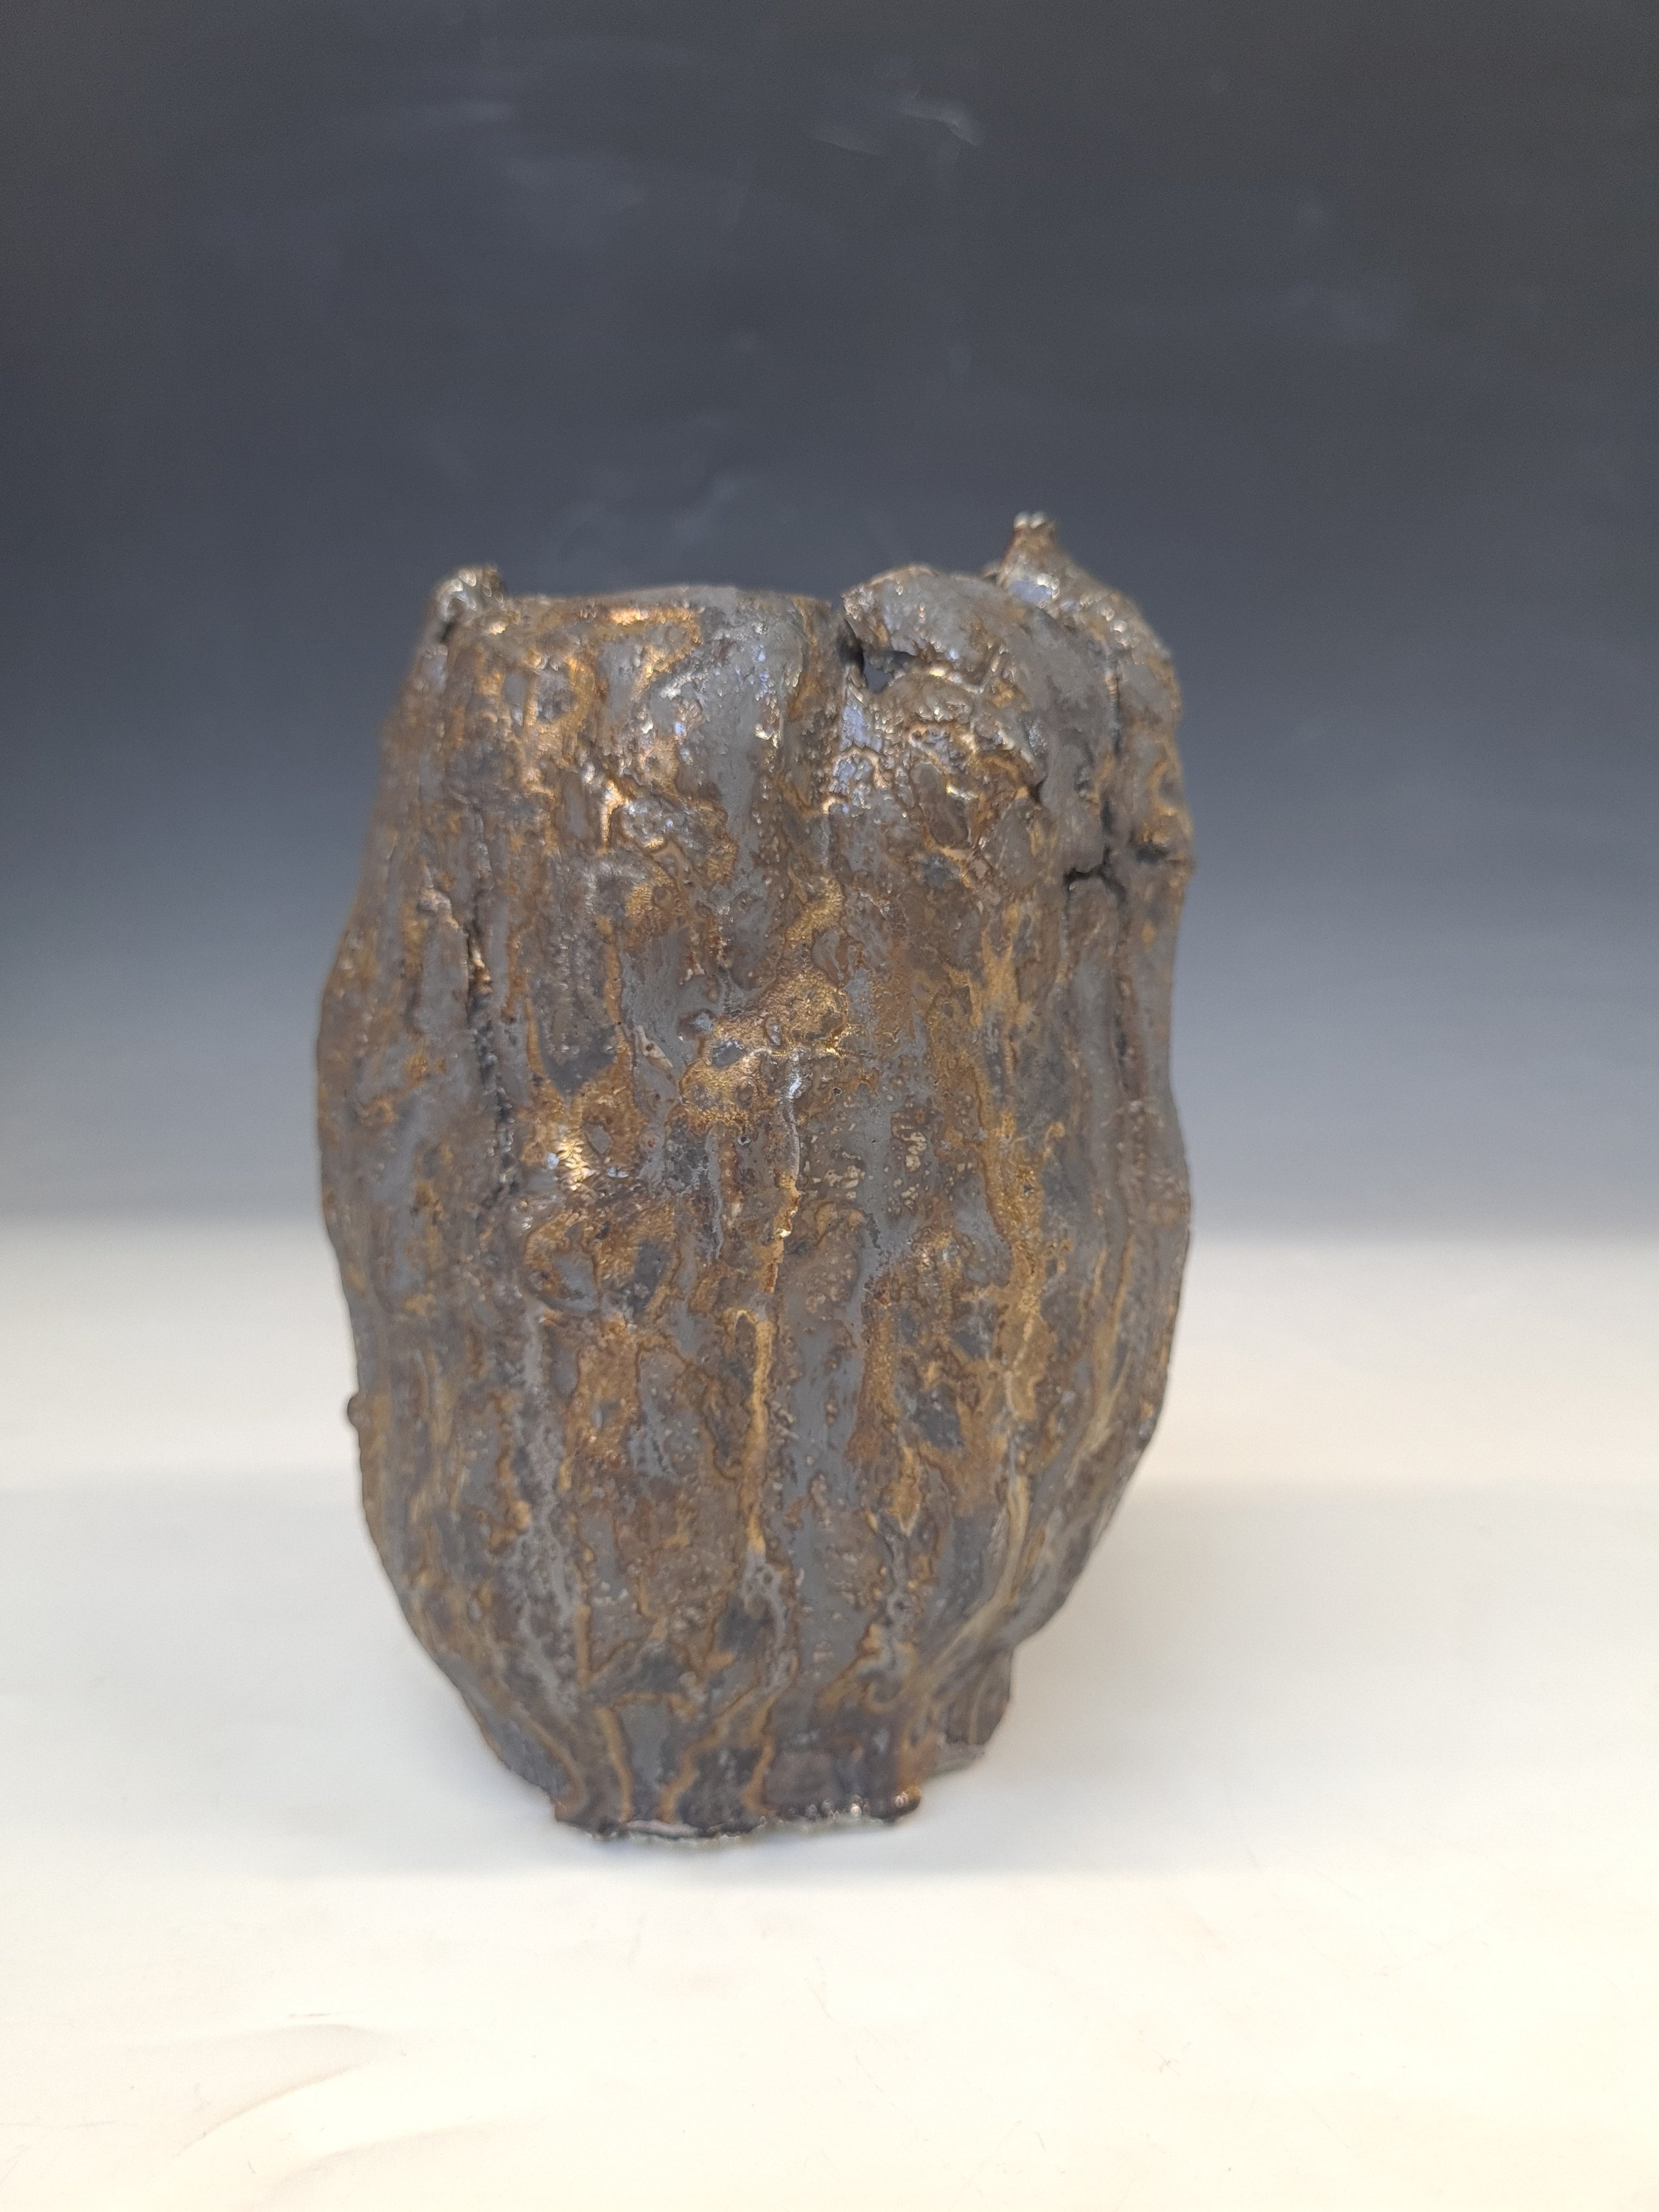
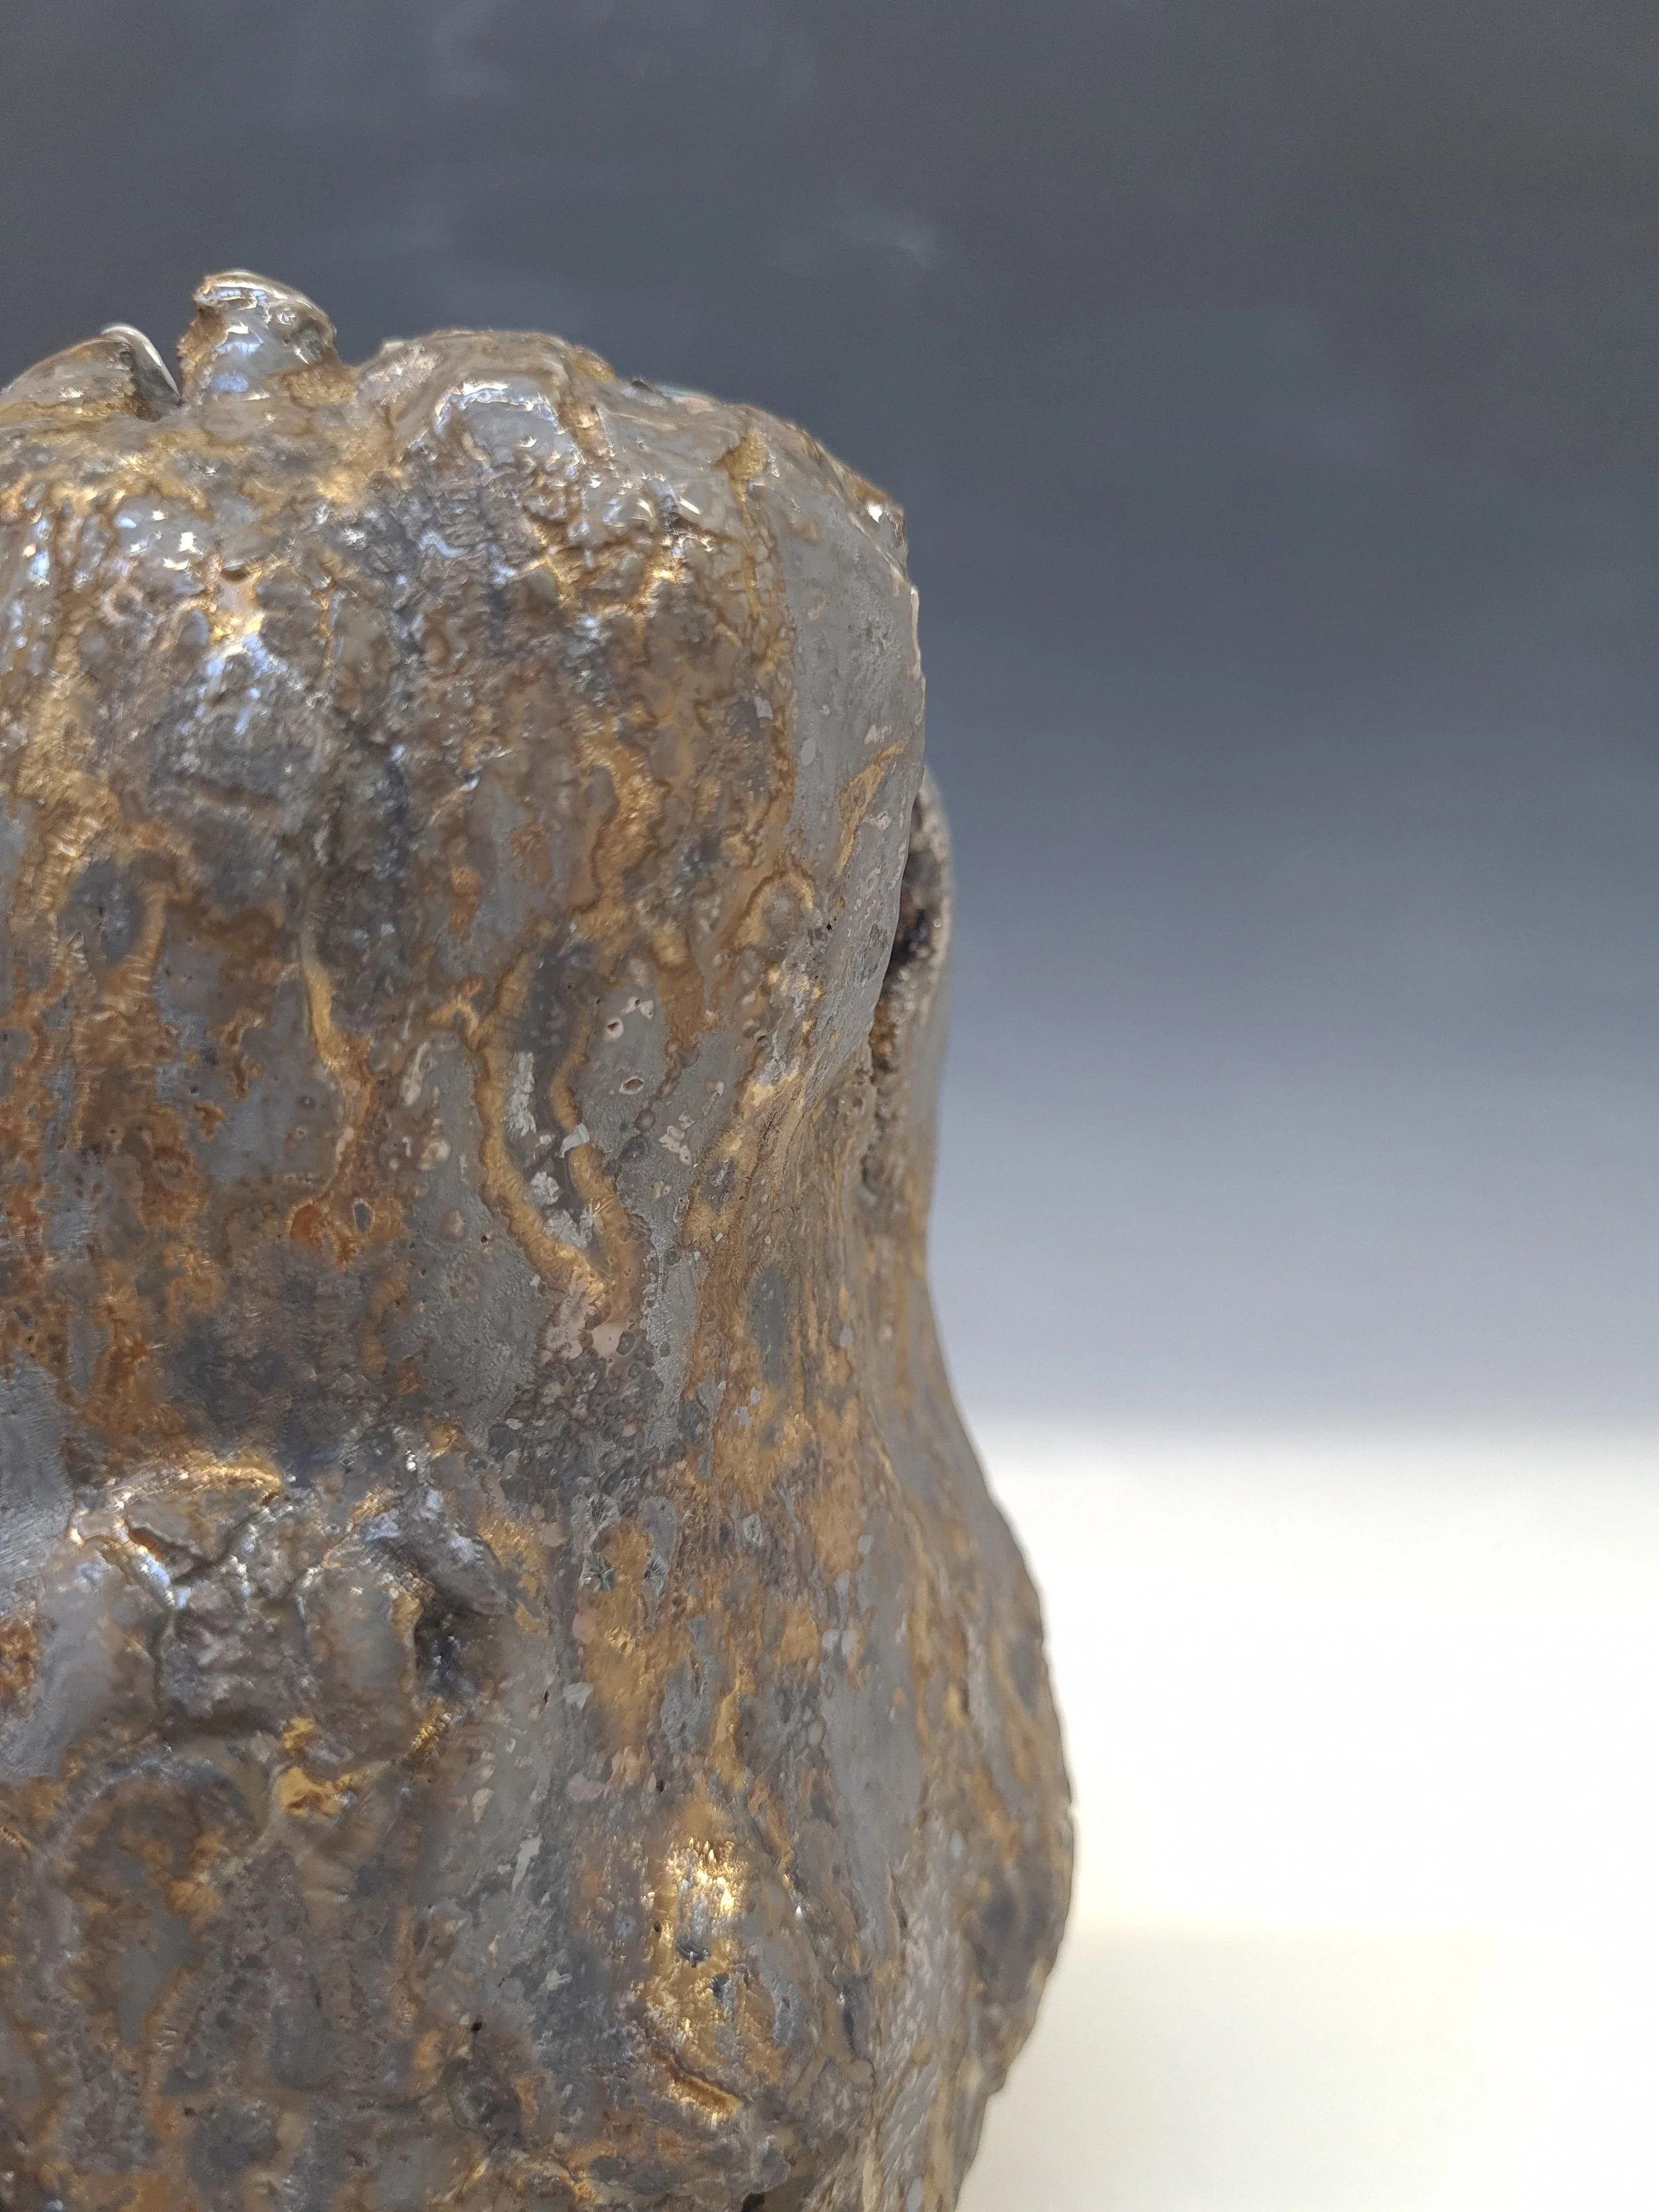
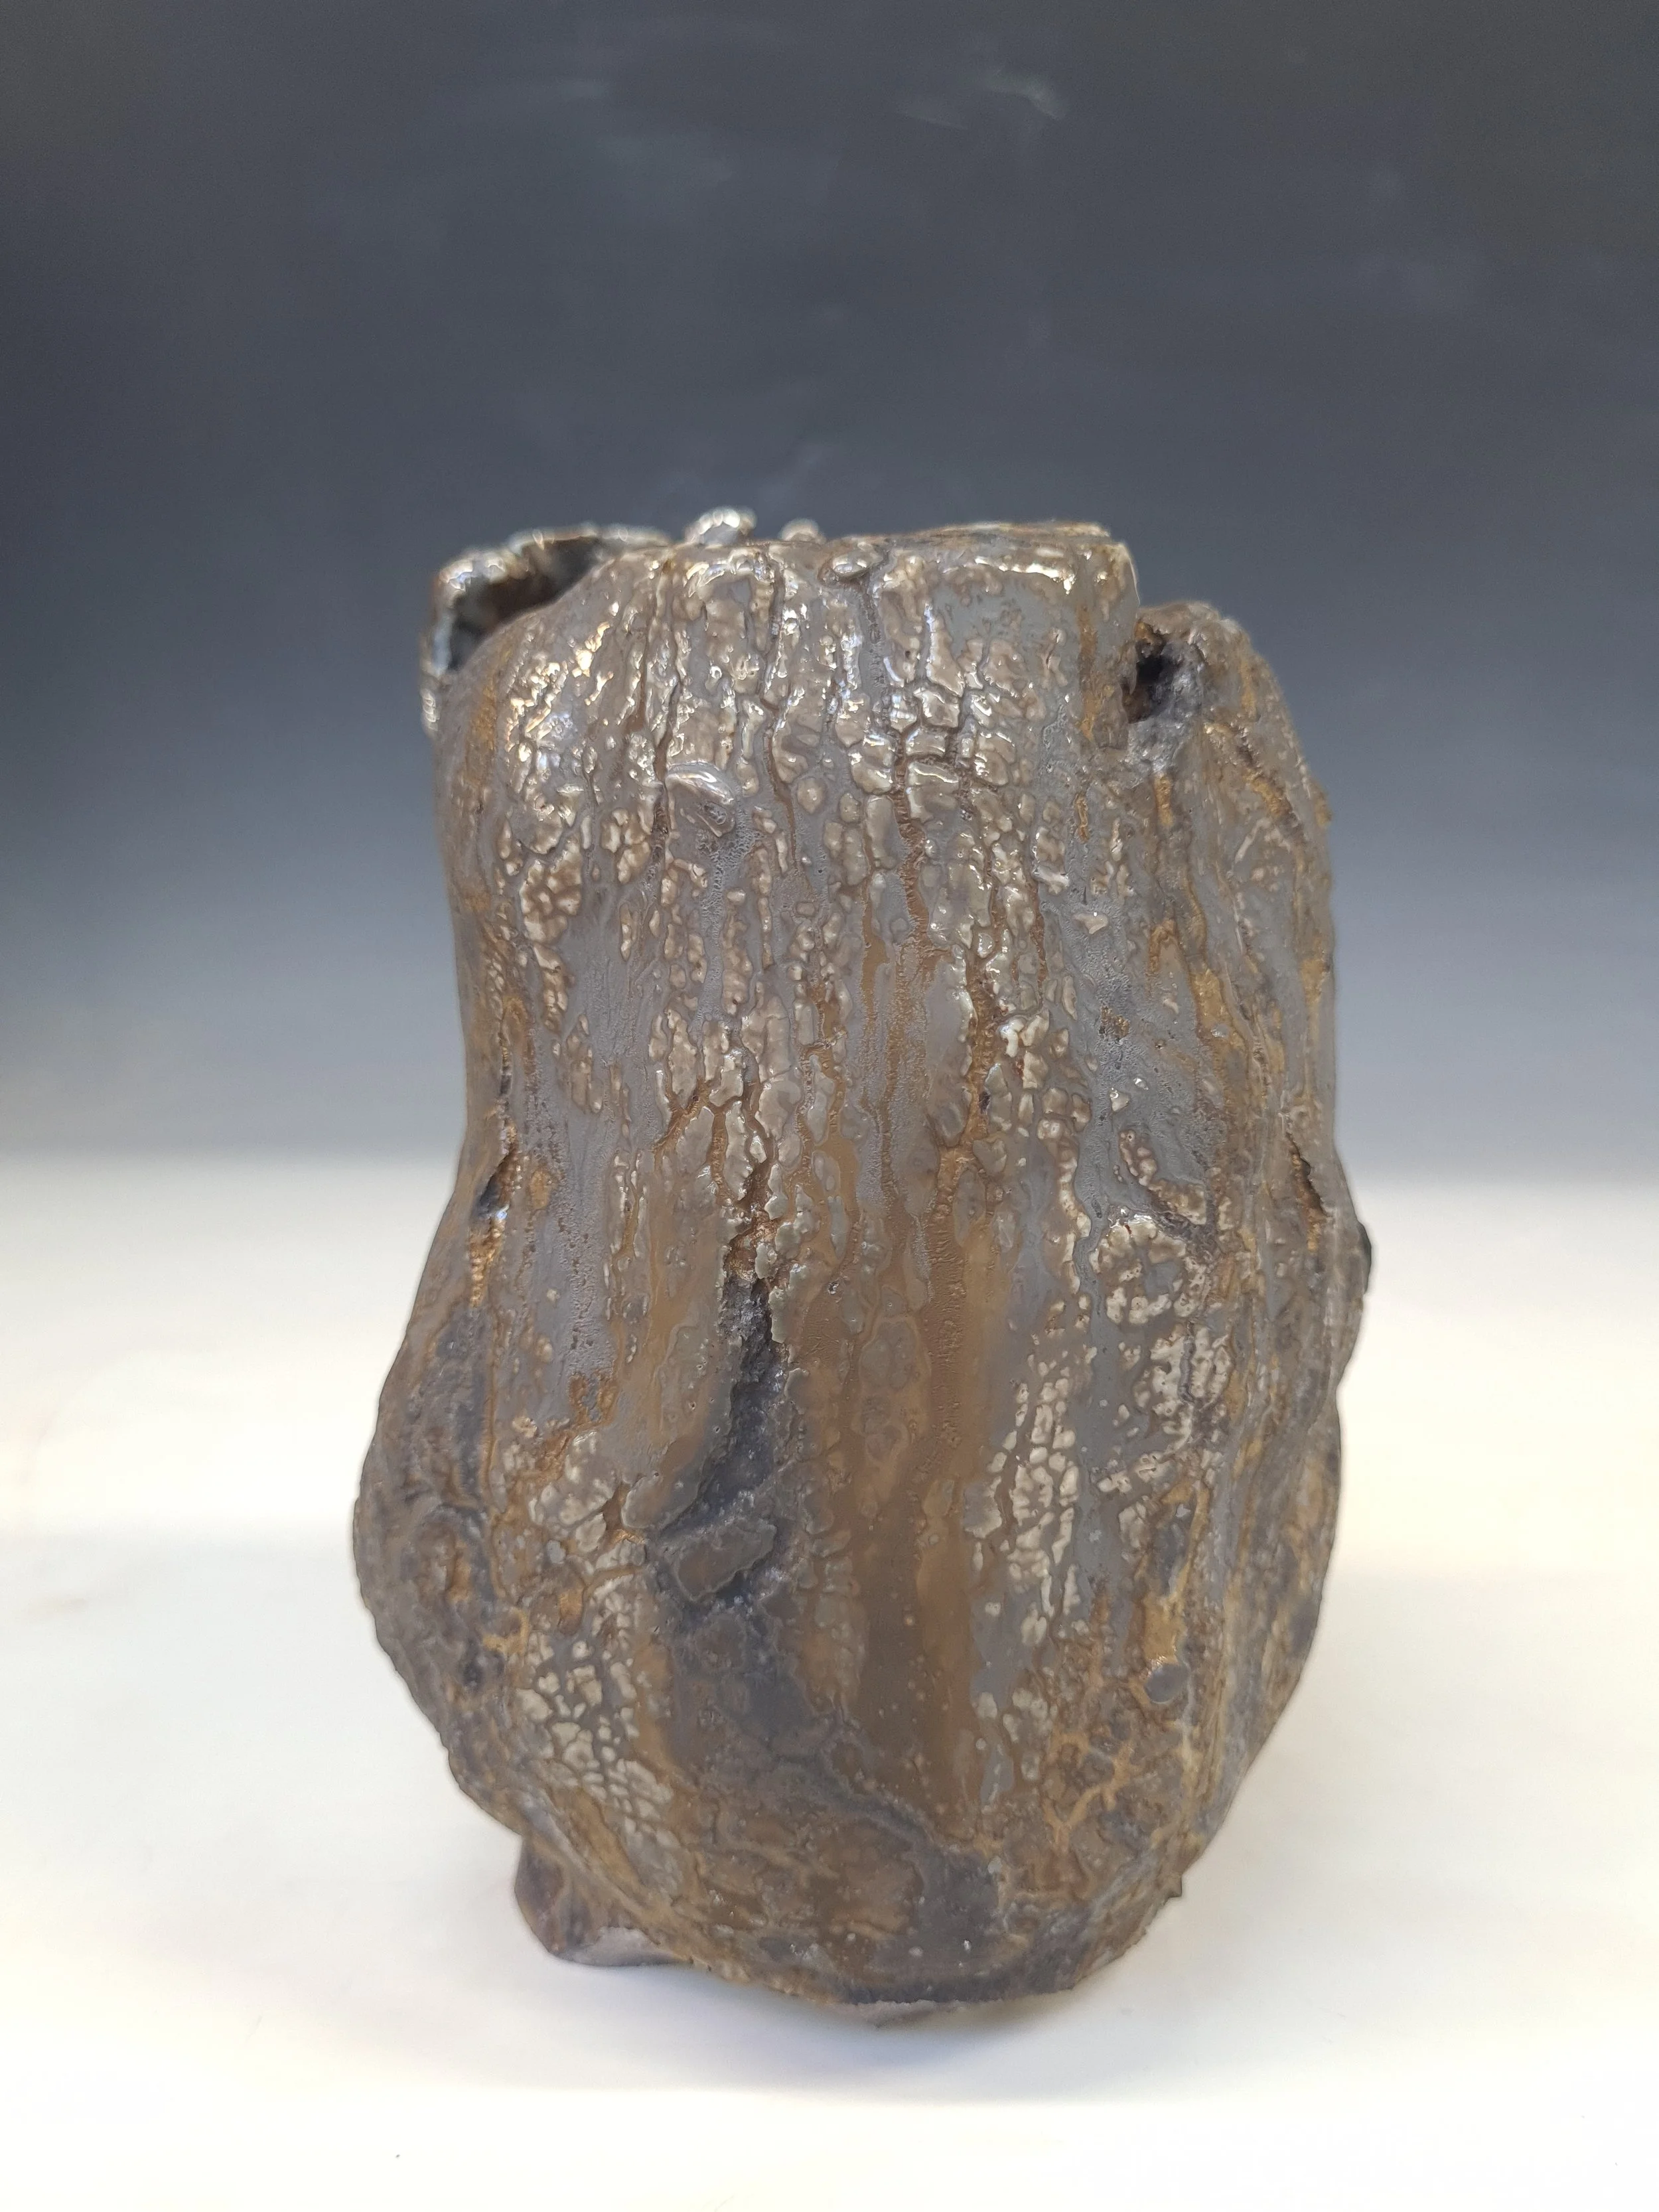
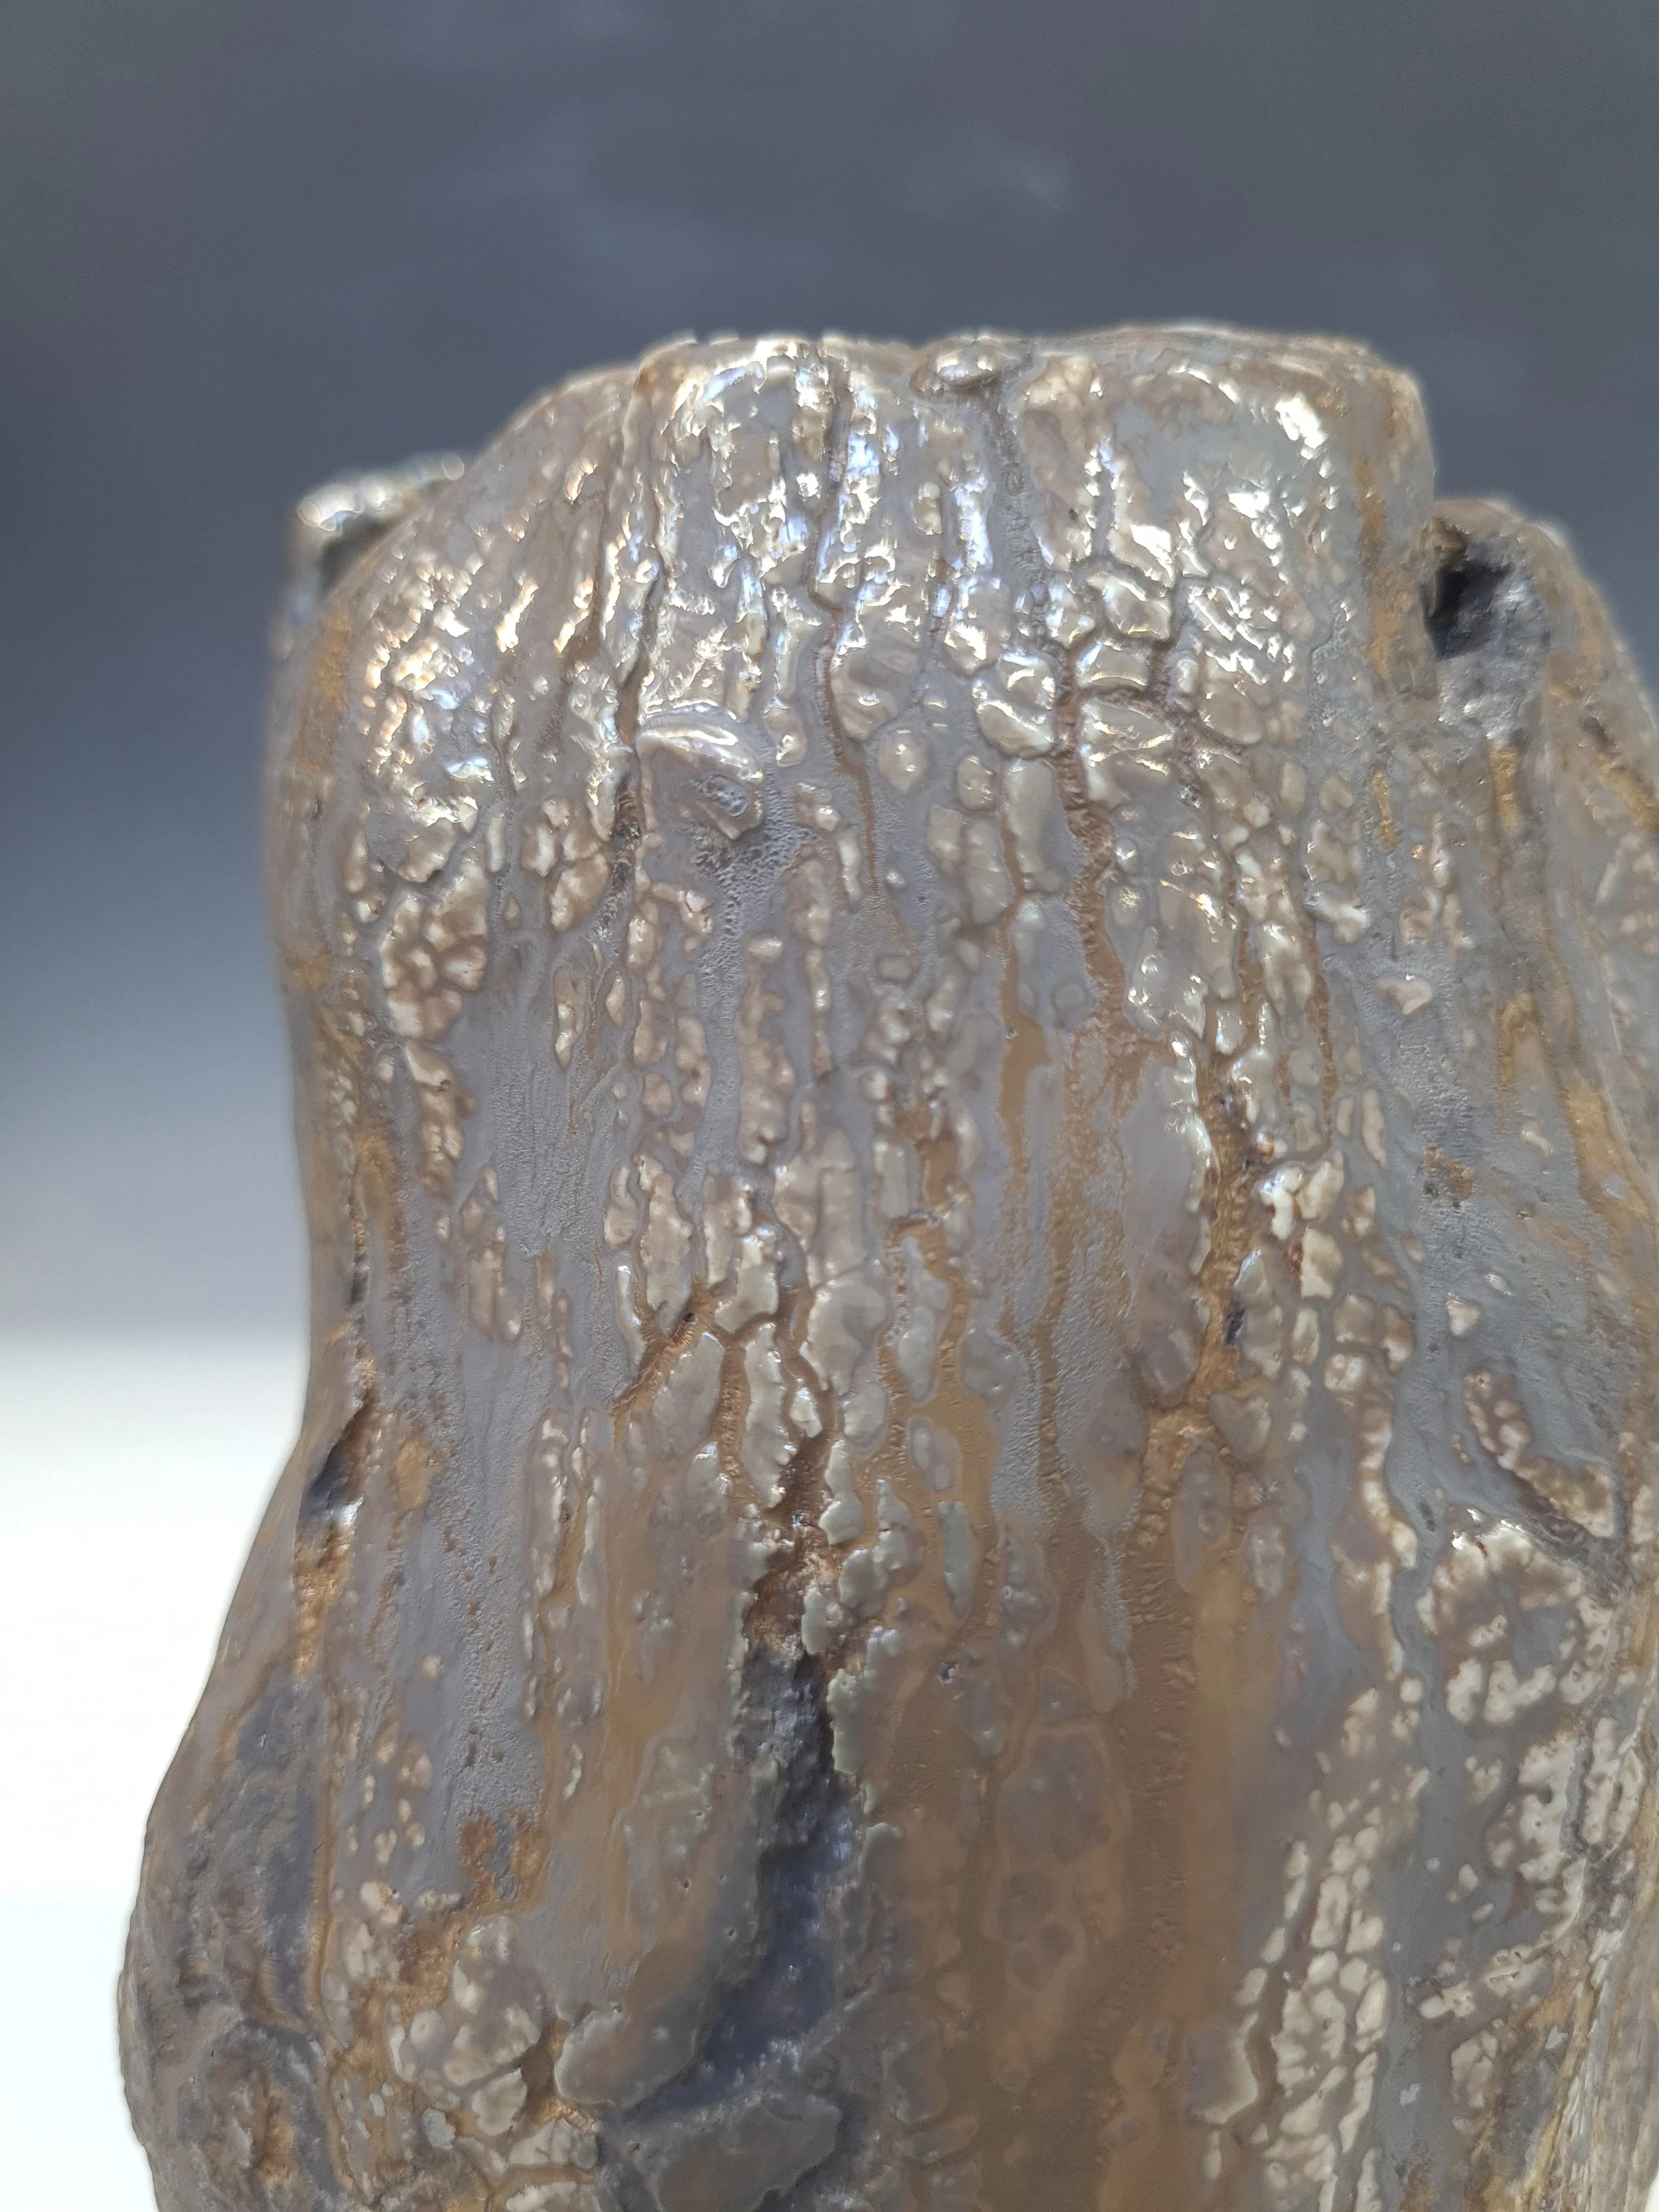
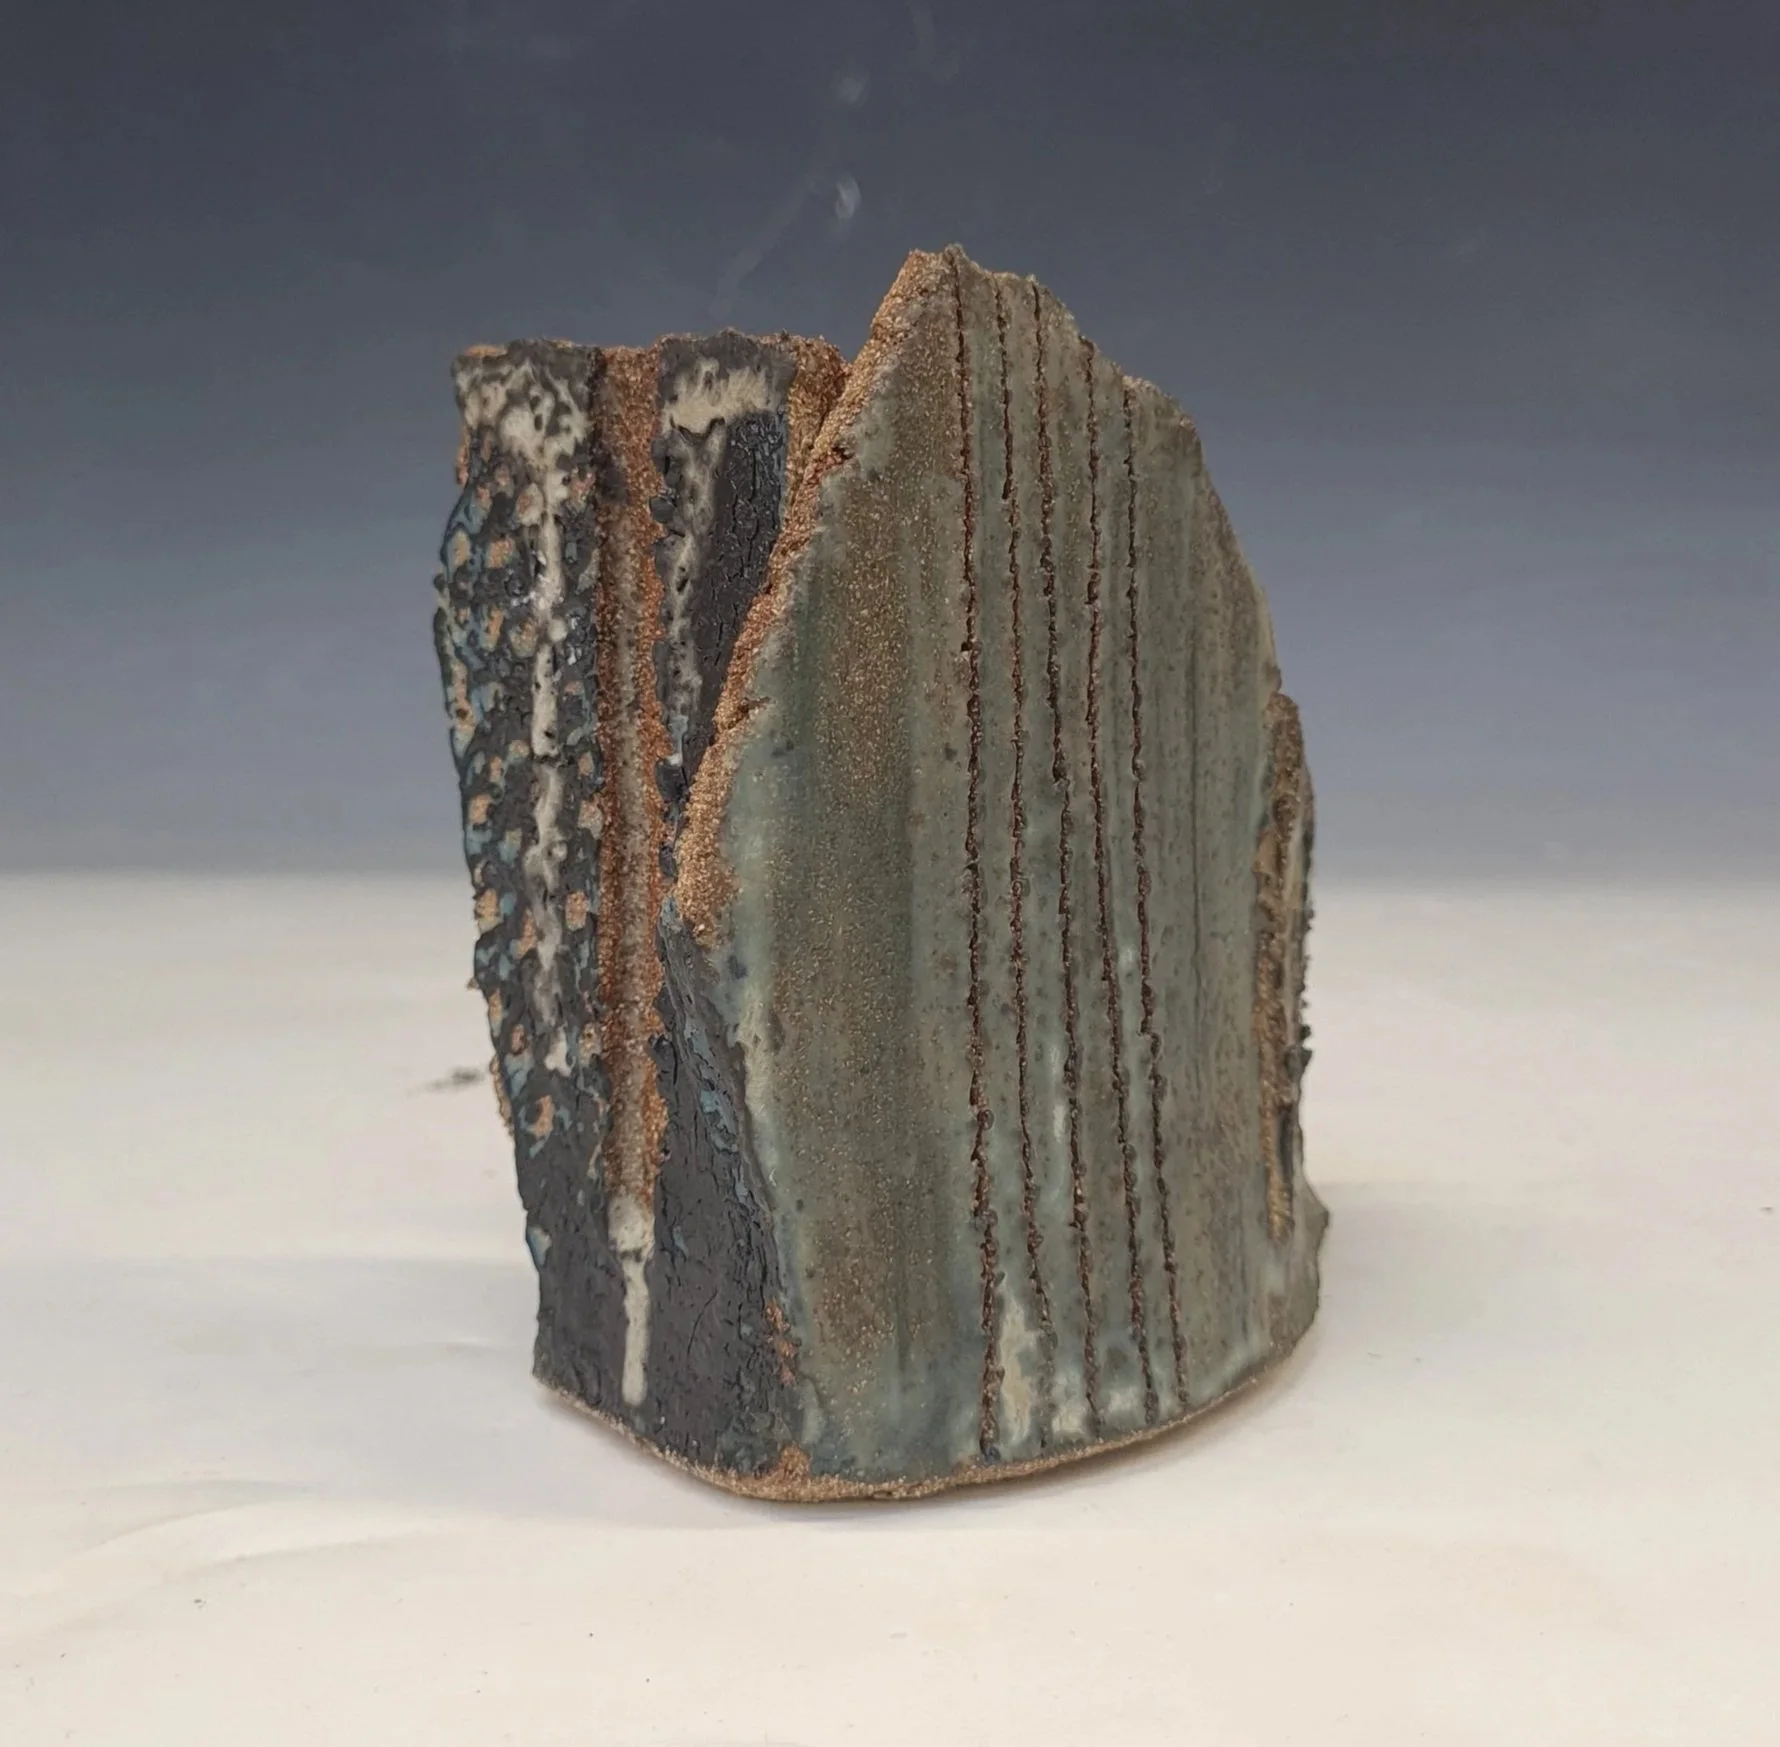
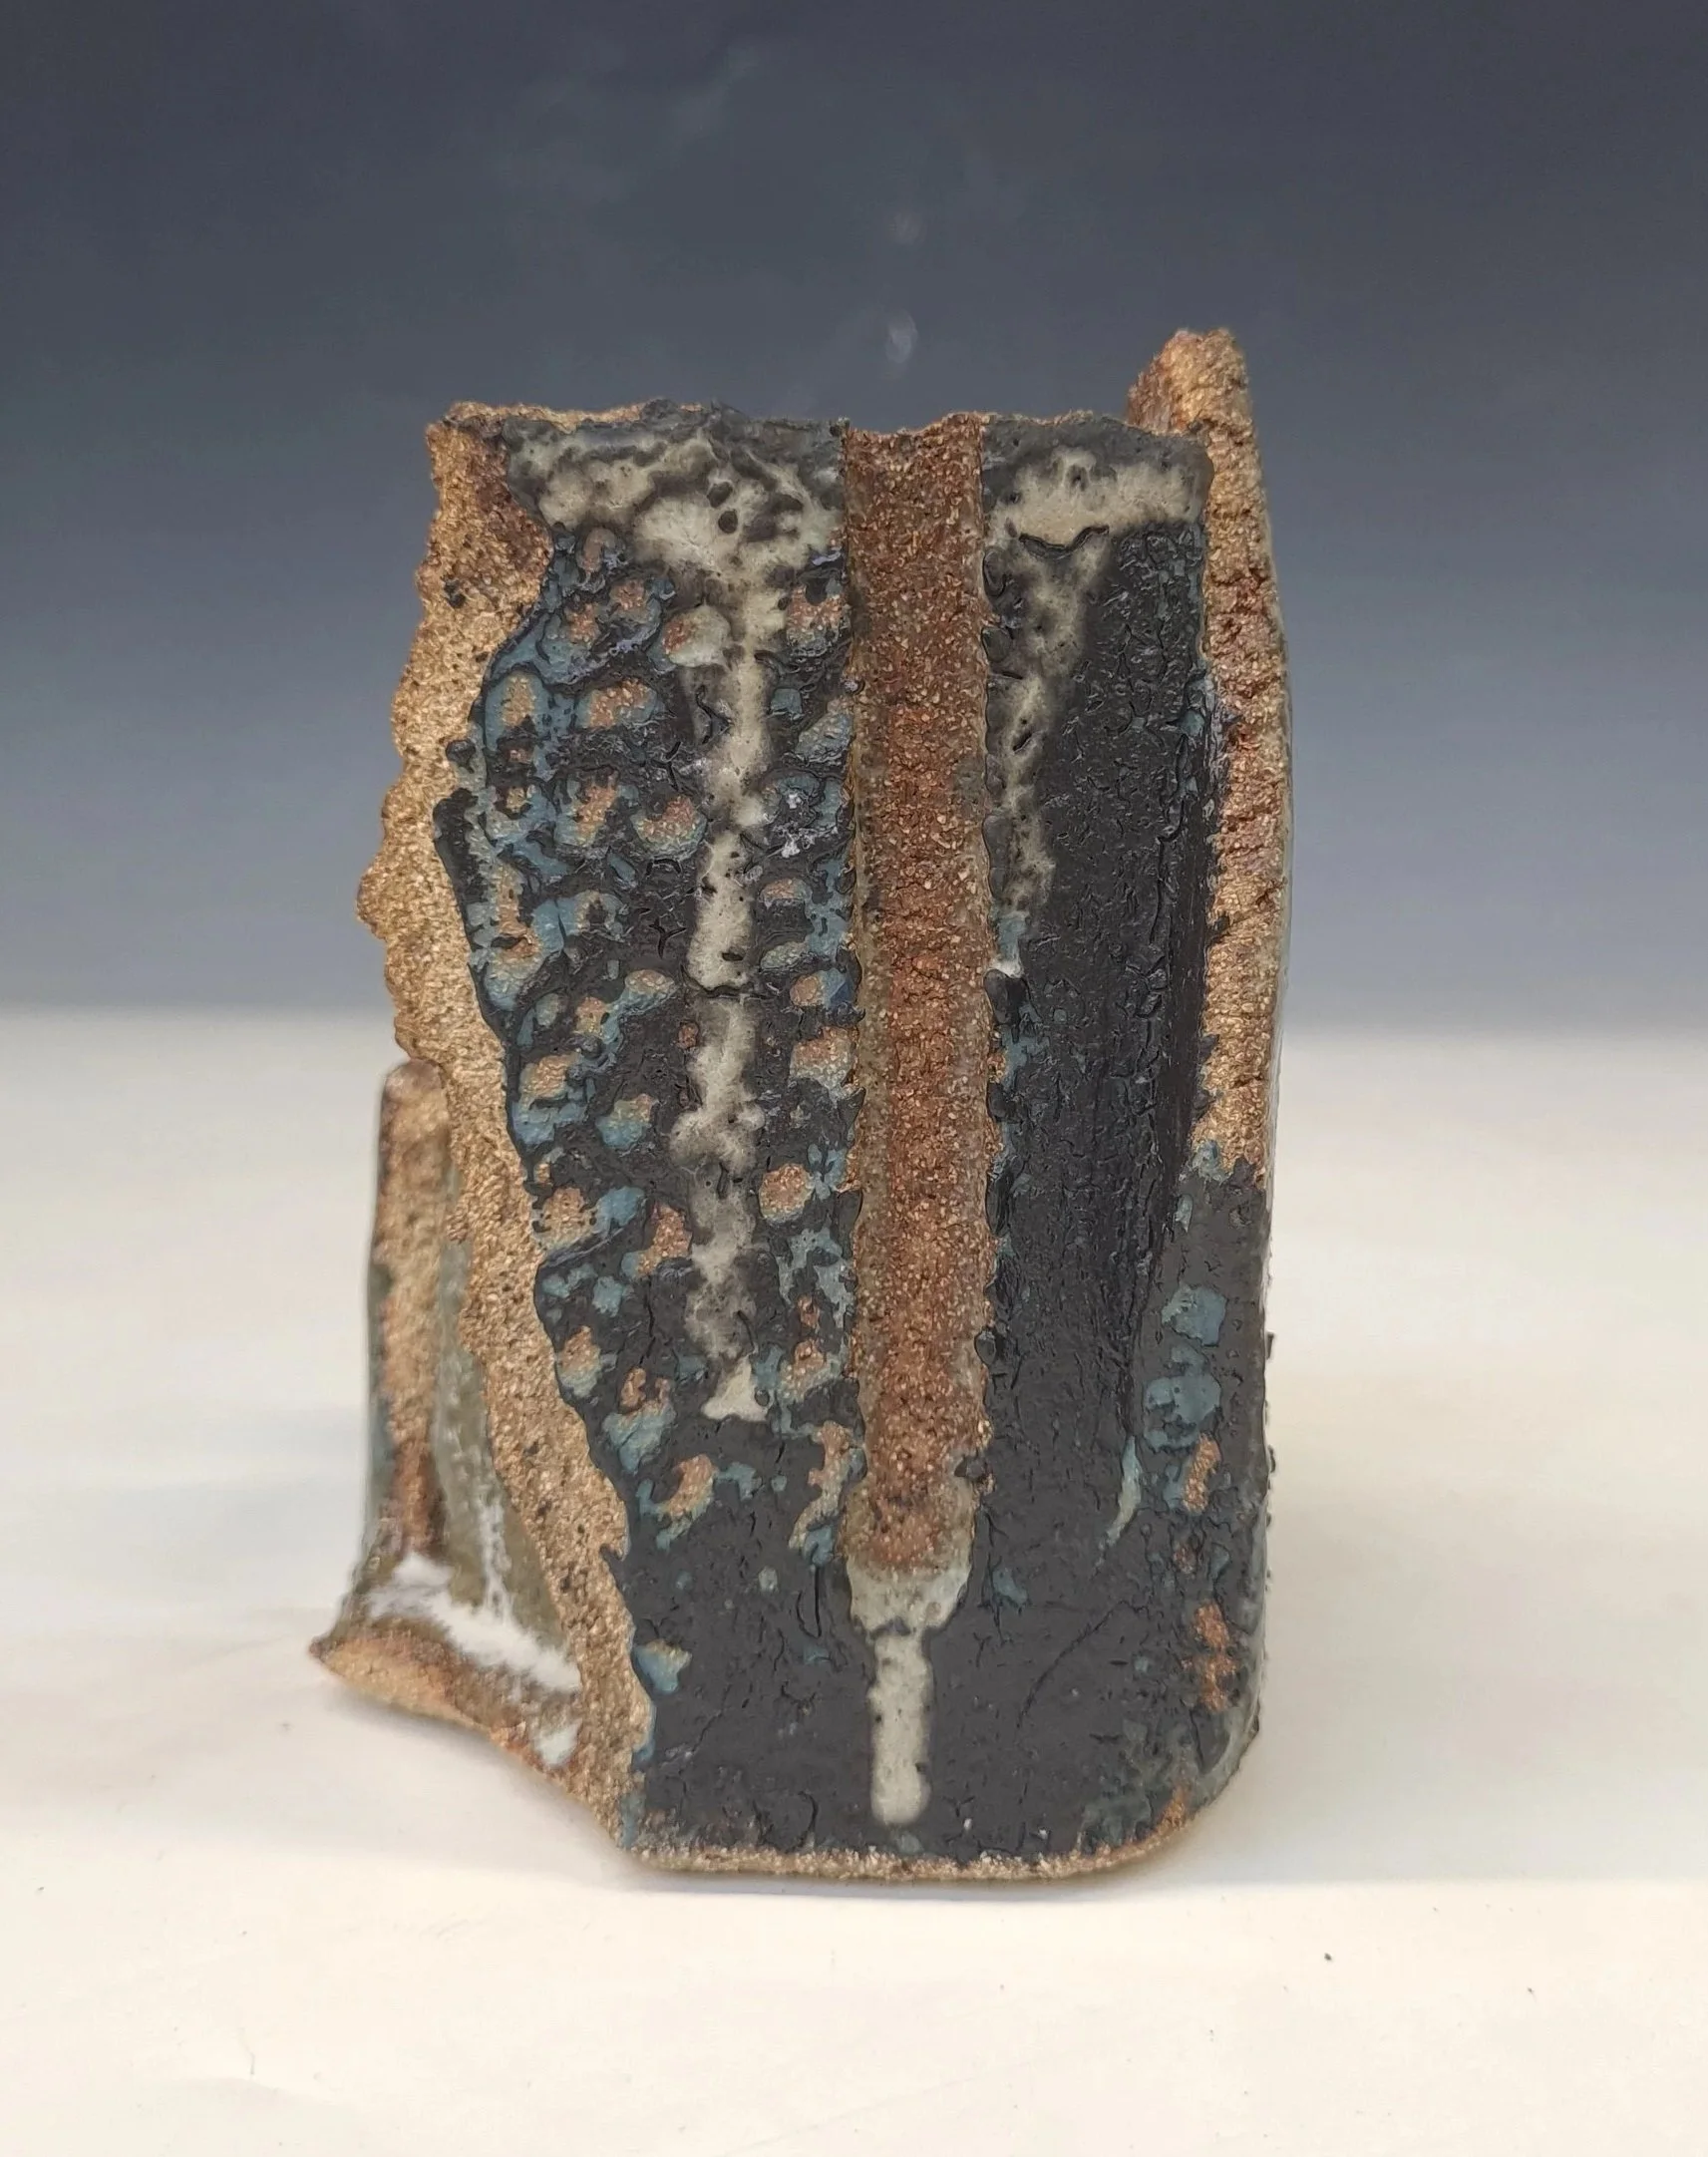
2- This is a grey stoneware vessel, slab built then thrown to distort it on the wheel. I applied porcelain slip to create surface cracks. - The glaze I used was the Crackle Glaze. However, I realised when typing up the excel test tile sheet, that I should have fired it in oxidation at 1280’c. Therefore, the glaze might crackle in that condition and not drip! However, it created a nice result despite the dripping onto the kiln shelf. This was fired in reduction at 1300’c. I will re-test in oxidation!
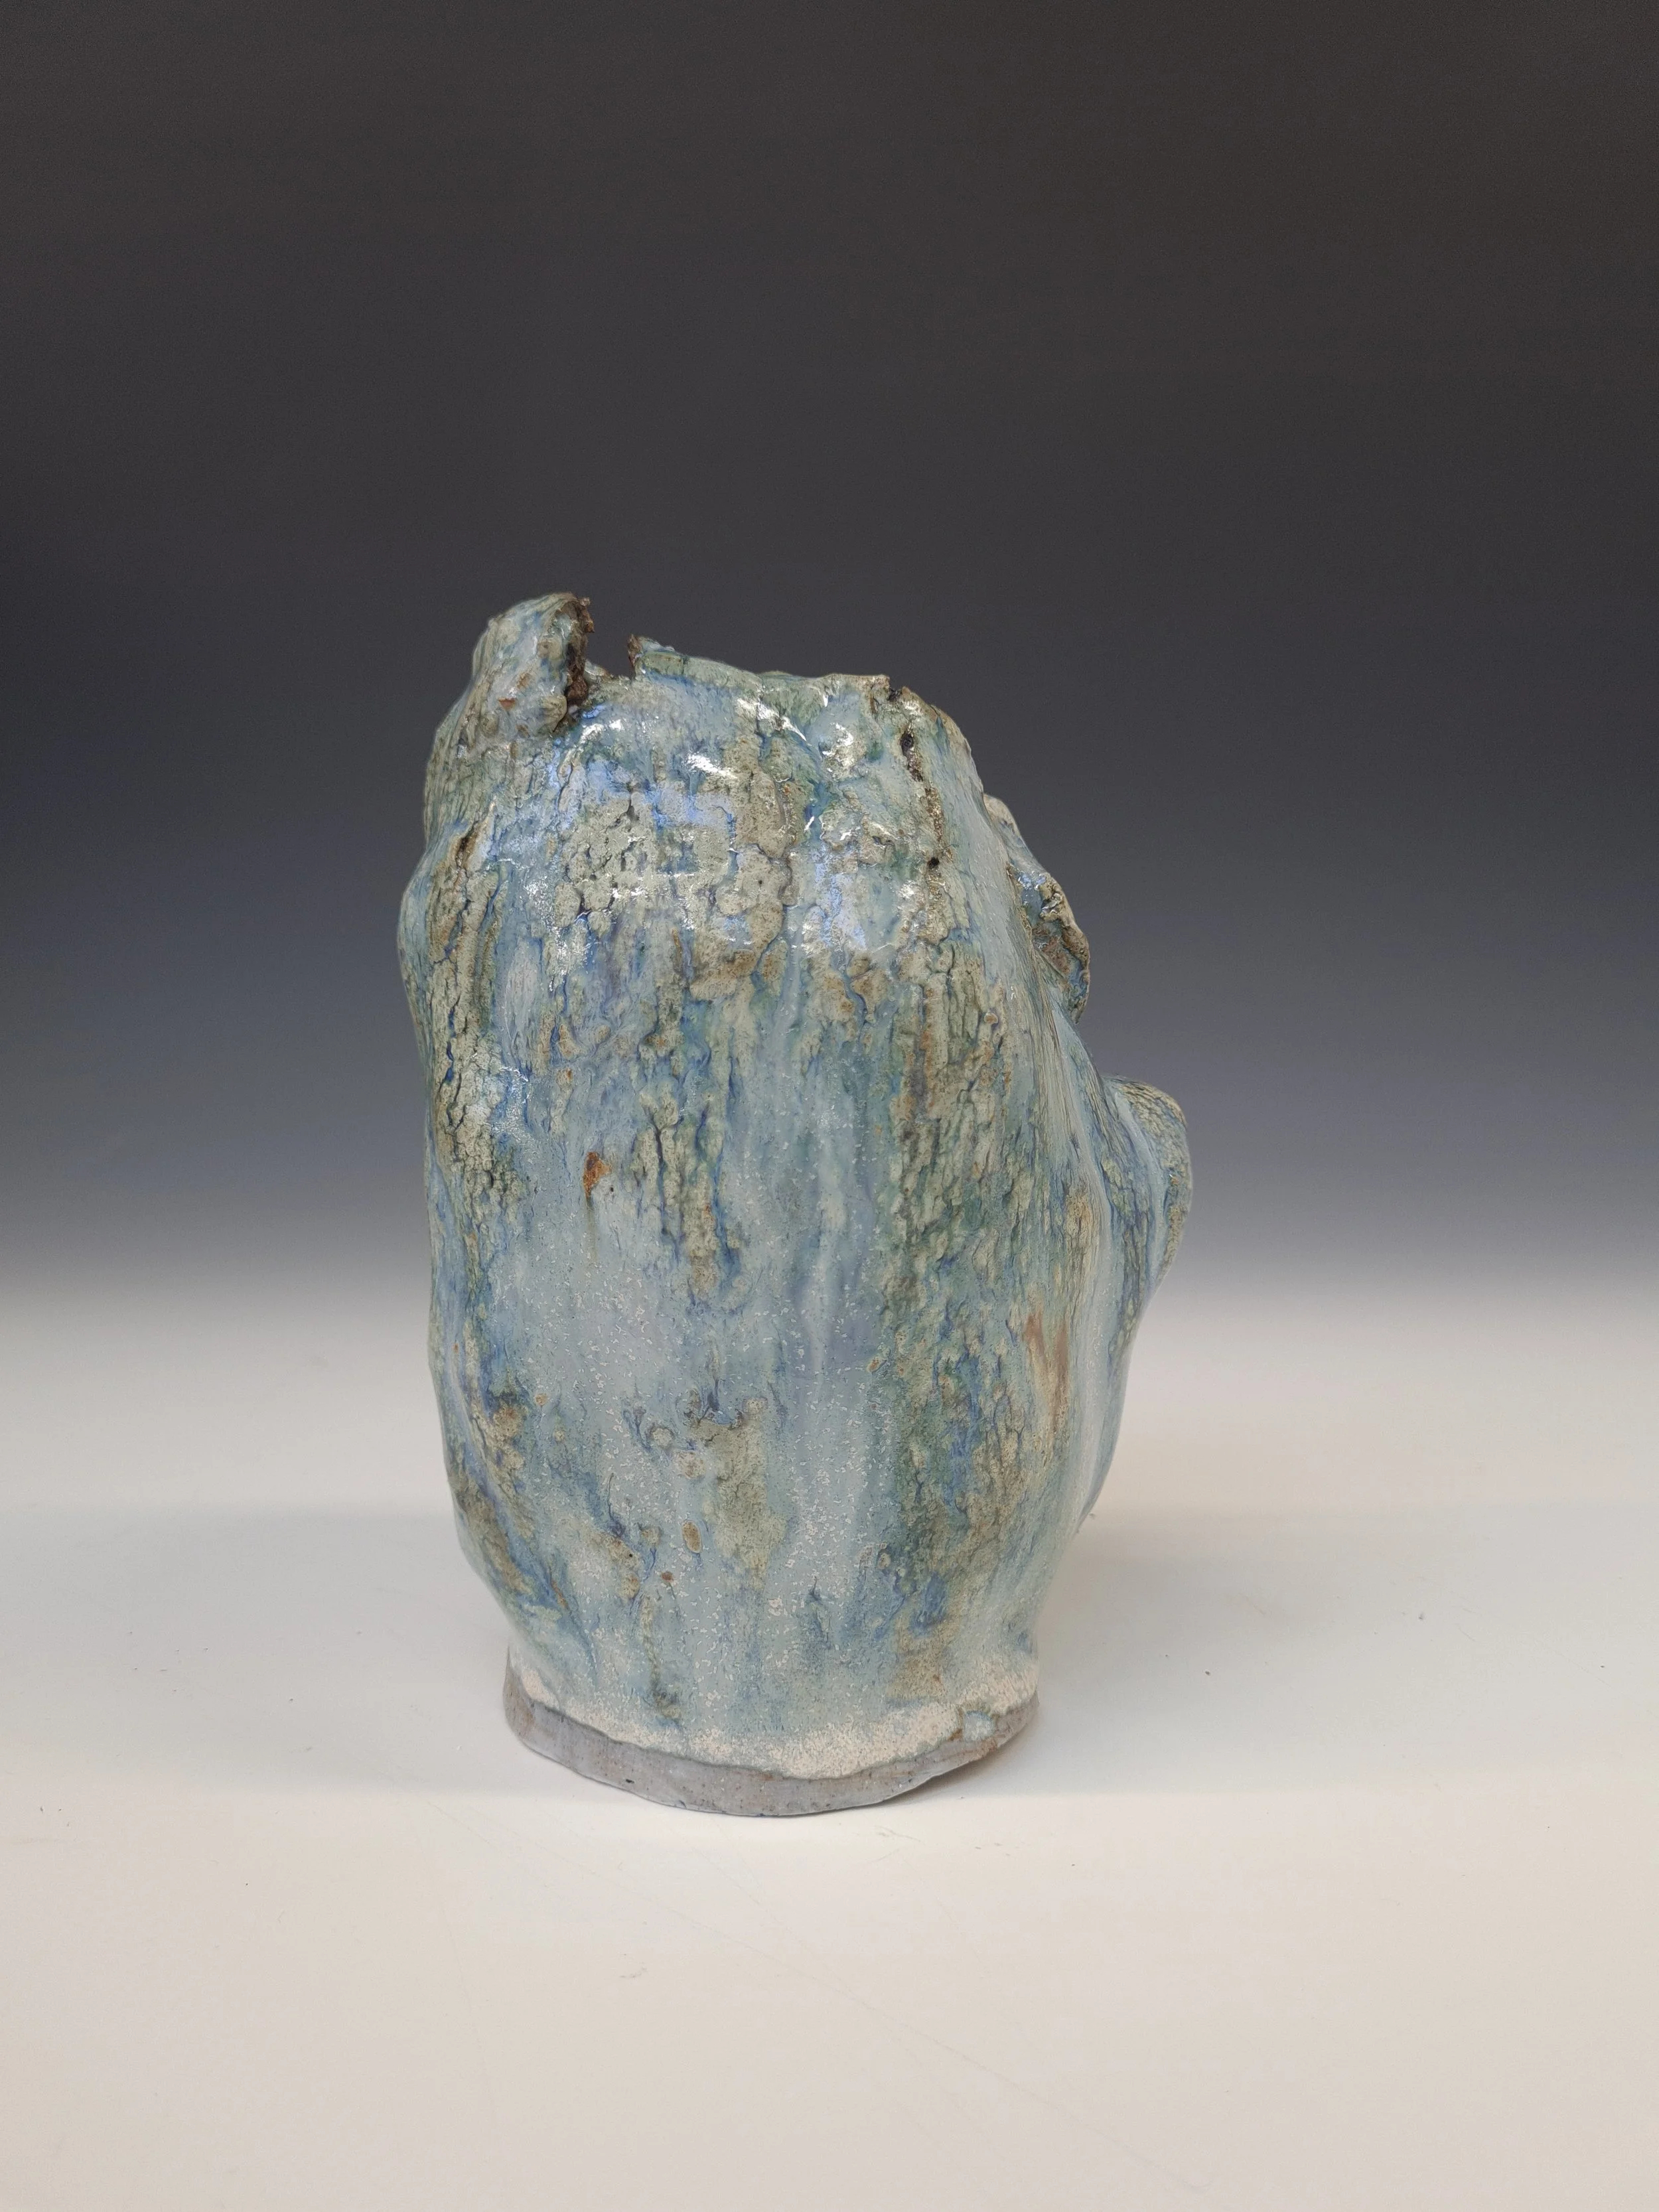
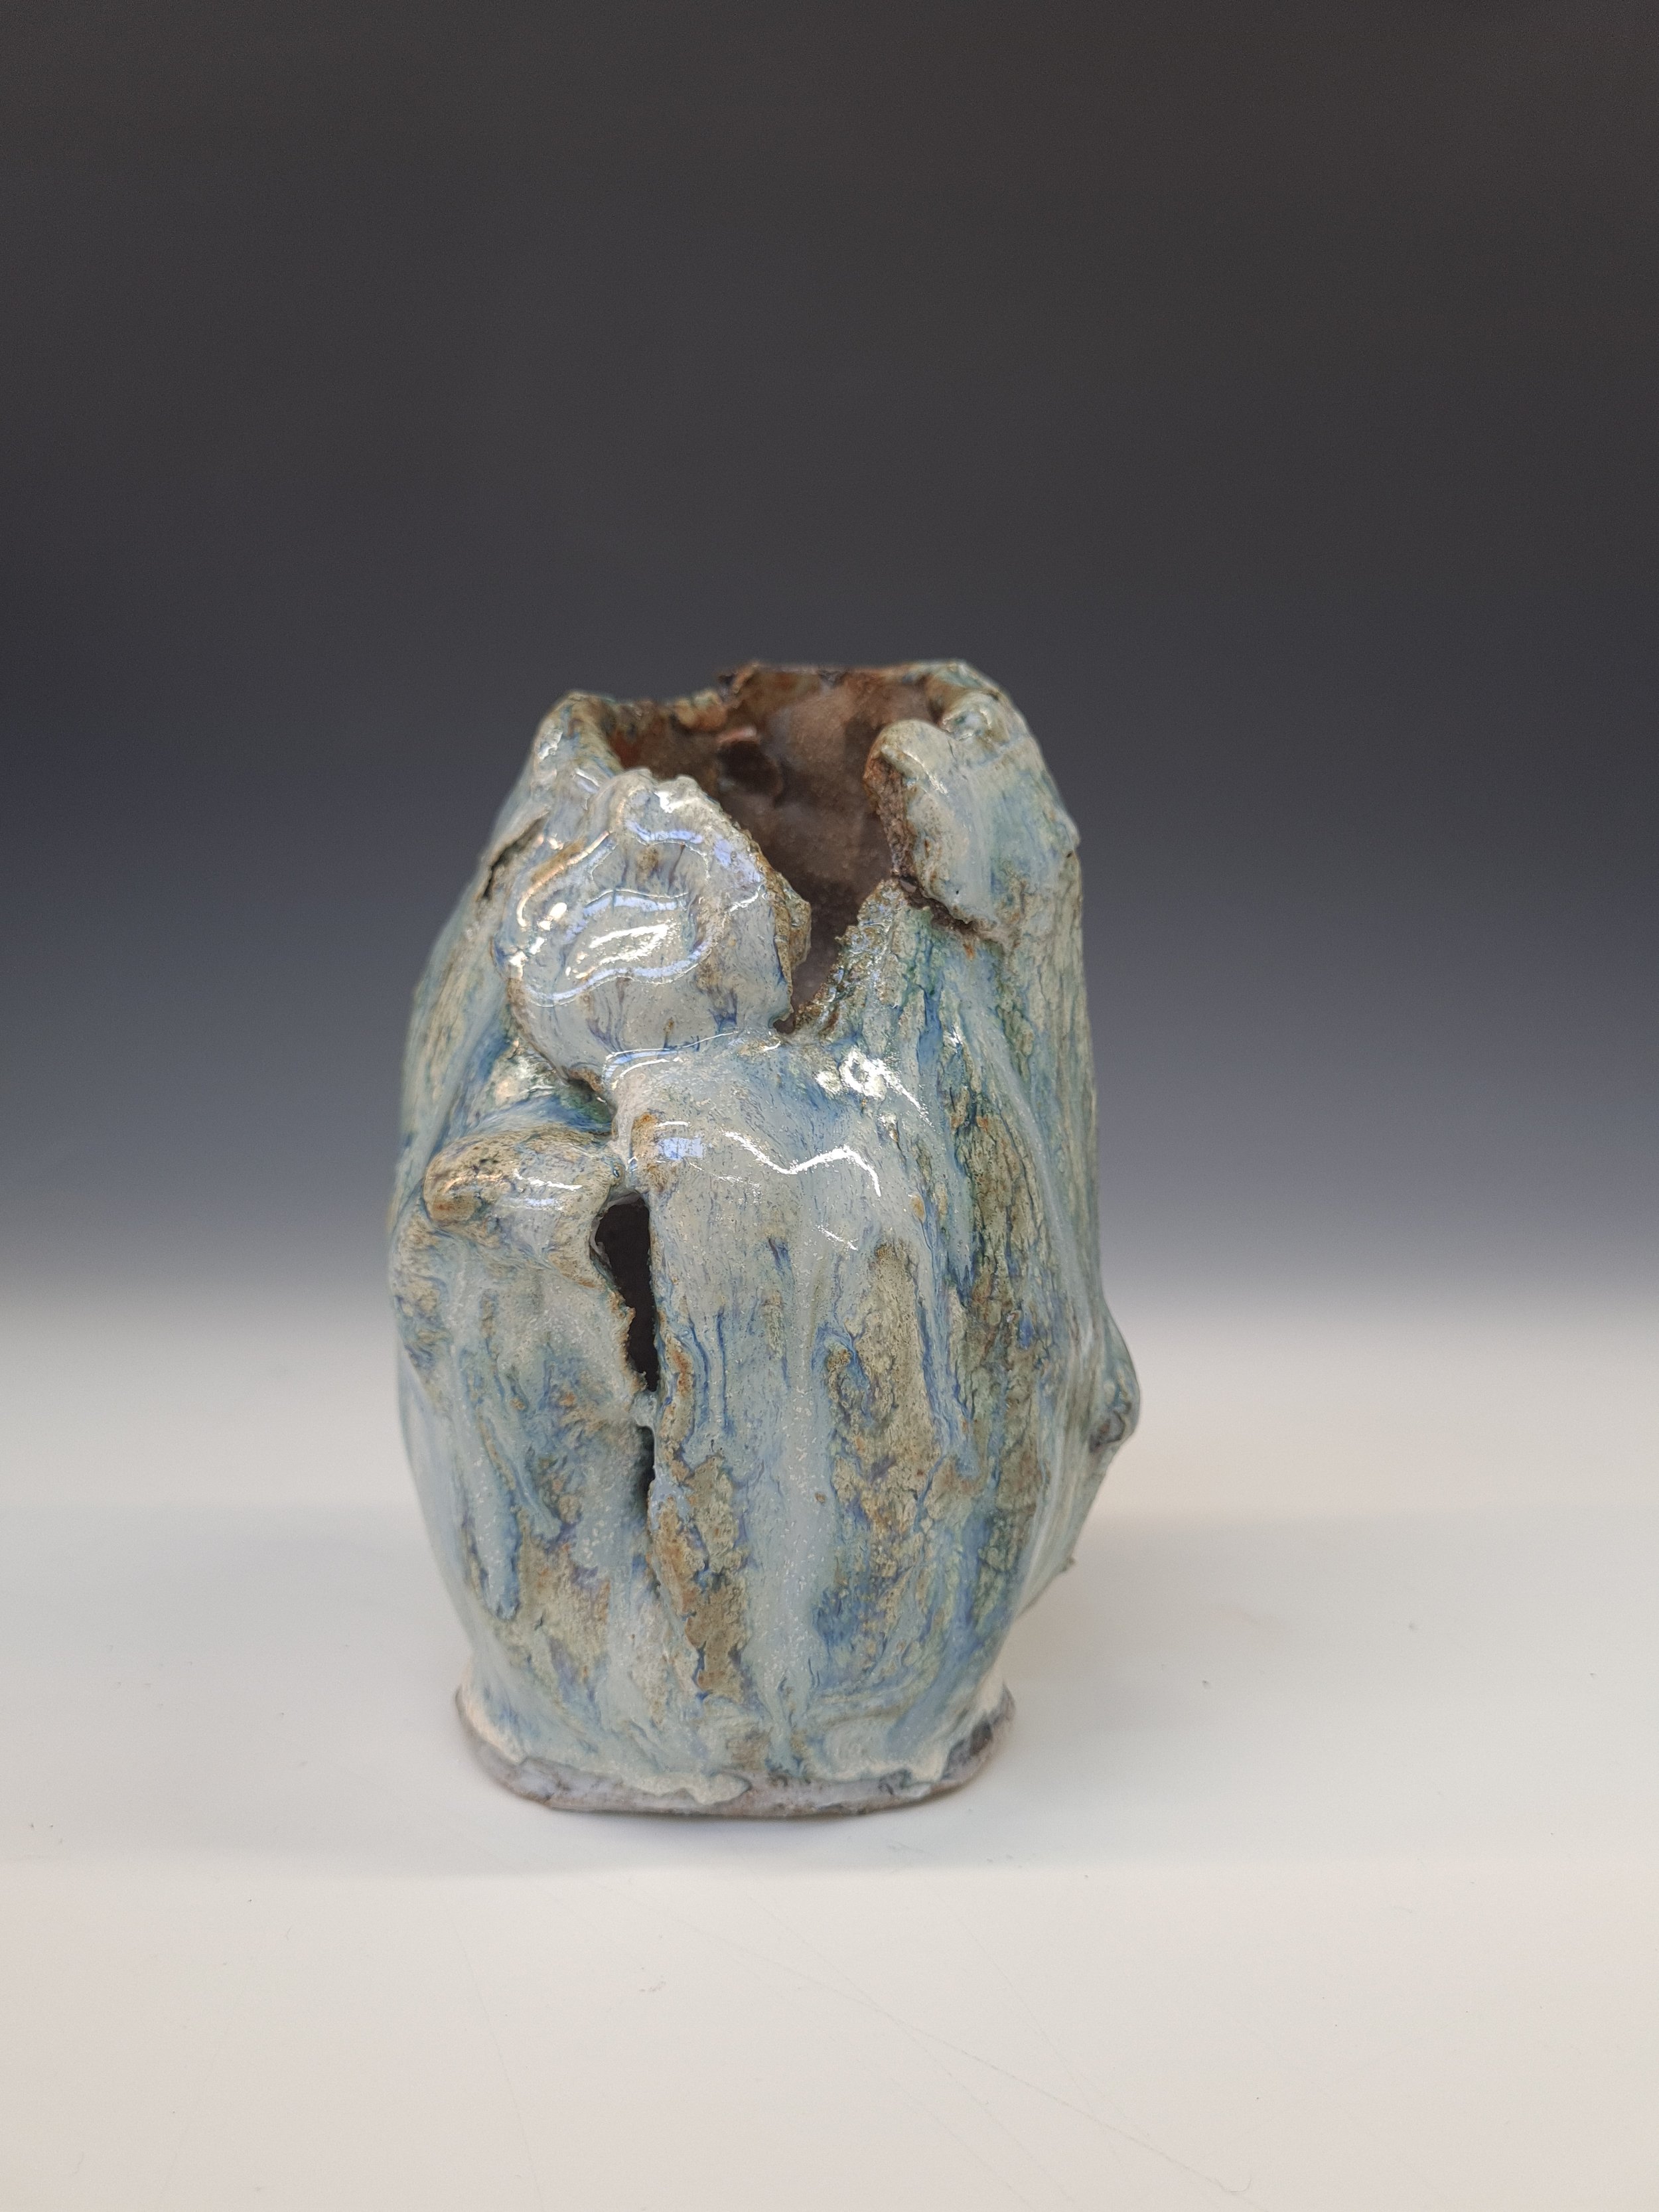
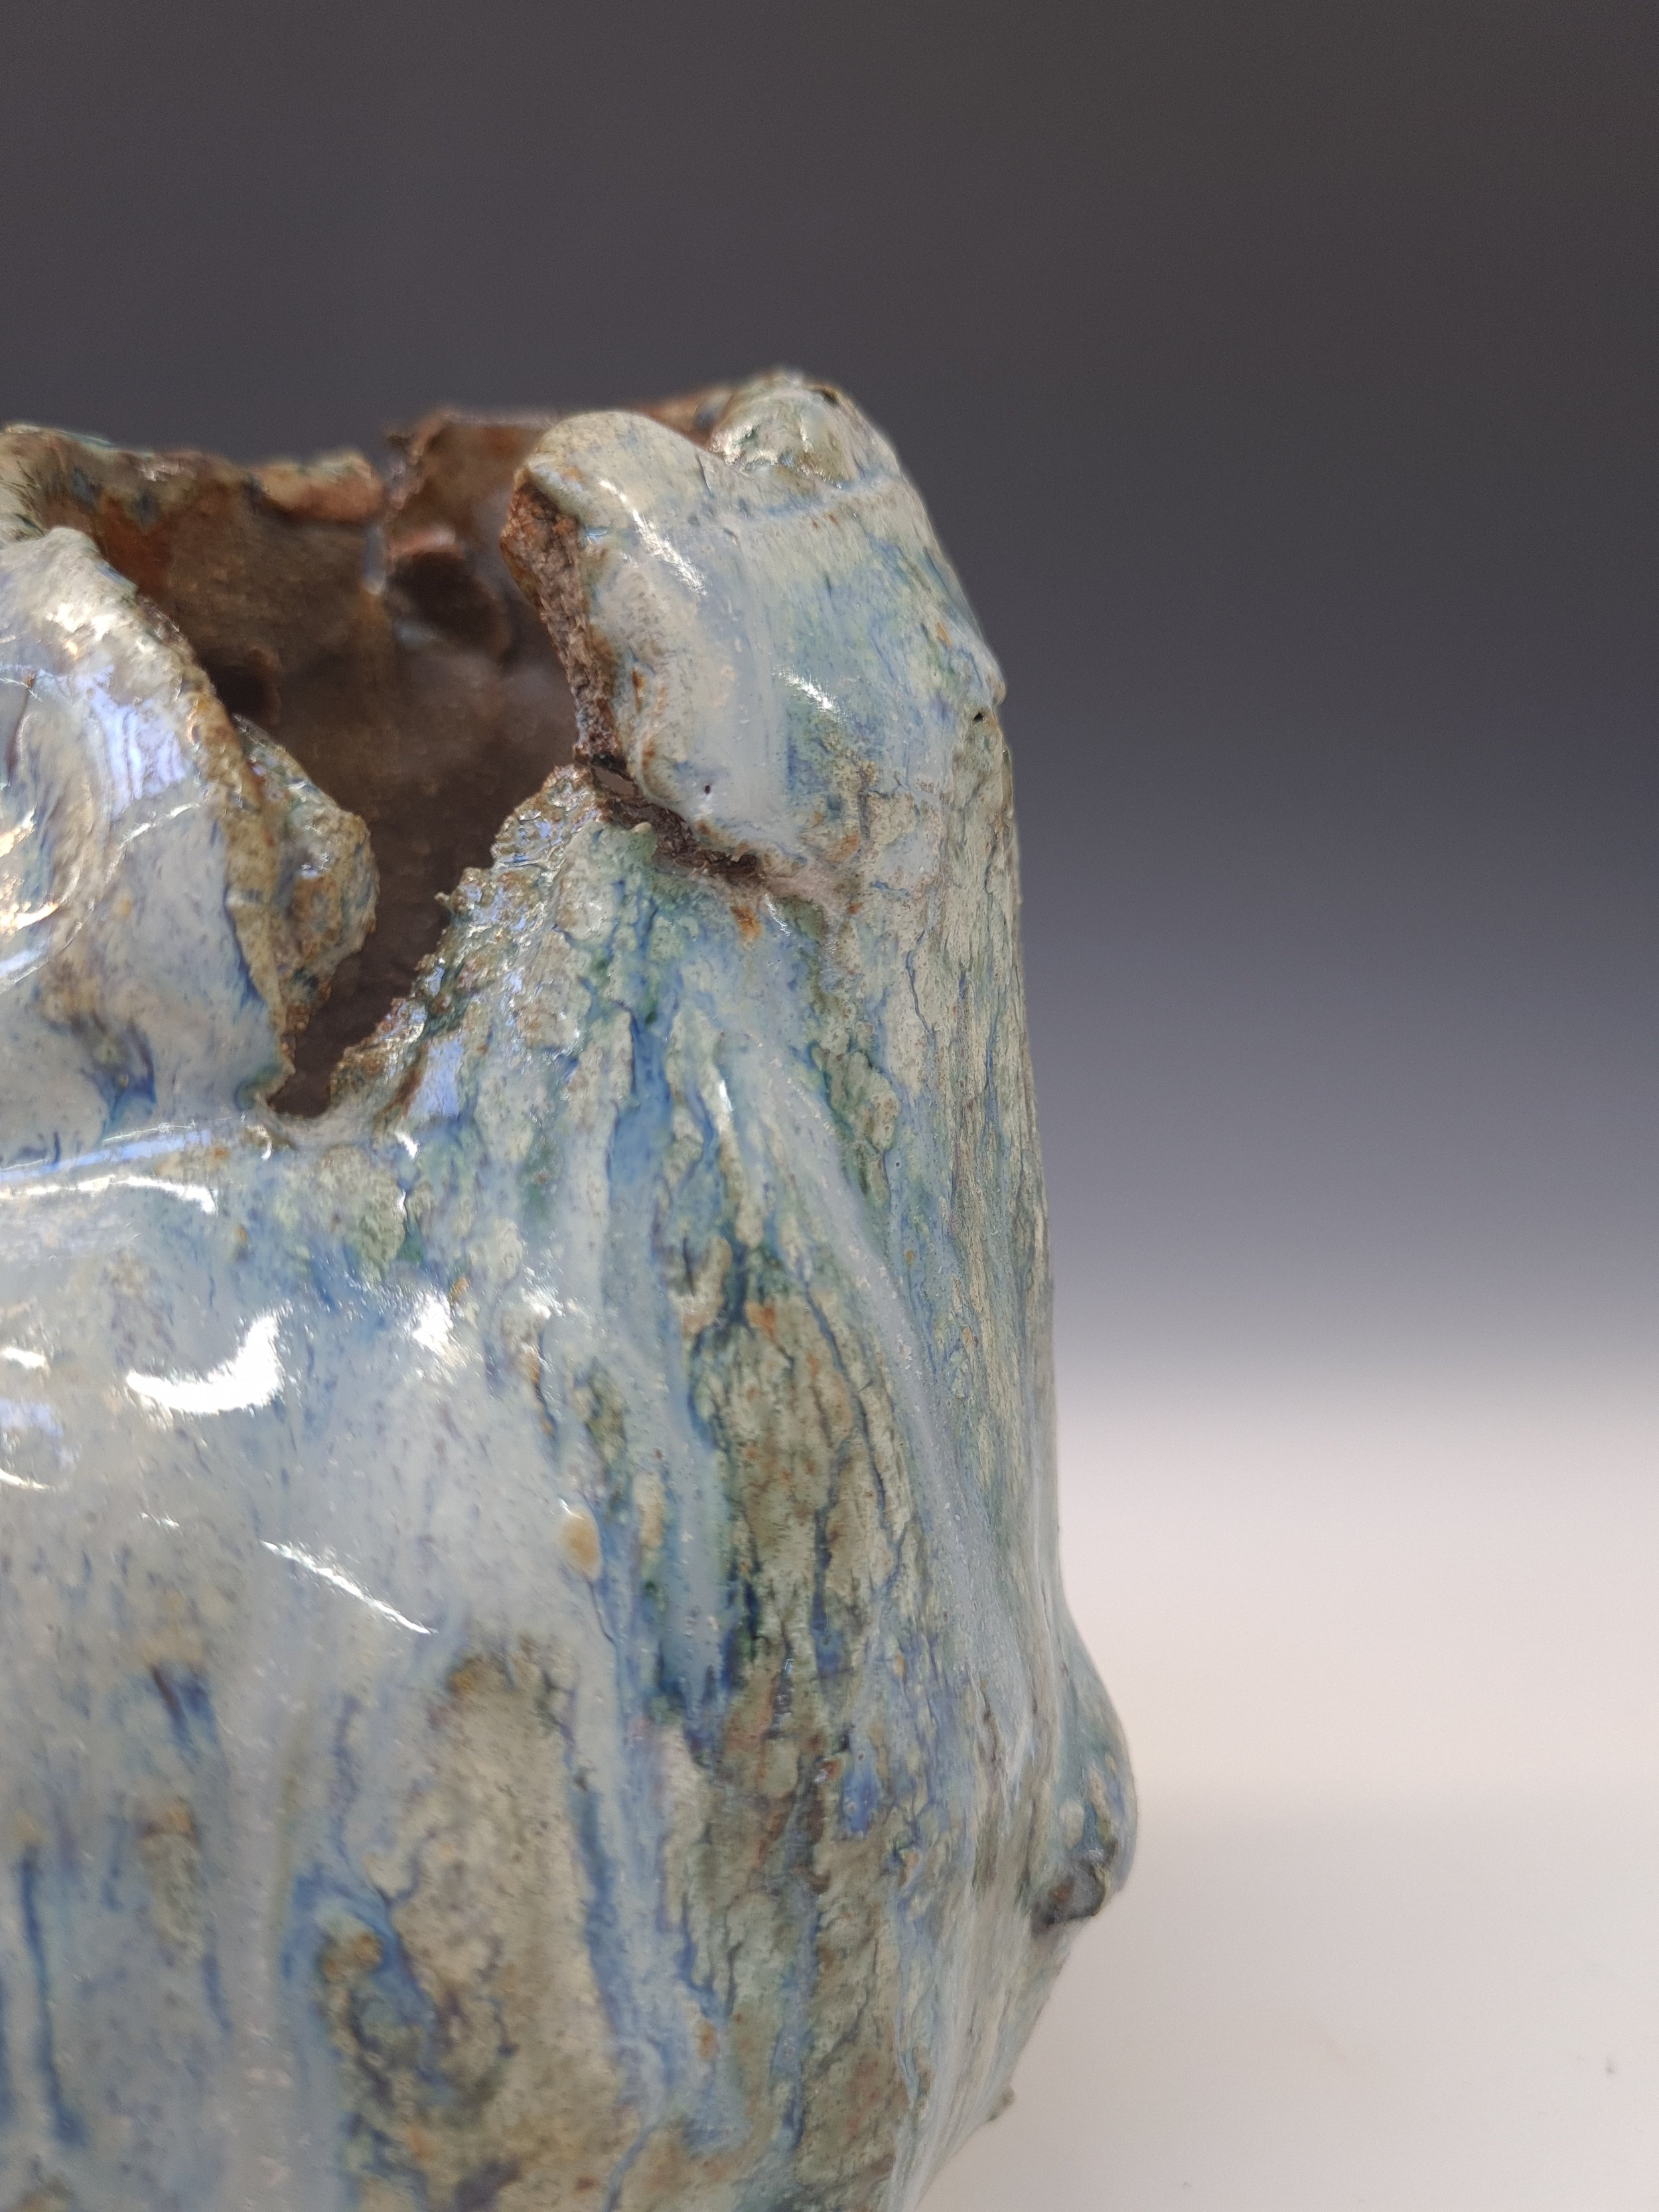
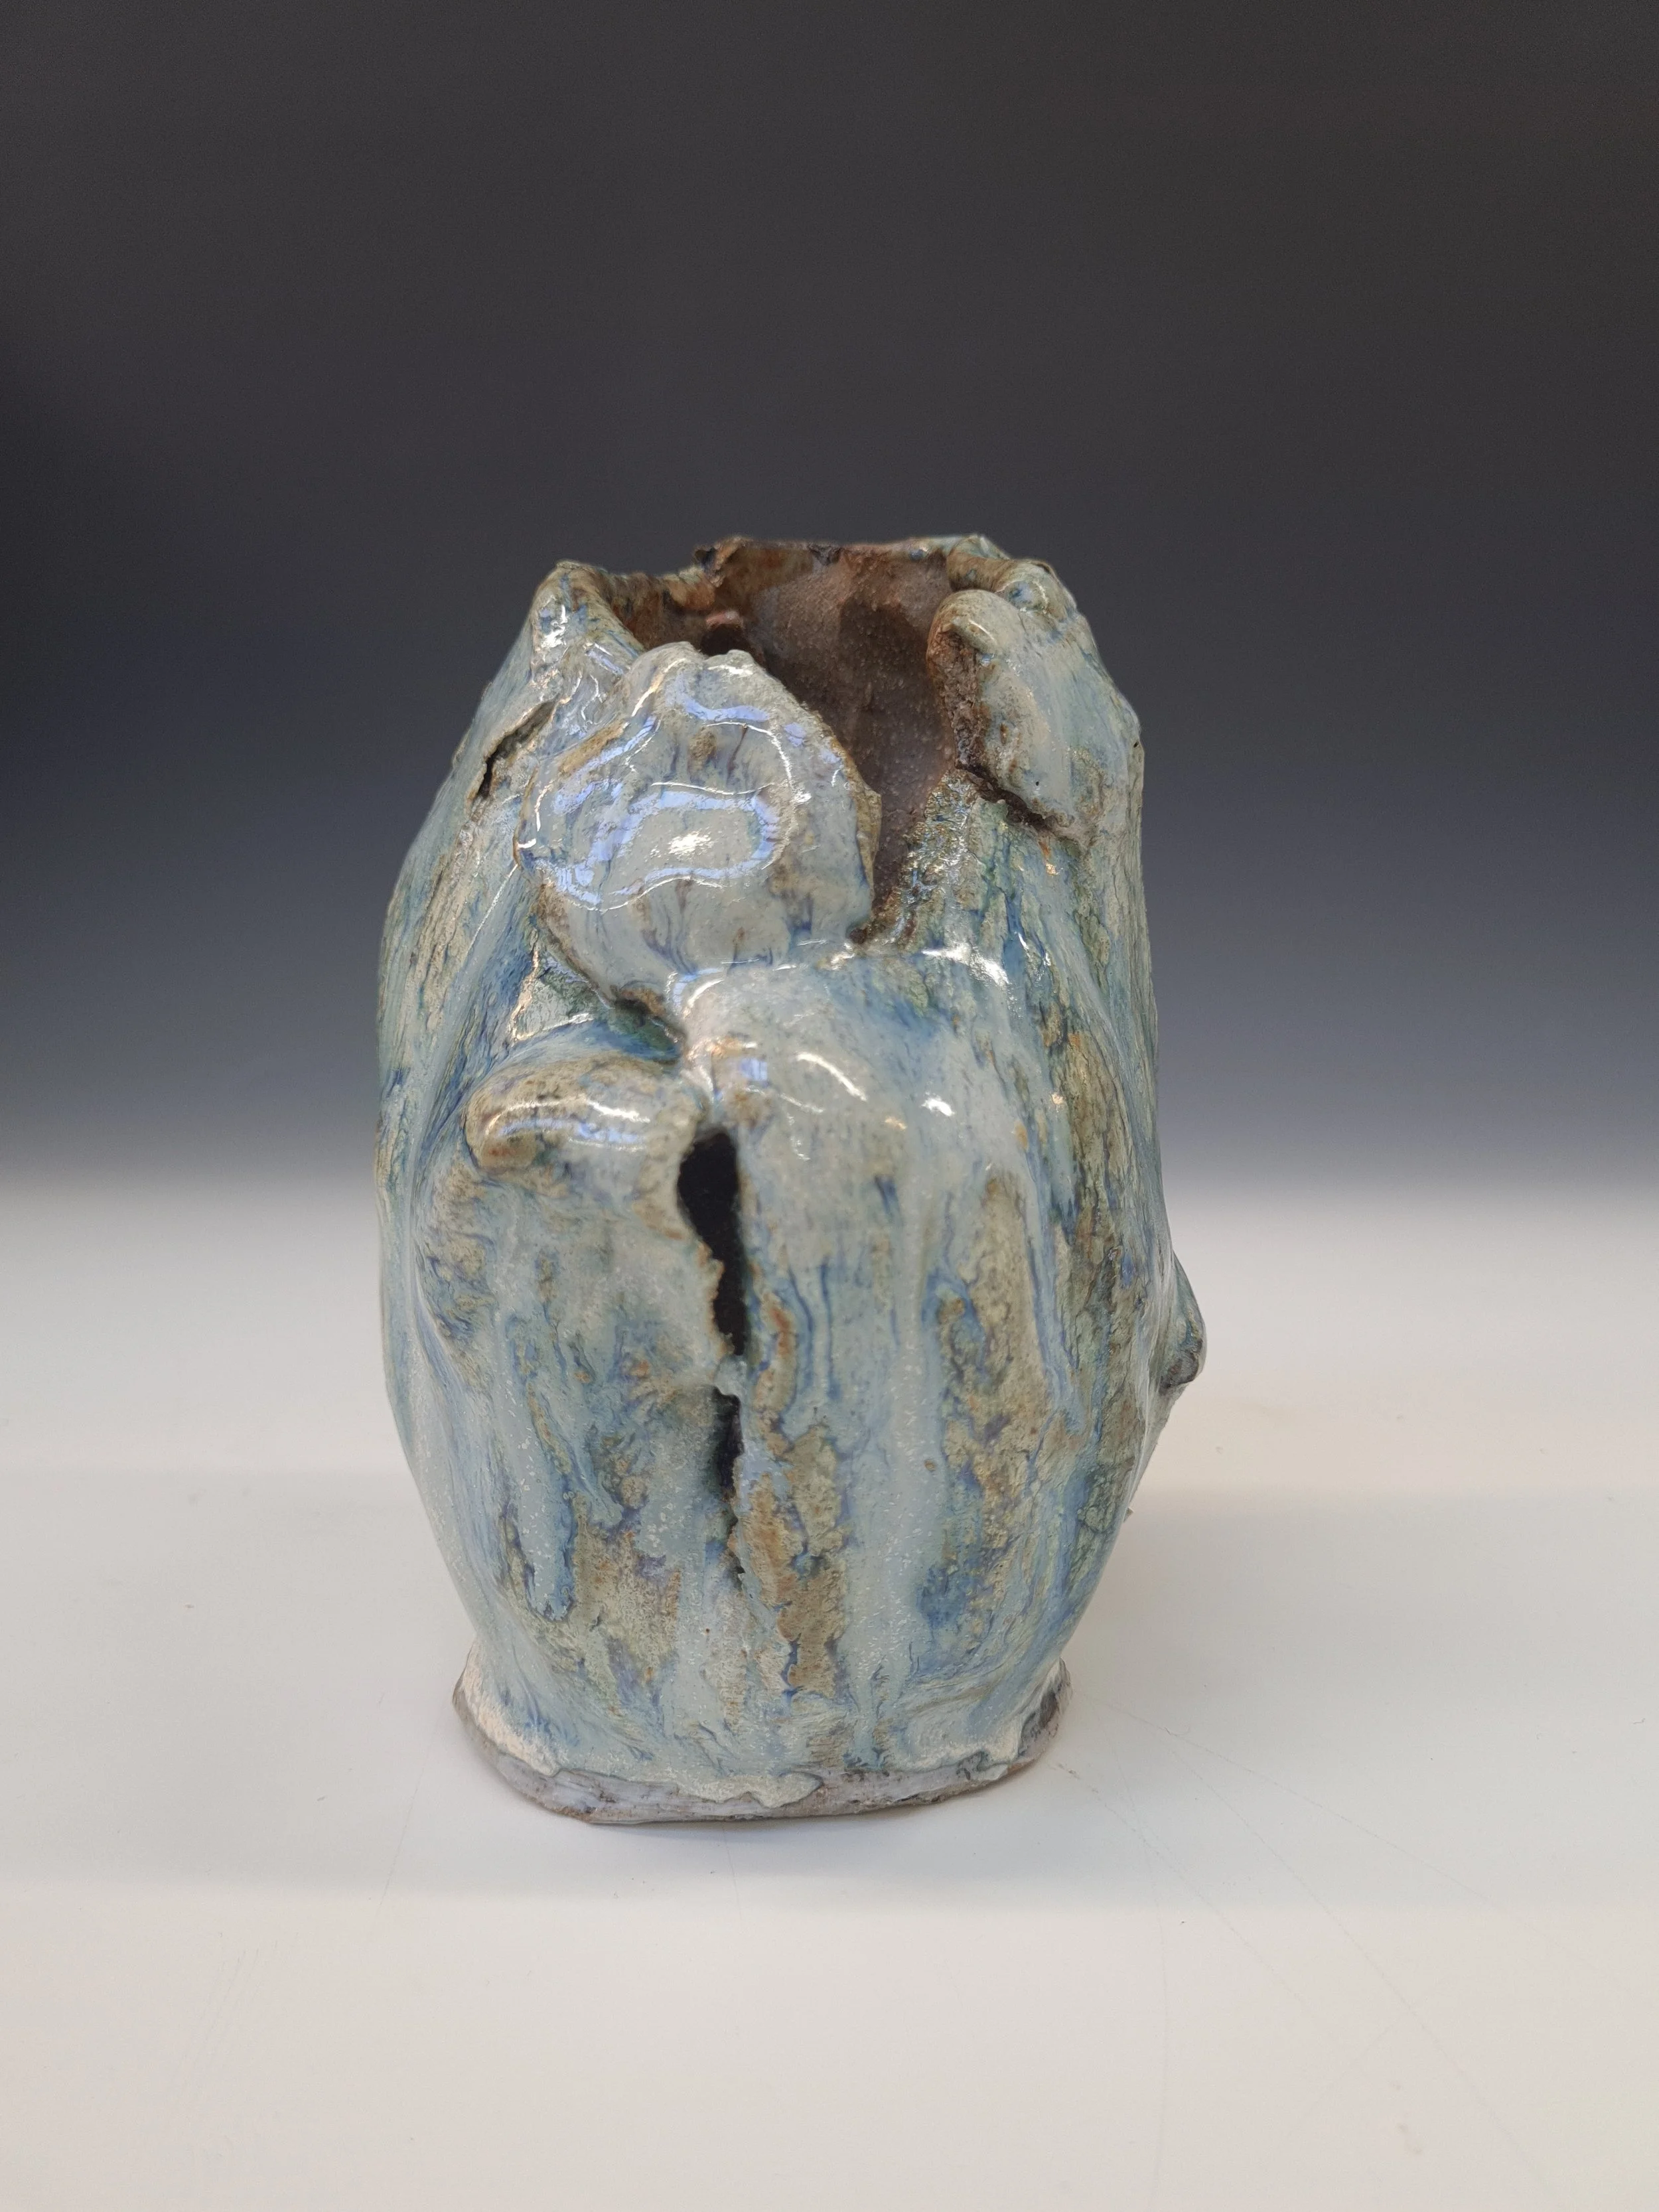
3- This is a stoneware vessel, where I applied Parian slip on the surface. I then distorted the form on the wheel. This glaze was called reduction blue. The white slip created a great base for the colours to pop and stand out! I love this glaze! - The shine captures the light really well and will definitely being using this again. This was fired in reduction at 1300’c.
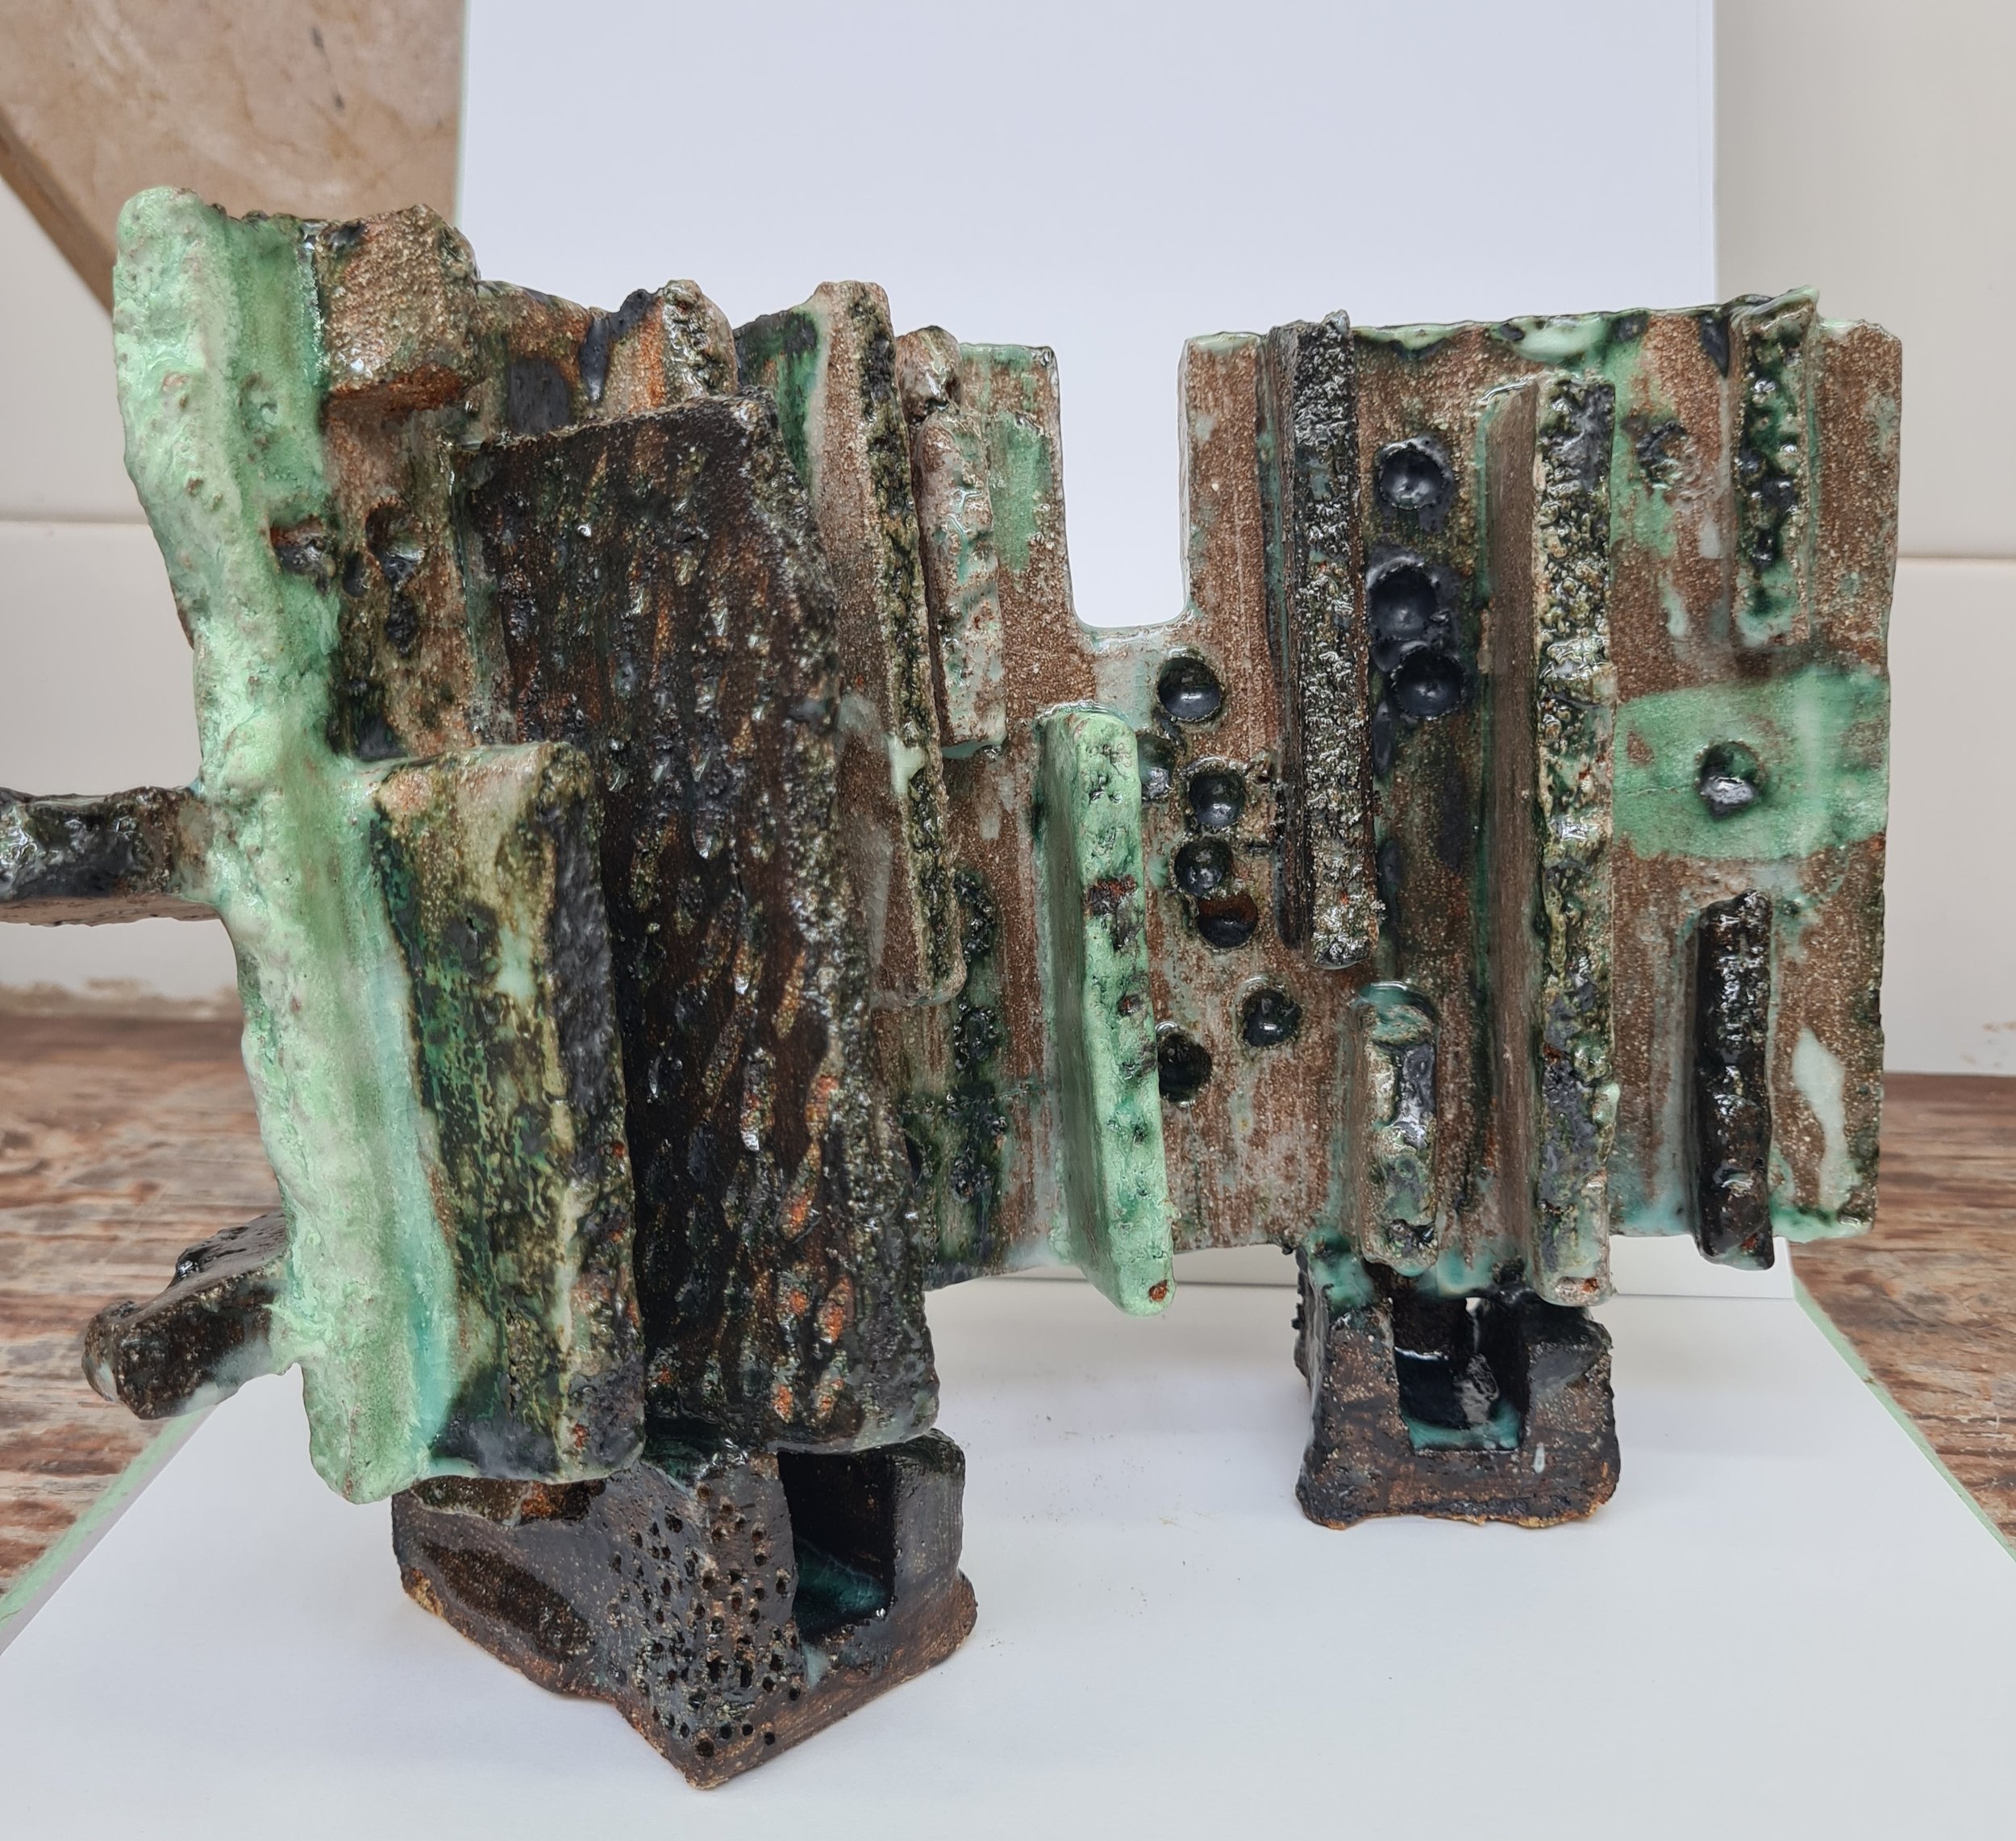
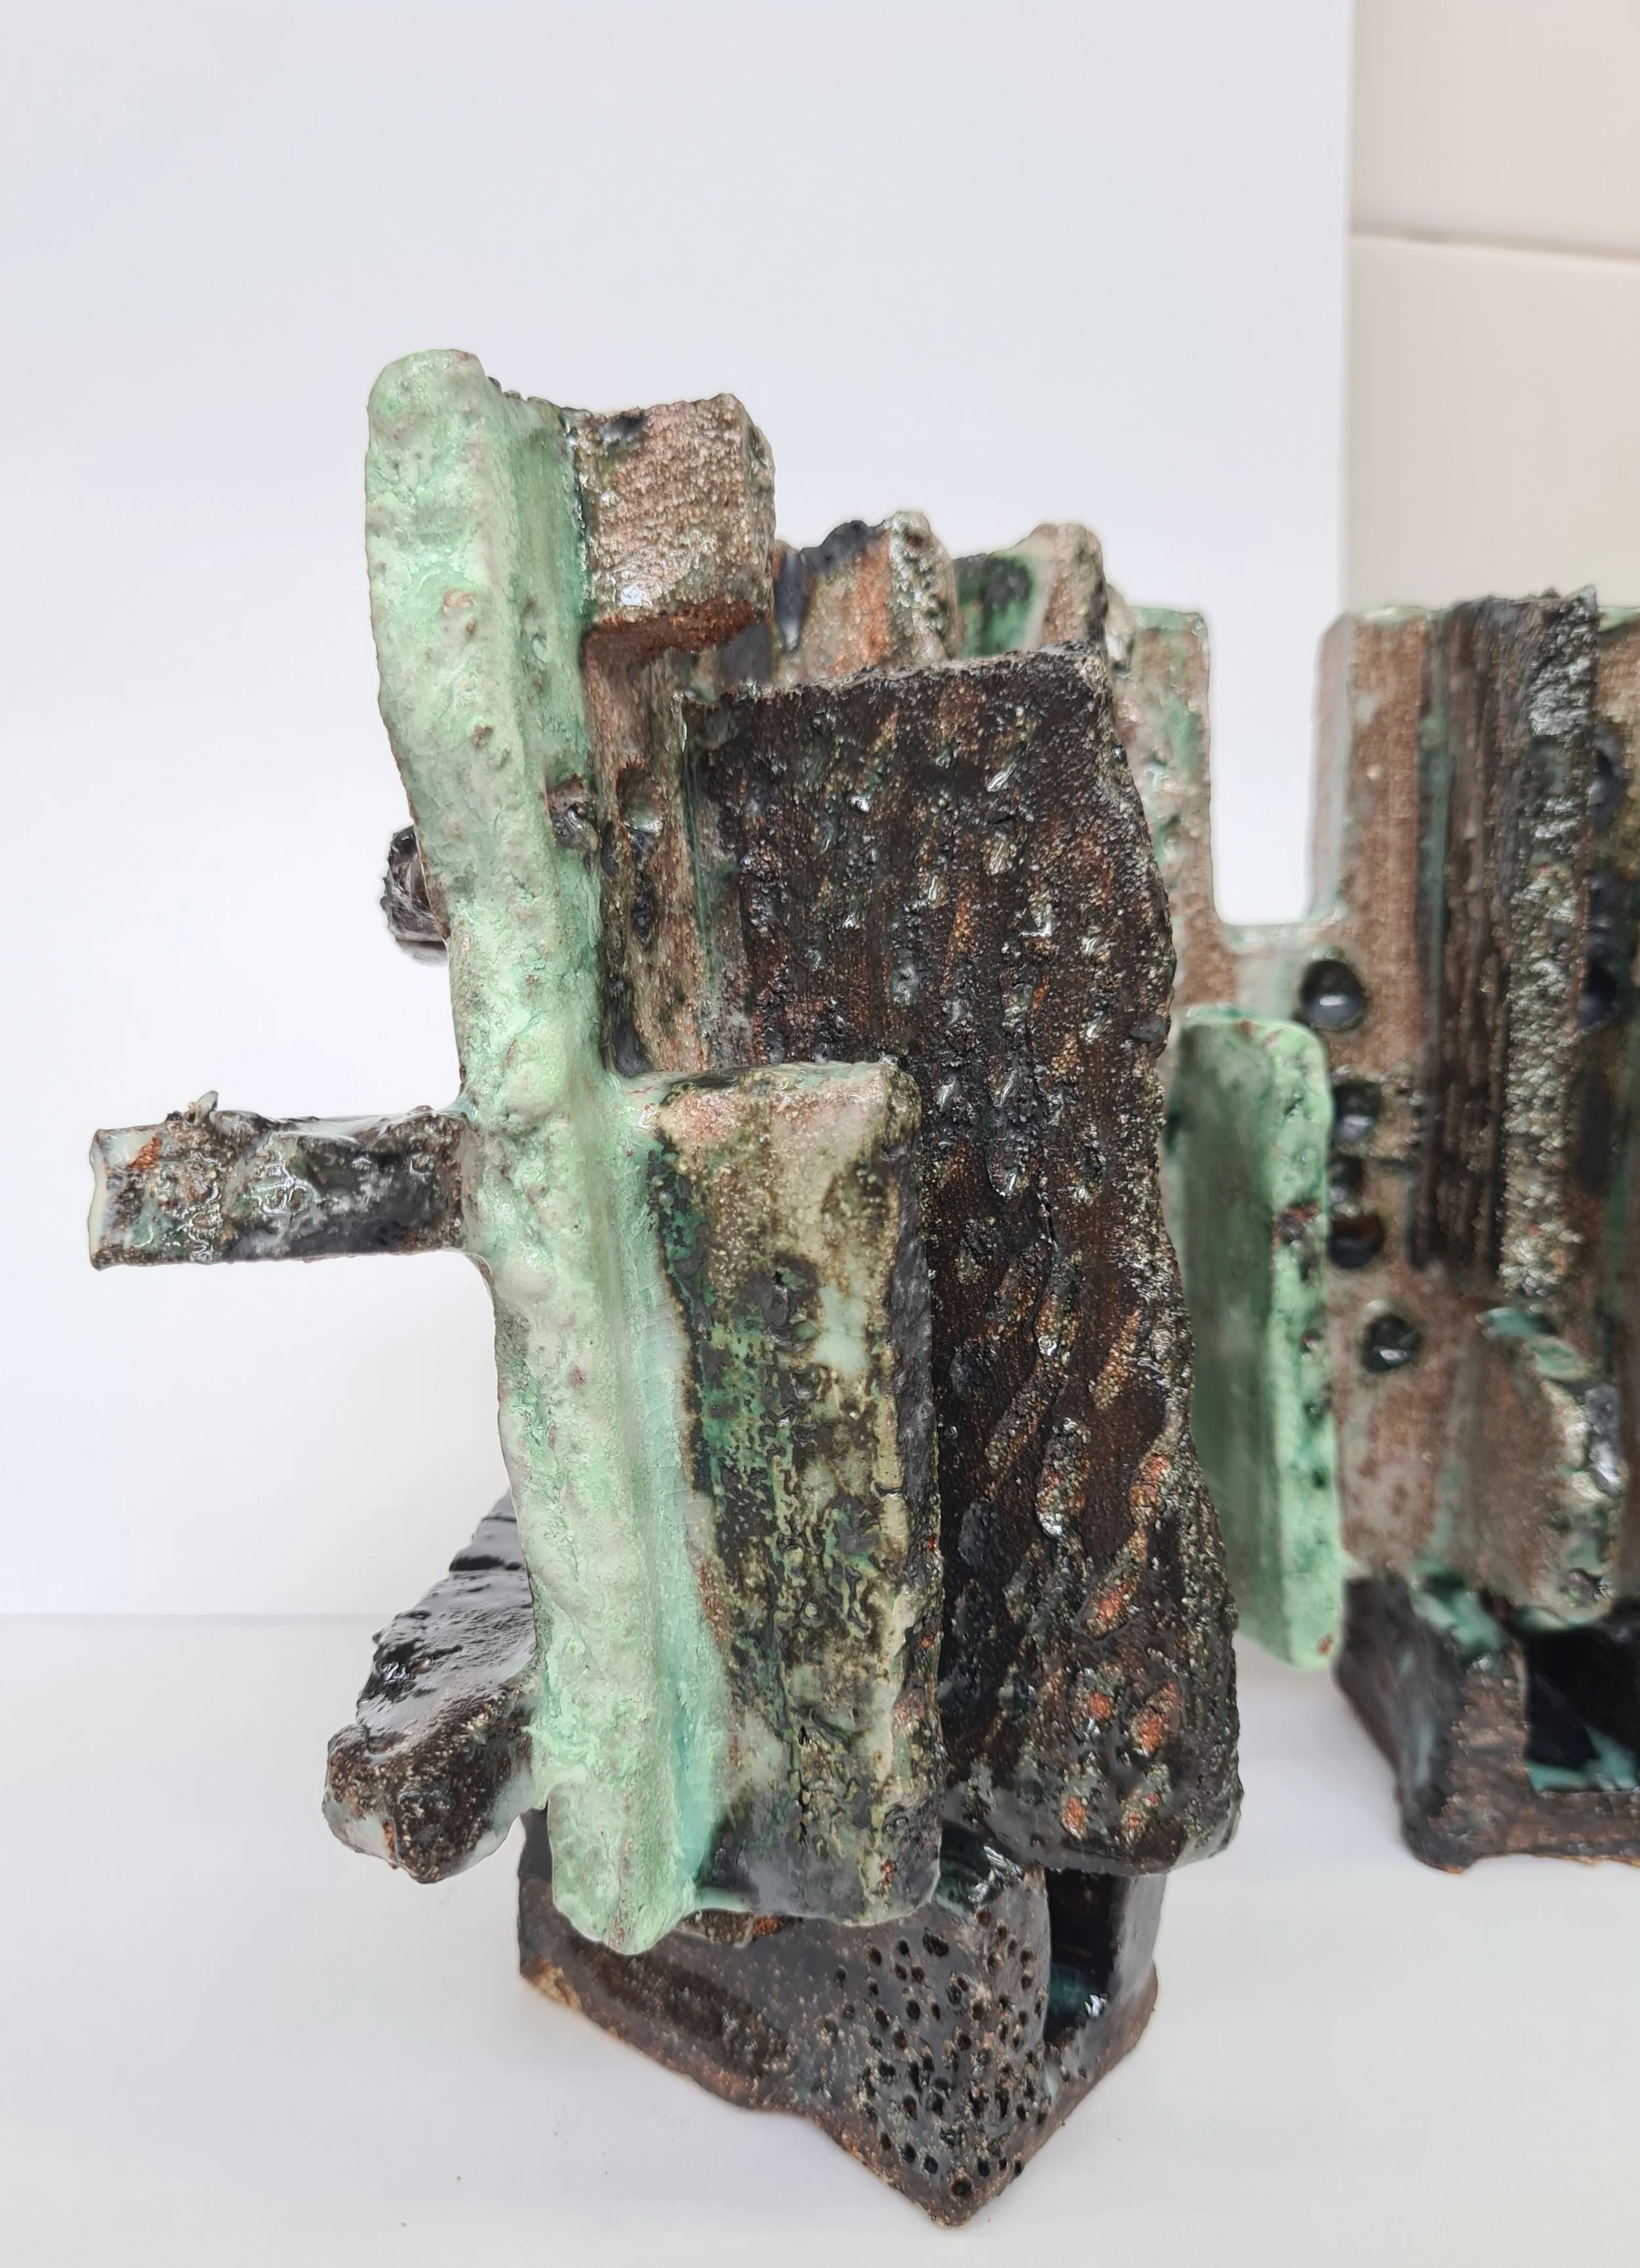
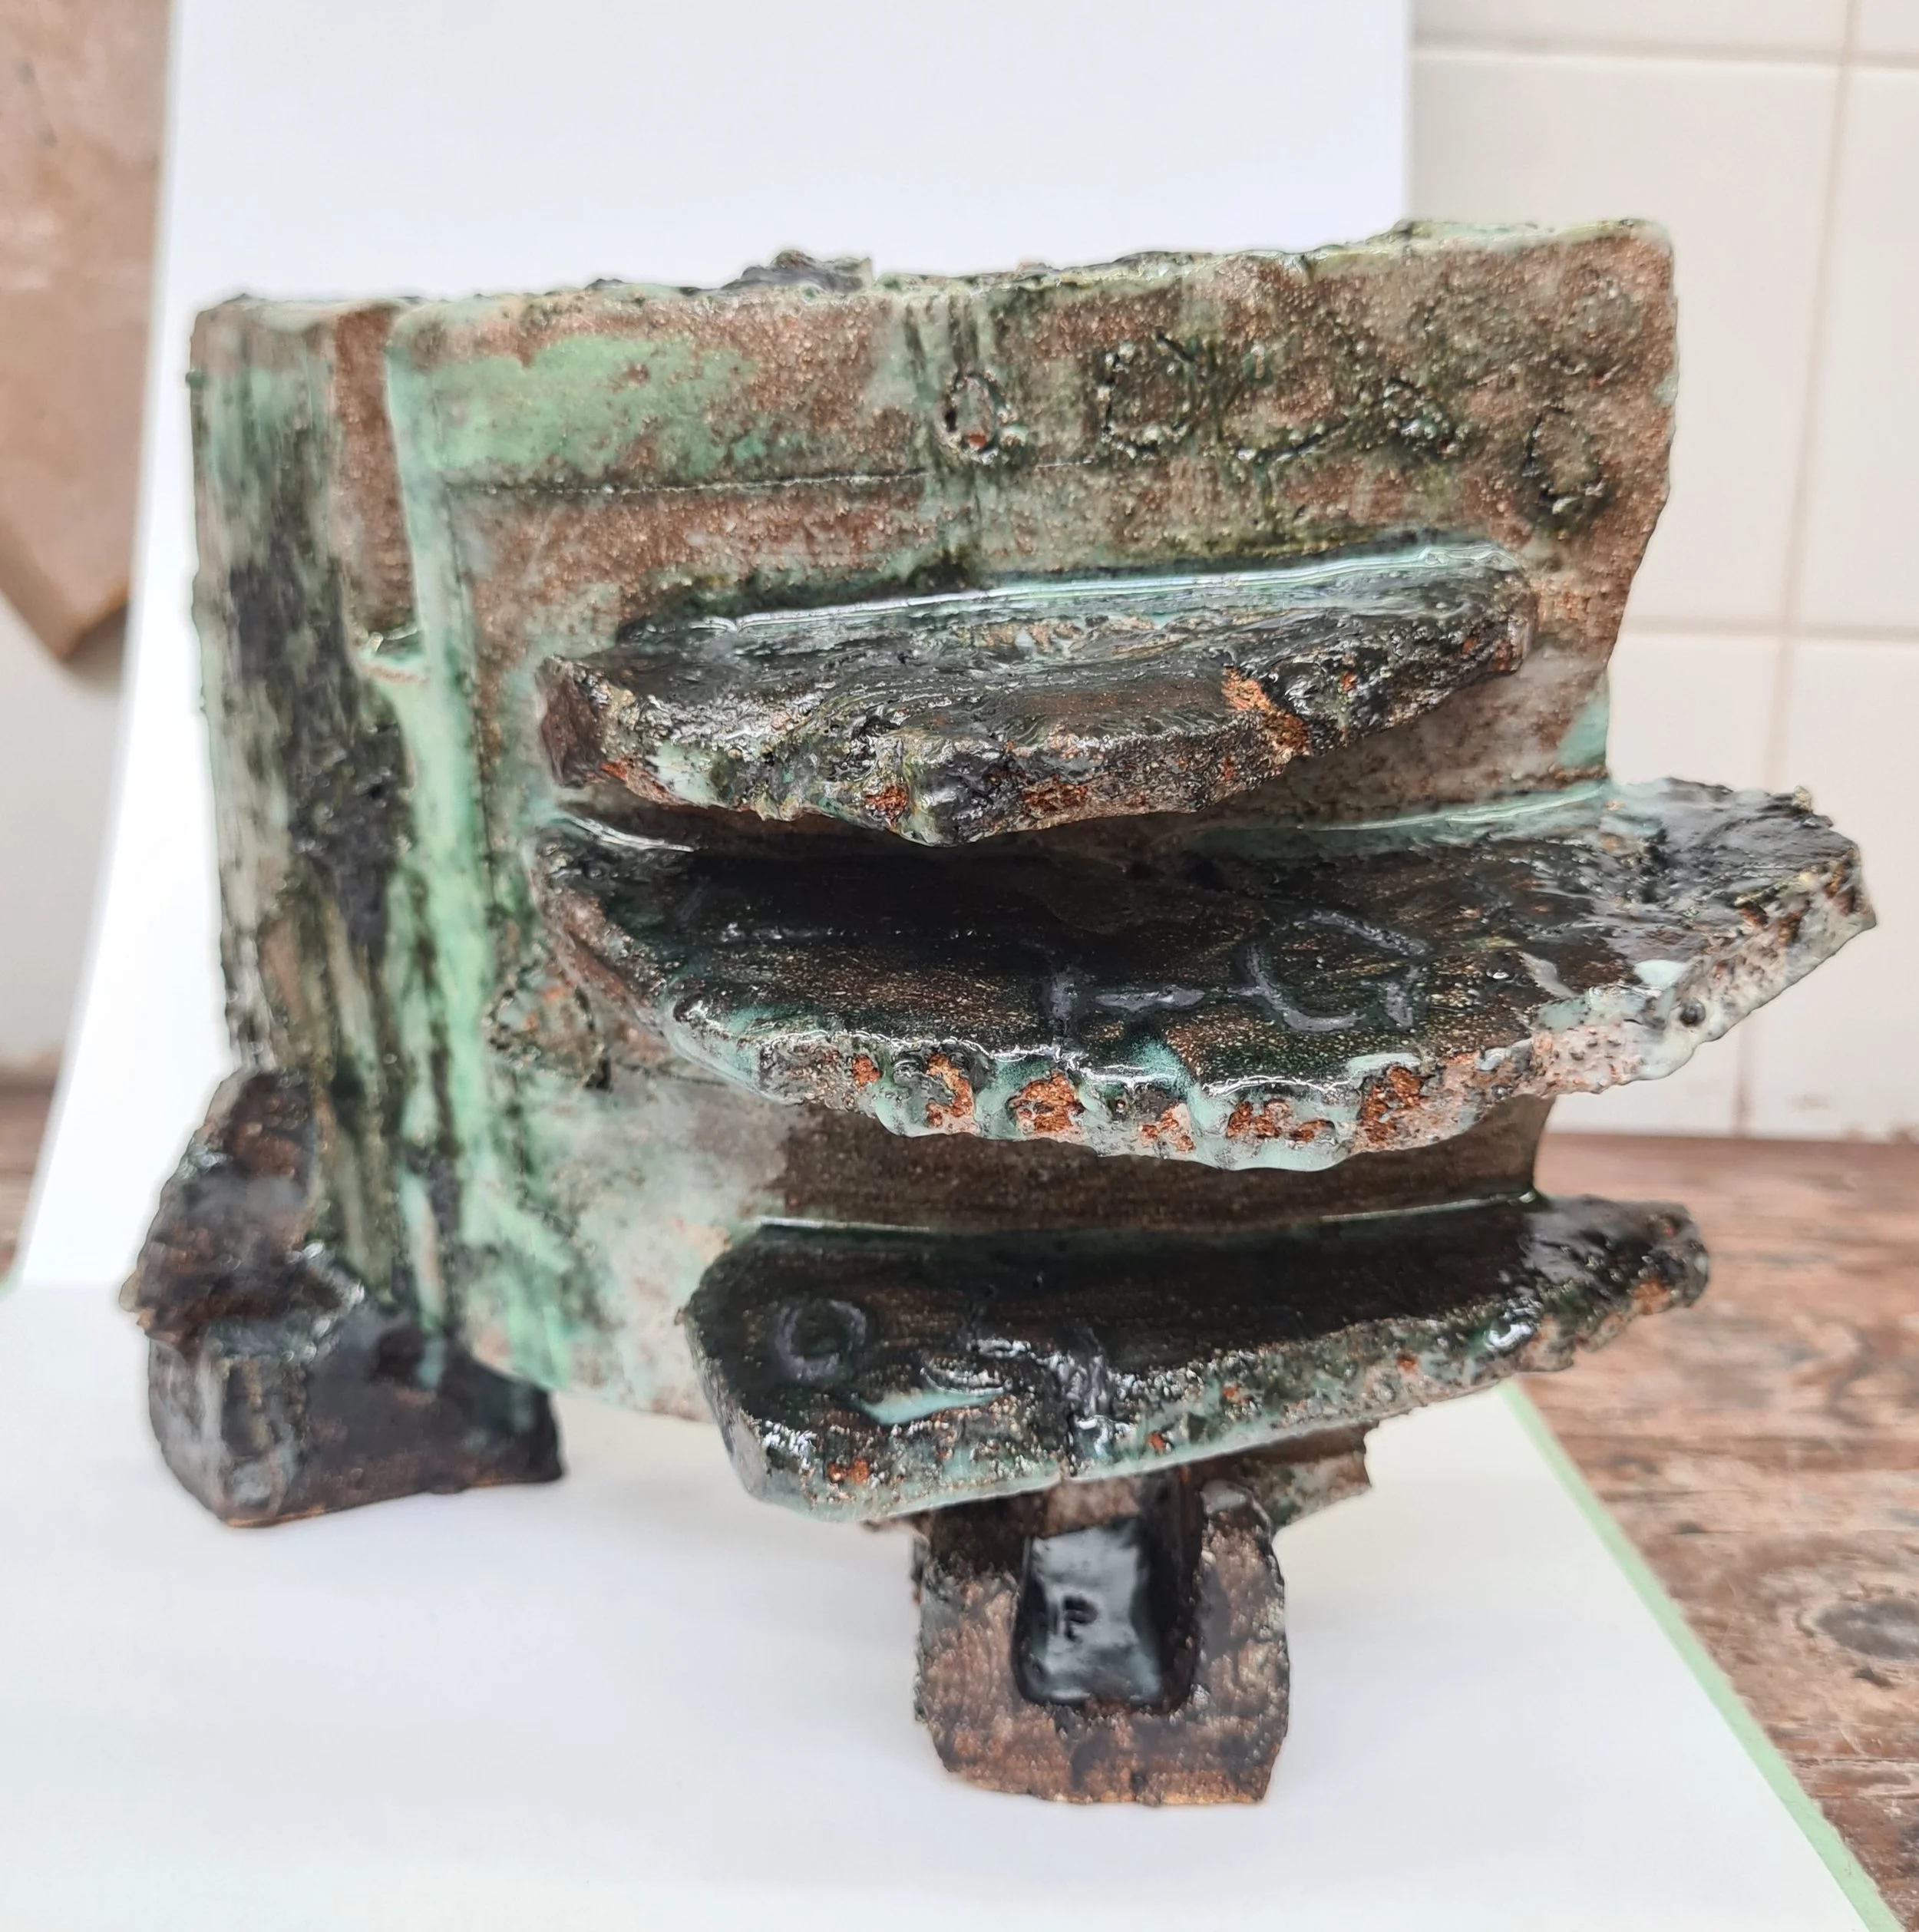
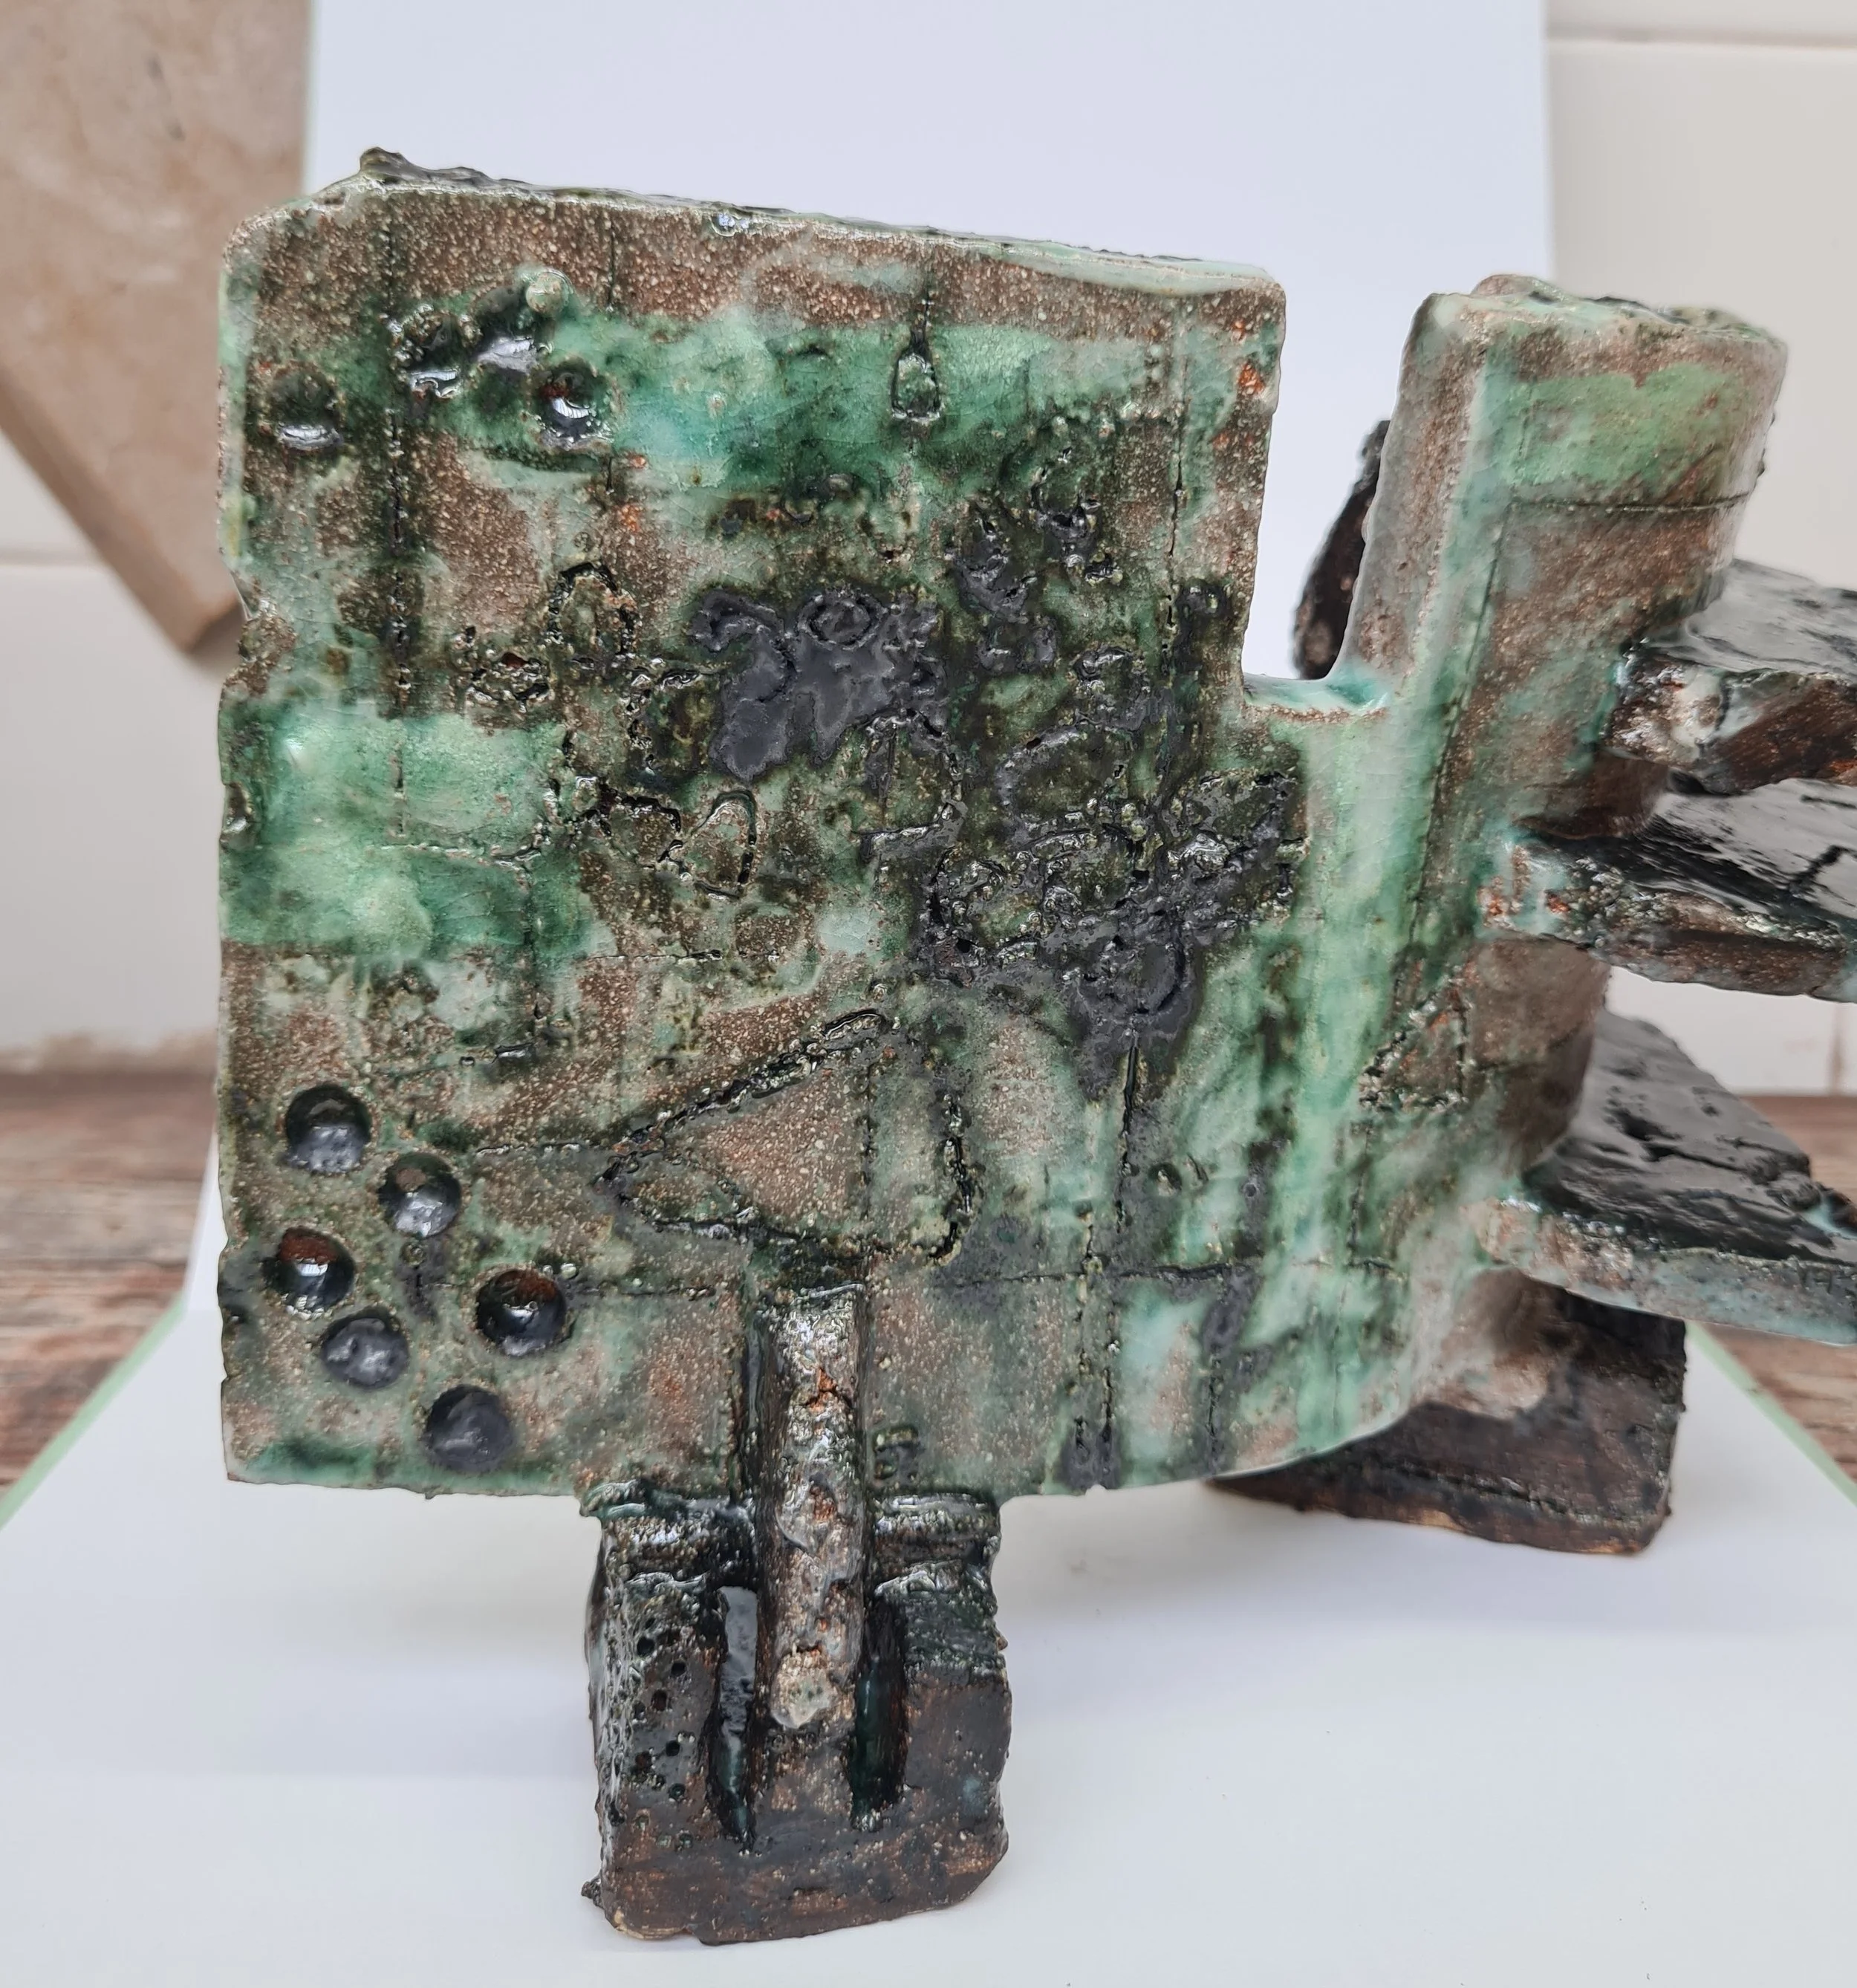
4- After a chat with Anna Lambert, she told me you can use engobe in the style of a slip after firing. So I did just that. I used a white engobe to blank out some areas on the Craft Crank clay form. I then soaked the cracked areas in copper carb oxide and applied the base glaze recipe C chartreuse glaze to where I applied the engobe to experiment with colour additions. I then covered the form in a transparent glaze.
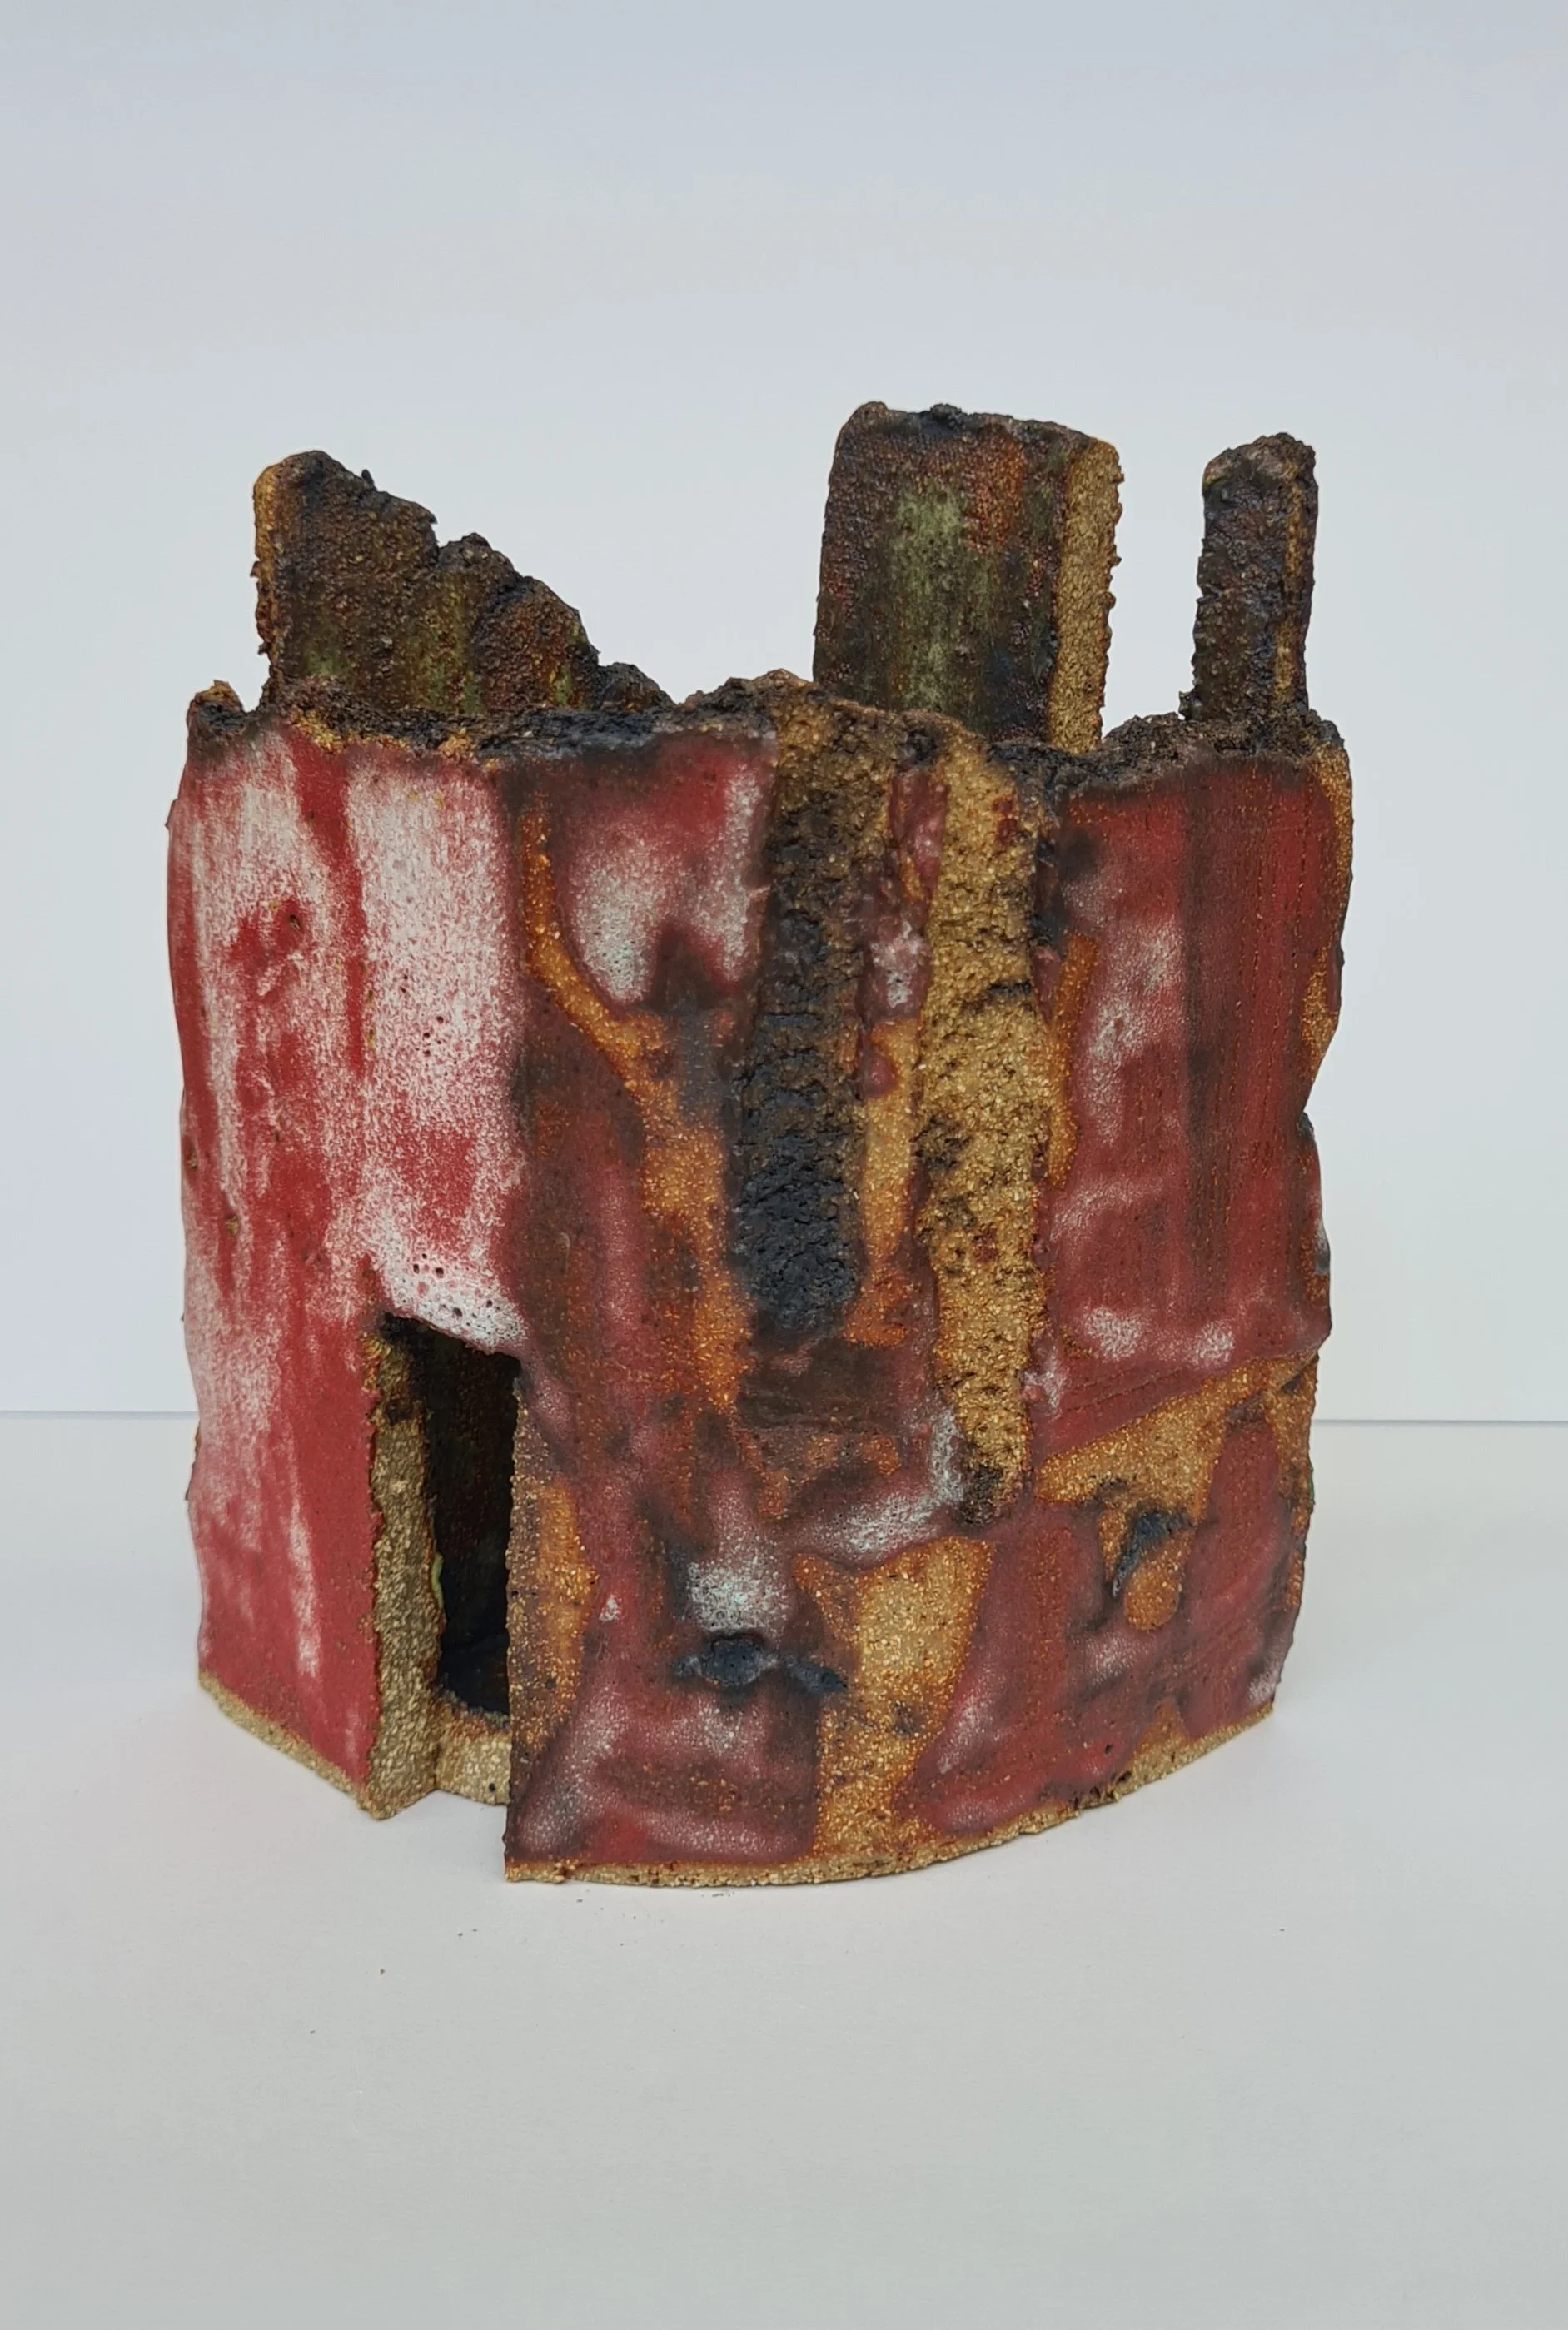
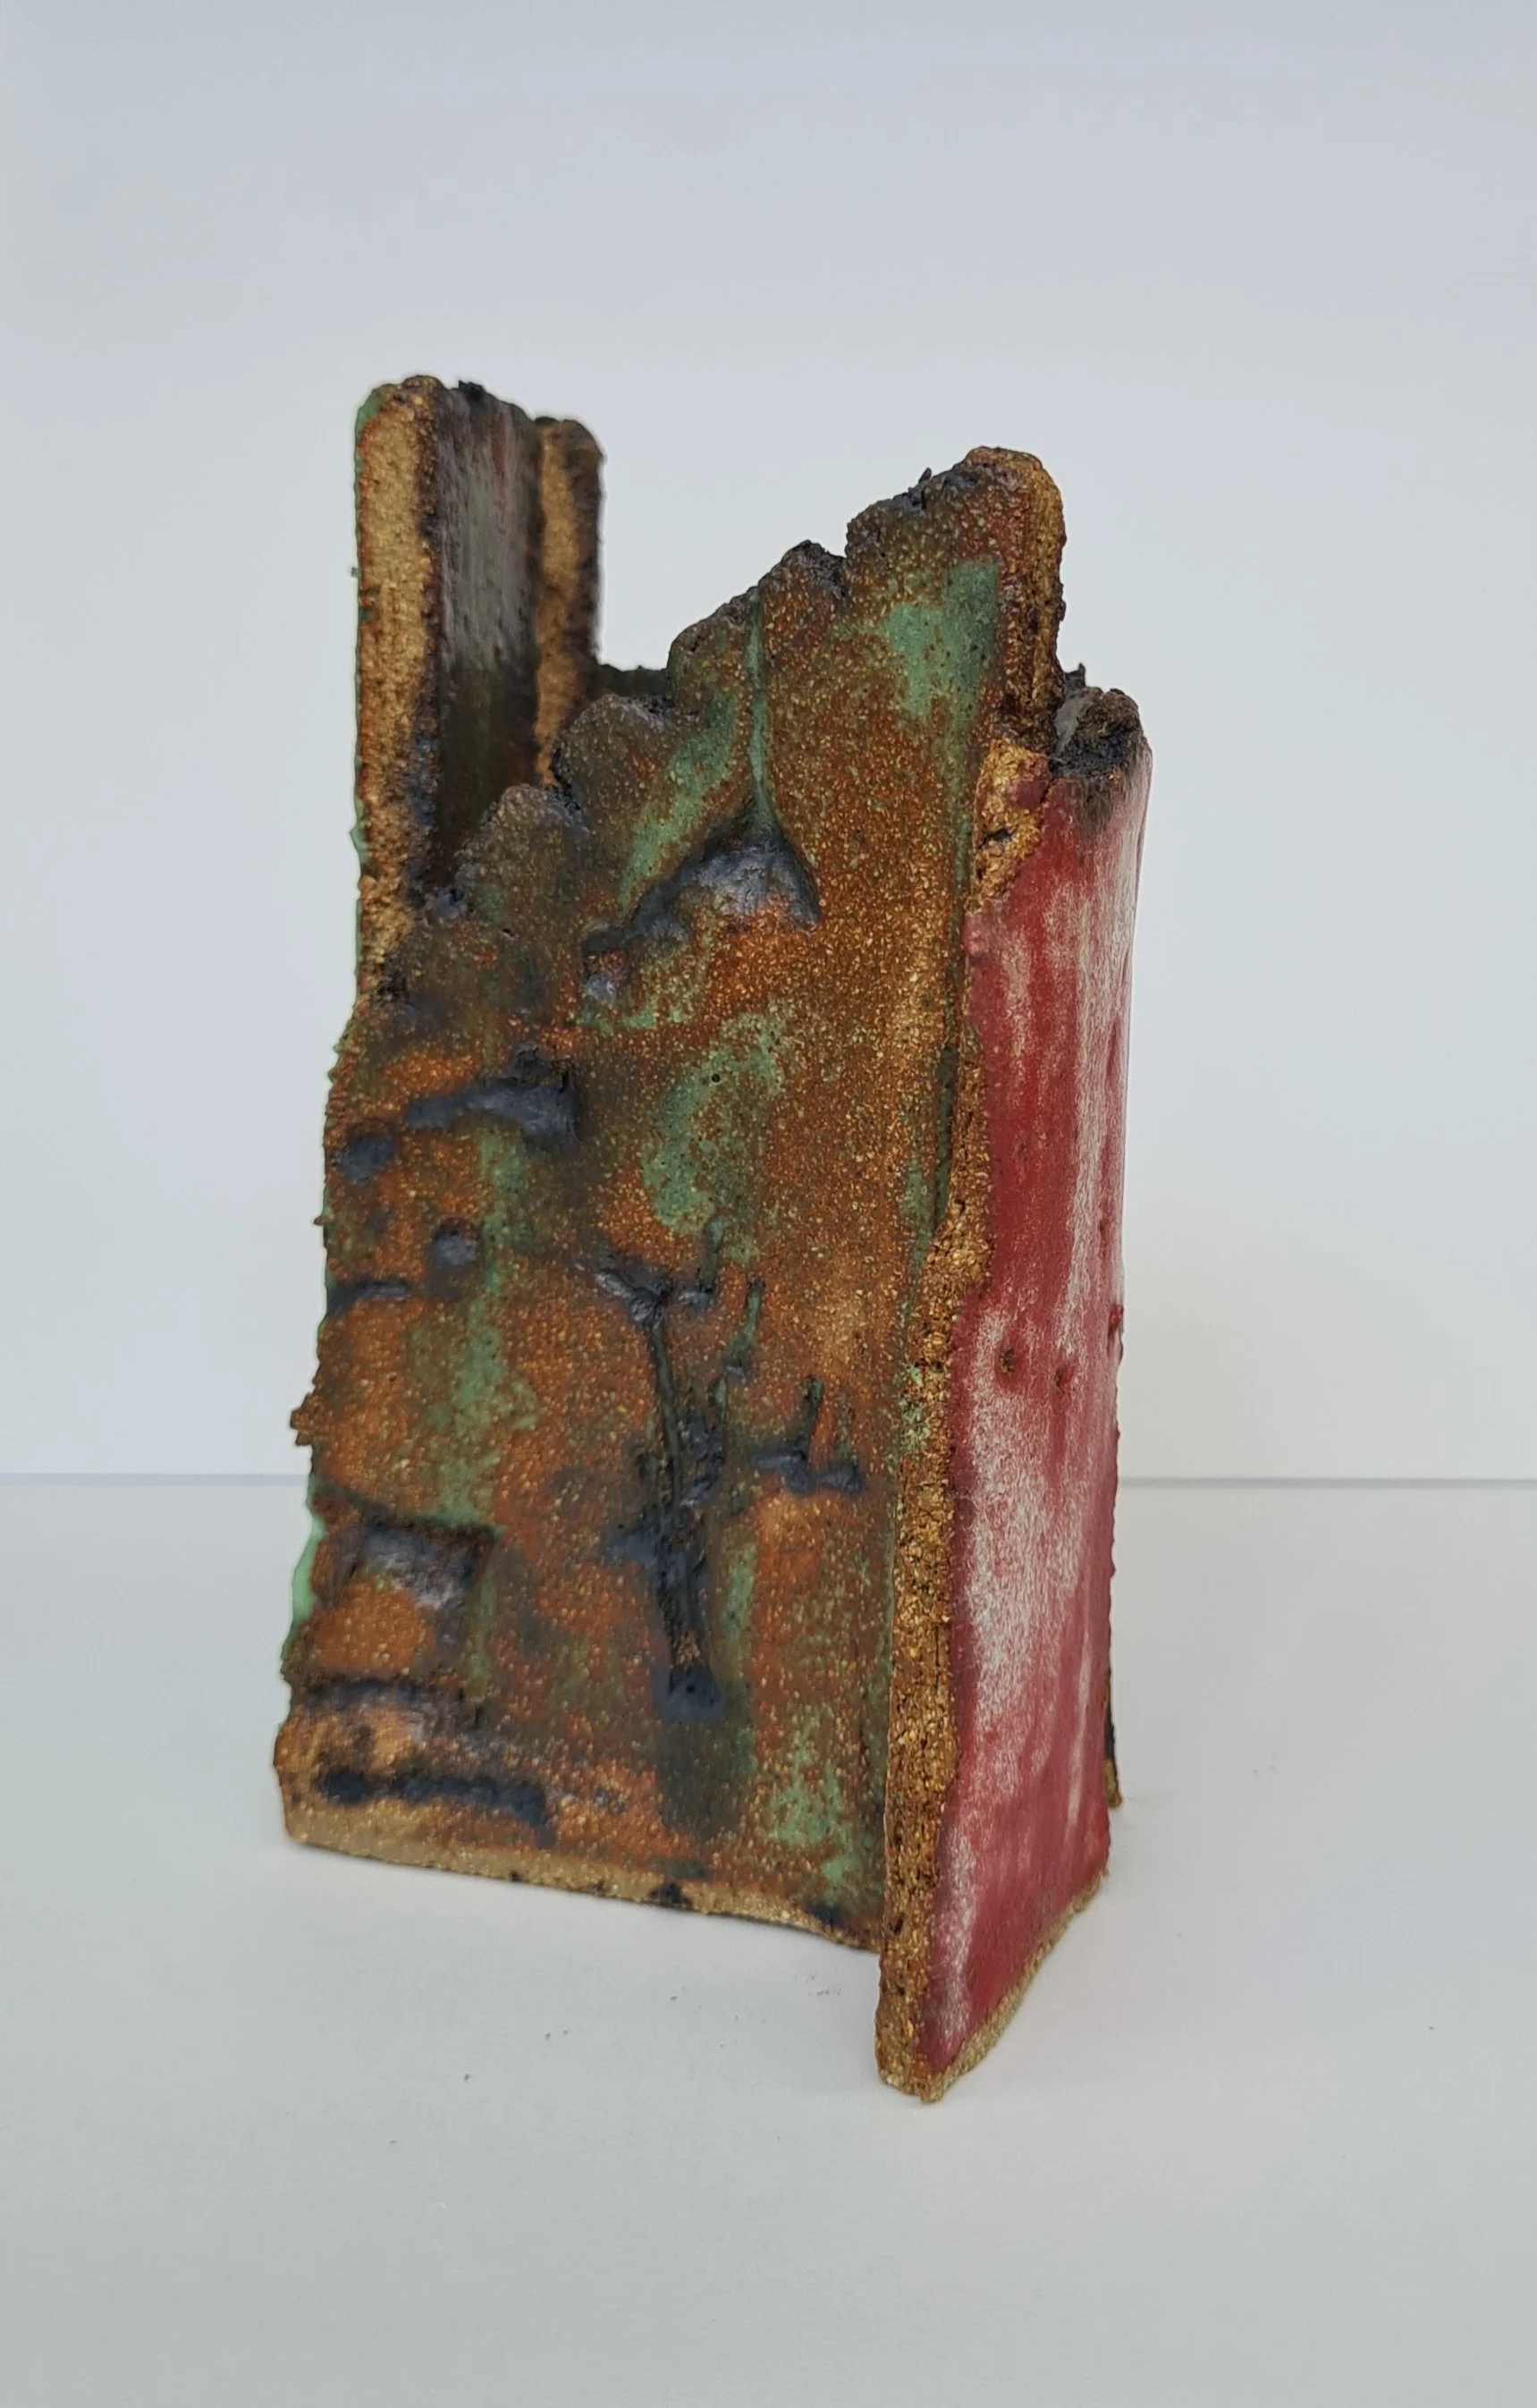
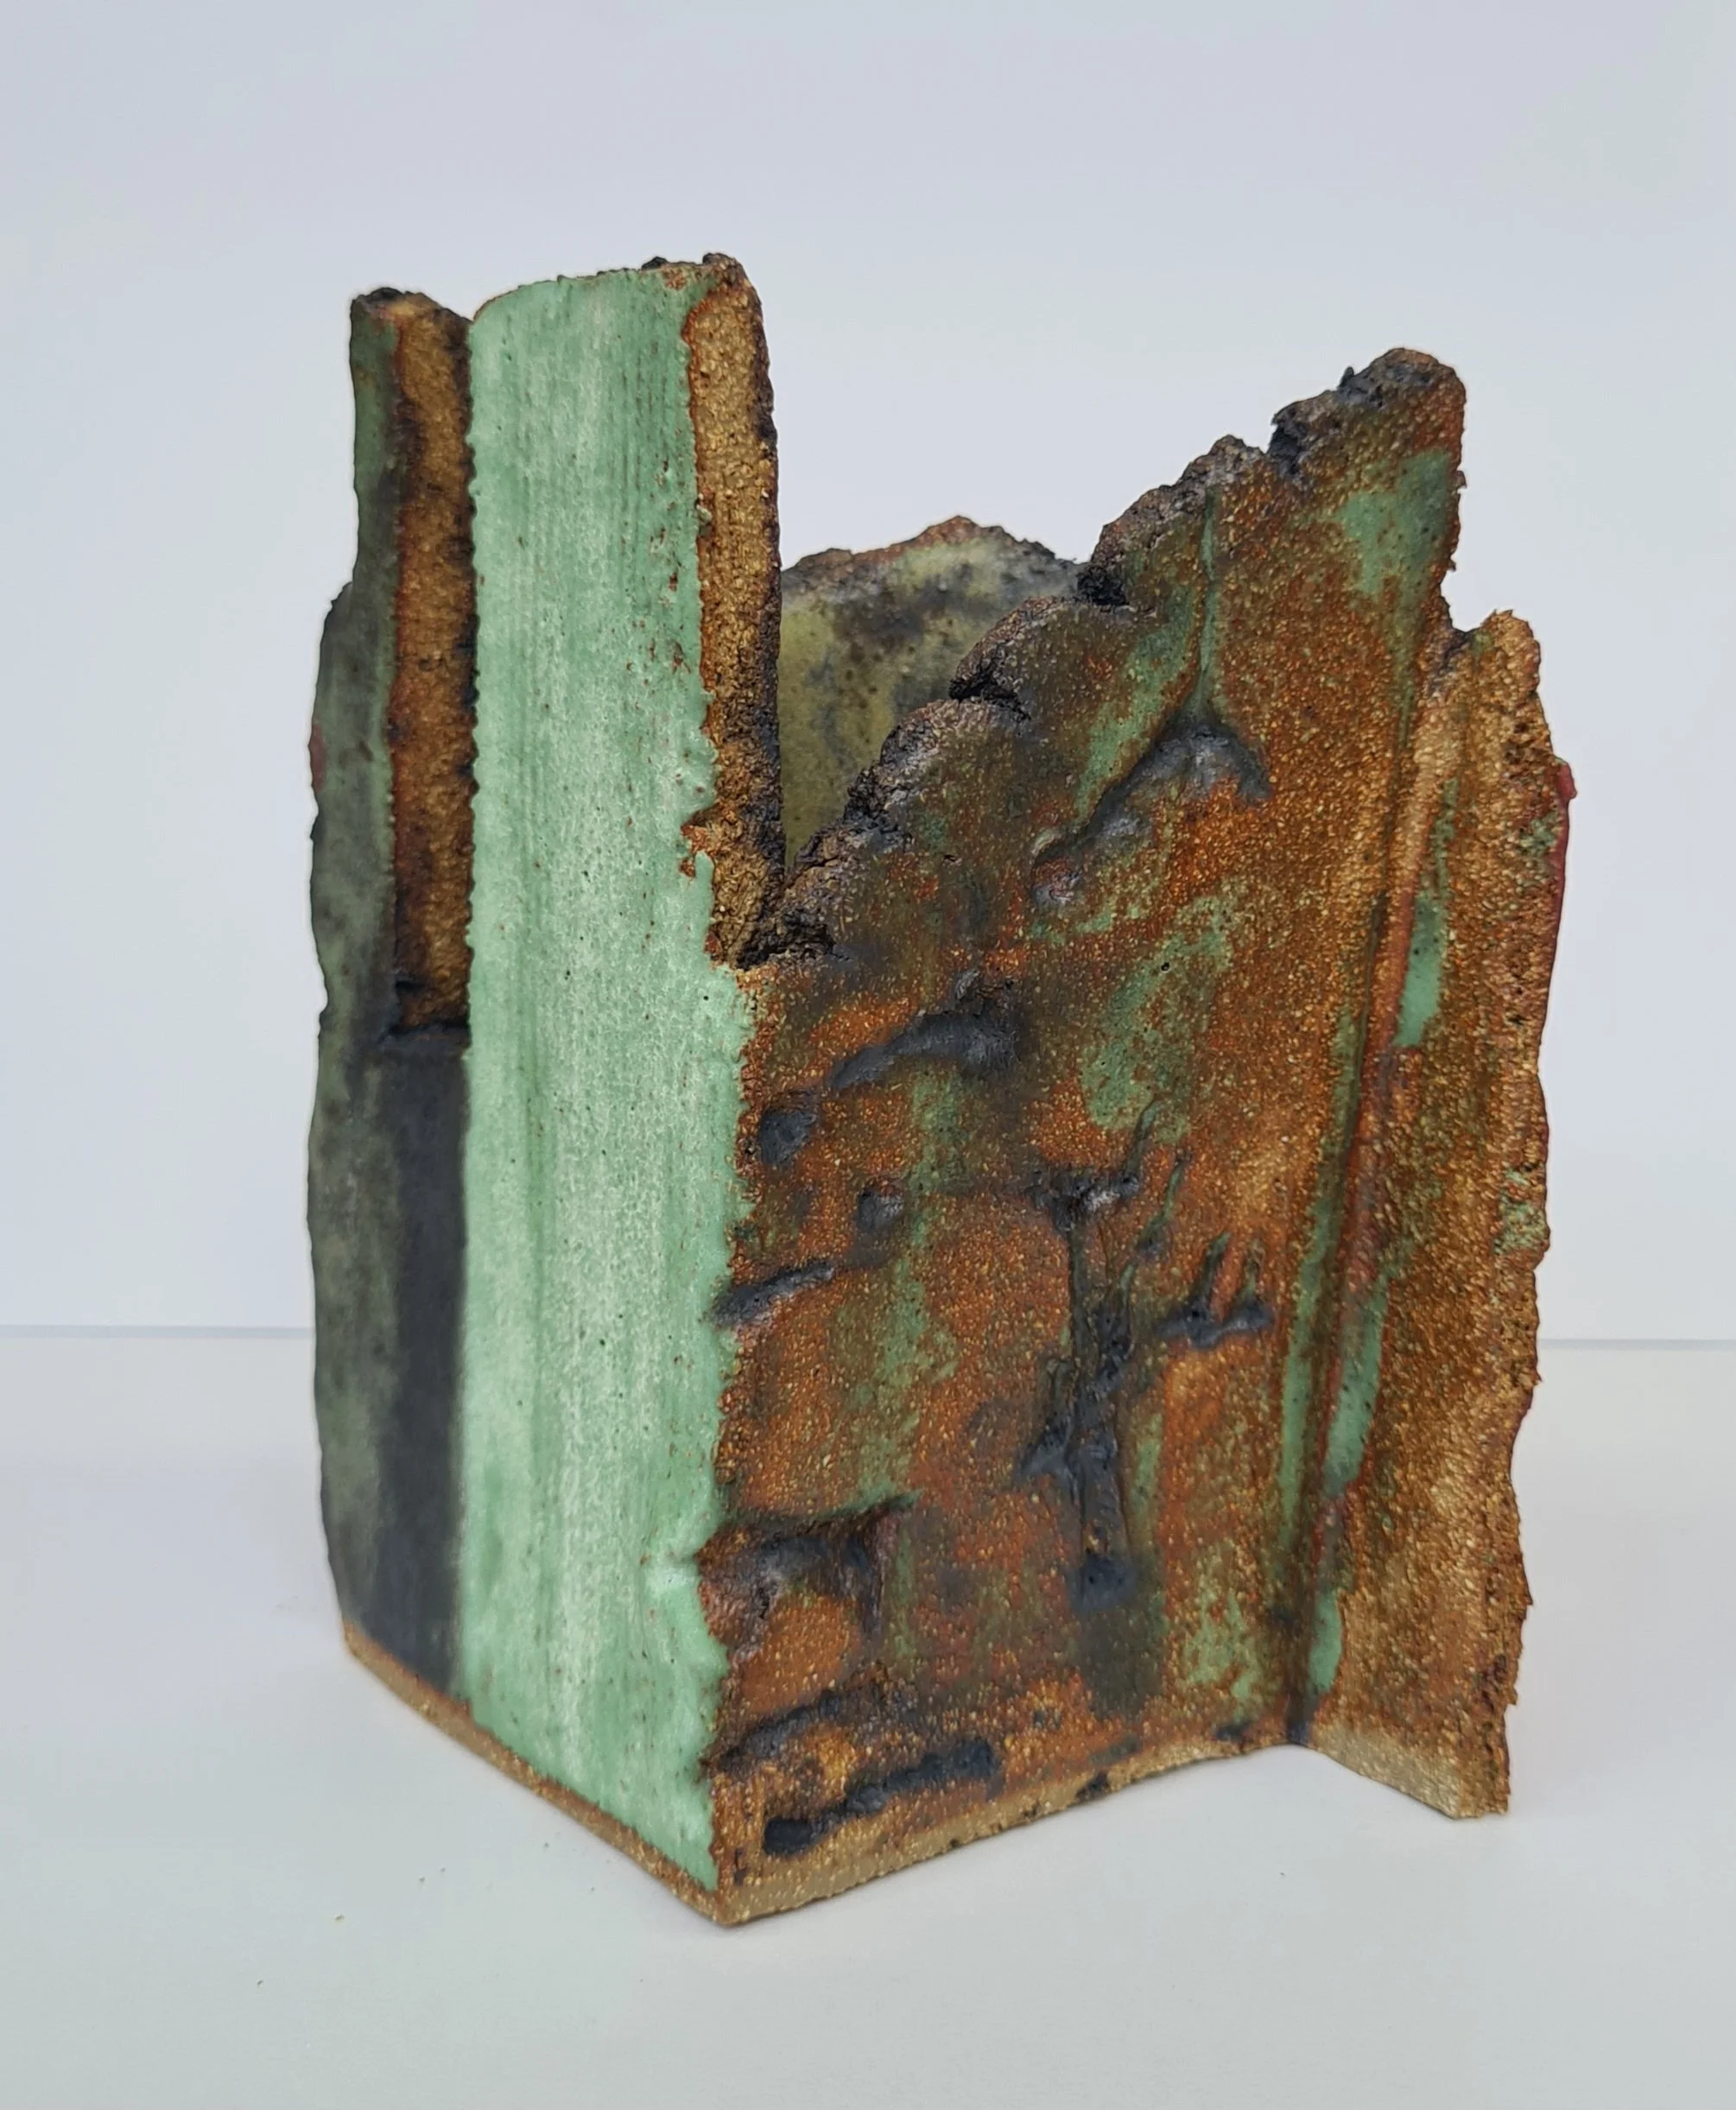
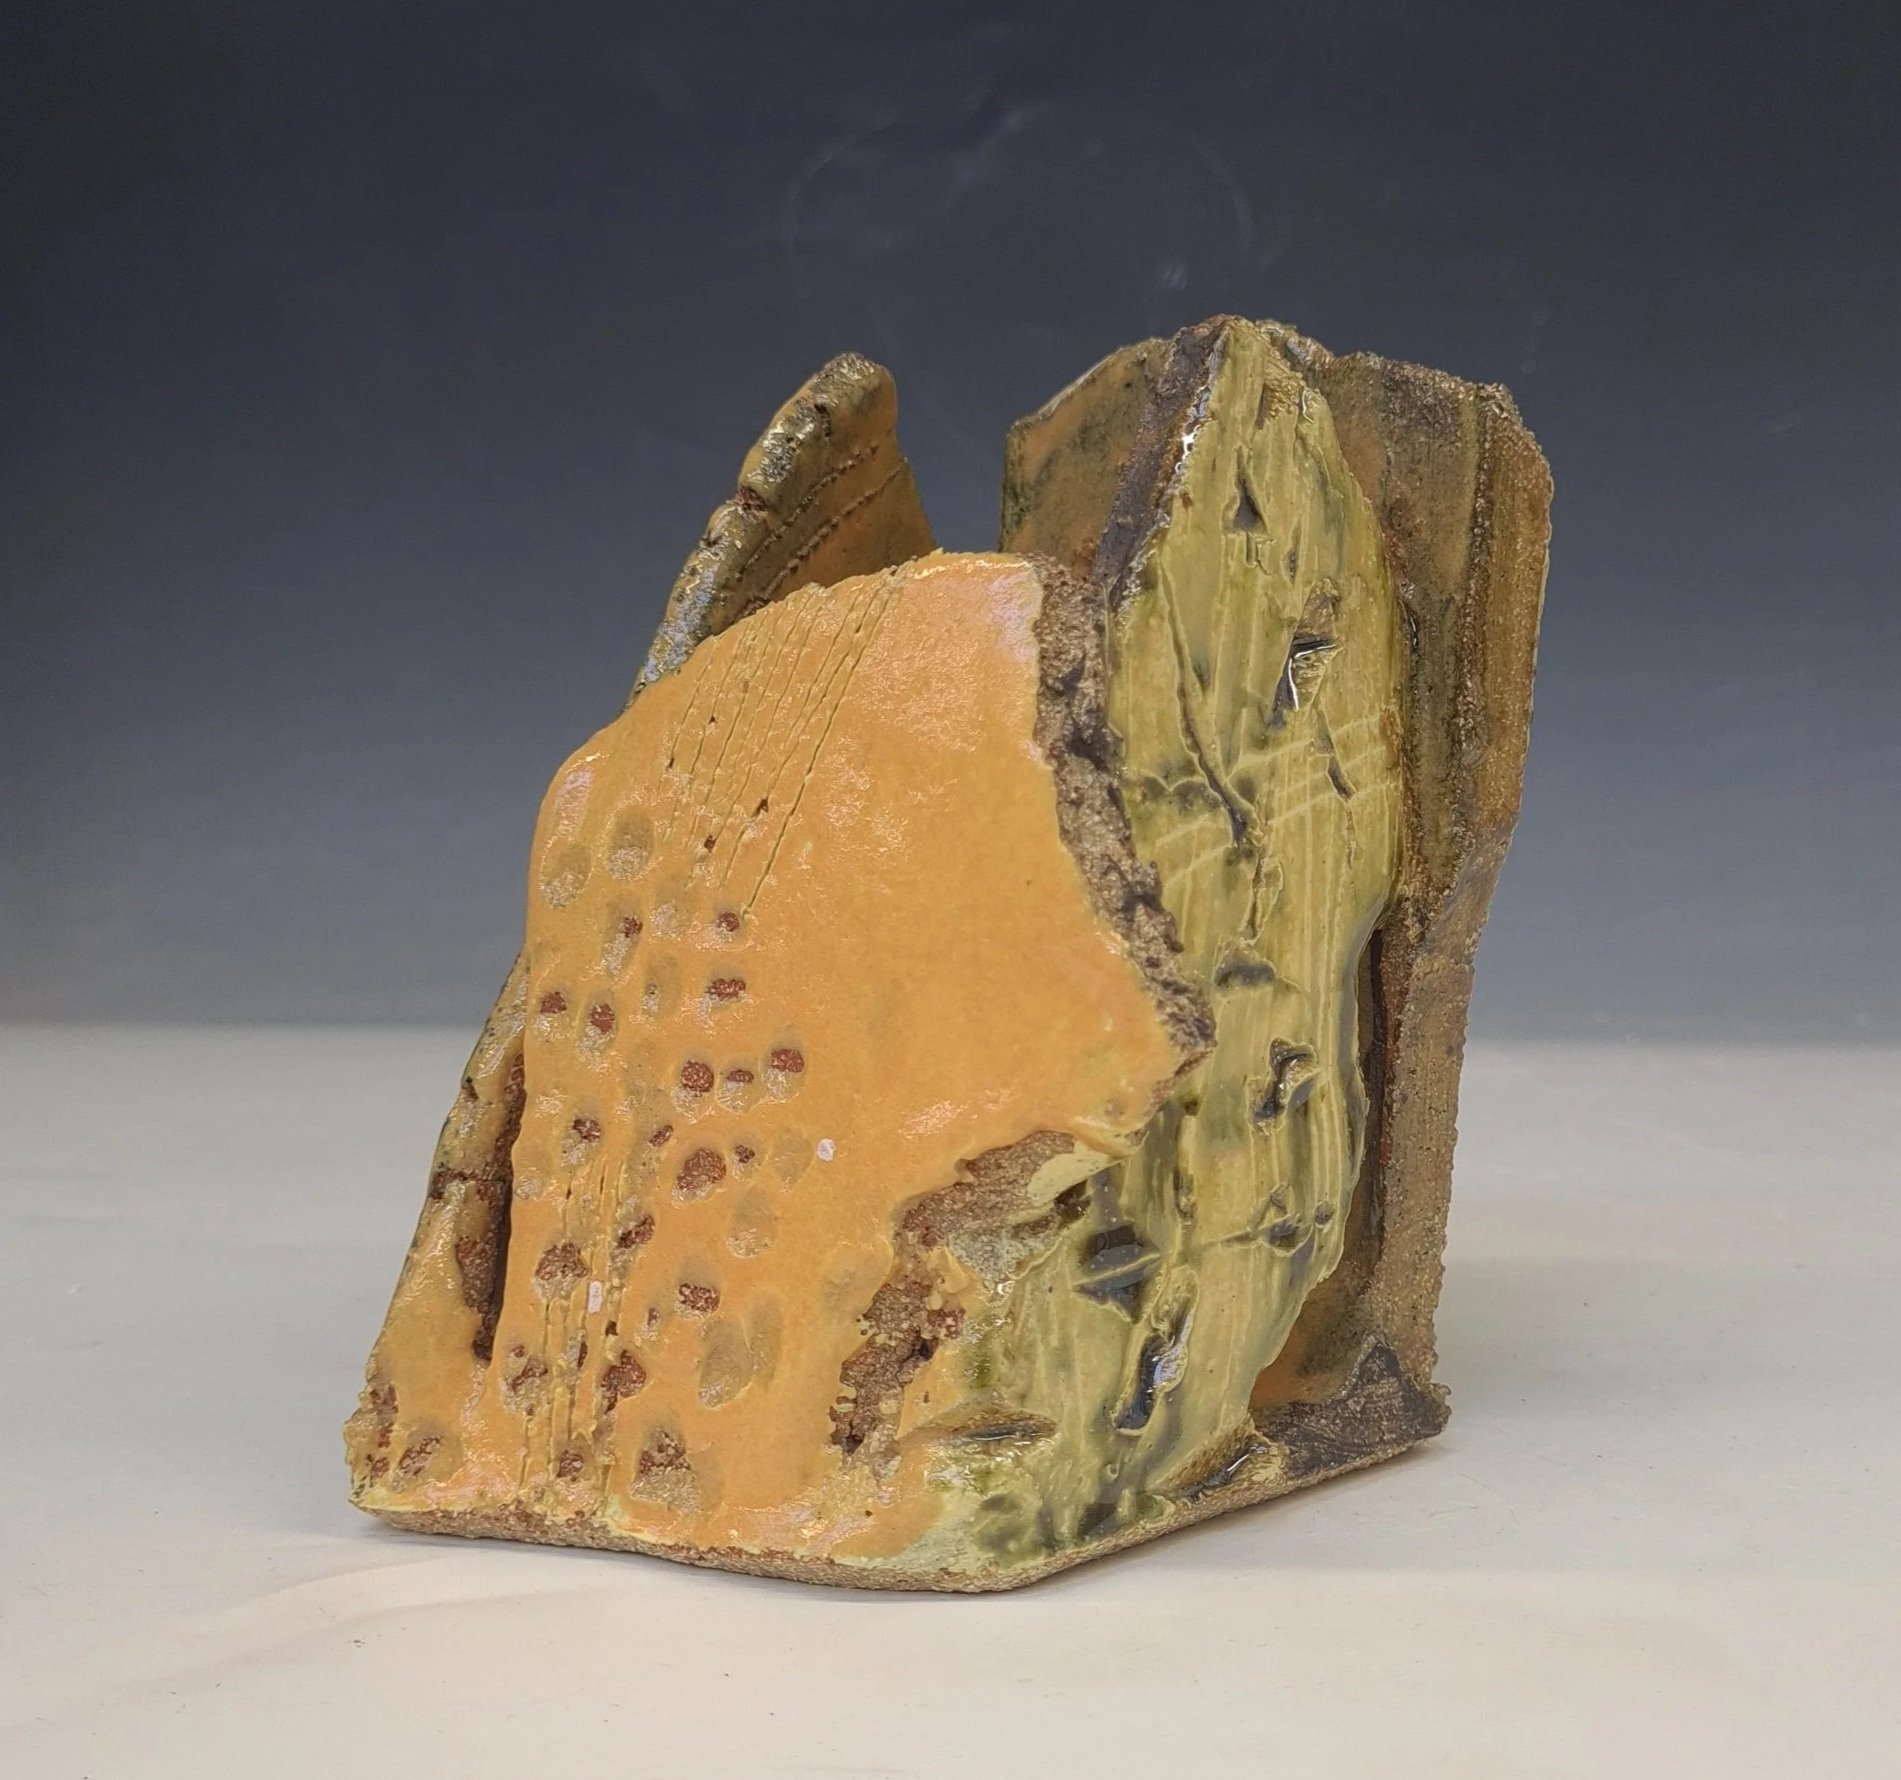
5- On the red side, I used a red stain with copper oxide underneath. I then put transparent glaze over the top, where it sat in white patches. On the inside, I used copper carb oxide with a yellow stain loosely applied with transparent glaze. On the green sides- I applied copper ox in areas, then transparent glaze with 5% chartreuse stain. I applied it thickly and thinly to see the difference. It was fired in oxidation at 1280’c and I used craft crank clay.
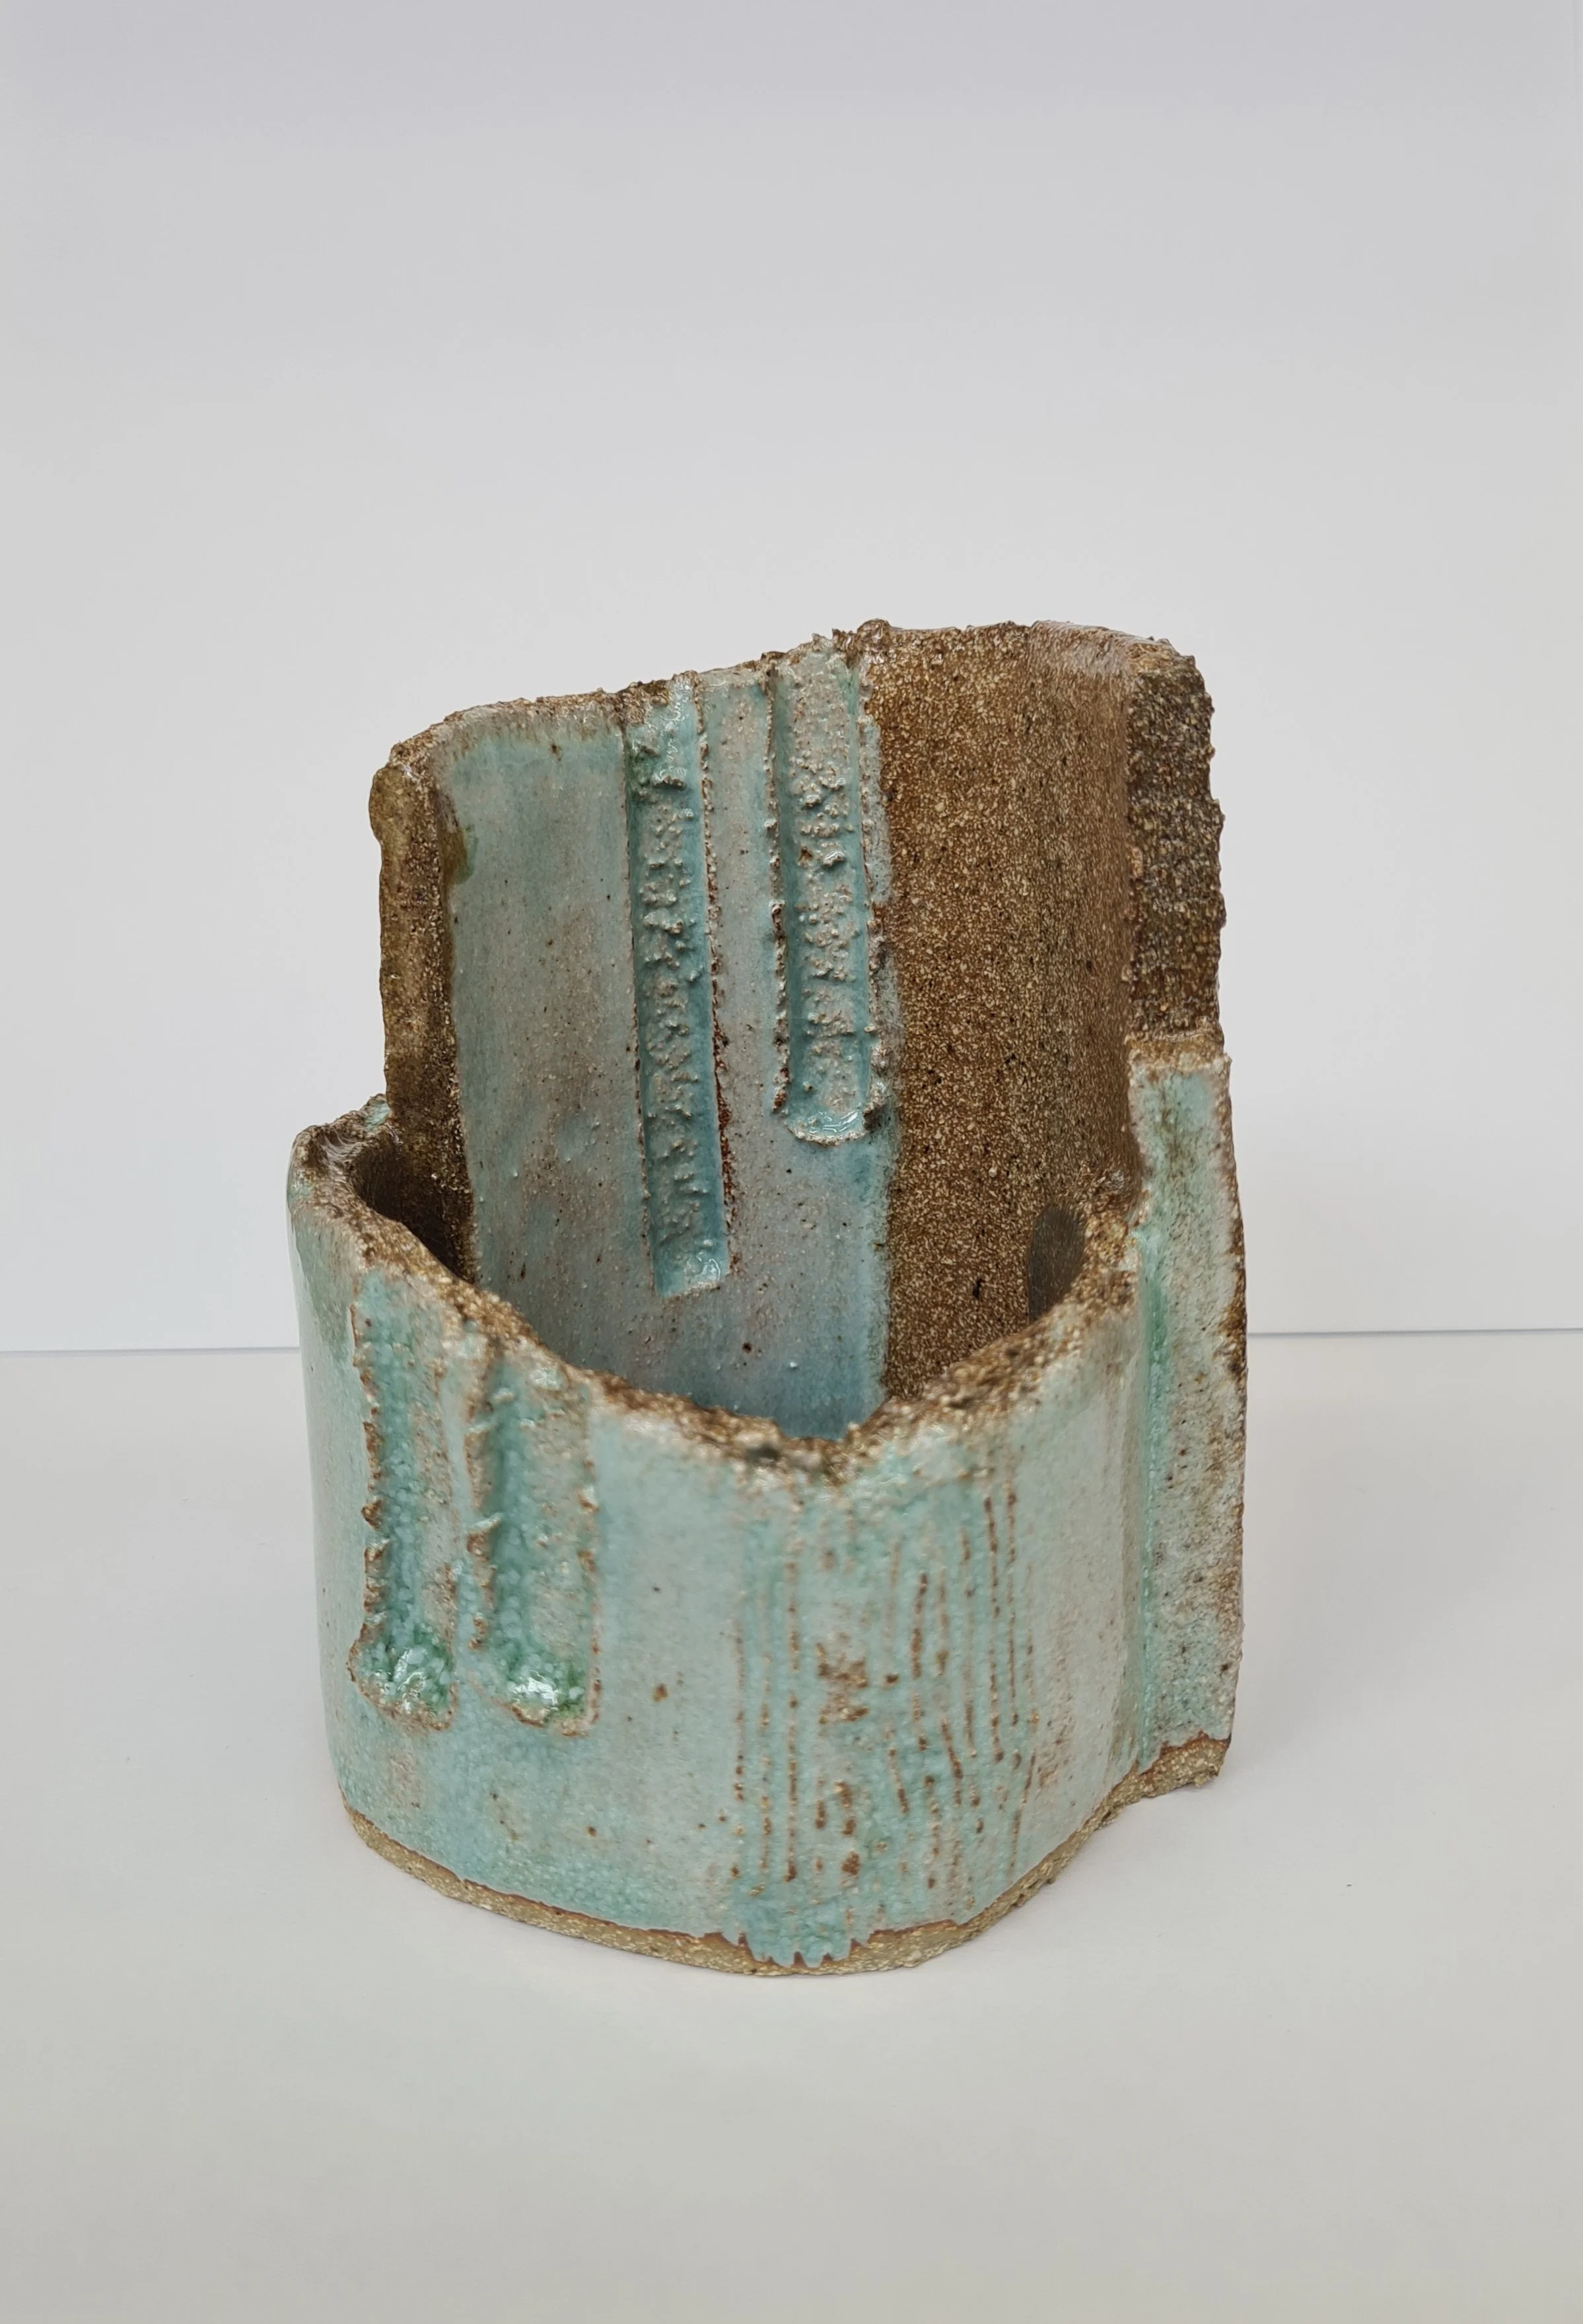
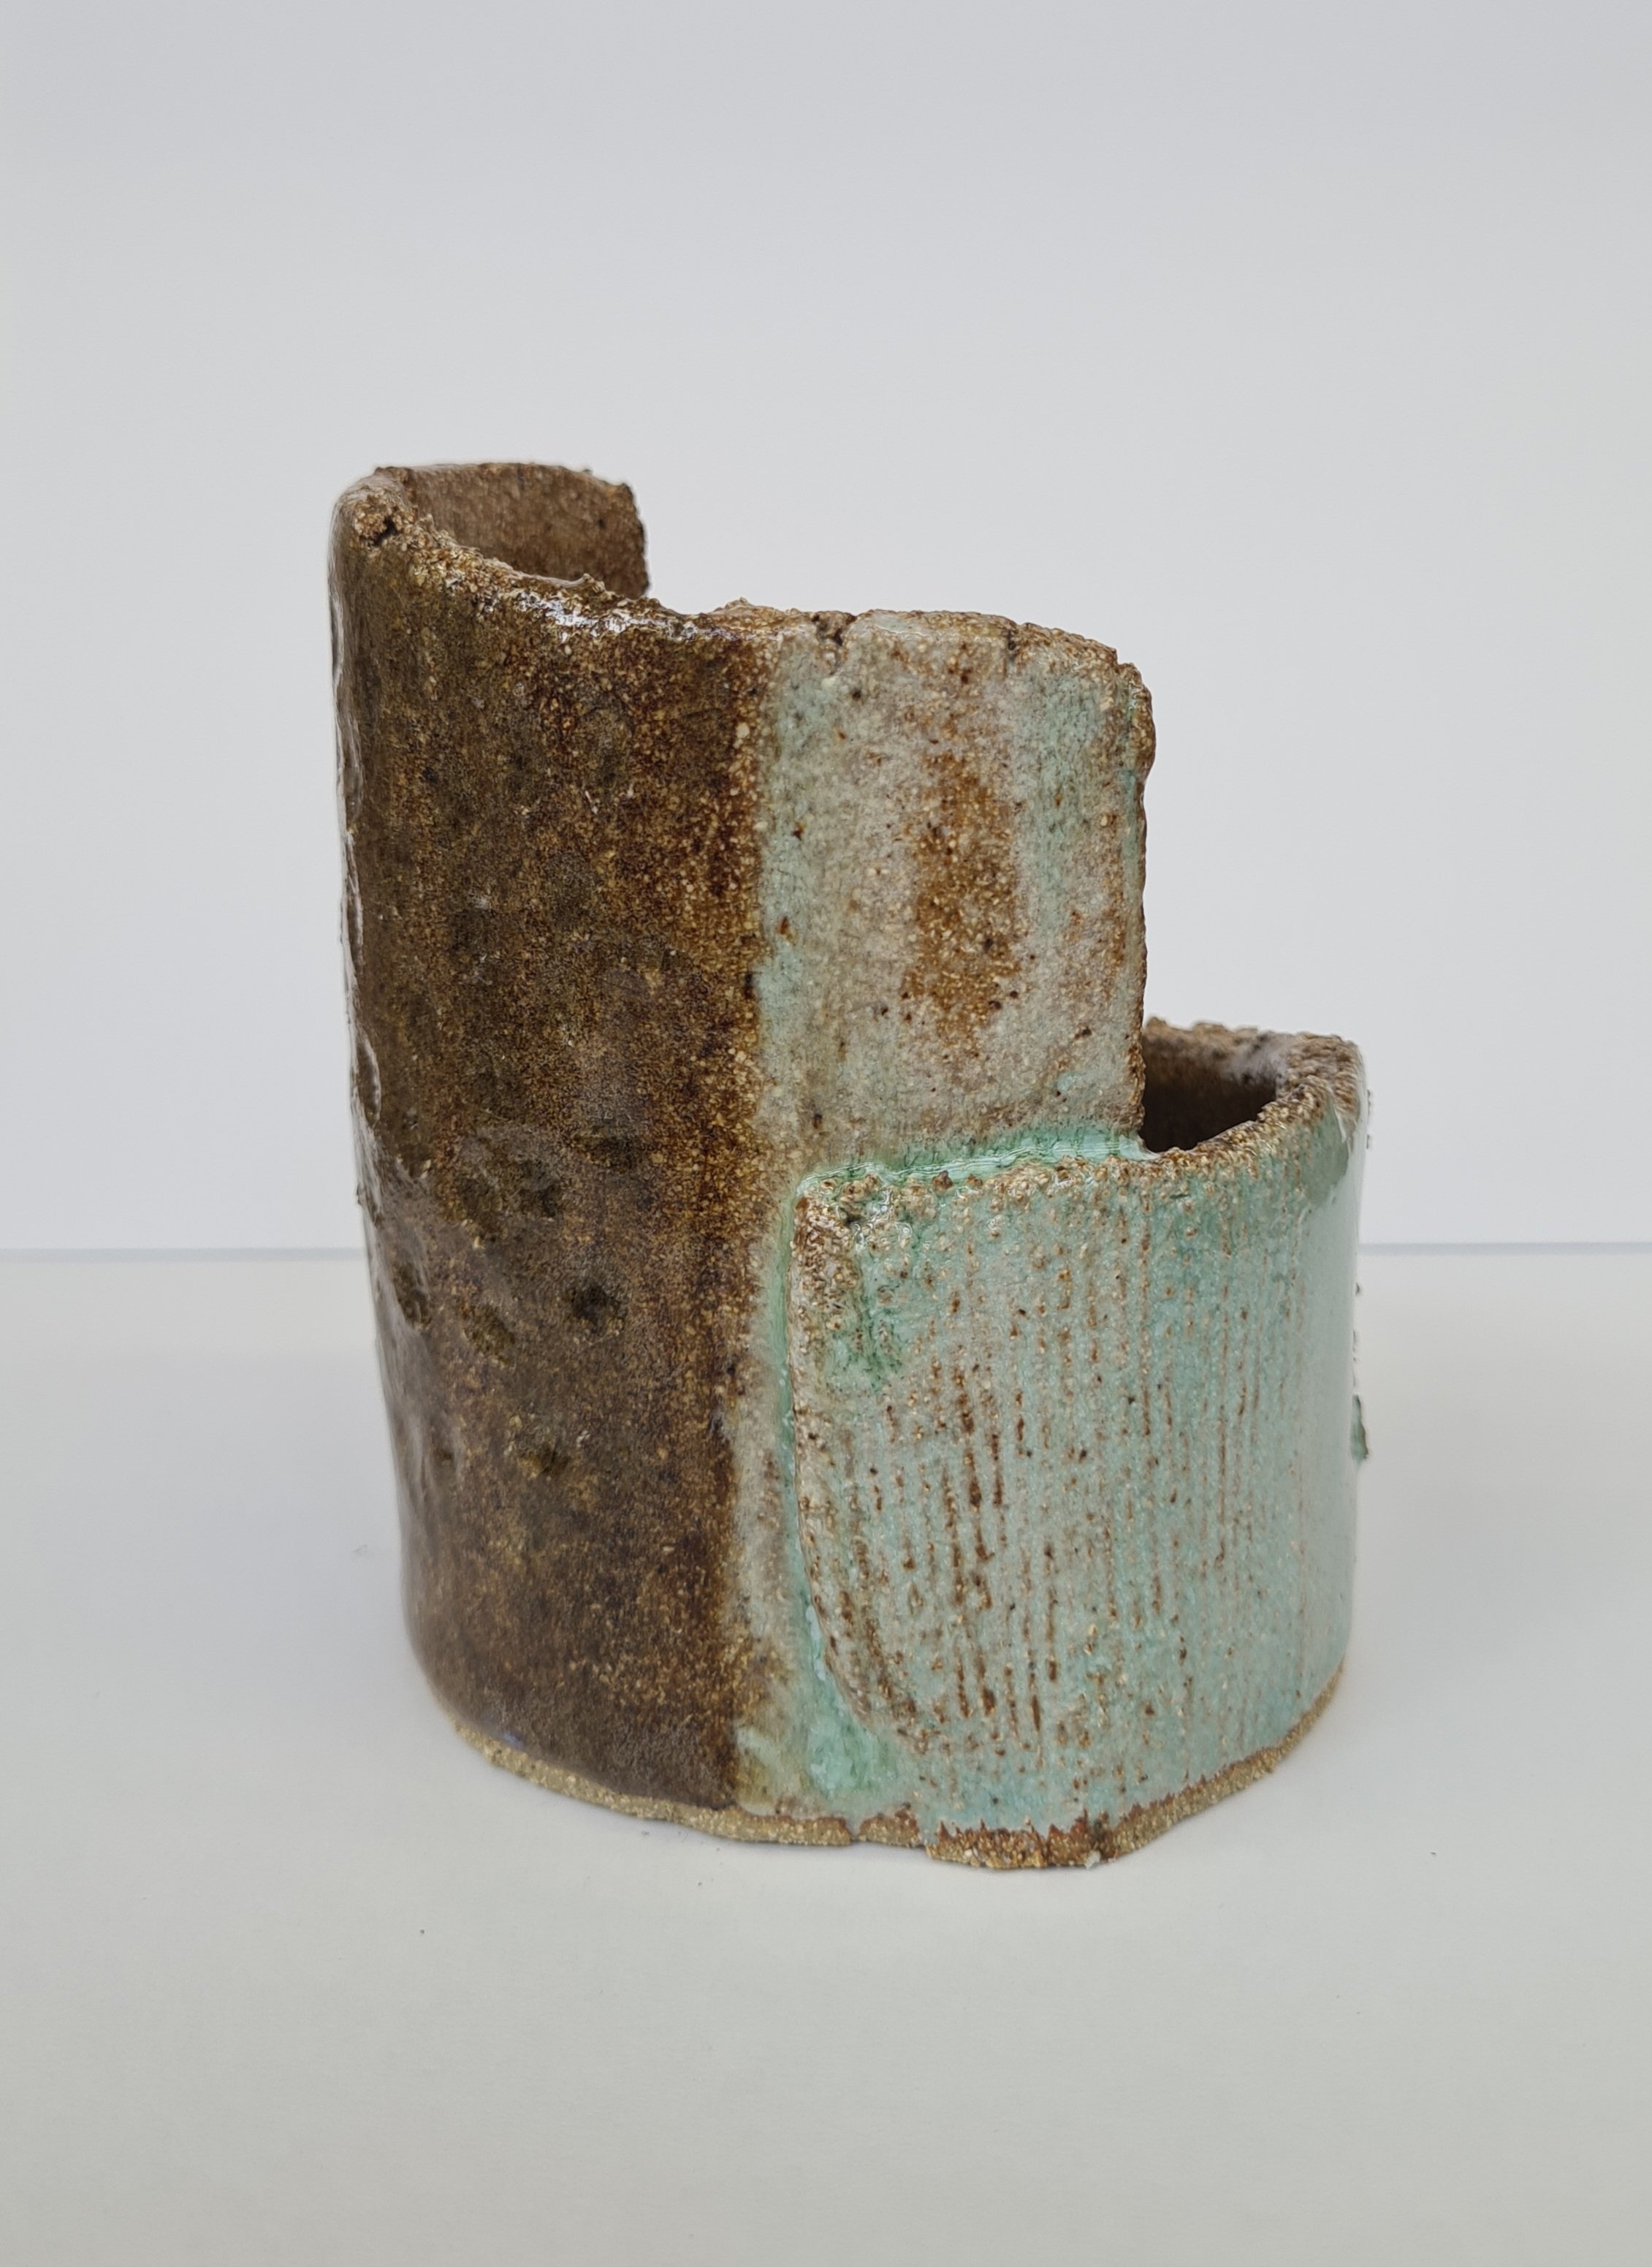
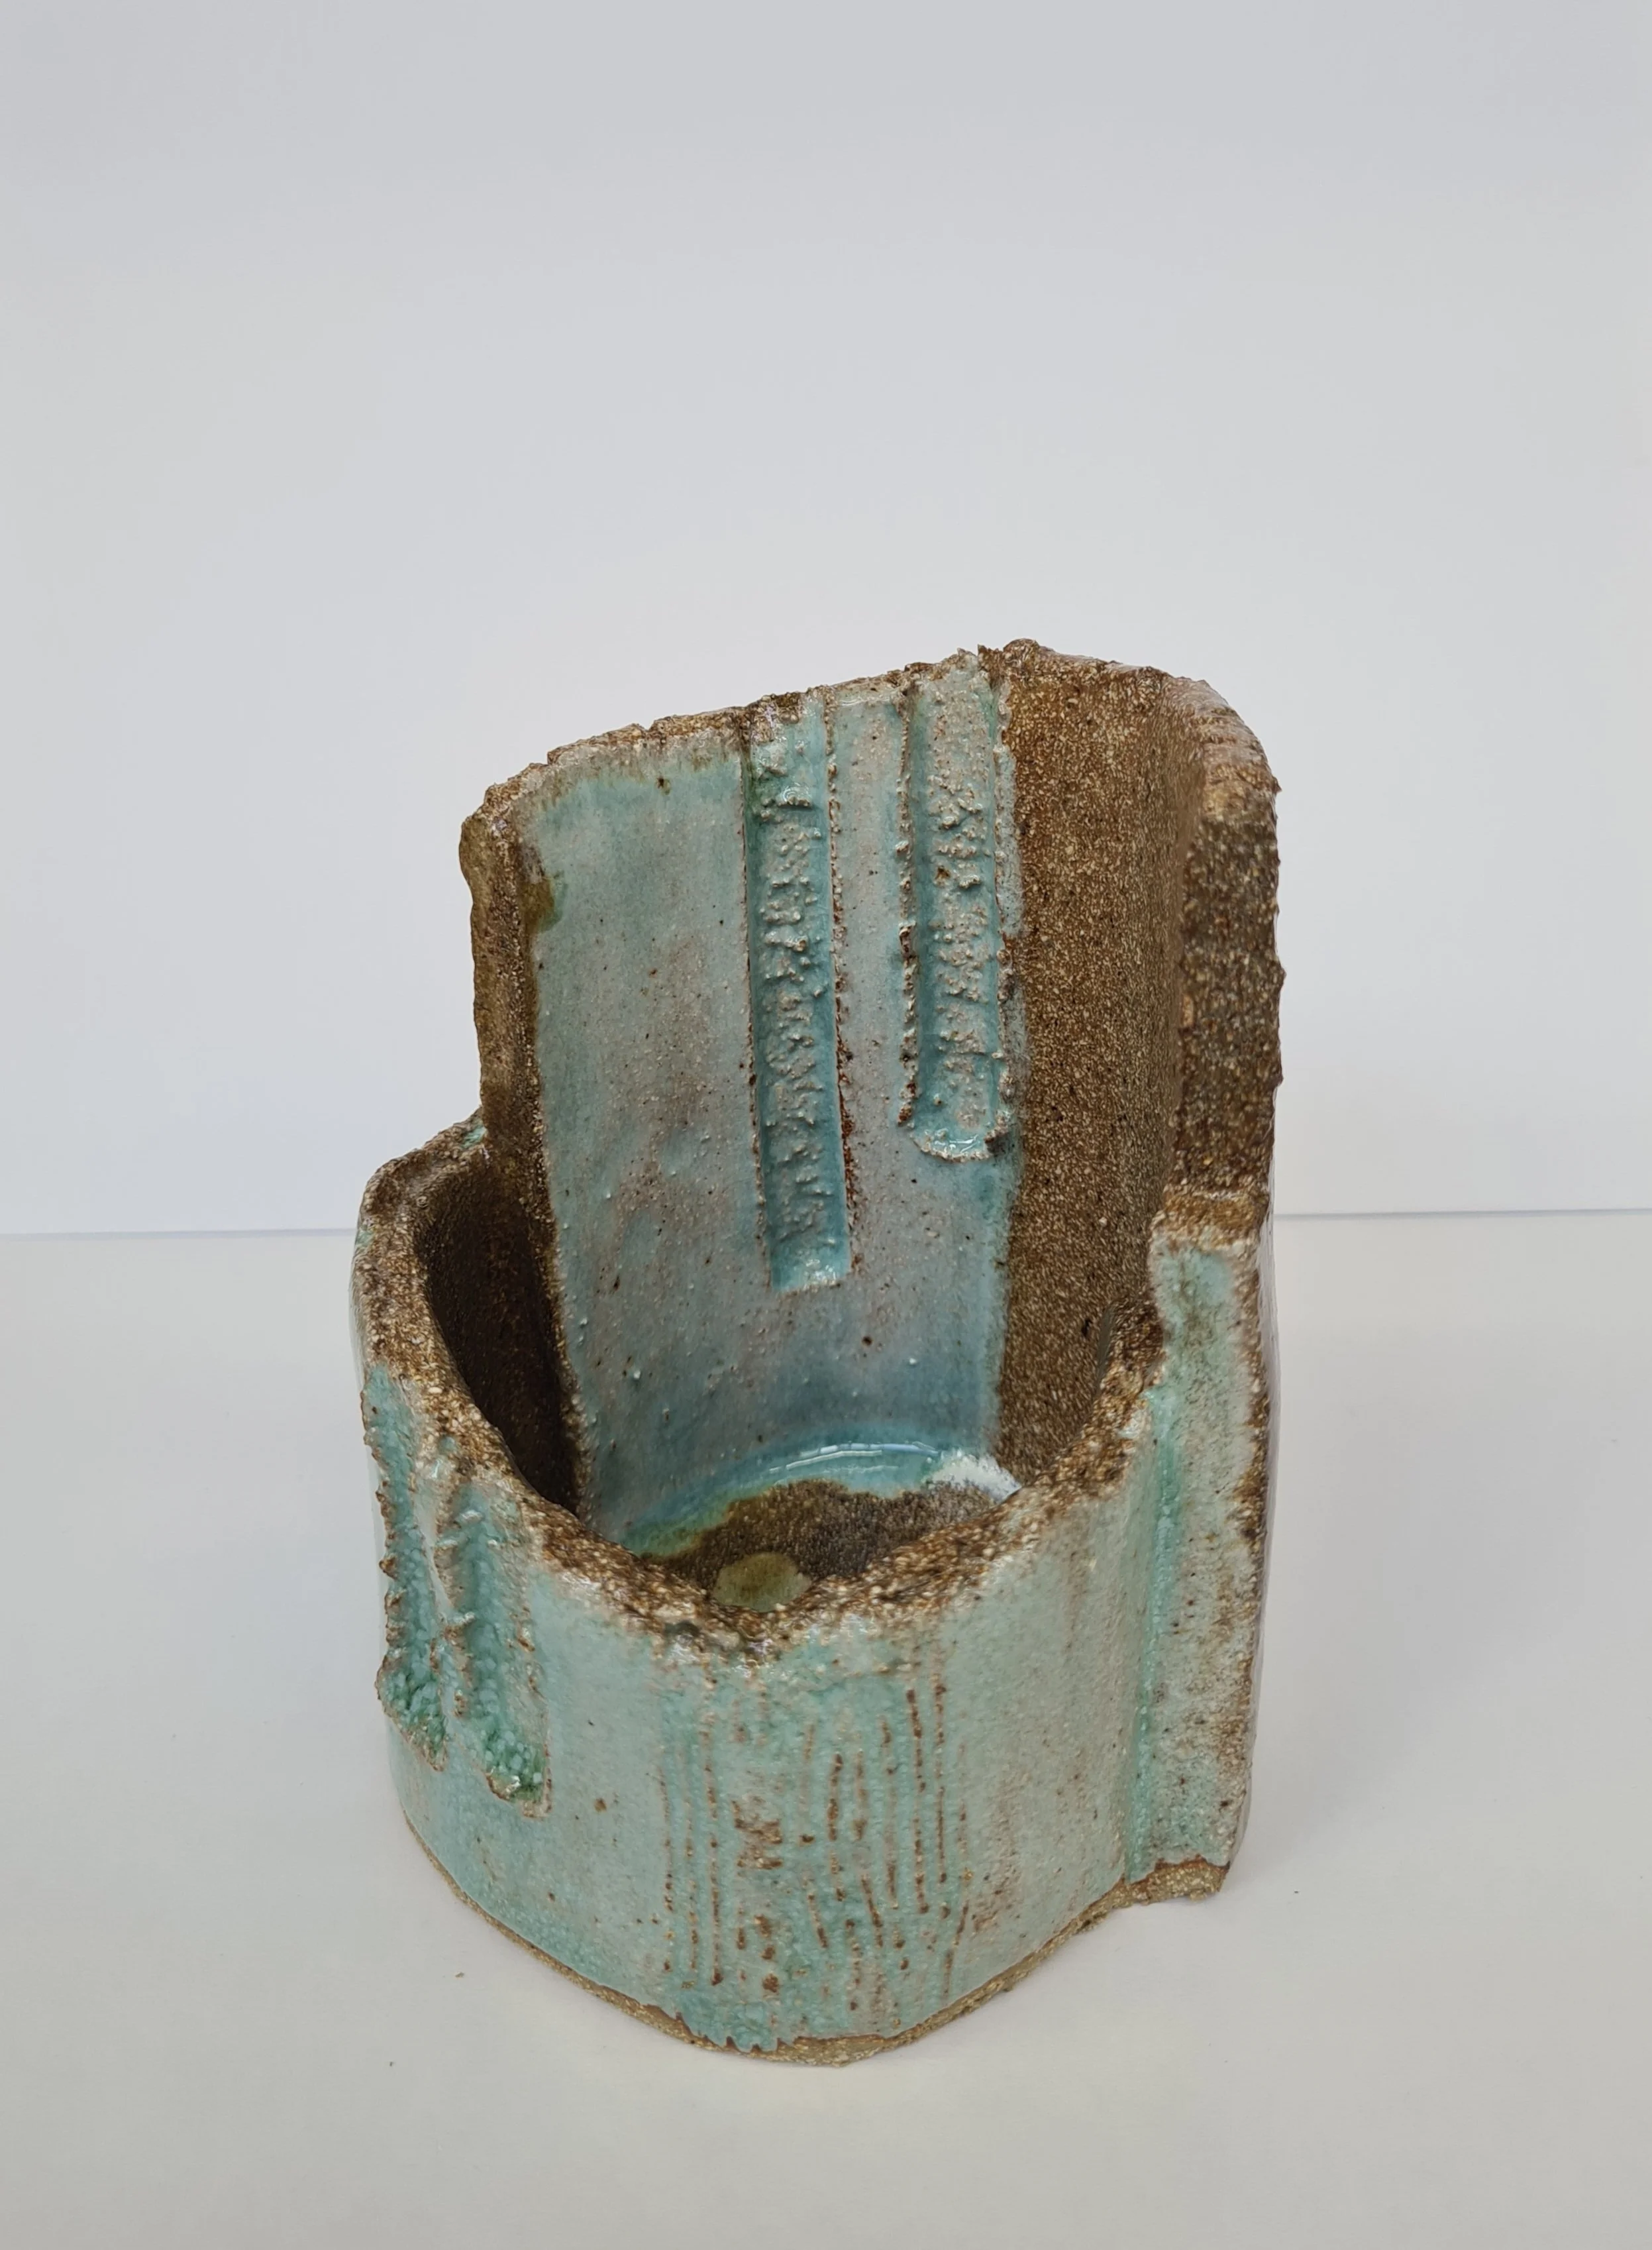
6- This was in an oxidation soak for 1 hour at 1290’c. I used craft crank clay. I tried Recipe A and the two Recipe B’s. Th sky blue glaze is the most successful (Which was an accidental glaze) - But the brown areas is suppose to be a bluey mottled brown glaze. It either needs soaking for longer or less, or Recipe A glaze needs applying over the top more thickly.
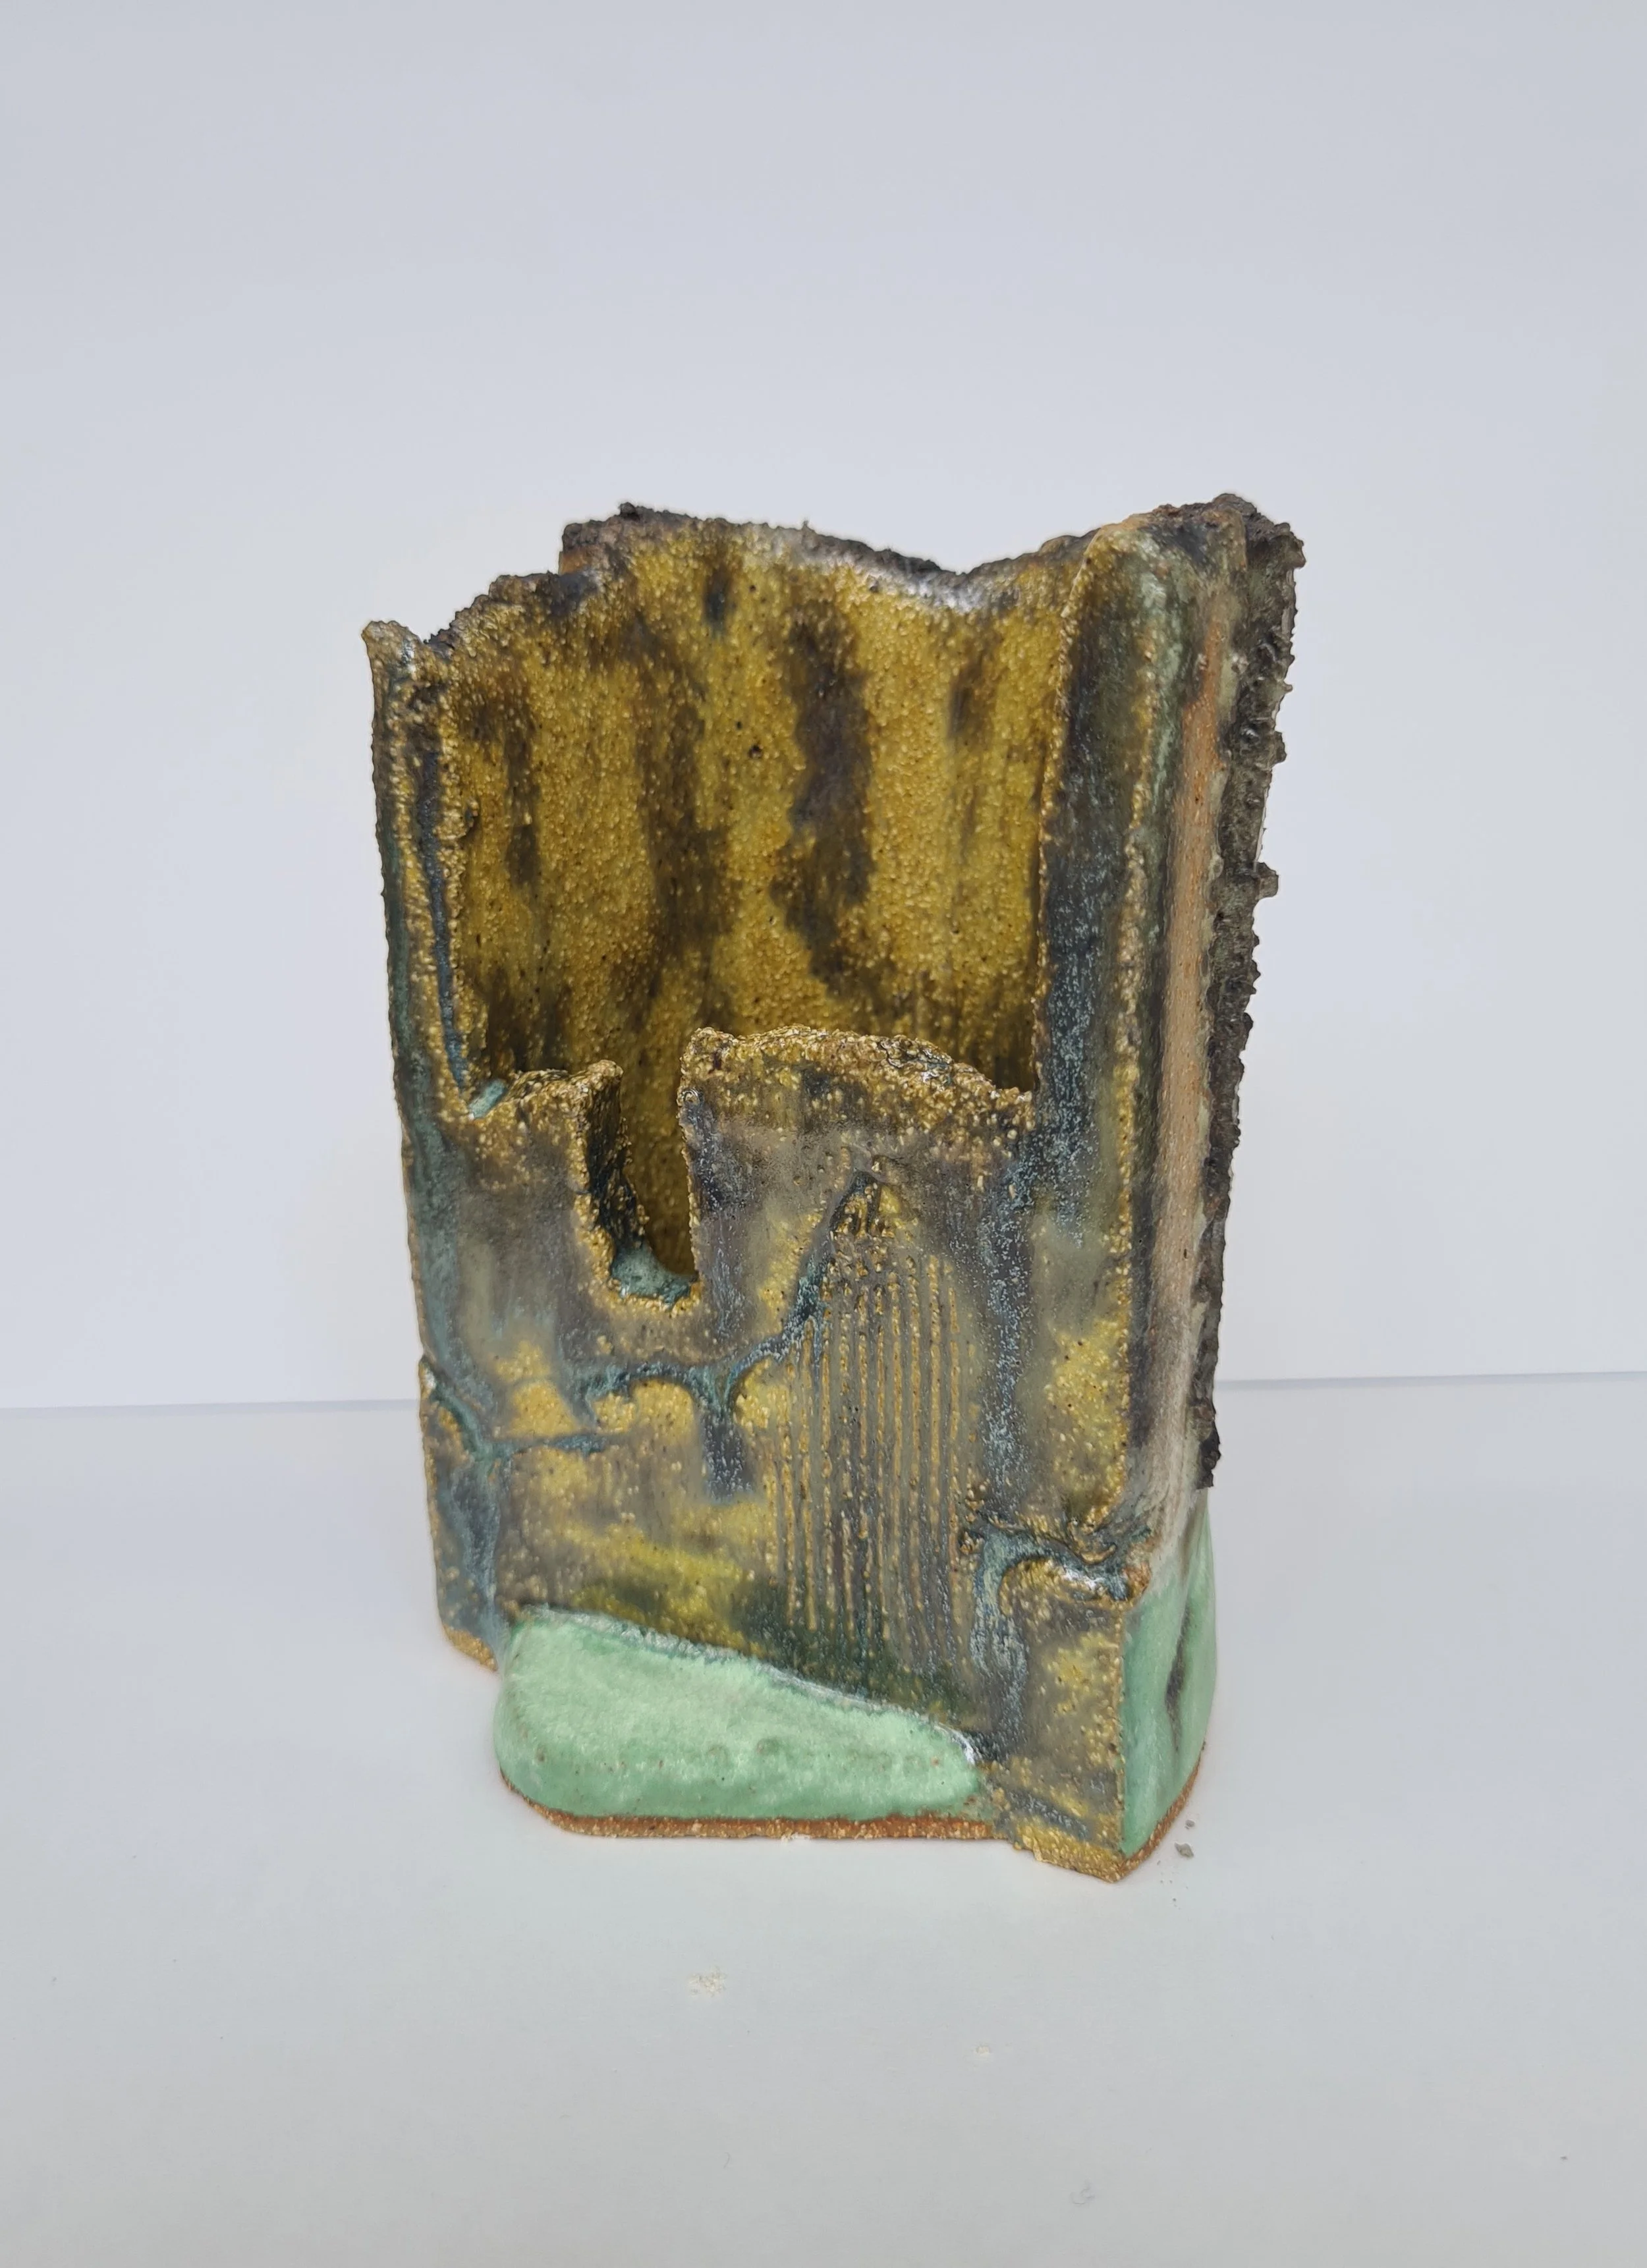
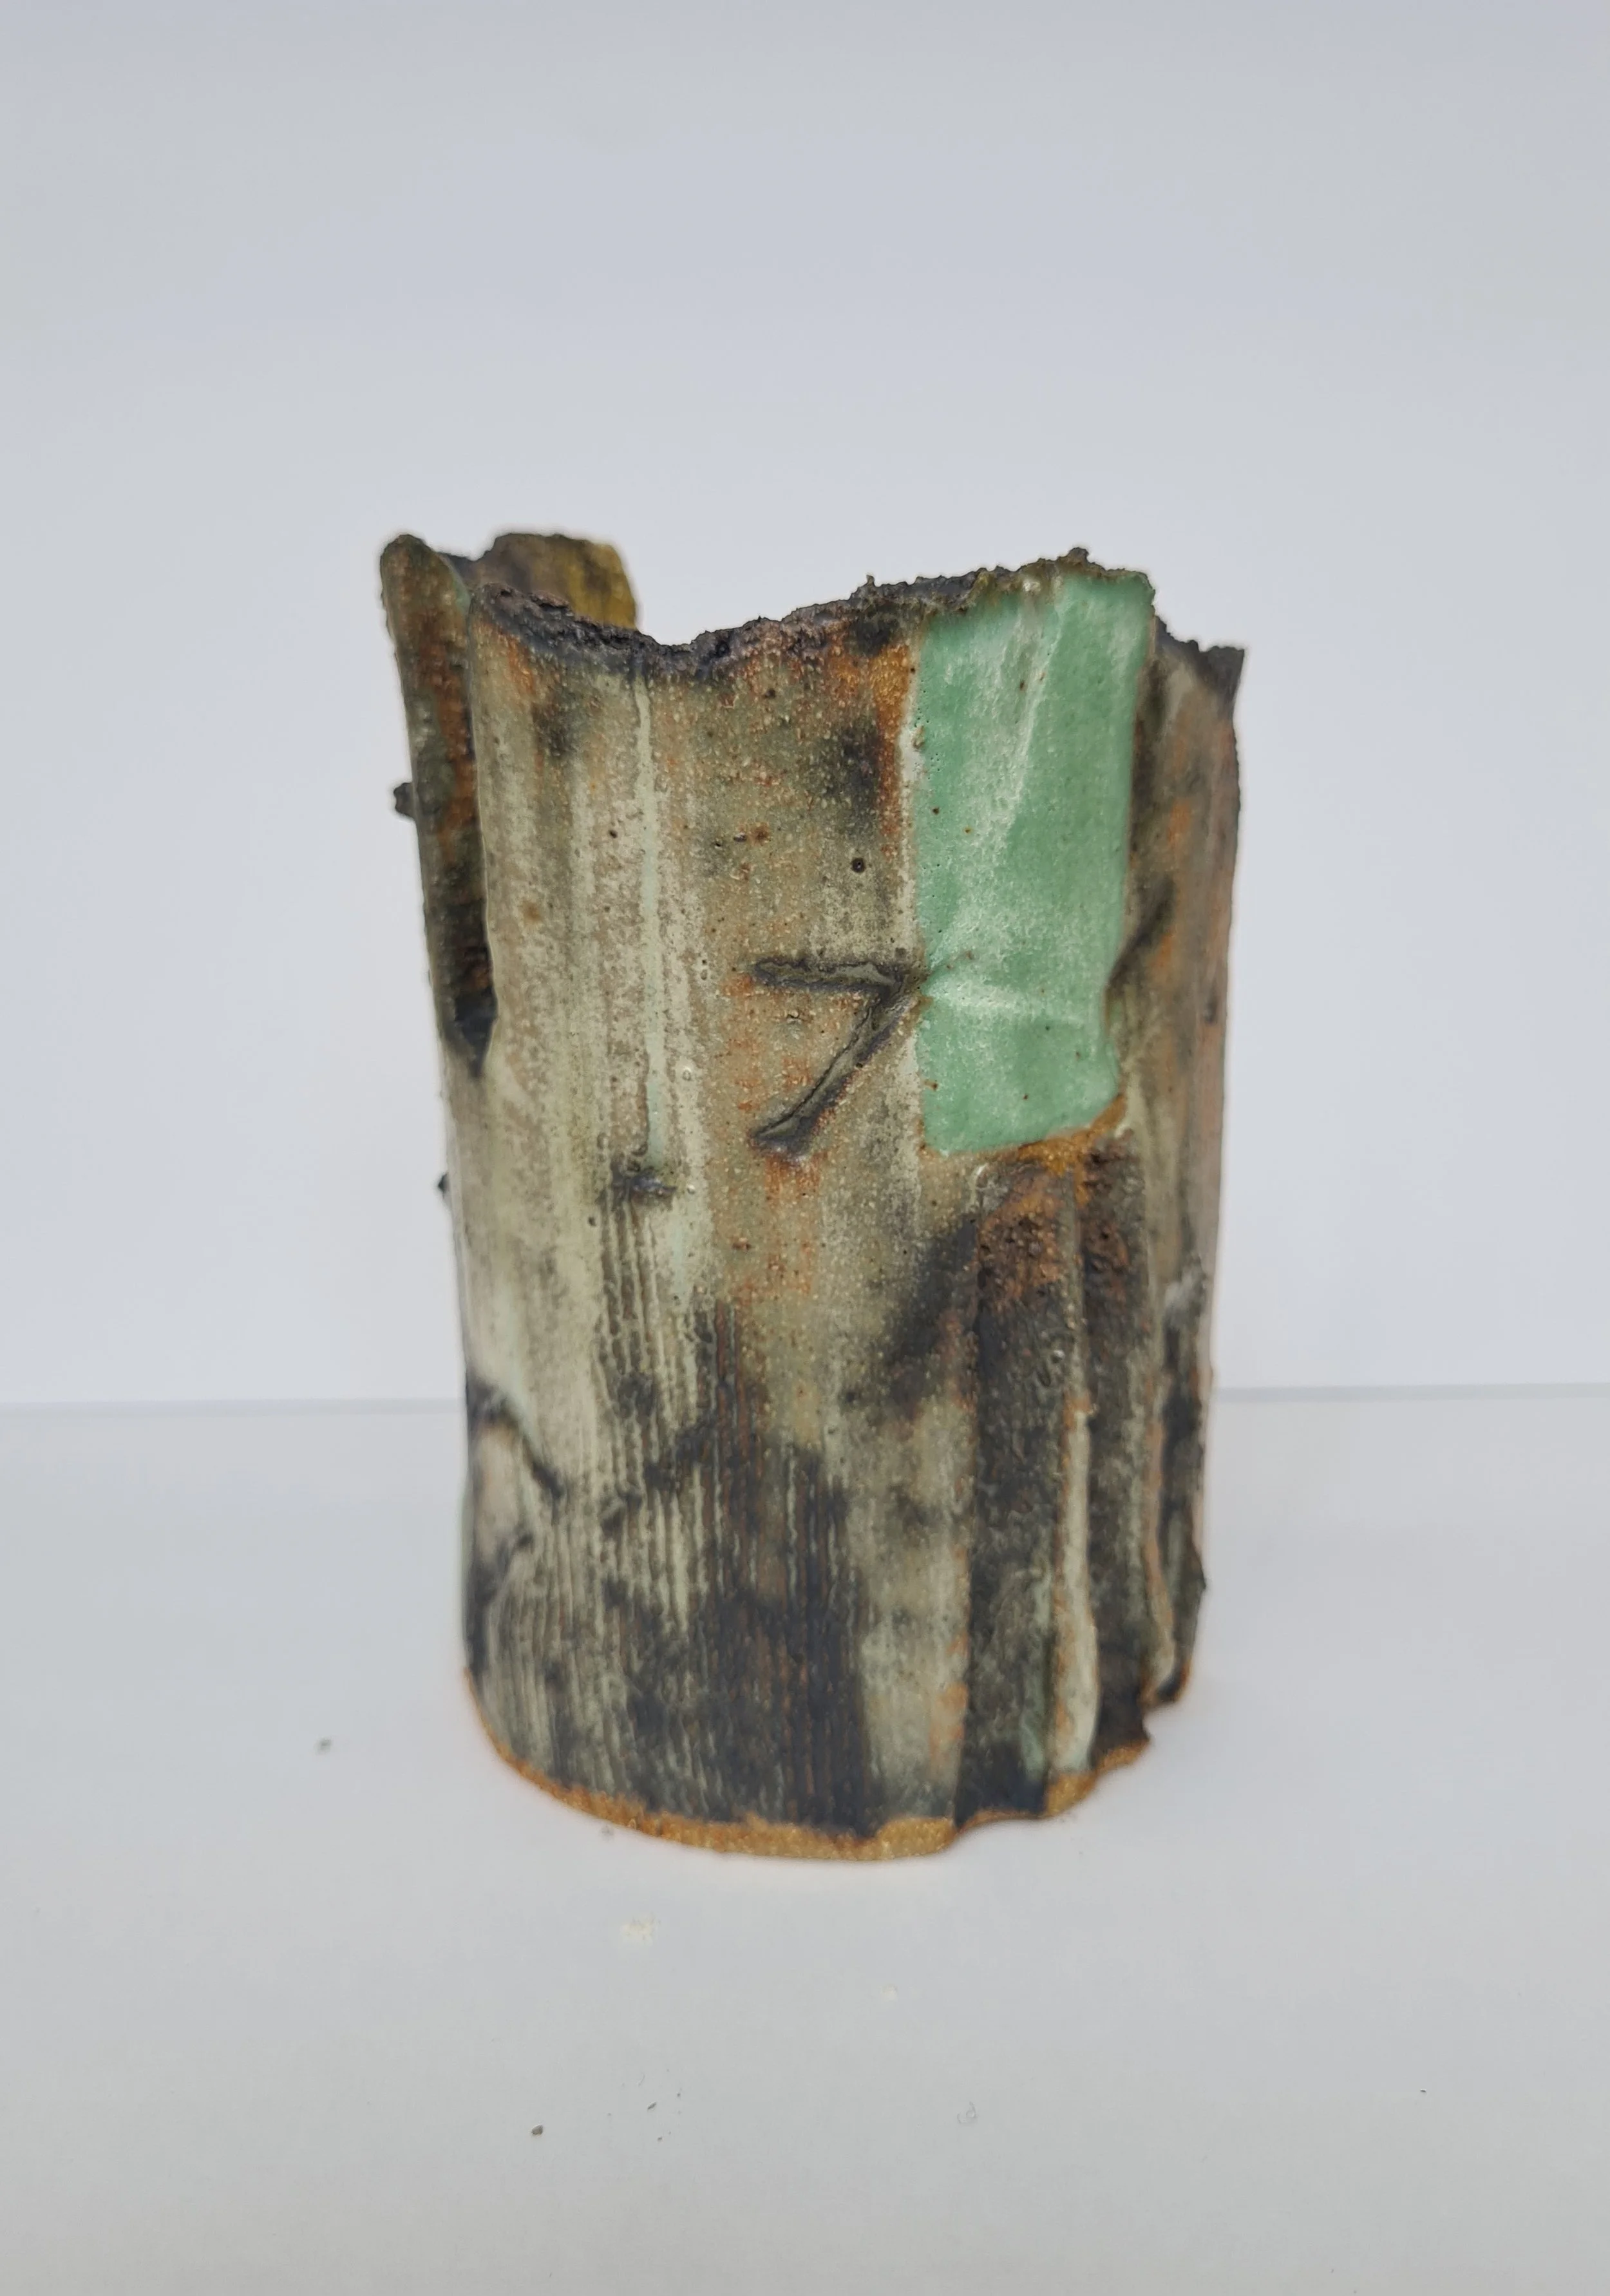
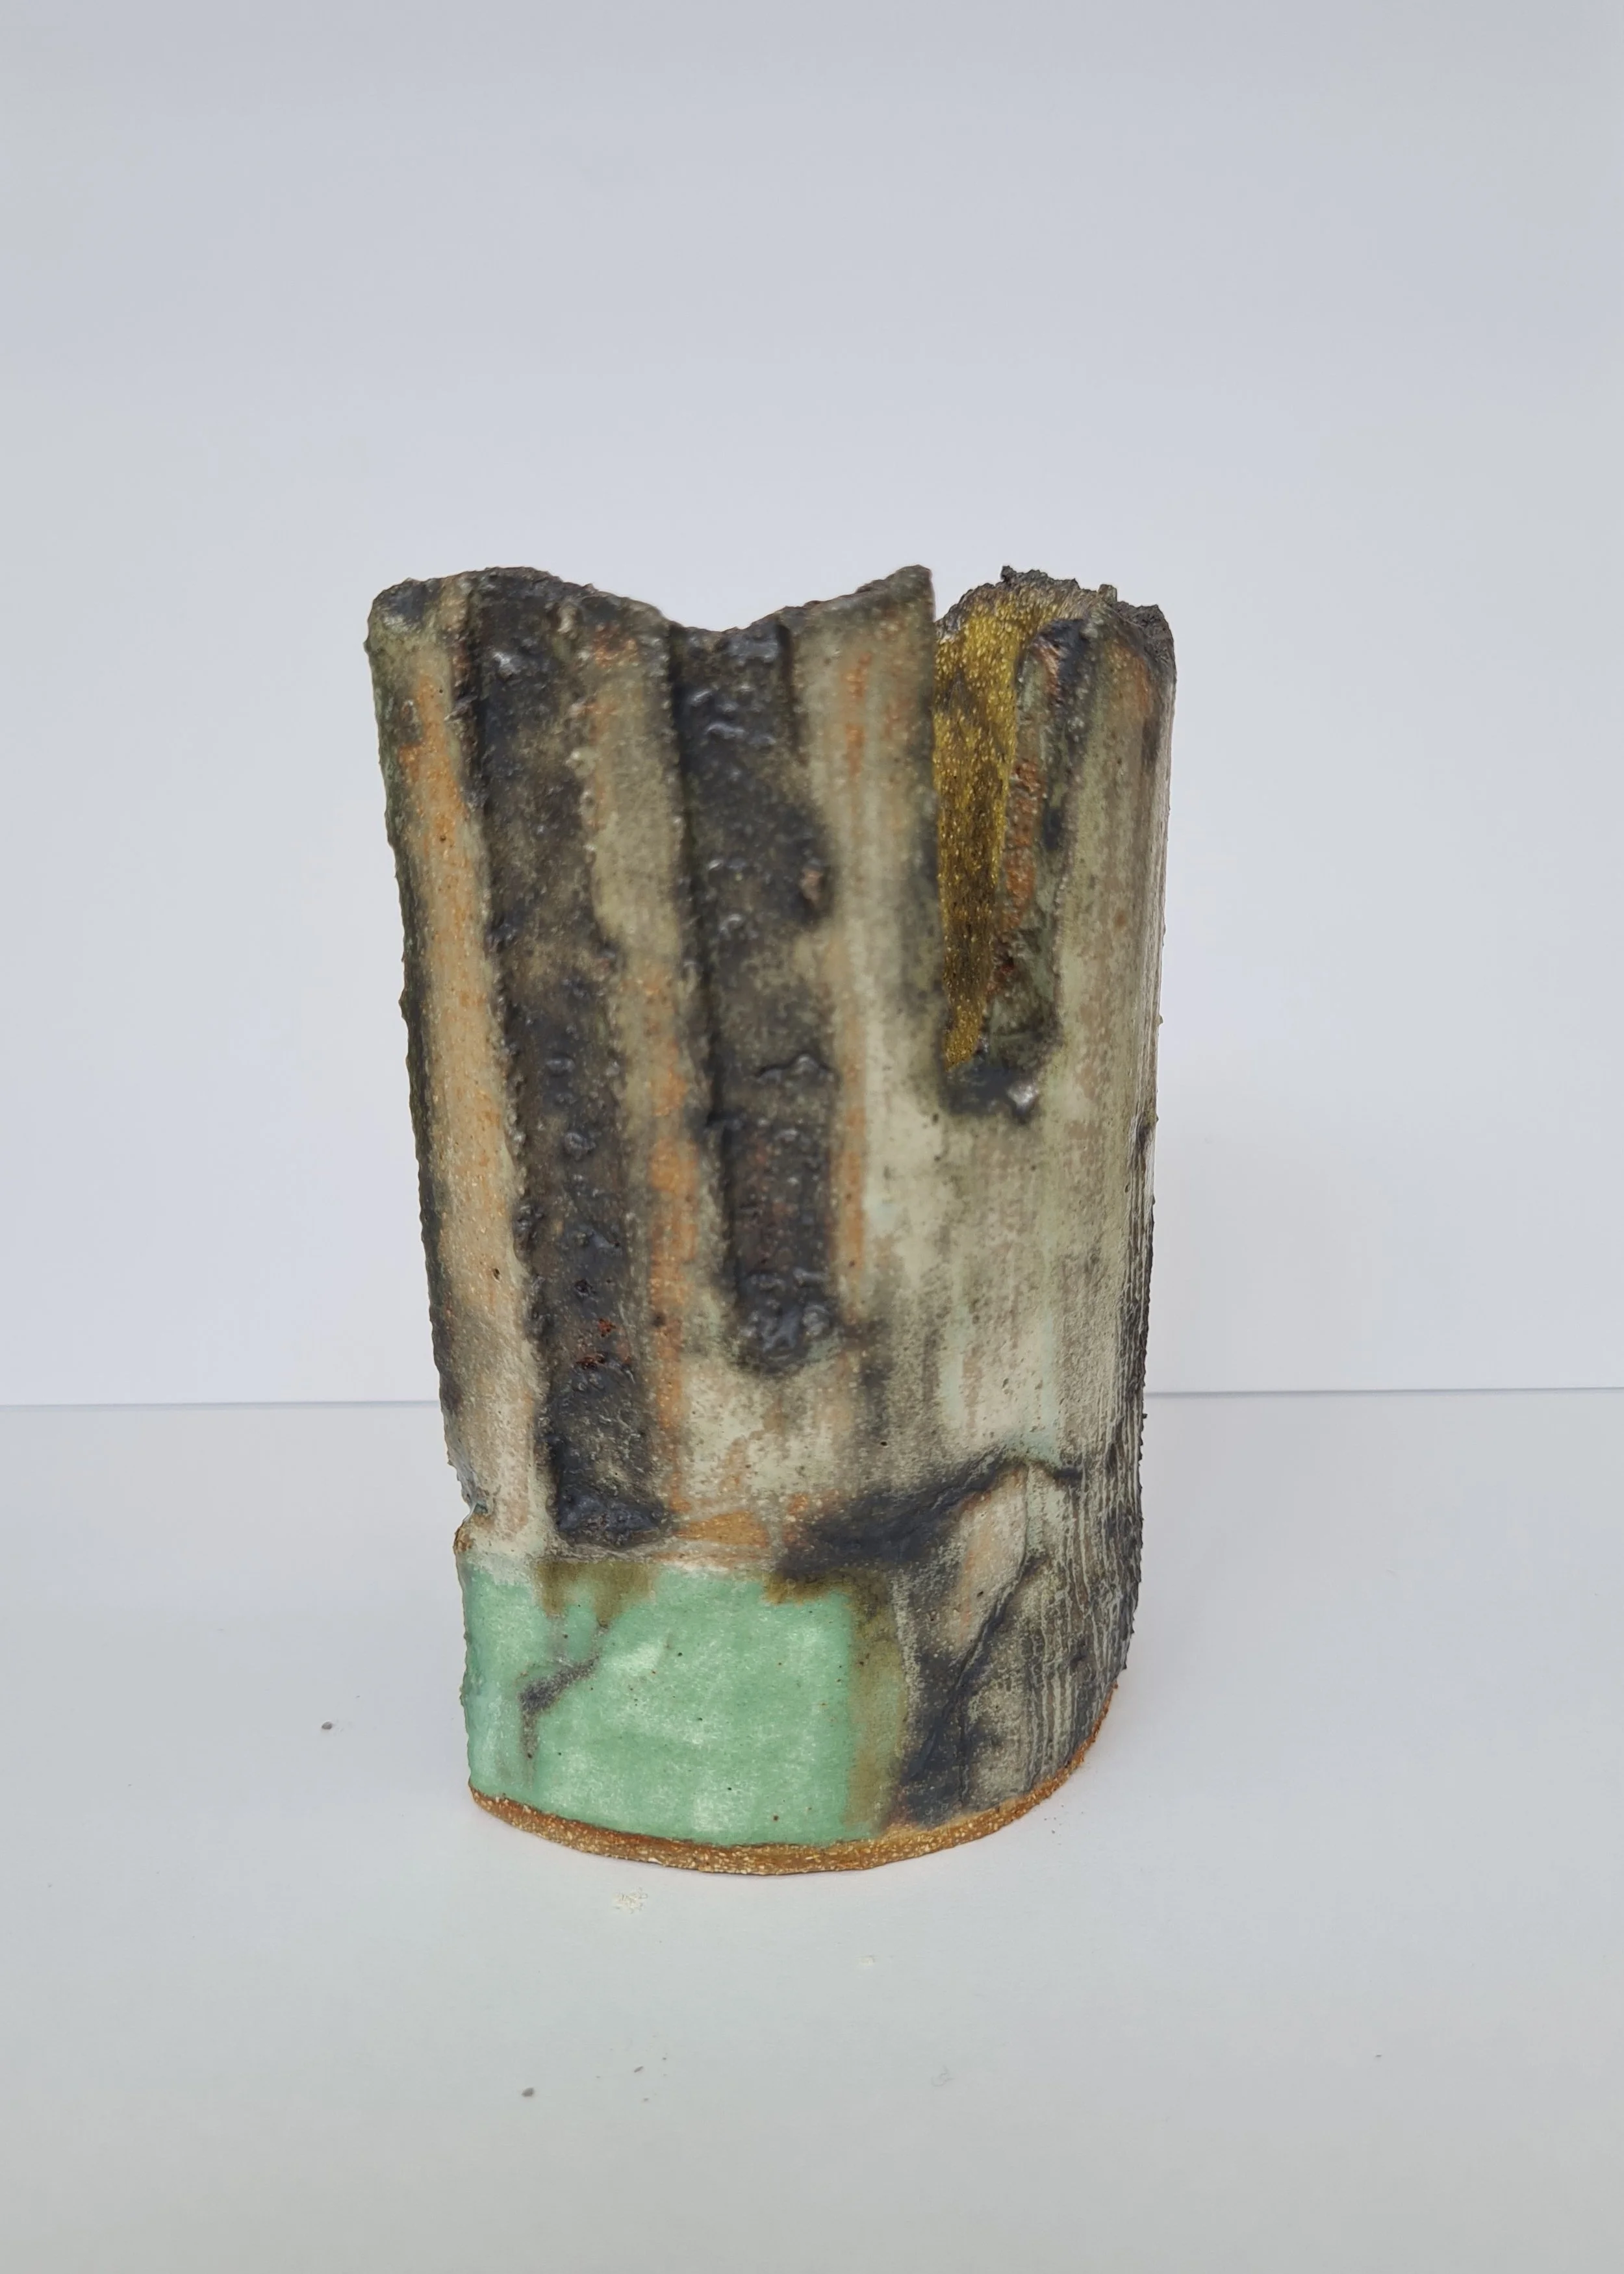
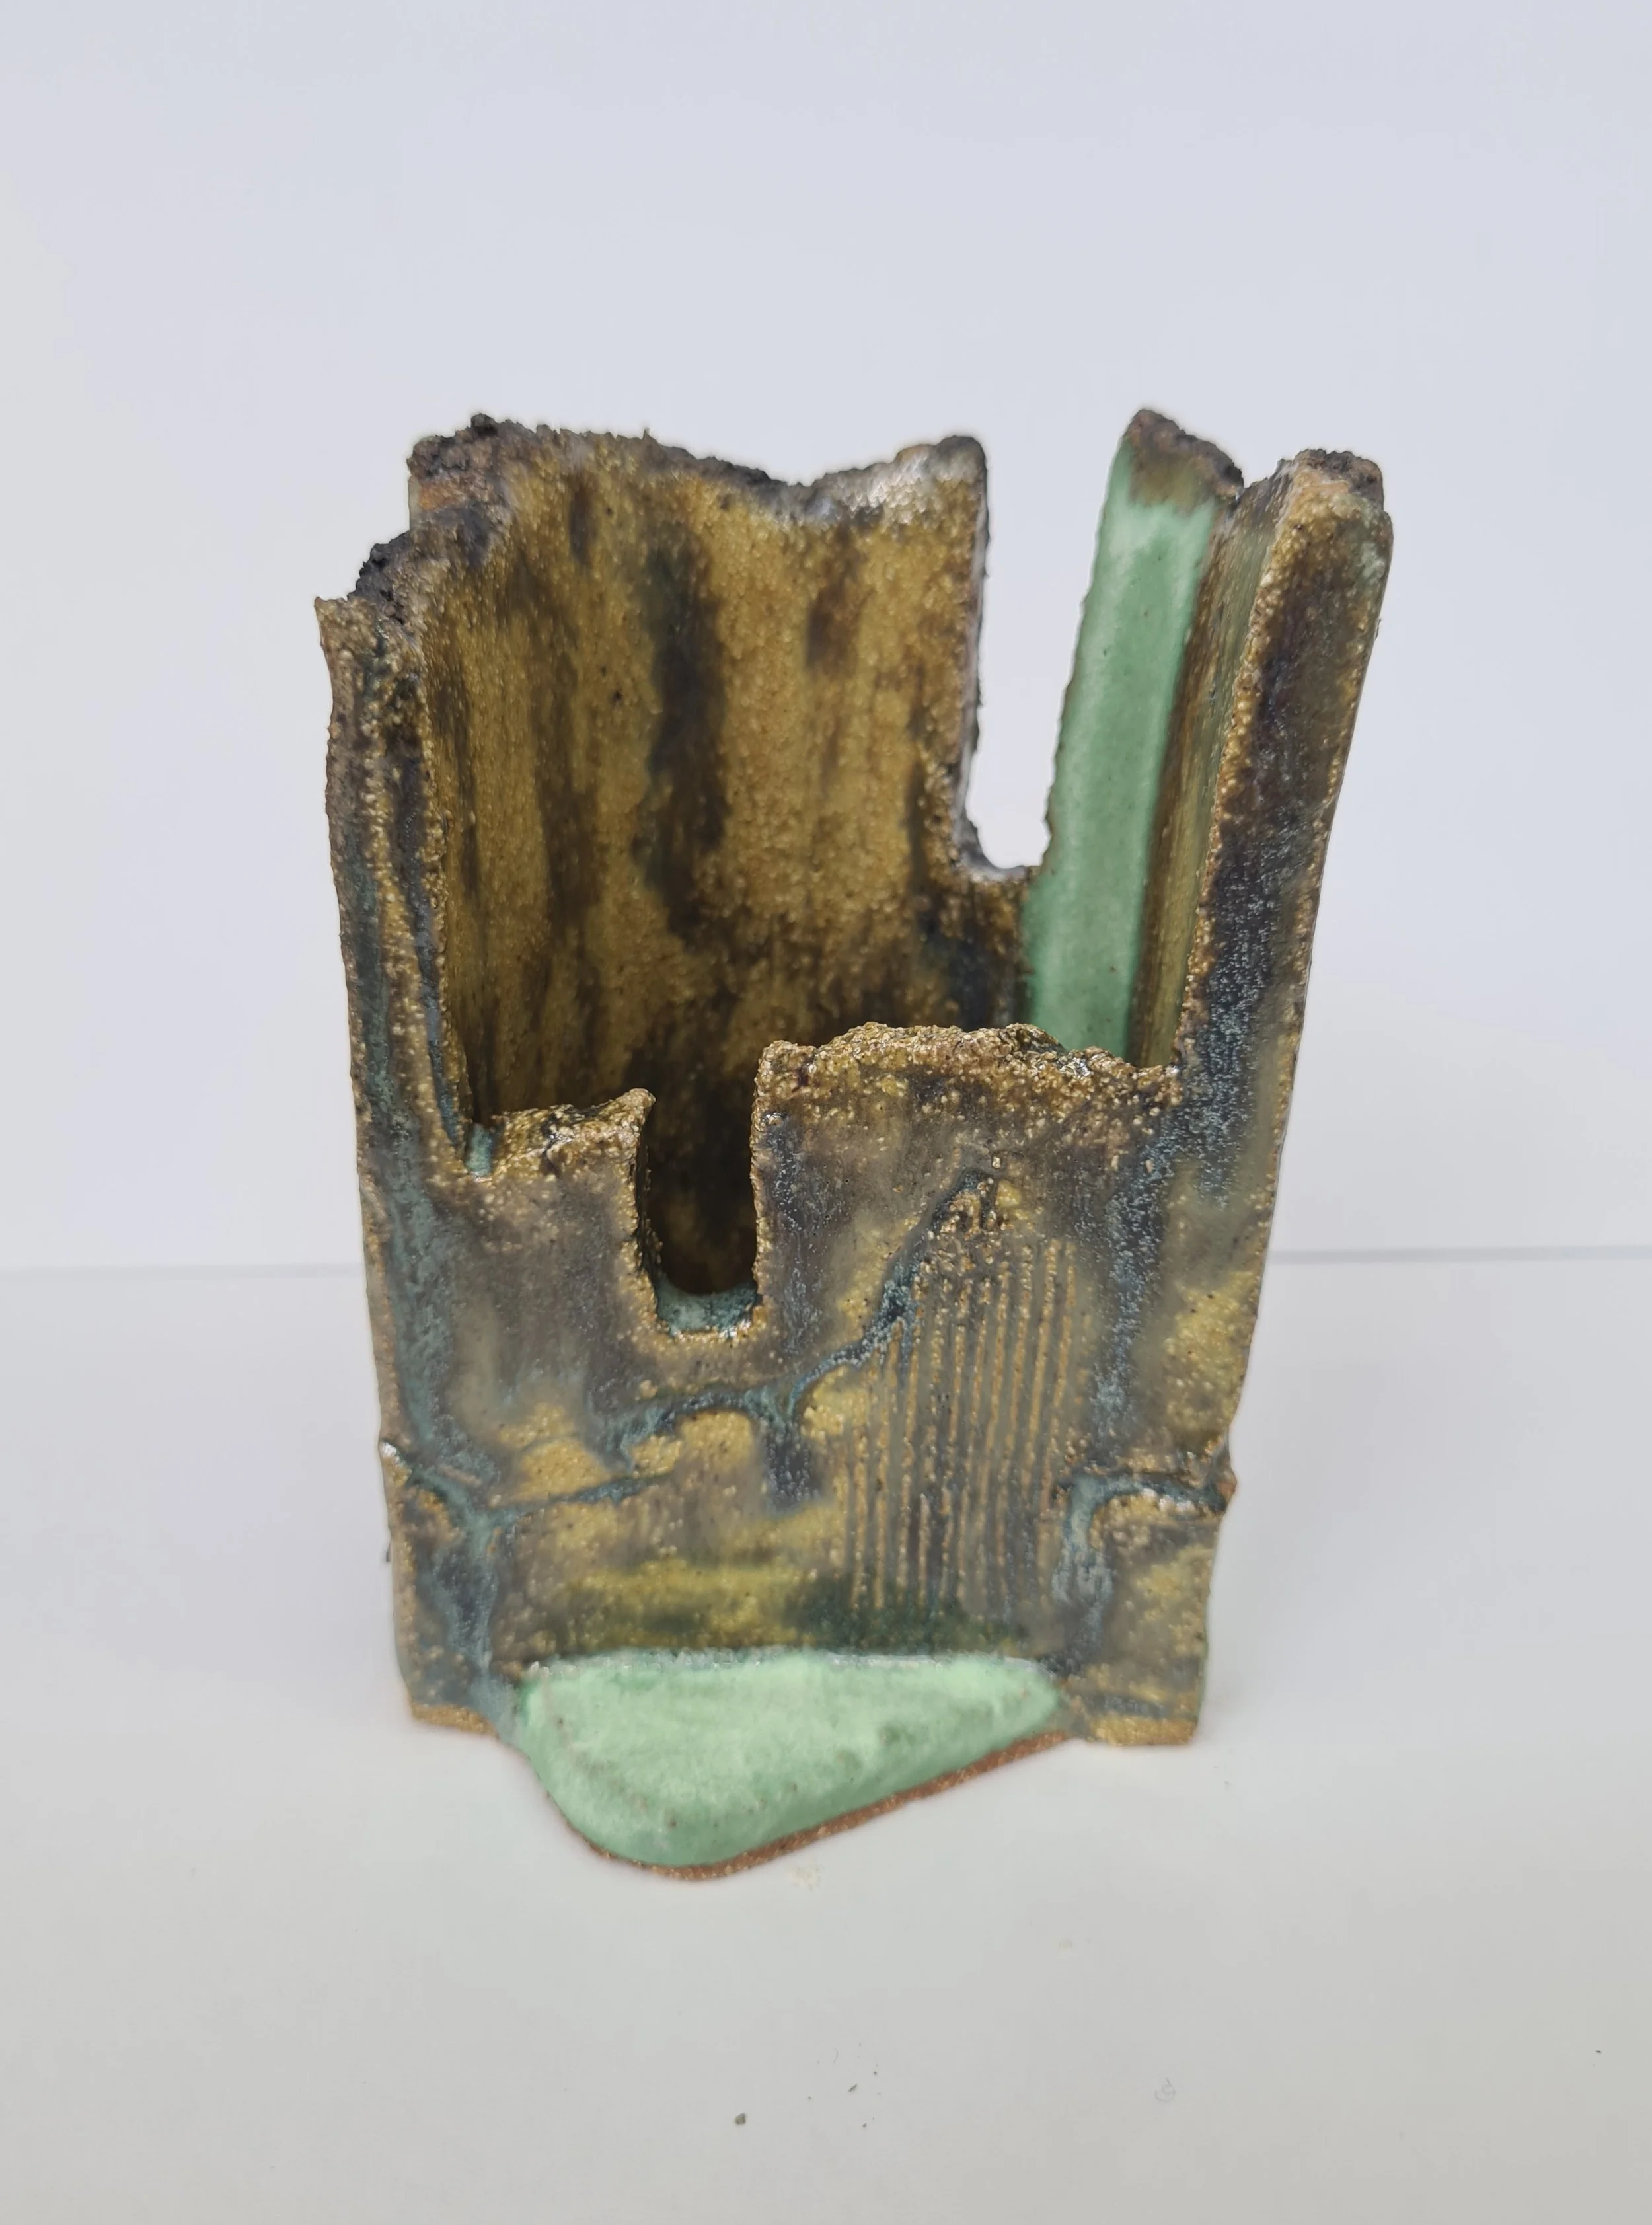
7- On the front is the oxidation green glaze, which turned out completely different to the test tile. The green patches is the transparent glaze with 5% chartreuse stain. The back area is the transparent glaze with 8% titanium with copper carb underneath. This inspired the fragmented slab built vessel I made. This was fired in oxidation at 1280’c. Really, I should have seen how the oxidation green reacted here and knew not to put it onto my largest sculpture yet!
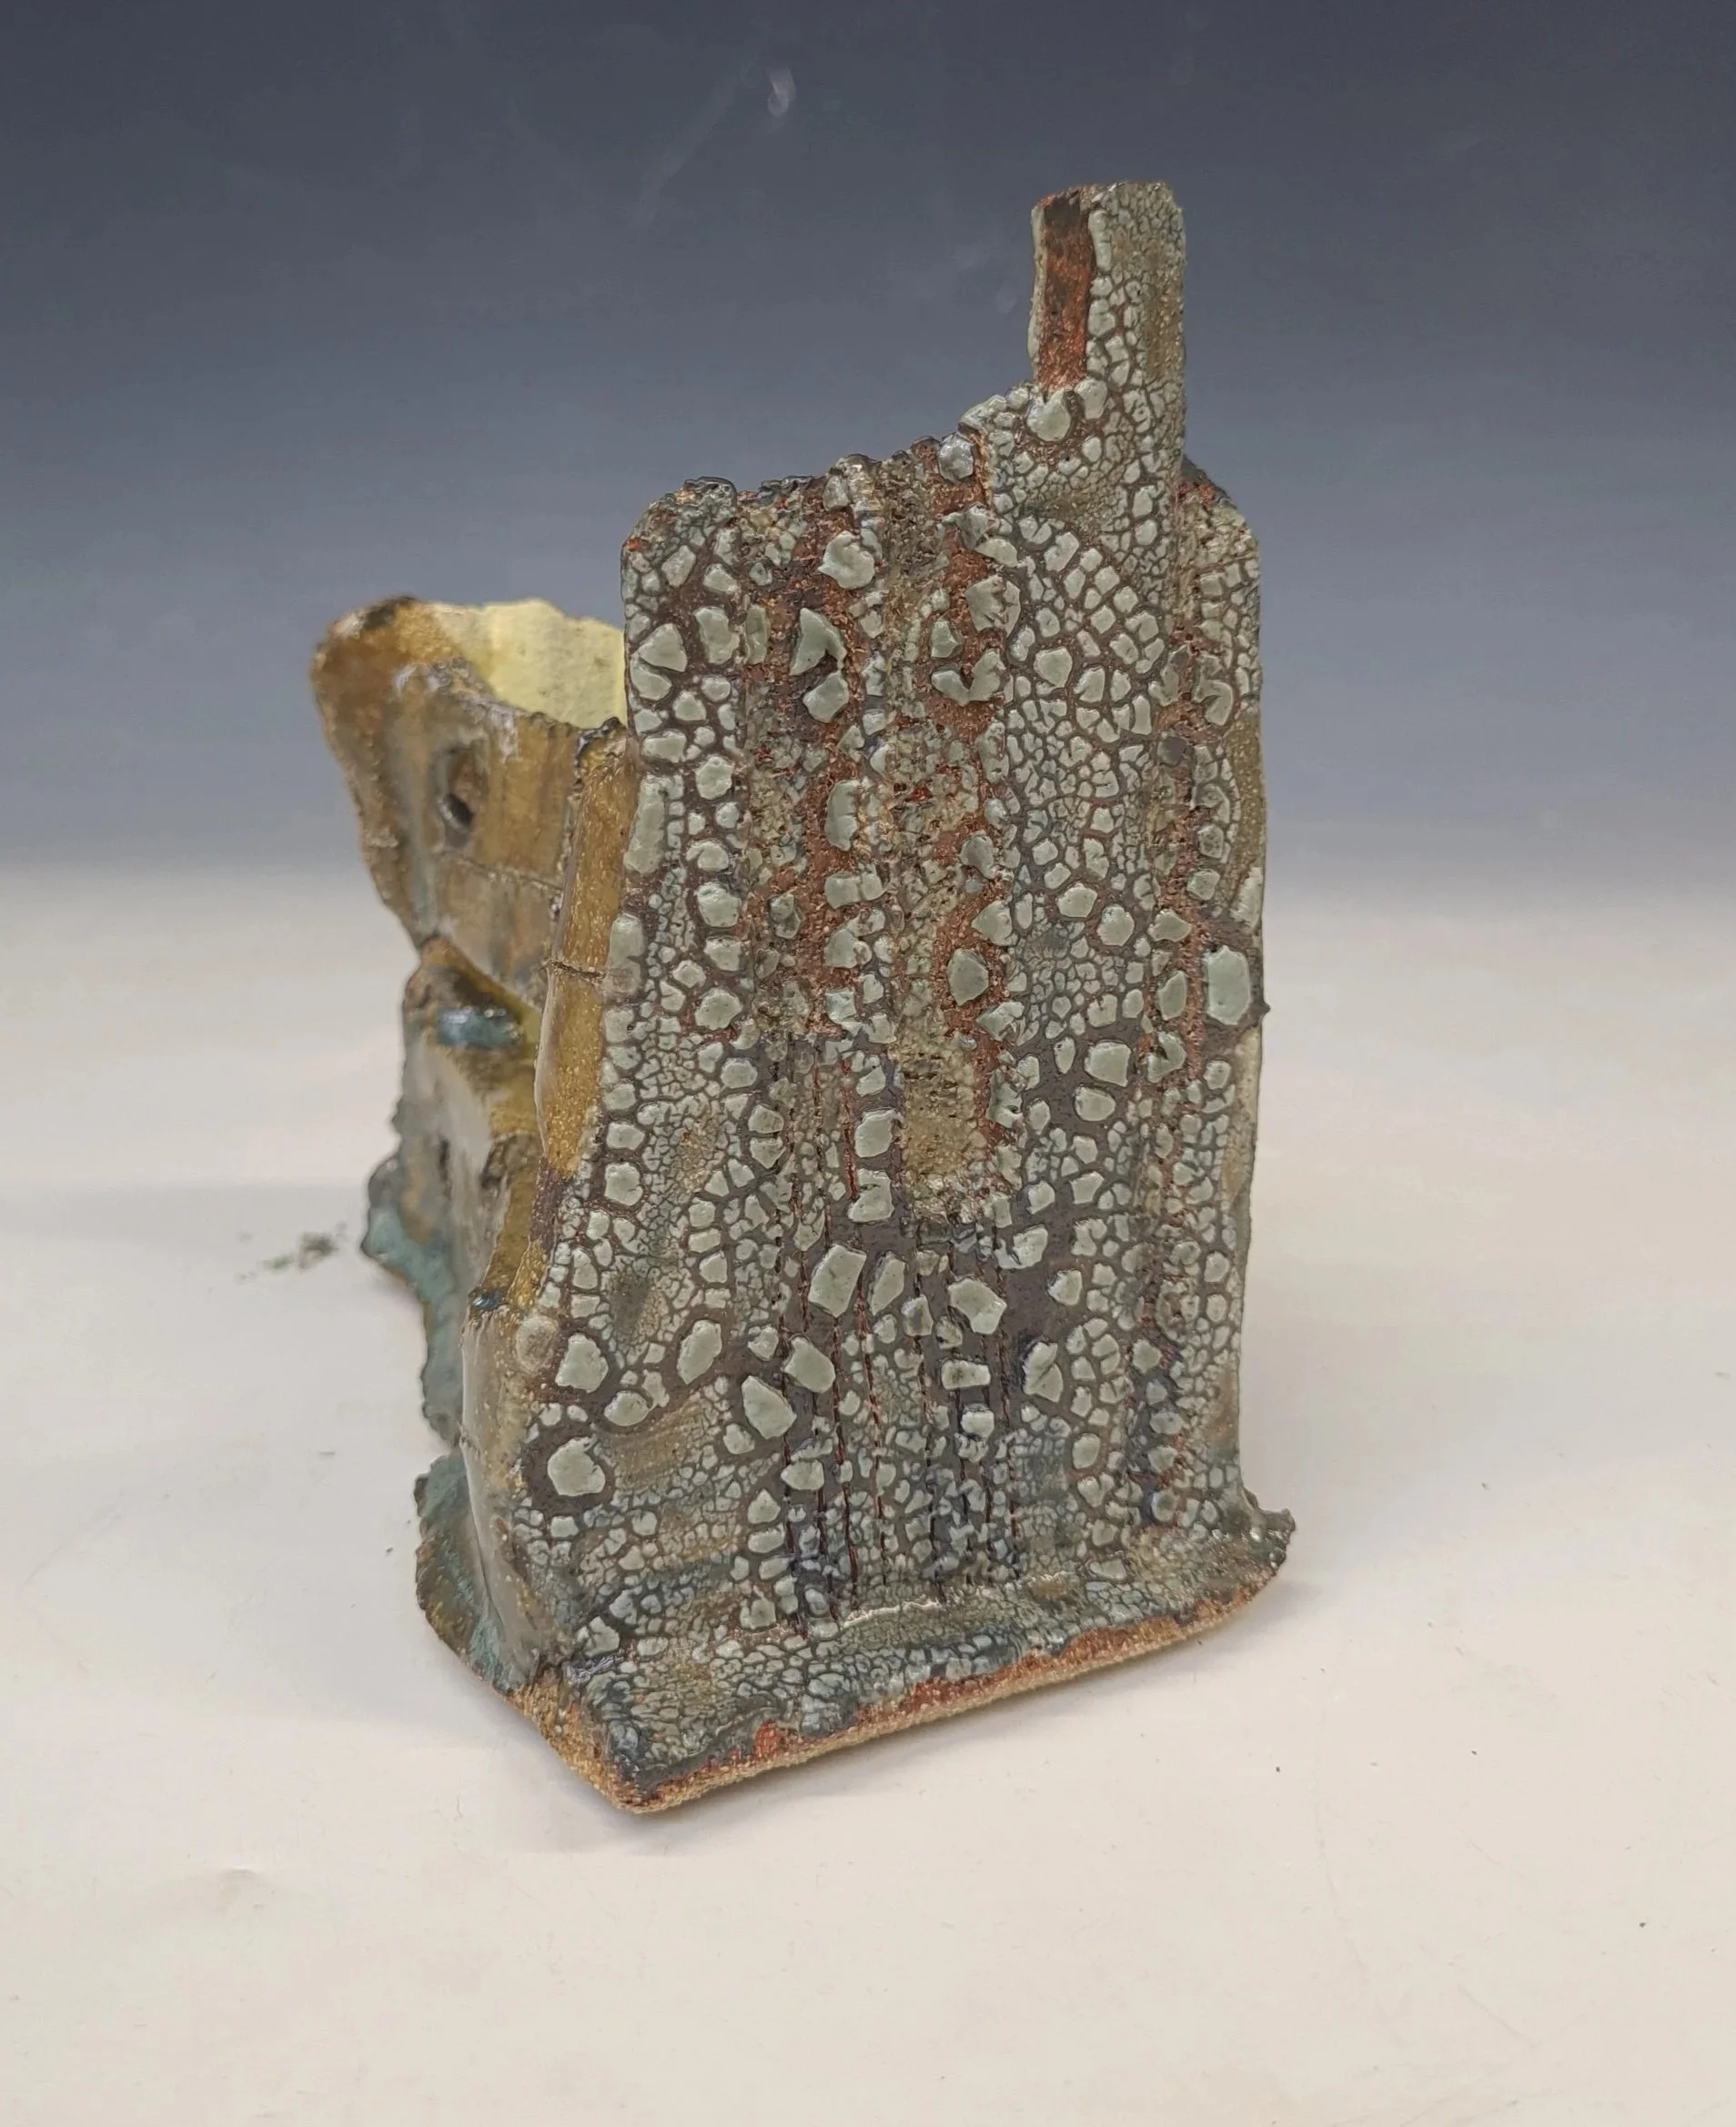
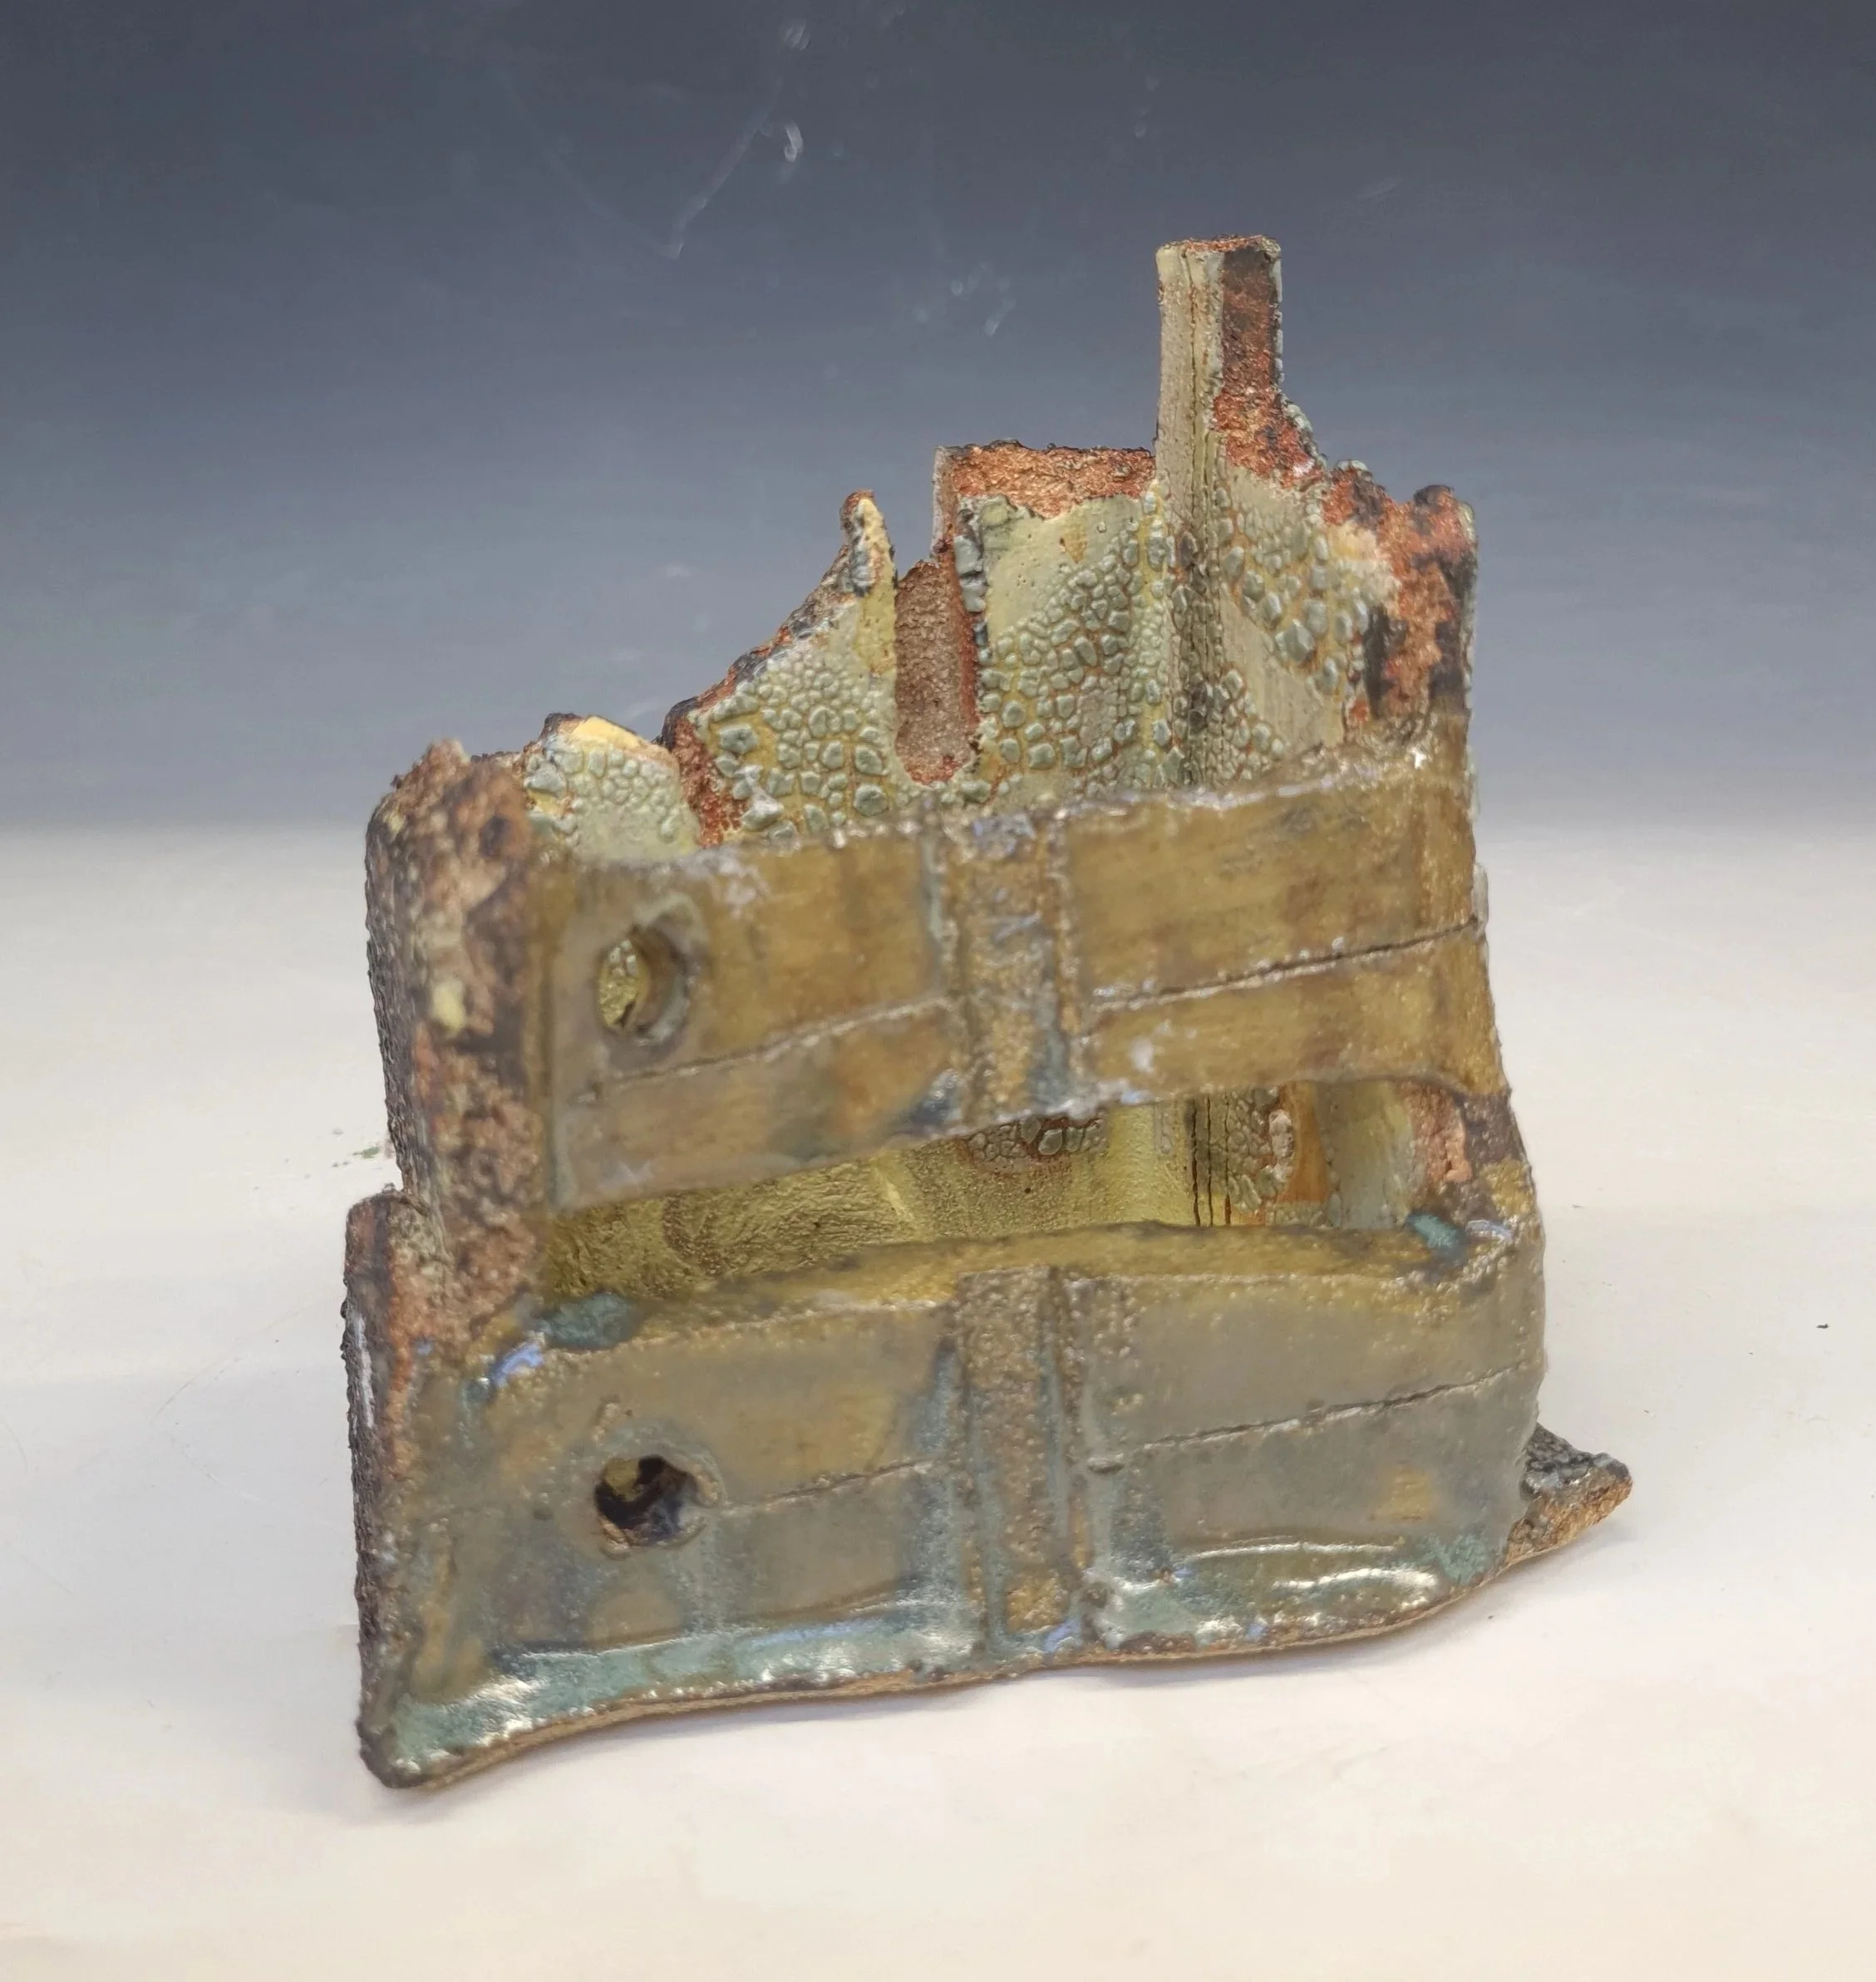
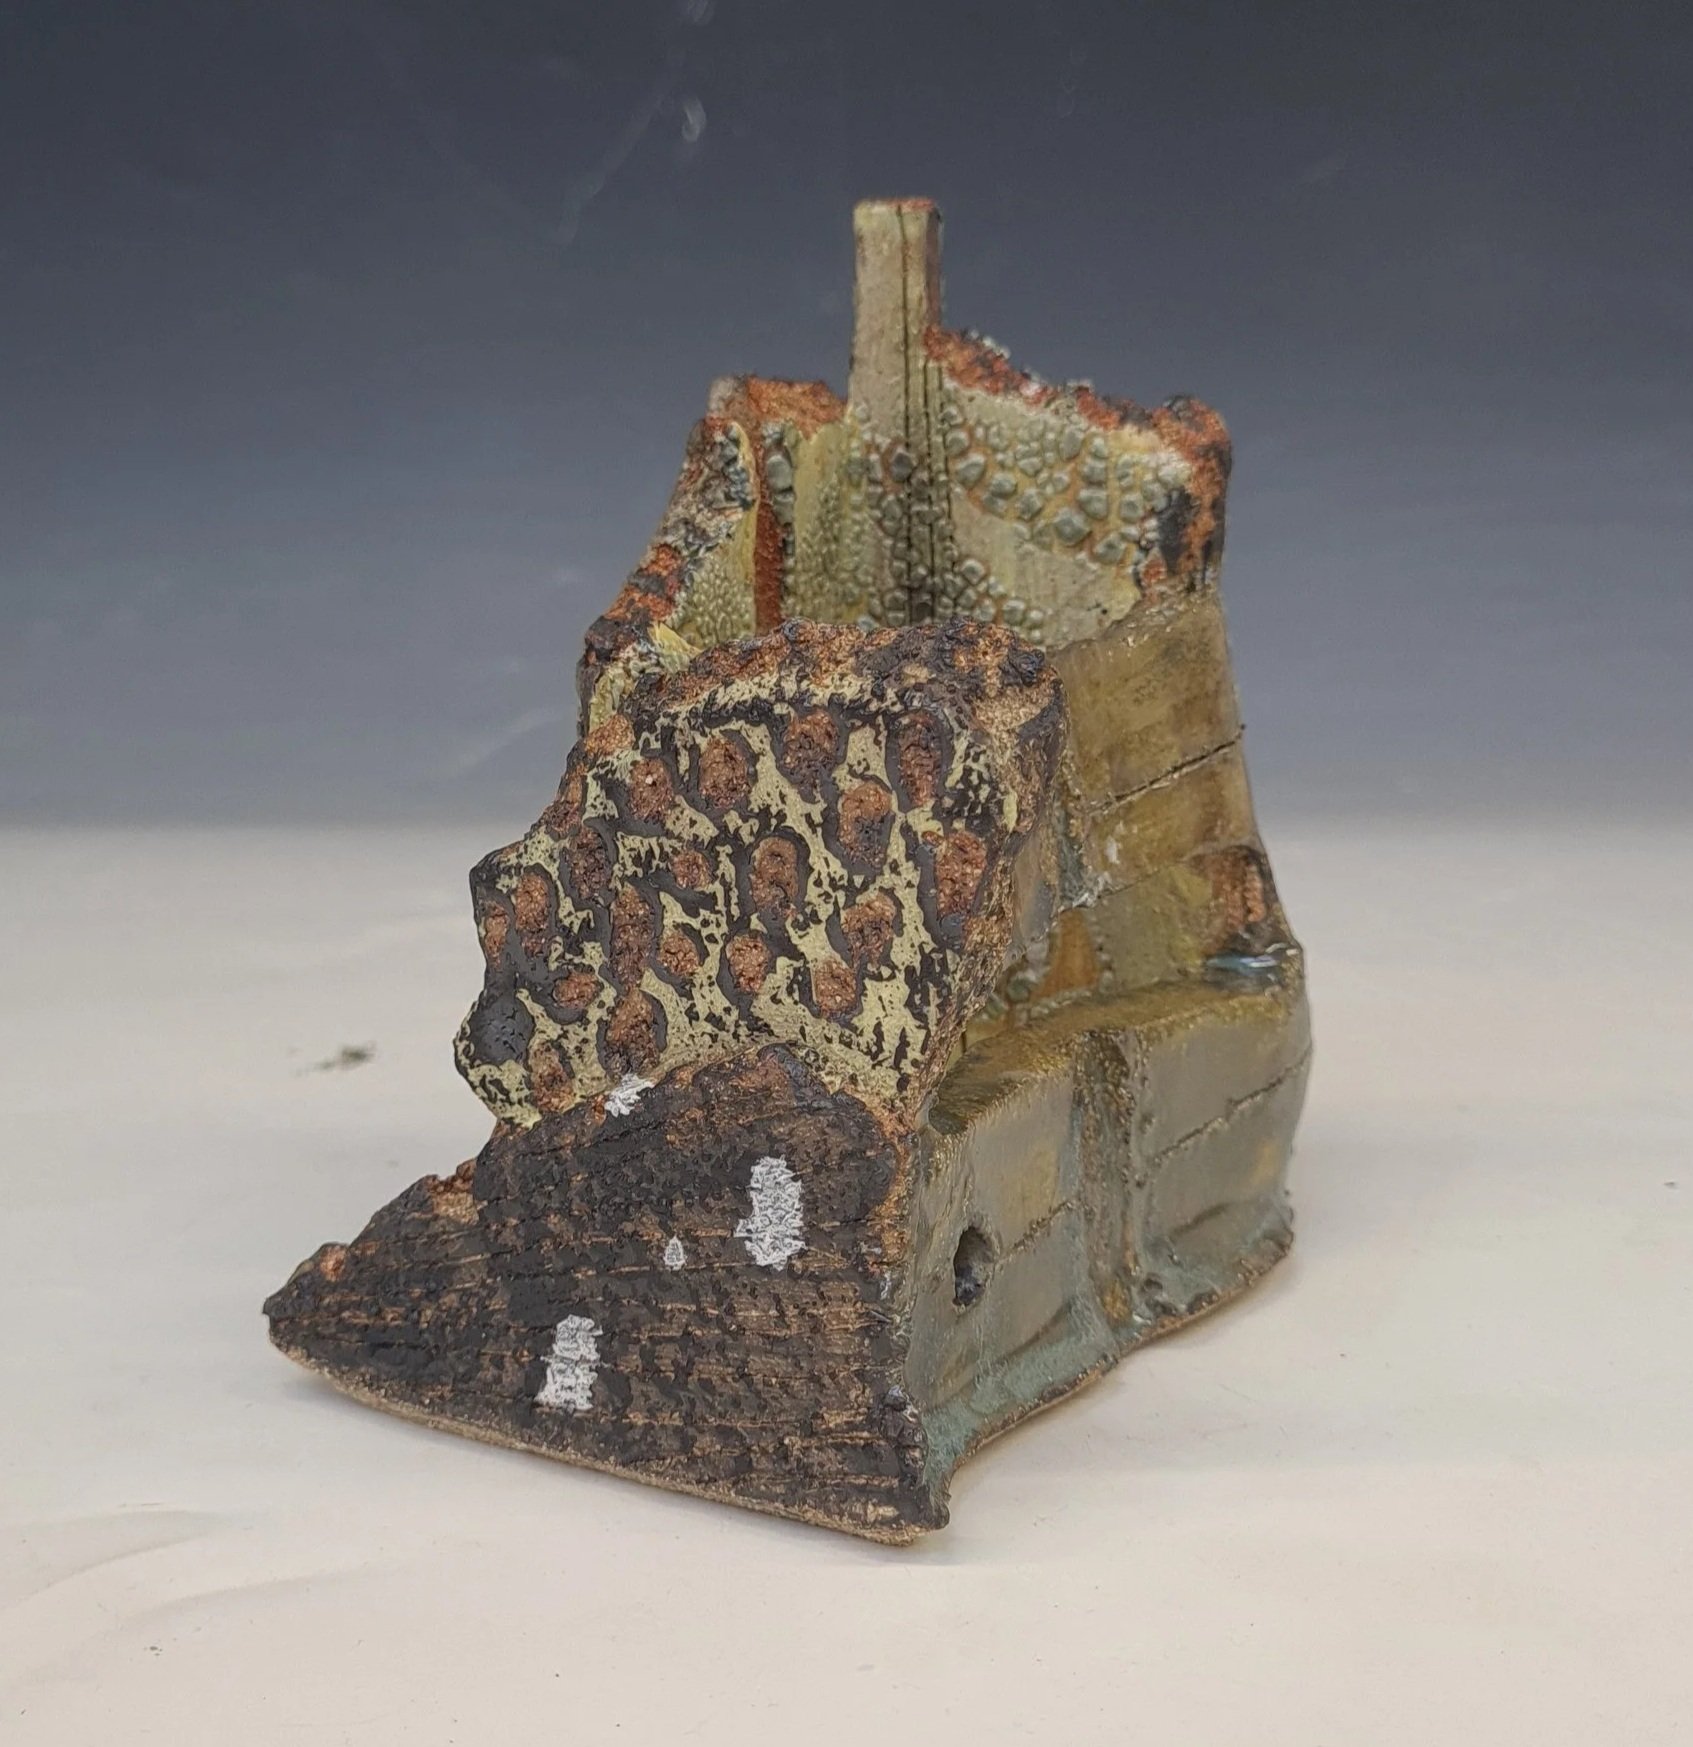
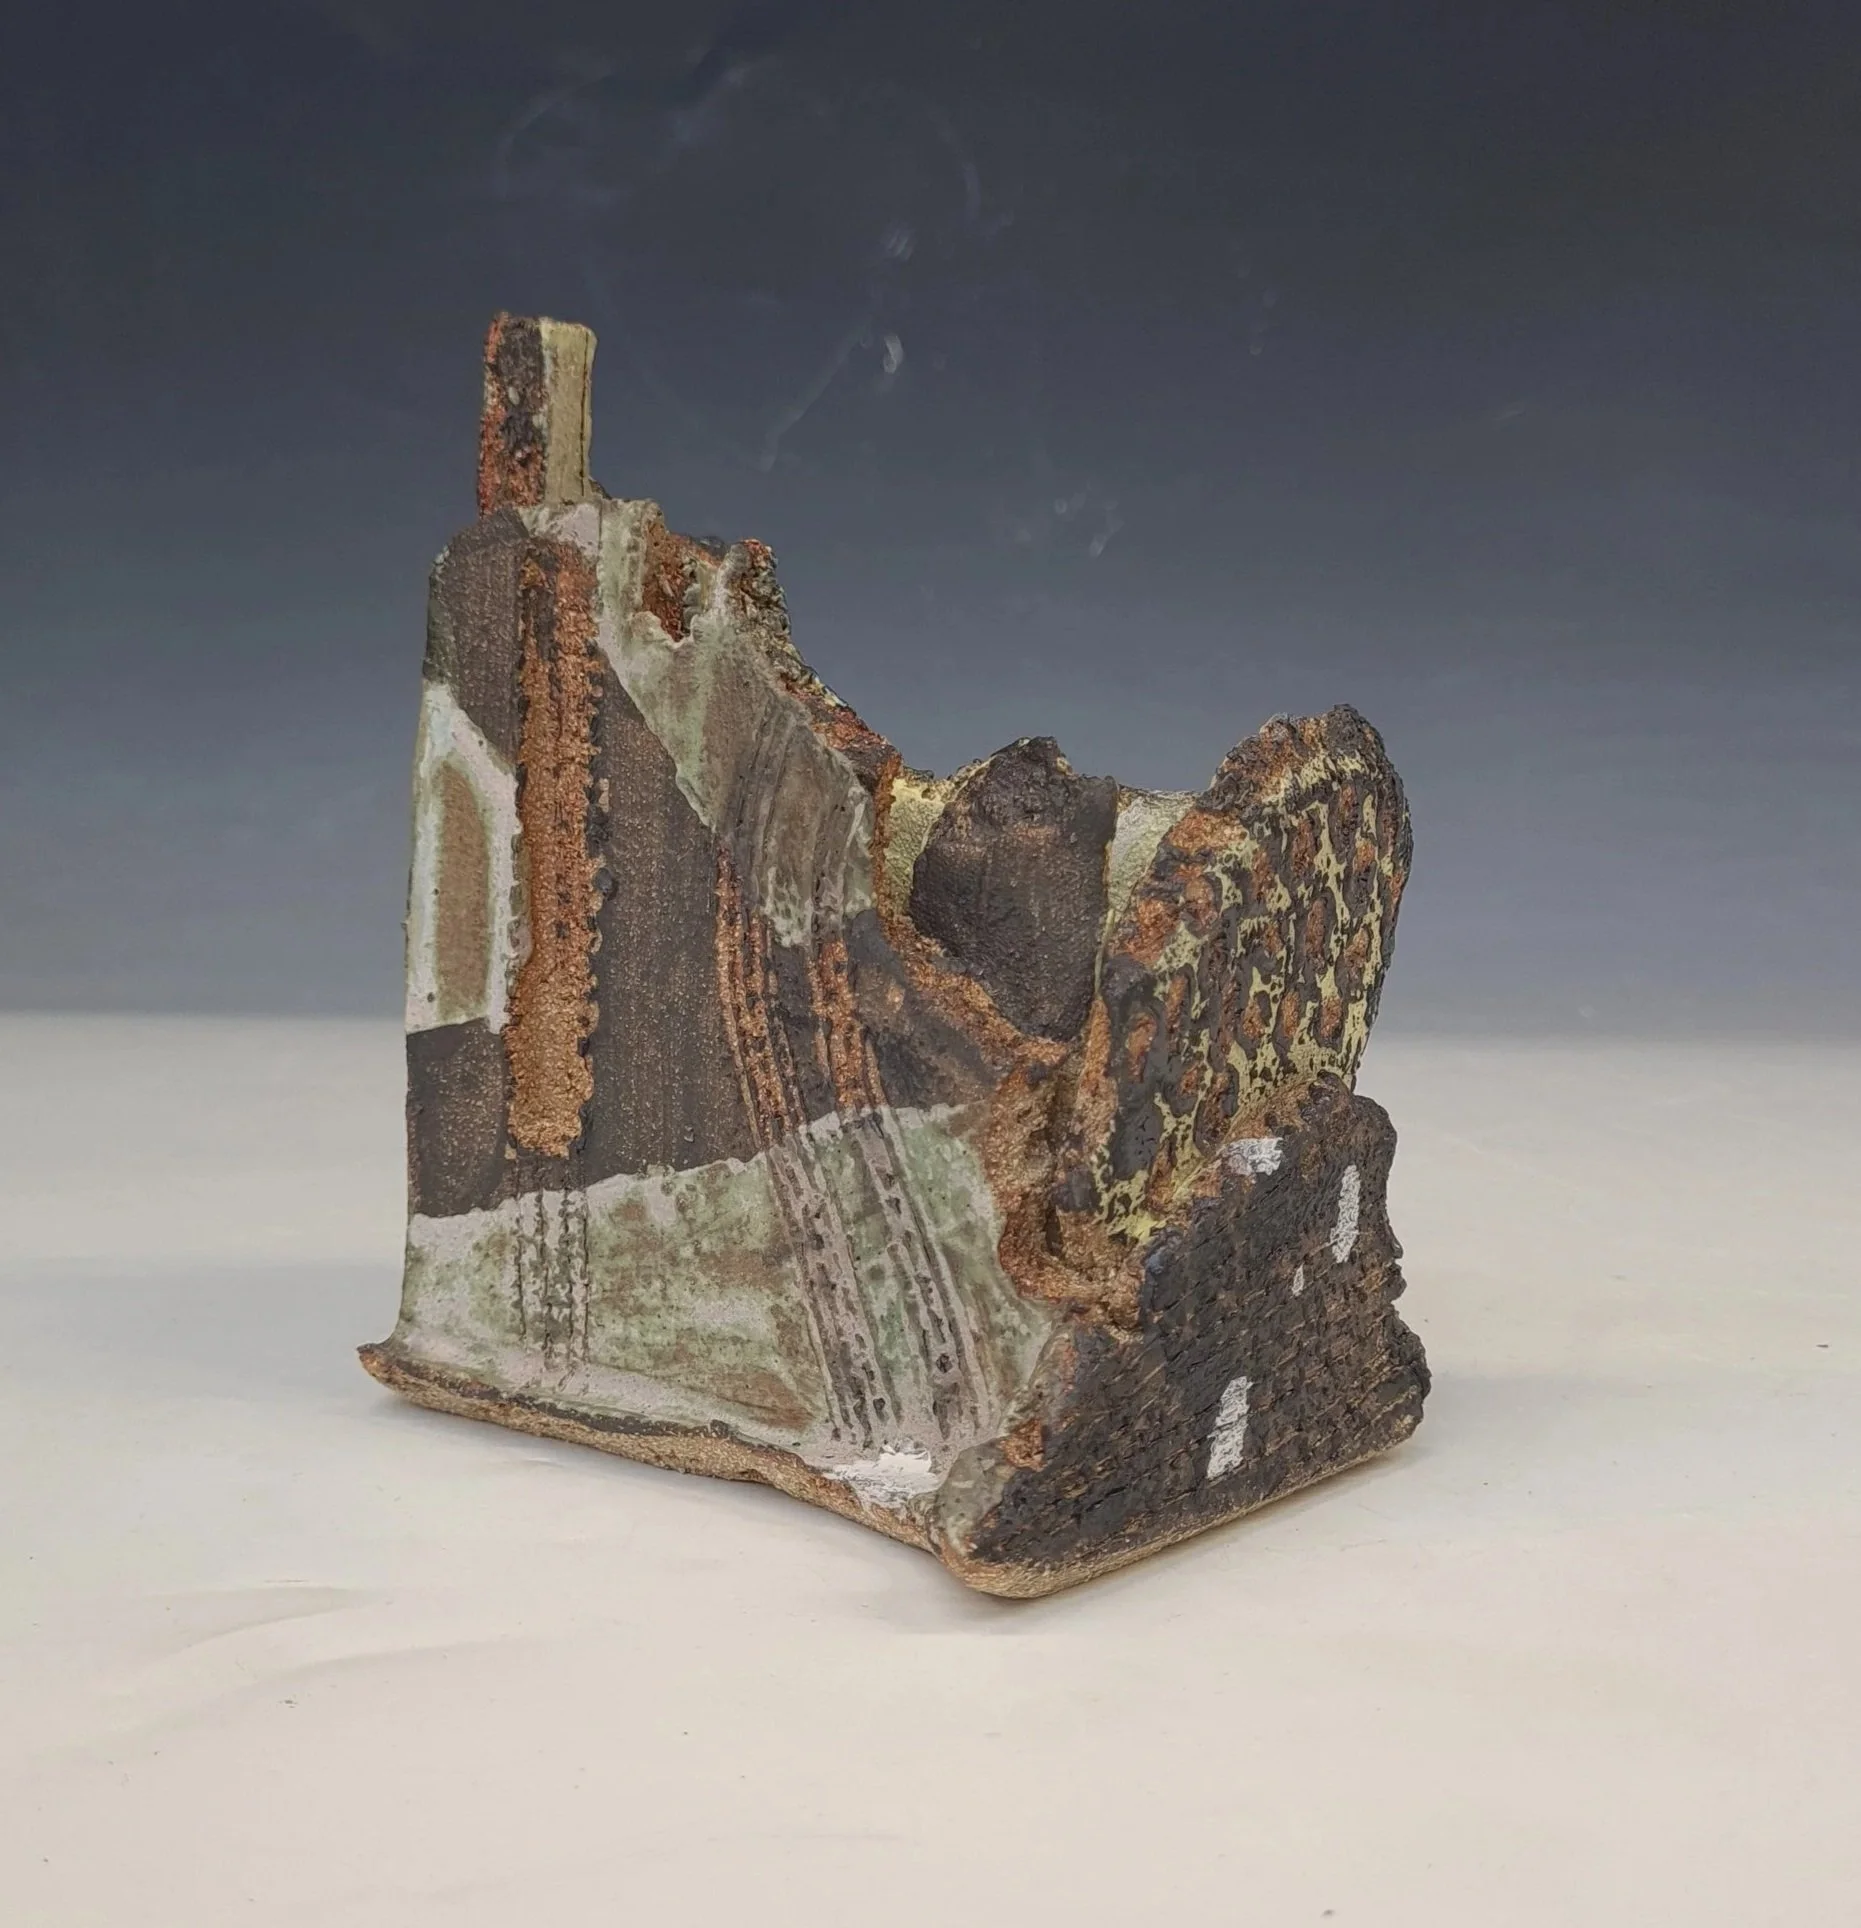
8- On the front (The two horizontal panels) I used the two Oxidation Green glaze recipes (As on my largest piece, the oxidation green came out yellowy/Brown) - I wanted to see if it was my recipe or another factor on the piece. By looking at it here (Top panel is 2nd attempt at glaze) (Bottom panel is the first glaze that was on the initial test tile) they both look pretty similar, the 1st glaze recipe is carrying more green/blue colour, but that could be because it gathered at the bottom. Either way, it looks EXACTLY like the large piece, so that show’s it was something on the large piece that changed the outcome OR the glaze reacts differently on a vertical surface. Note- It had copper oxide underneath too, like the large piece.
On the side (3rd pic) I used black engobe loosely applied over yellow and black slip which had been carved into- It left a good result.
On the back I used the Lichen glaze (One of my favourites) and it had copper oxide underneath and applied over black slip.
On the other side (4th pic) I used masking tape to cover a section and then applied white titanium glaze with copper ox. I liked the result of the masking tape.
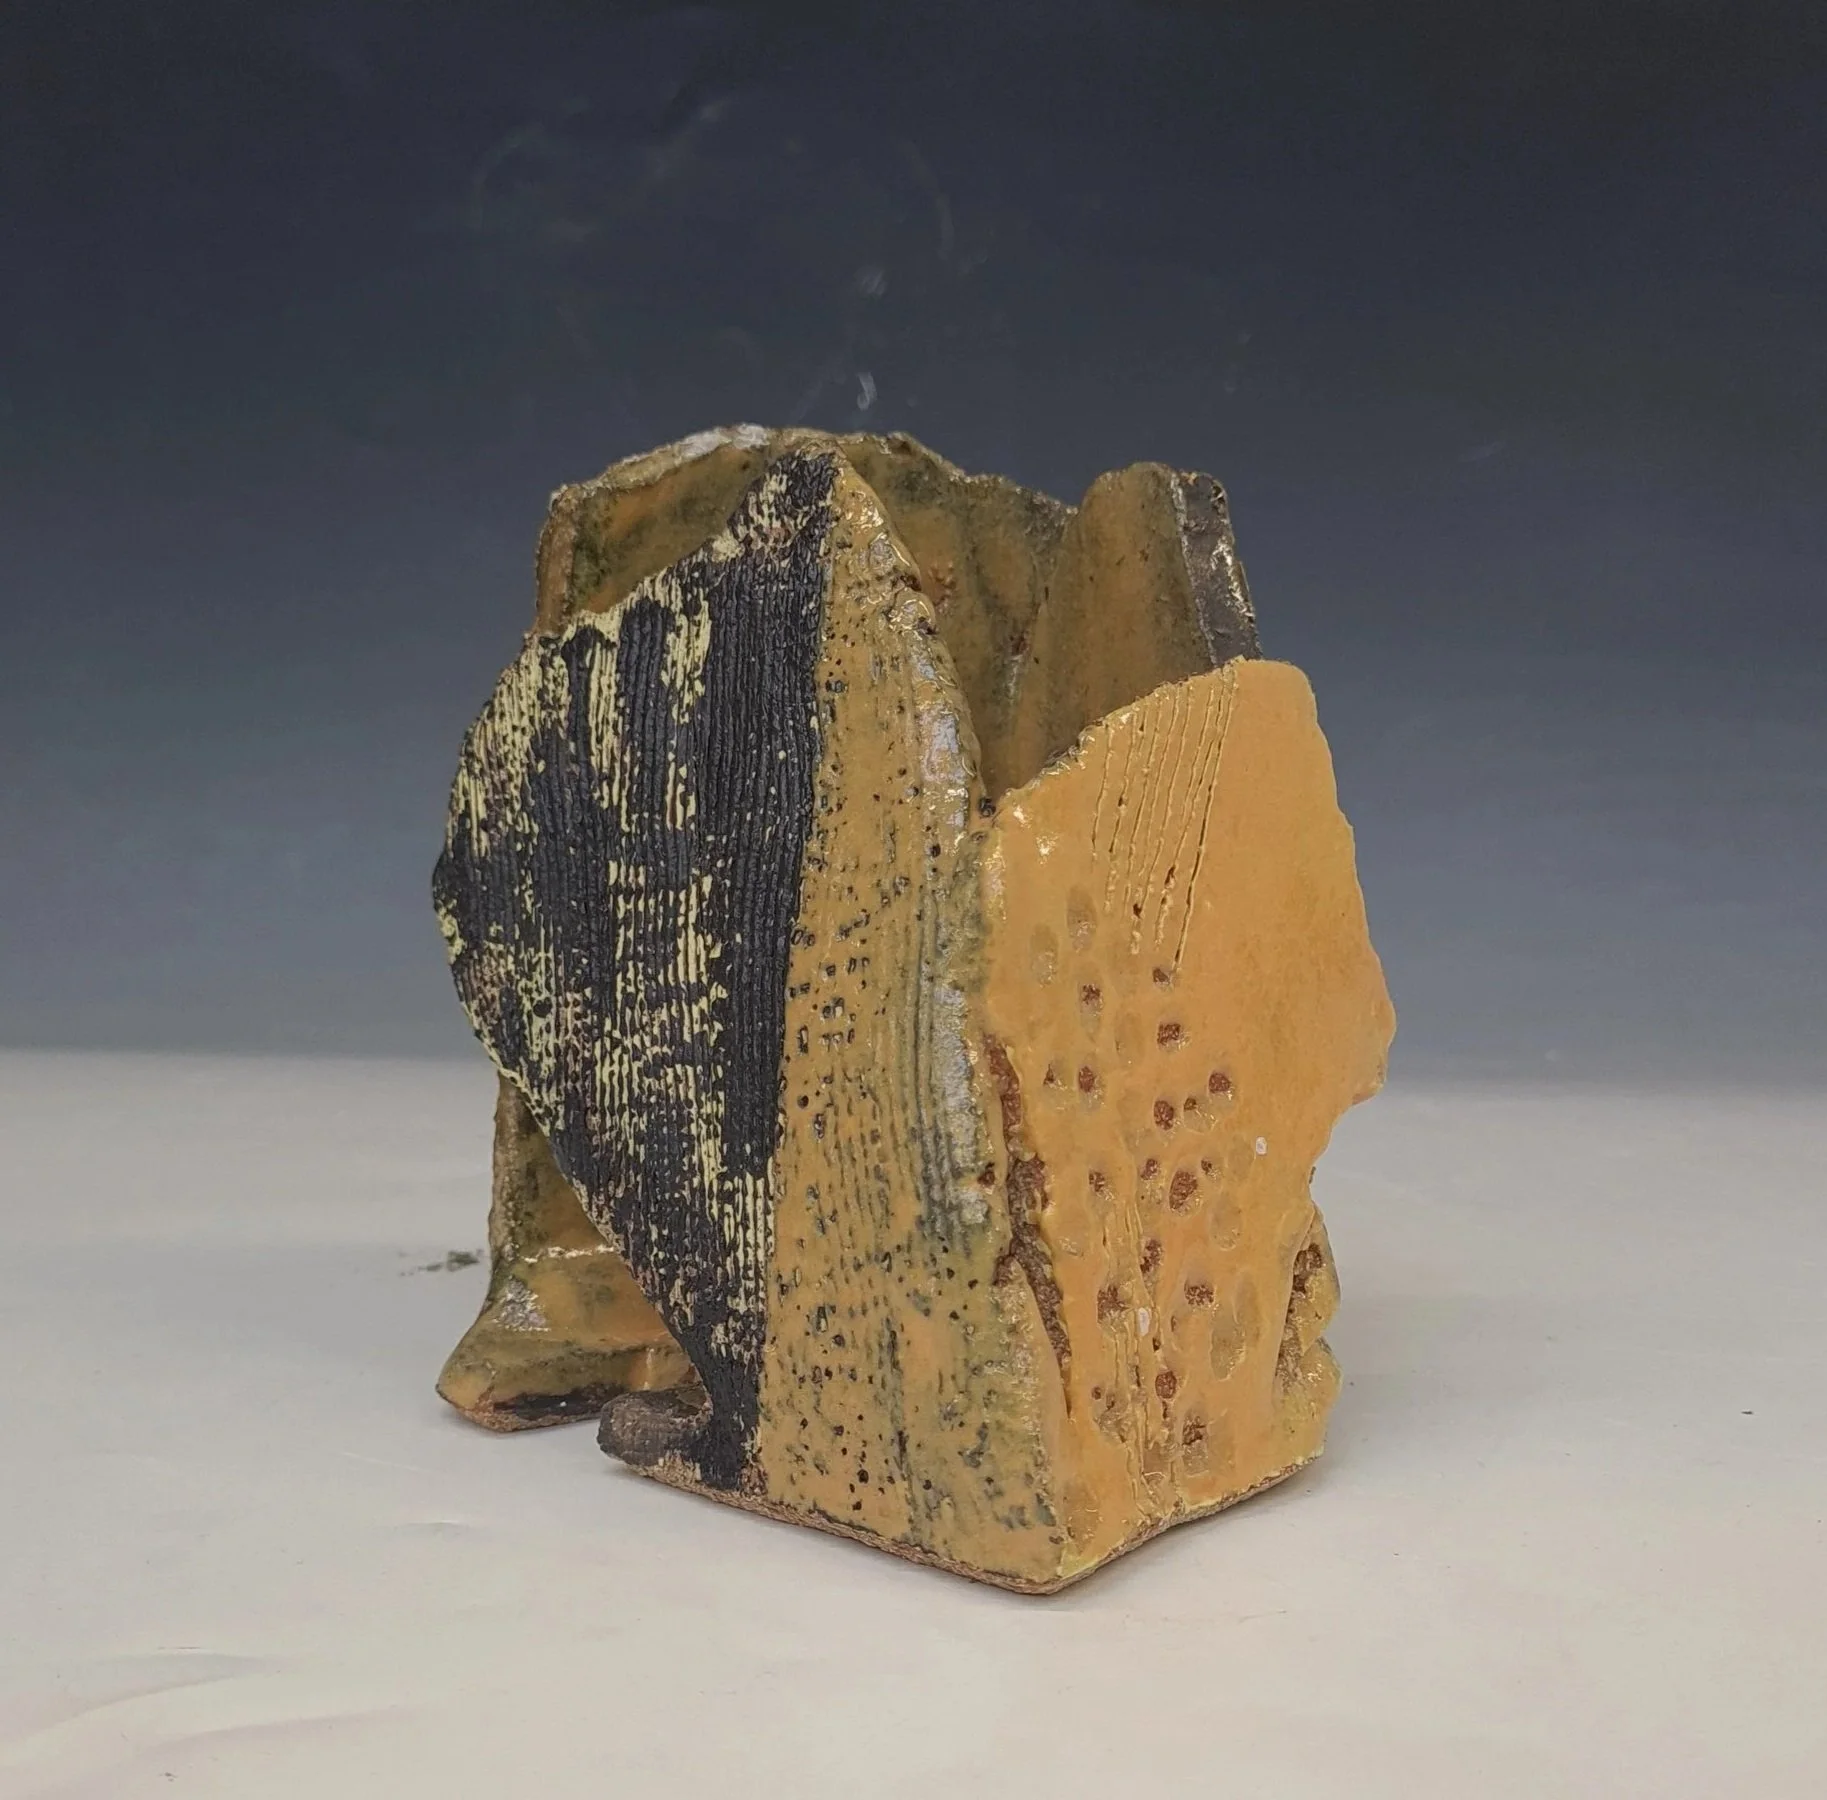
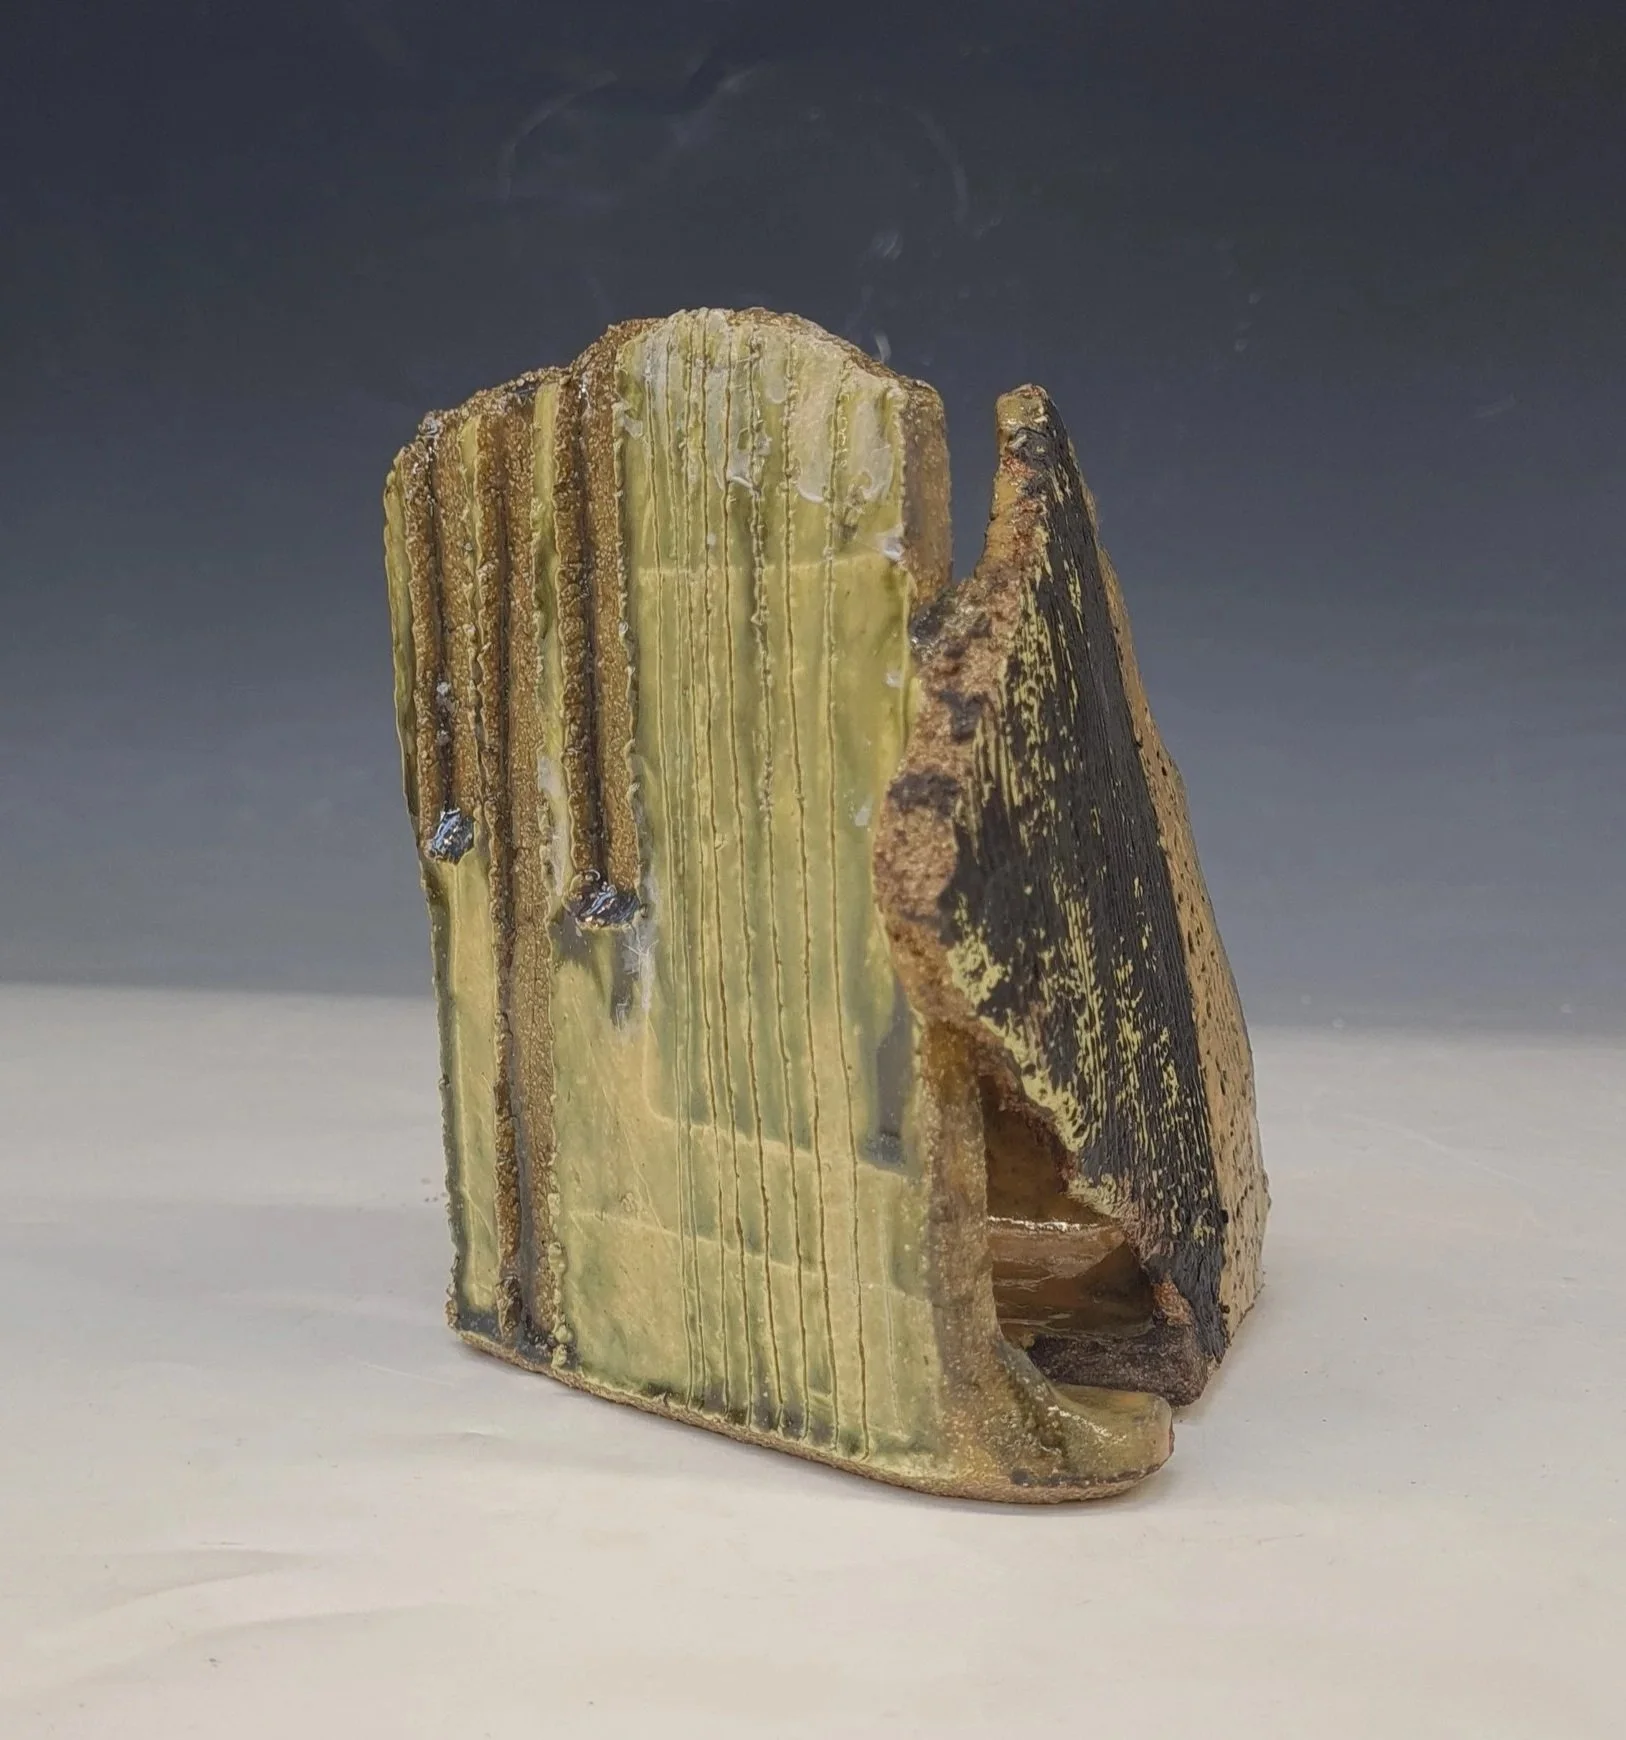
9- 1st pic- Black engobe over yellow slip and Glossy Yellow glaze.
2nd Pic- Oxidation green glaze over yellow slip - Very glossy but no pigment of colour at all really.
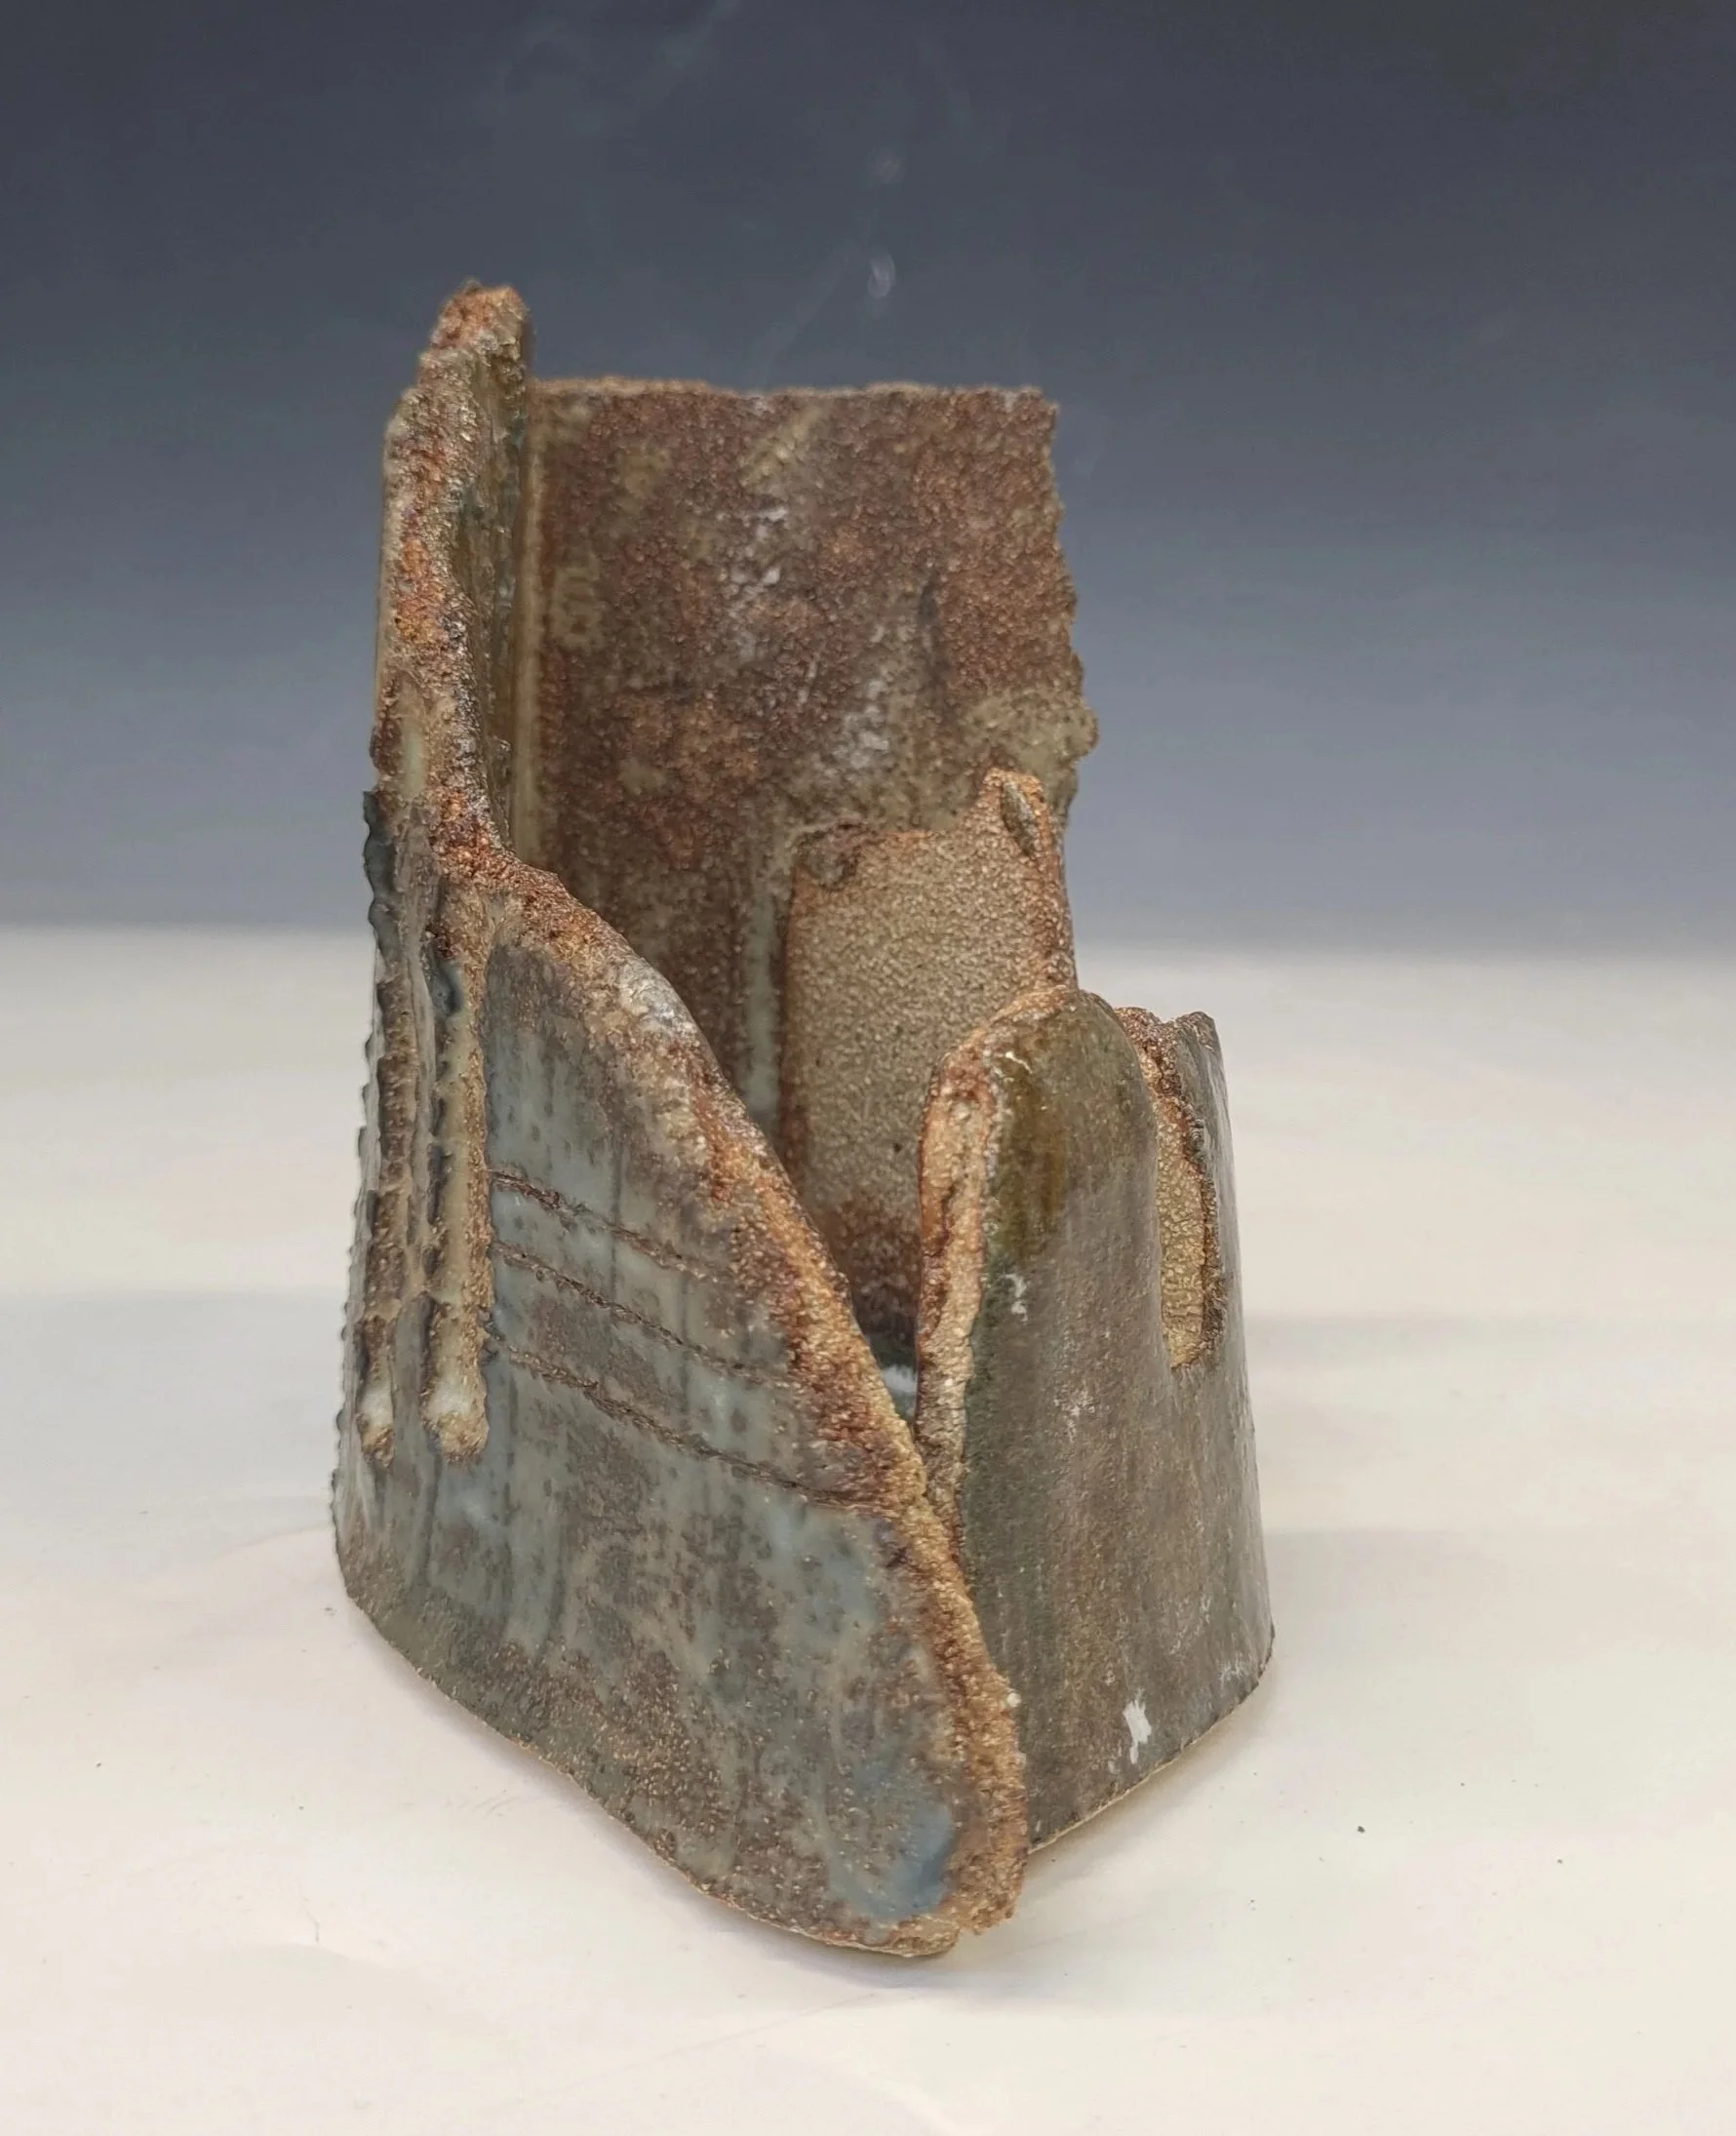
10- 1st Pic- ‘Free Solo’ glaze over blue slip- It has made the colour slightly pop more but still not a great finish.
2nd Pic- Black engobe over blue slip- The patches of blue slip popping through are great! I then dripped some of the free solo glaze over the top.
3rd Pic- Recipe A and Recipe B (Correct recipe) with no soak period over blue slip.
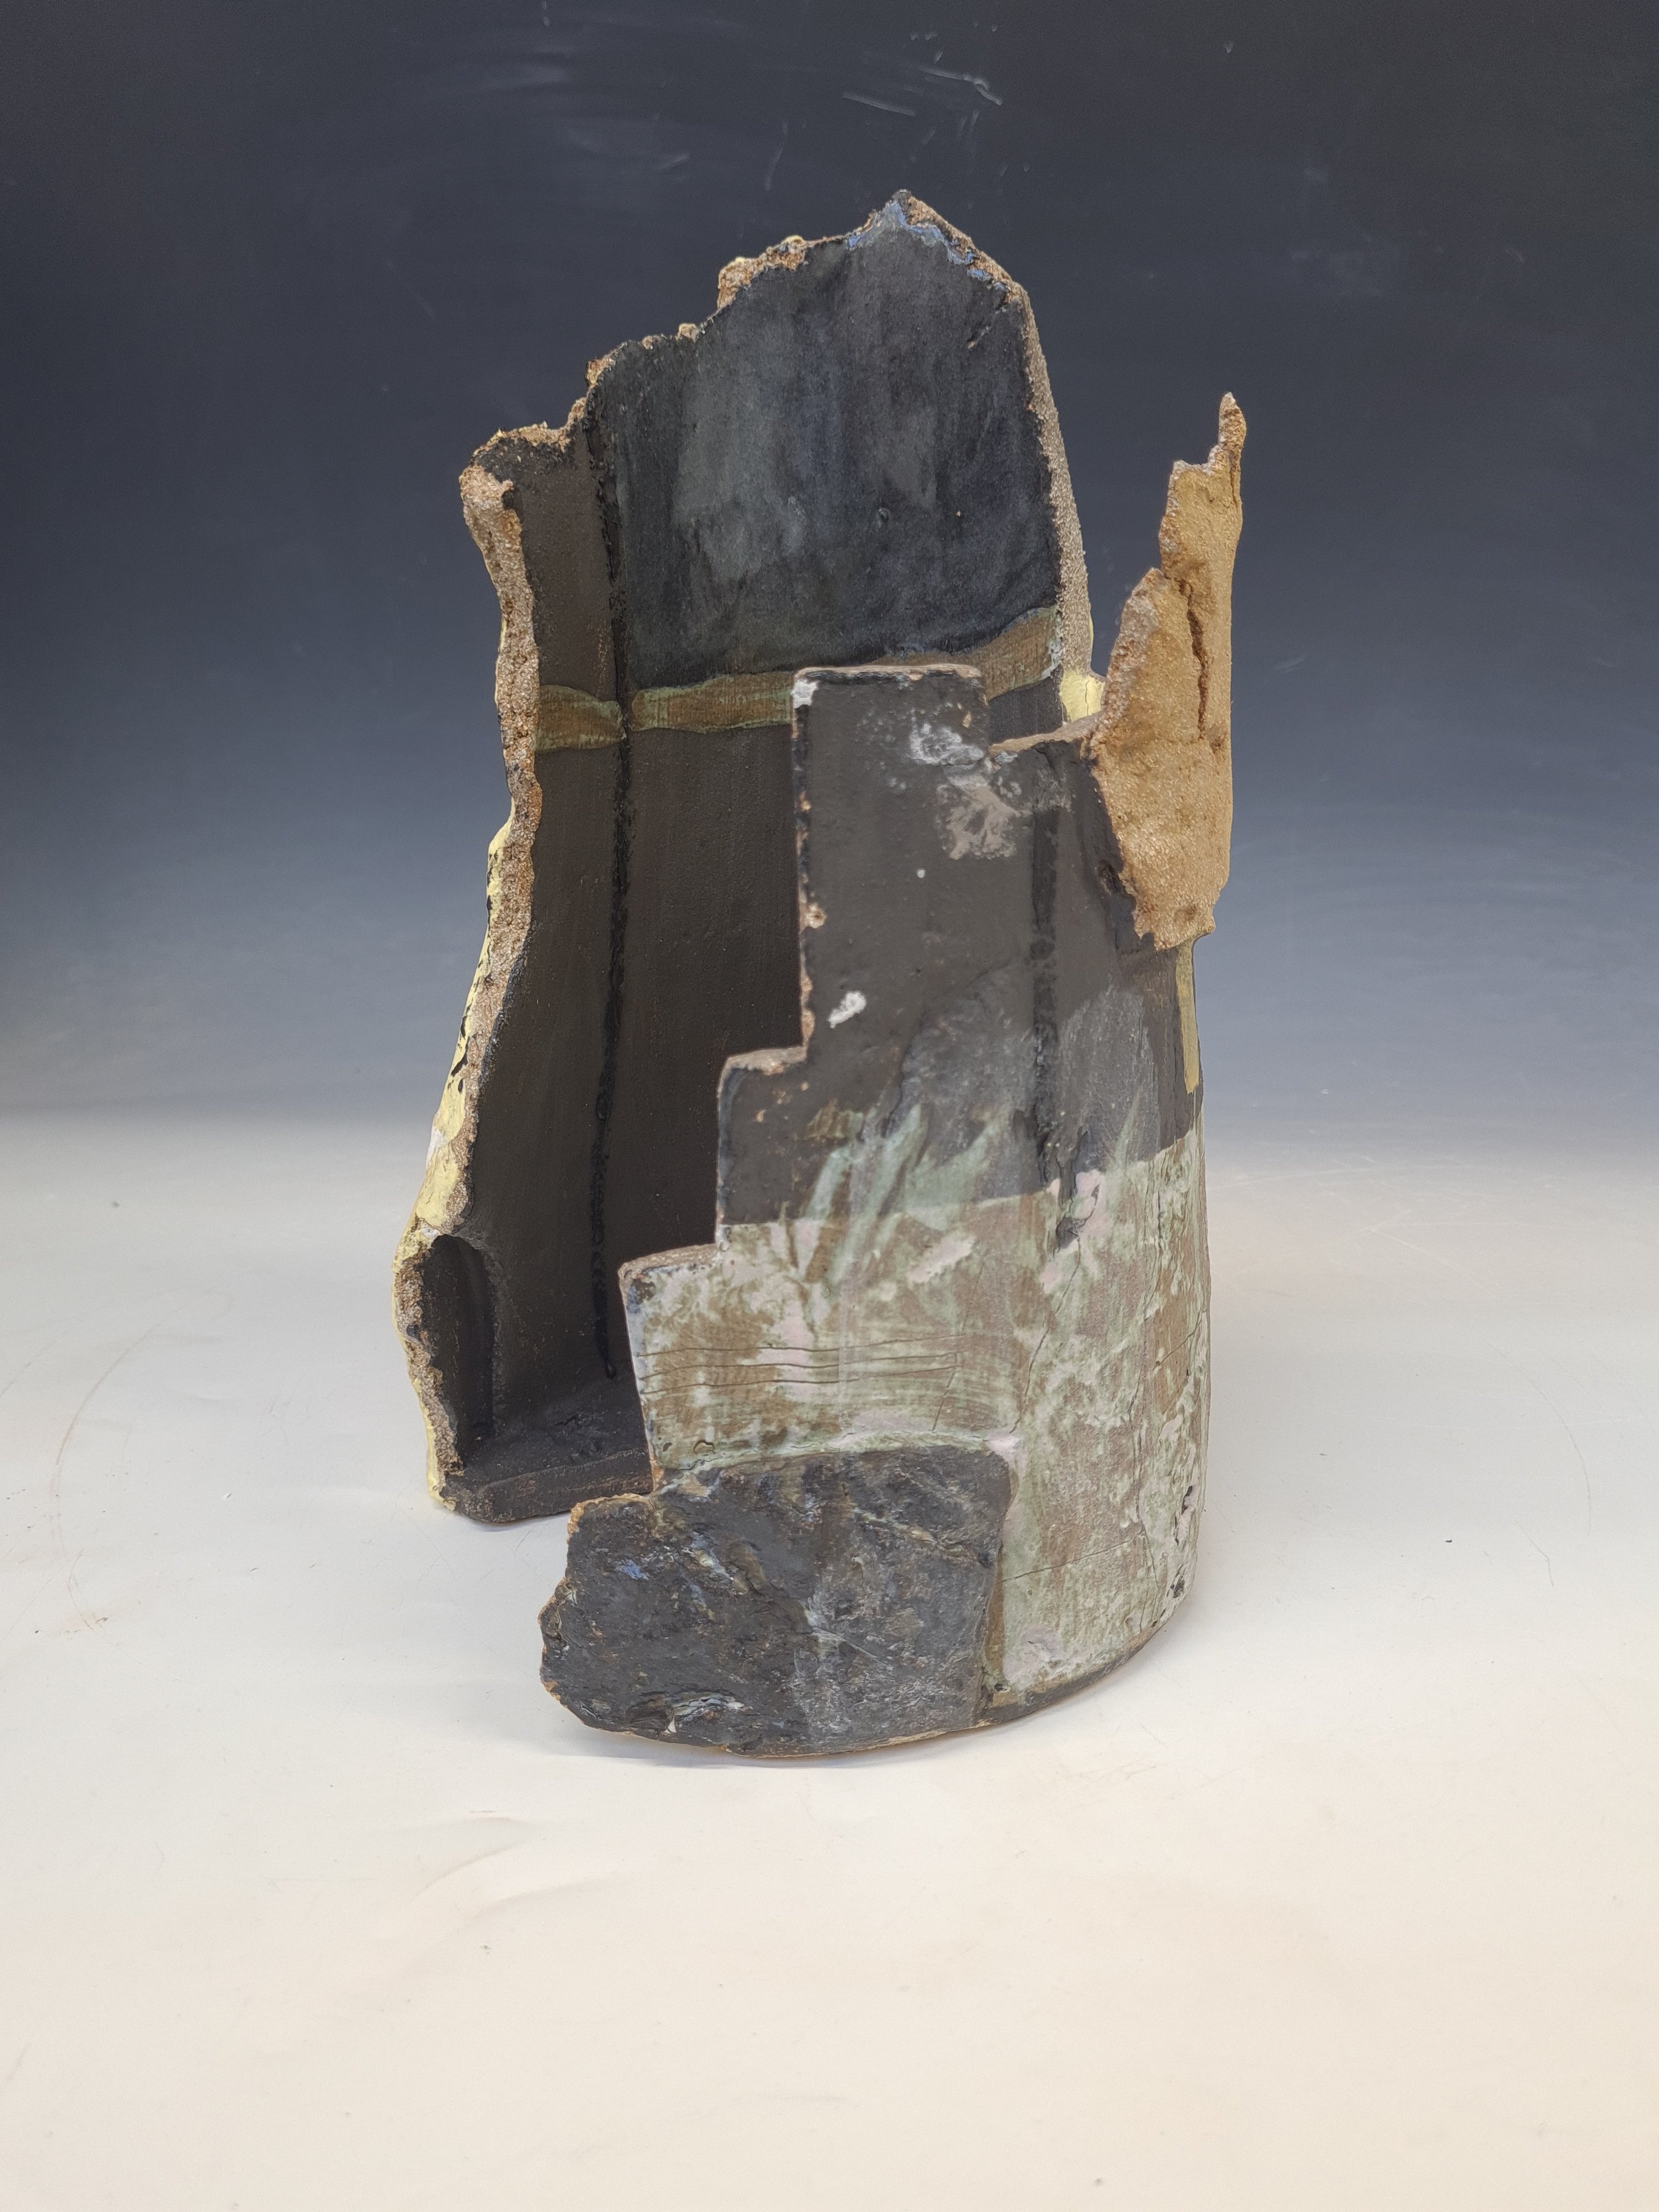
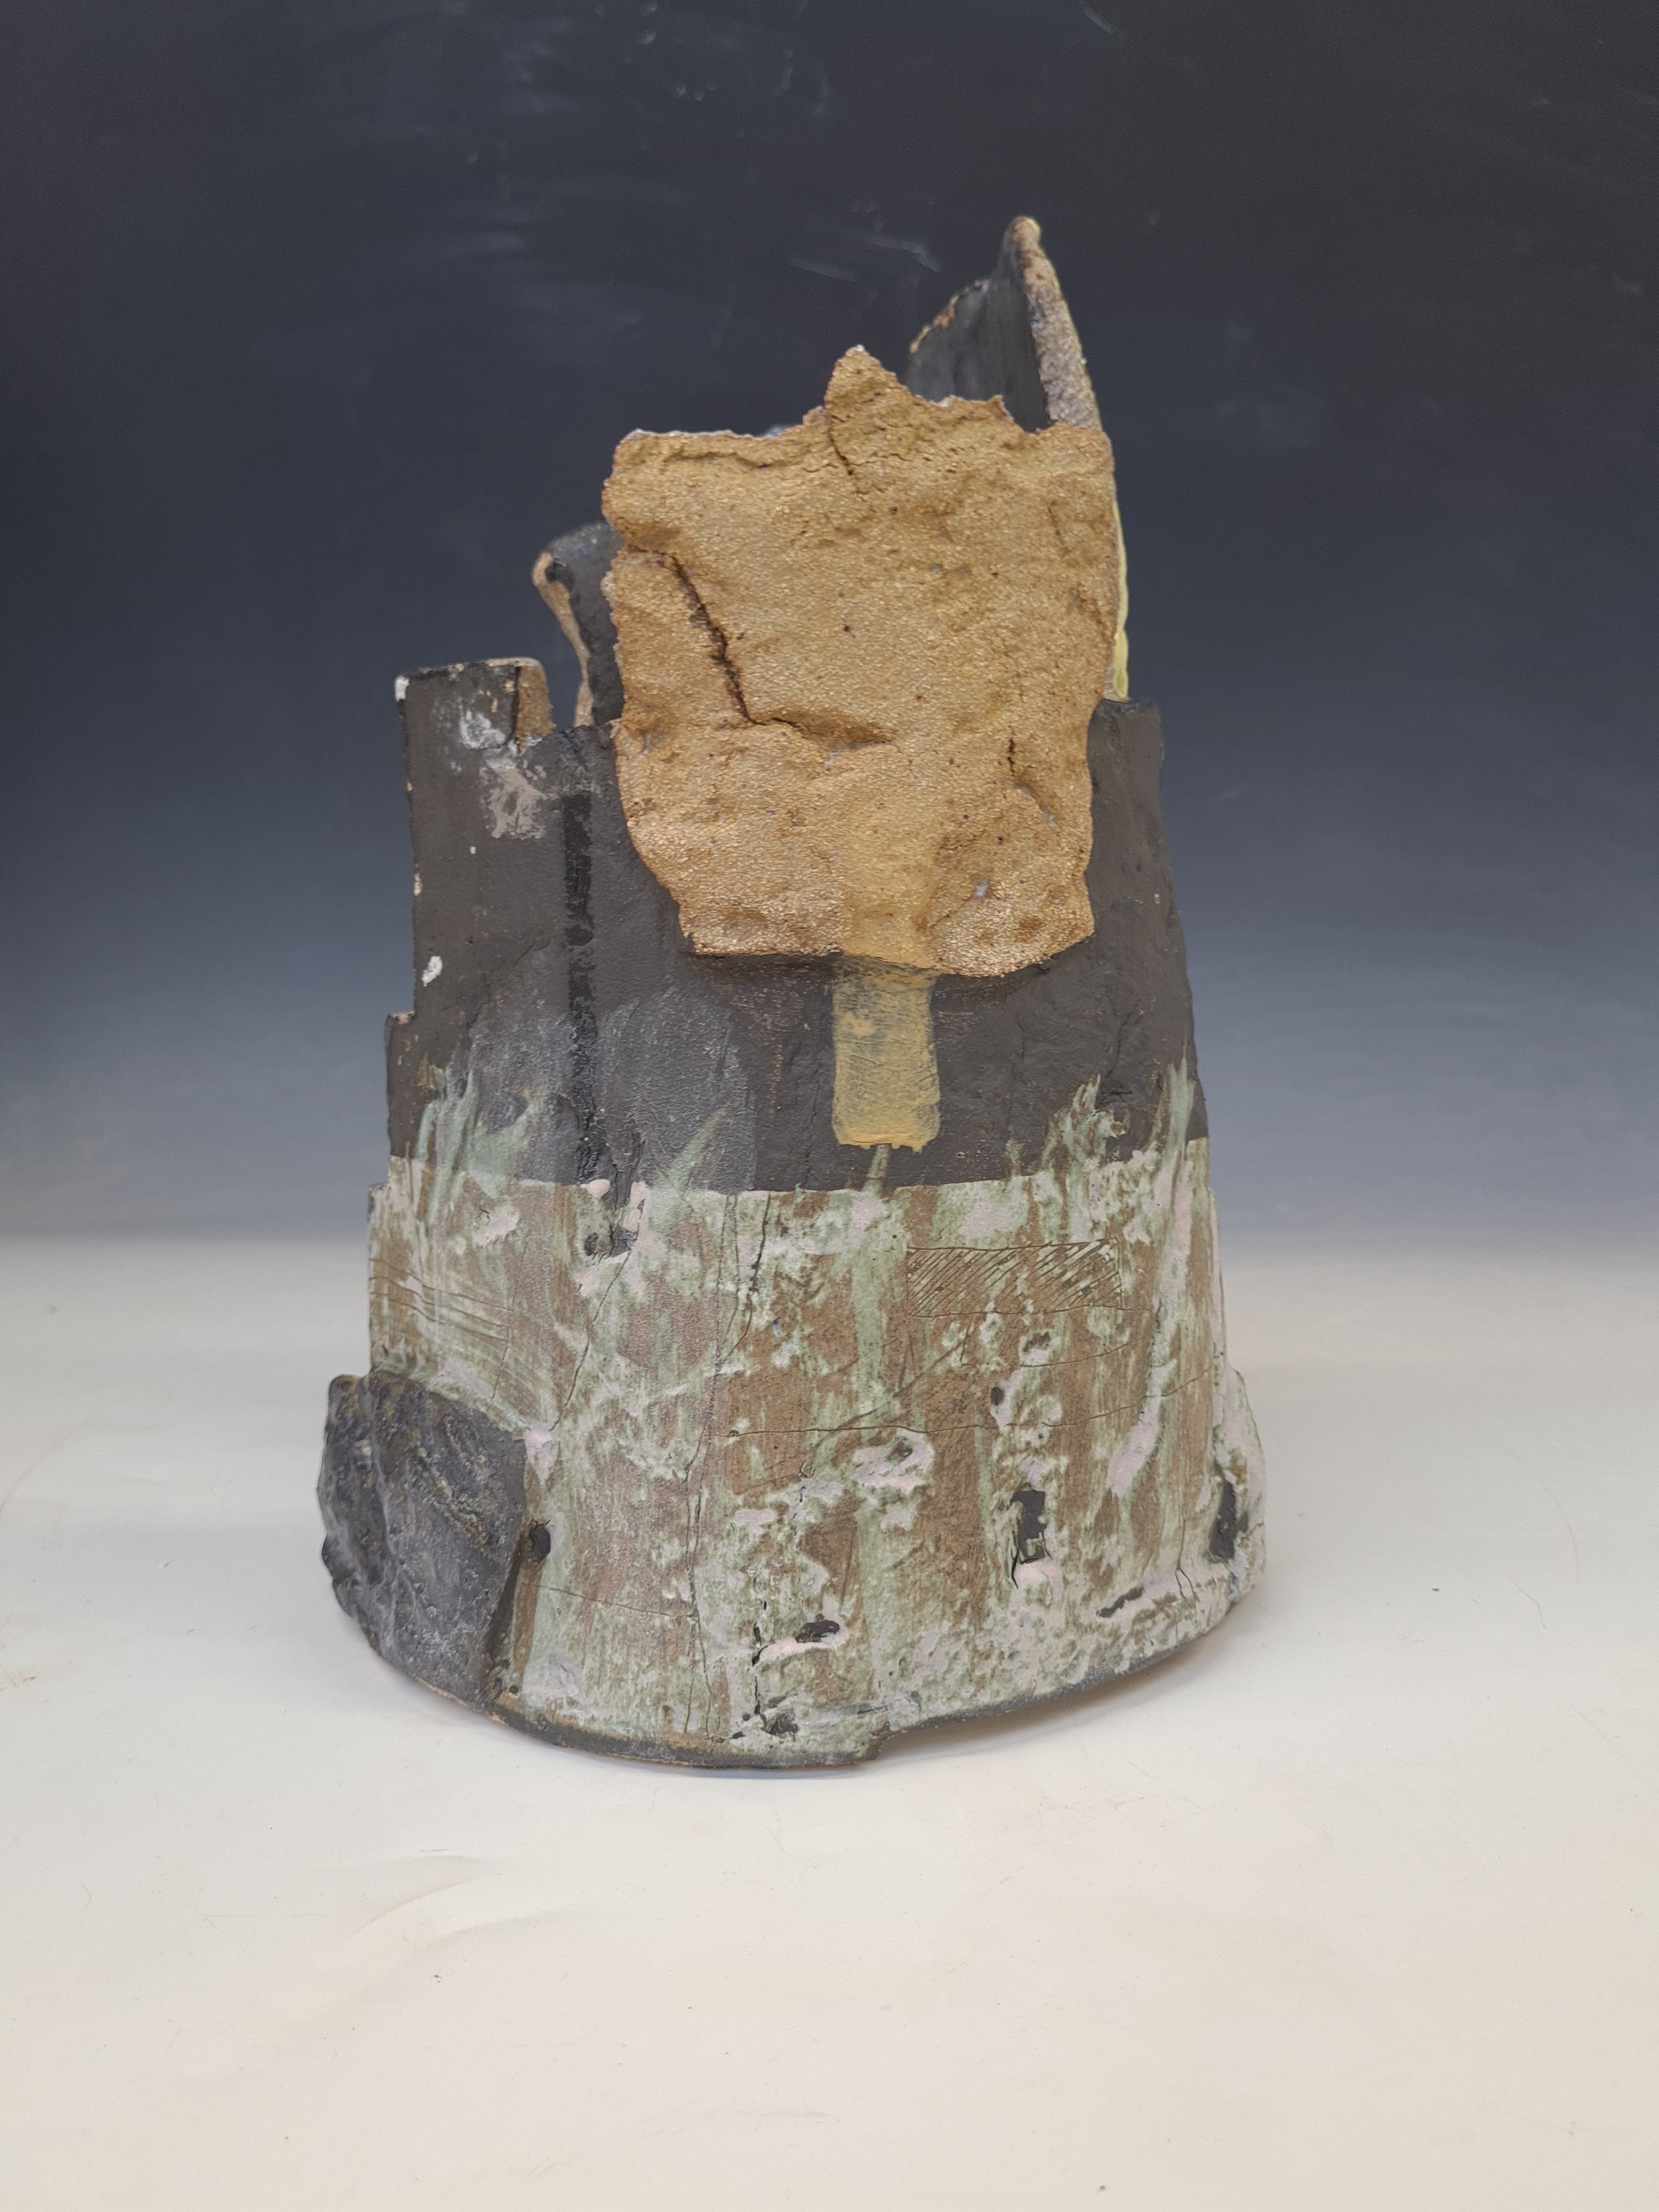
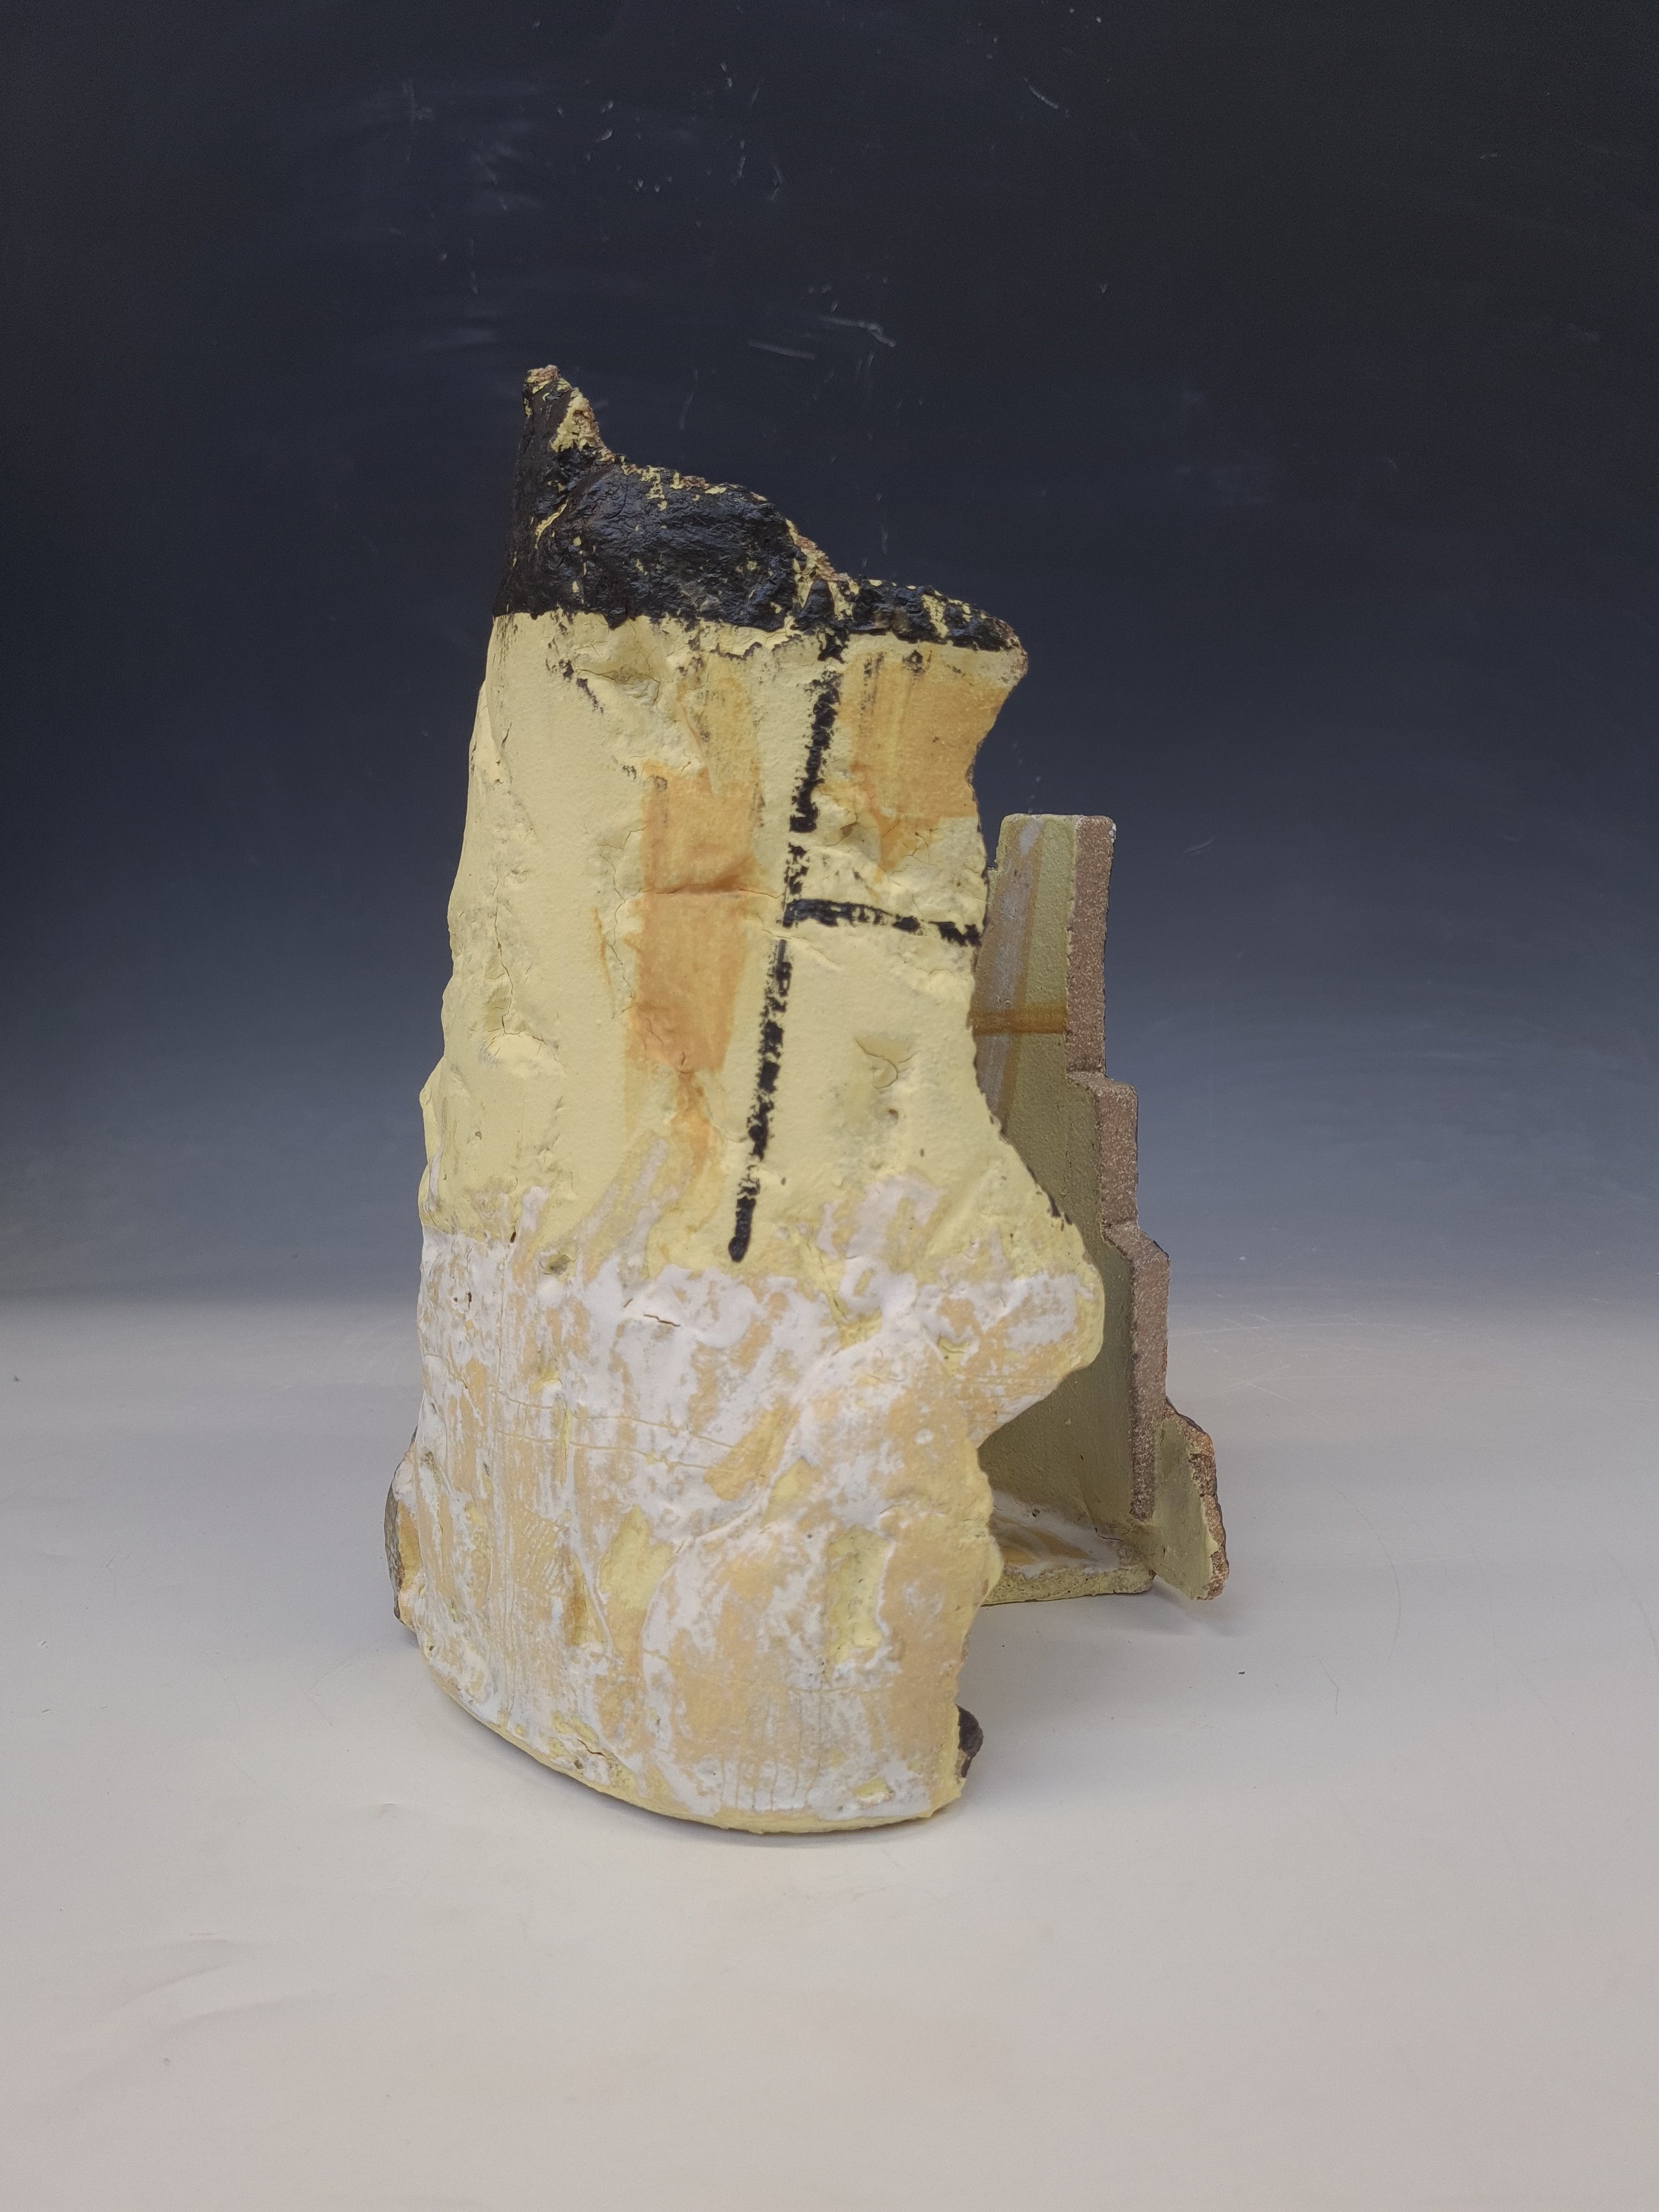
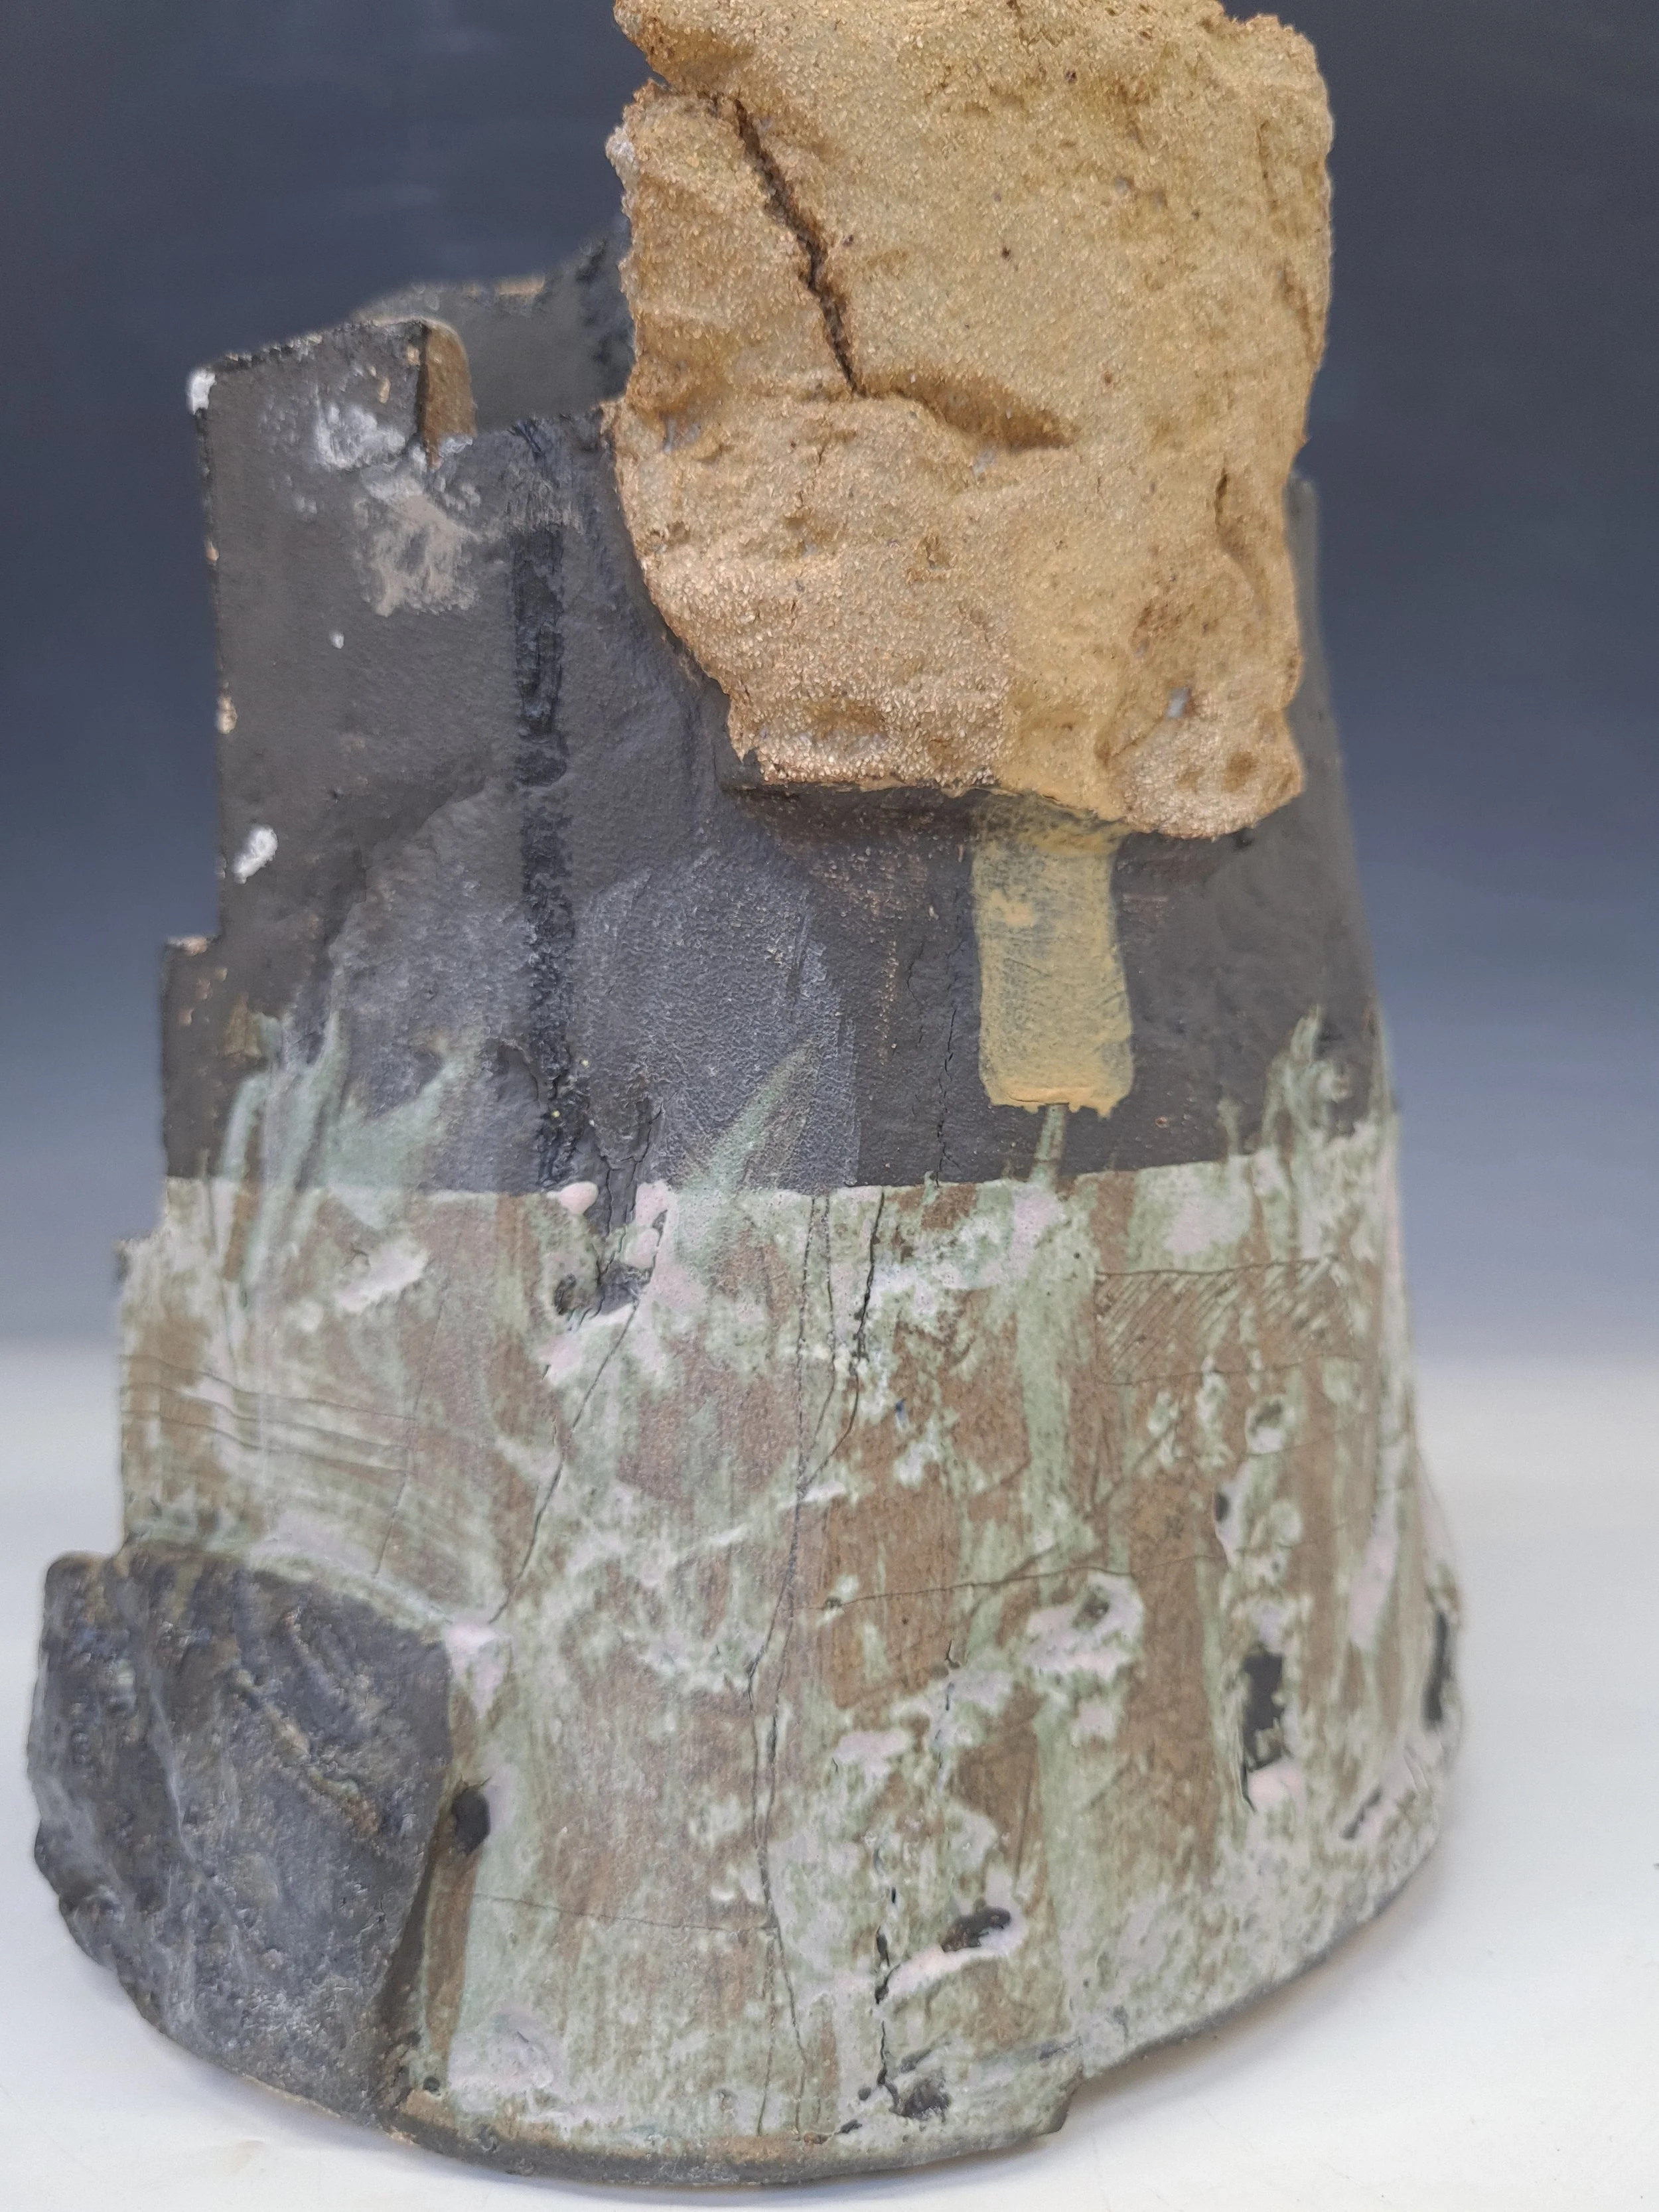
11- This was inspired by the work of Robin Welch- so I tried to apply egg yellow underglaze in a painterly way, same with the black engobe lines and sections. I used white titanium glaze on the base over the black and yellow slip. I then carved into it to reveal some of the slip. I left the fragment of clay on the front unglazed. Inside, I did some lines with the white glaze and black engobe and covered a section with transparent glaze.