

The Creation of the Stand & Deliver Pieces
Following up from the extrusion blog post, I’m going to document the process of making my Stand & Deliver pieces up to the glazing stage.
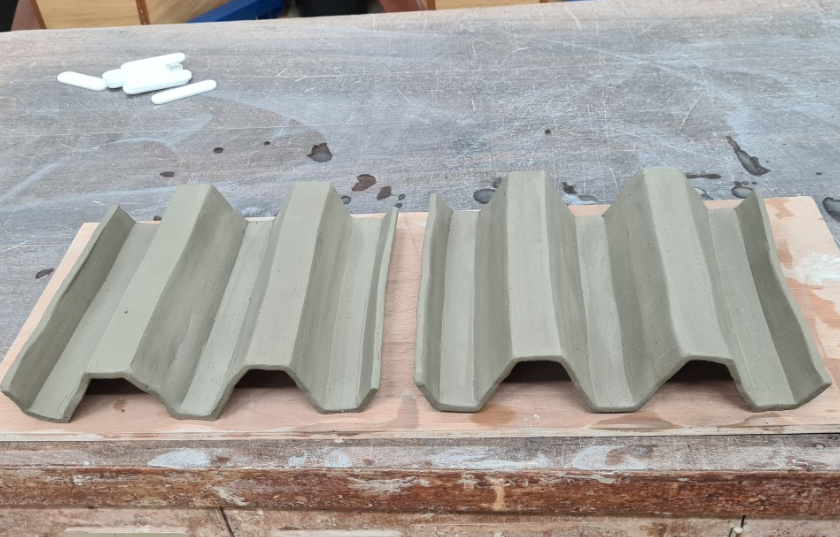
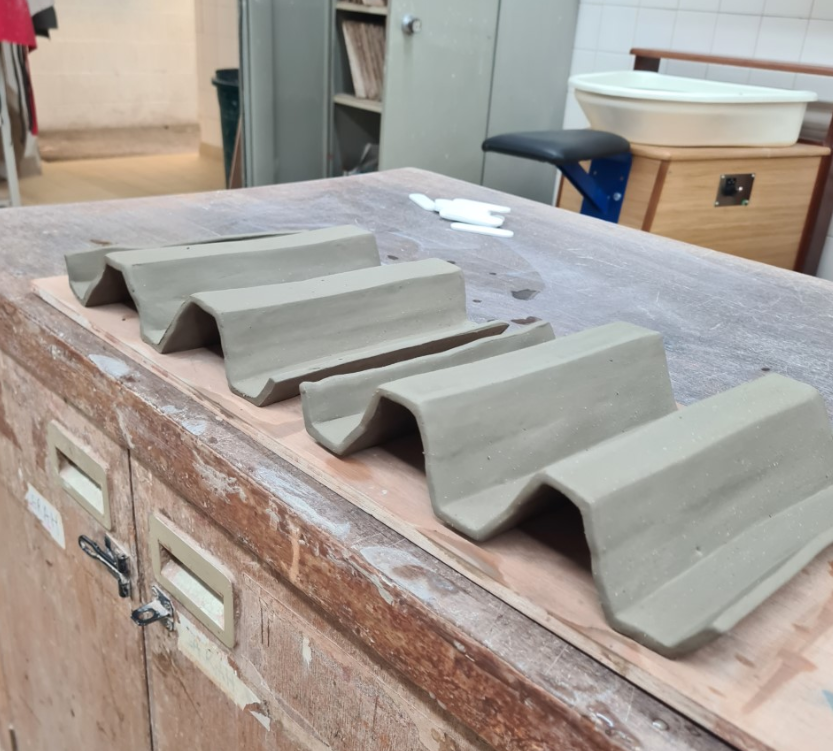
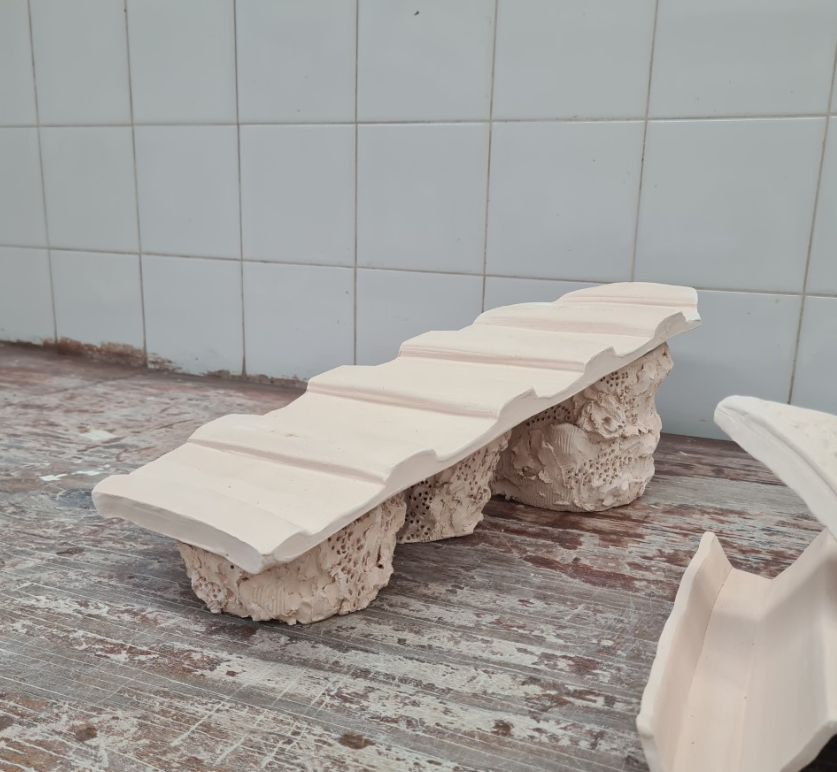
Using my extrusion maquettes to create these final versions- I made two as I imagined my tree-thrown slab would cover both, I found these difficult to make as you had to attach the halved extrusions when then clay was leather-hard and I was worried it may crack apart in the bisque firing.
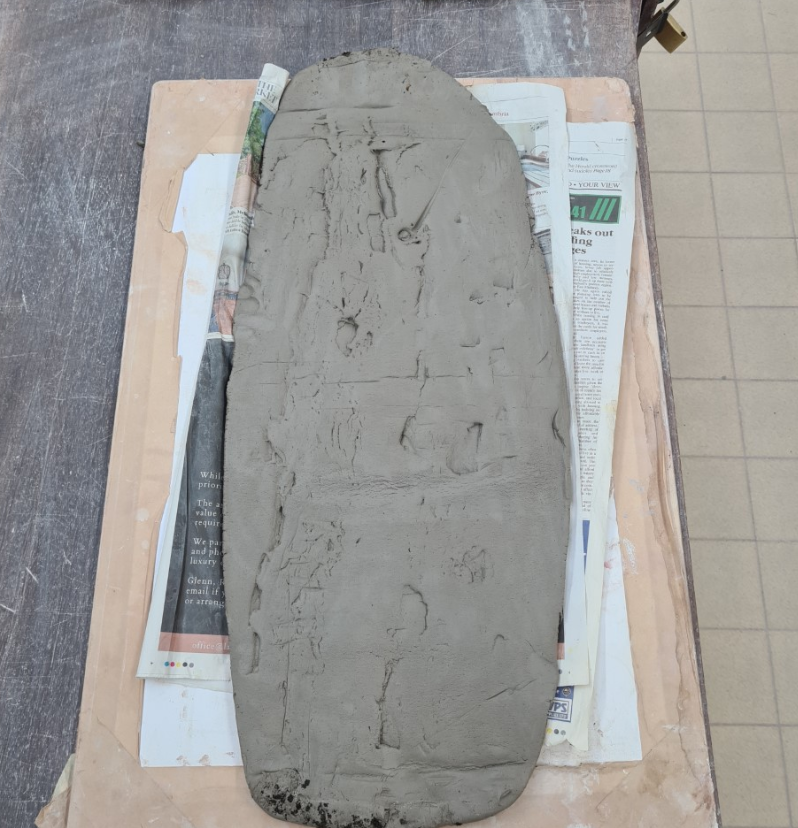
A tree thrown slab, inspired by my primary research but also from my first week of creating the tiles when exploring texture.
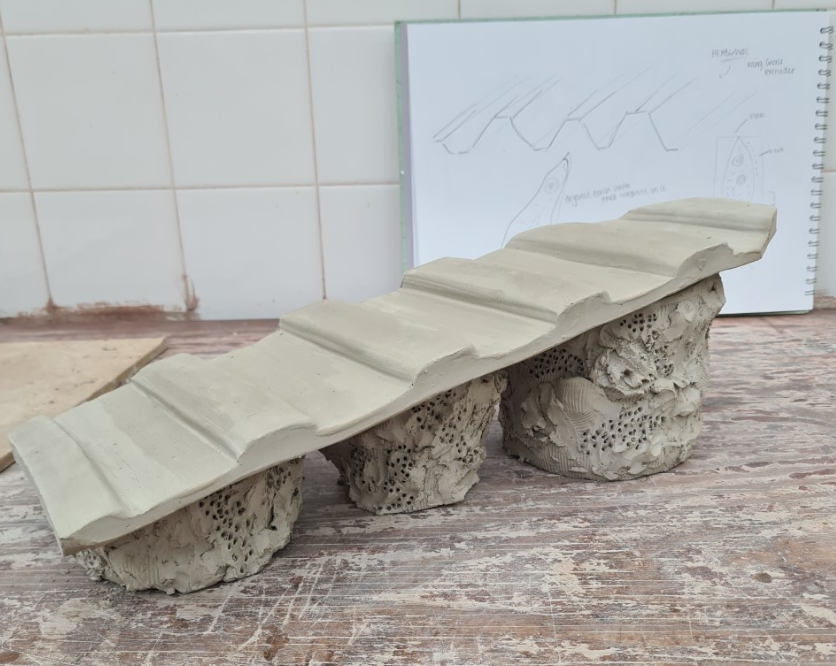
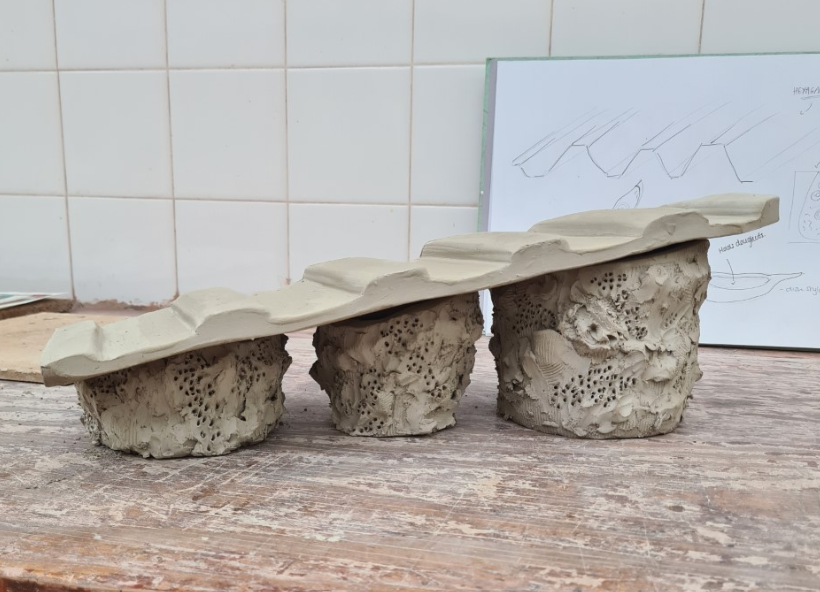
My finished air-dried concrete inspired platter with my three ‘moss-pots’- I created some clay grips on the back so it could slot into the pots so it would’’t fall when placed on the angle.
Also survived the bisque firing! However, the tree platter had some cracks on the base, this was because it was hard to finish the clay before firing as I didn’t want to erase any texture.
The tree slab was glazed in Copper oxide and Manganese Oxide and then coated in the earthenware white transparent glaze.
Glazed moss pots!
Copper Oxide wash with Cobalt Carb washed back covered with white glaze on the inside and then stoneware transparent glaze blobs on outside, to create a wet-look in some areas and Pot 1 and Pot 2 of my volcanic glaze applied in generous amounts.
Overall, they were a bit wonky but I was proud of the outcome.
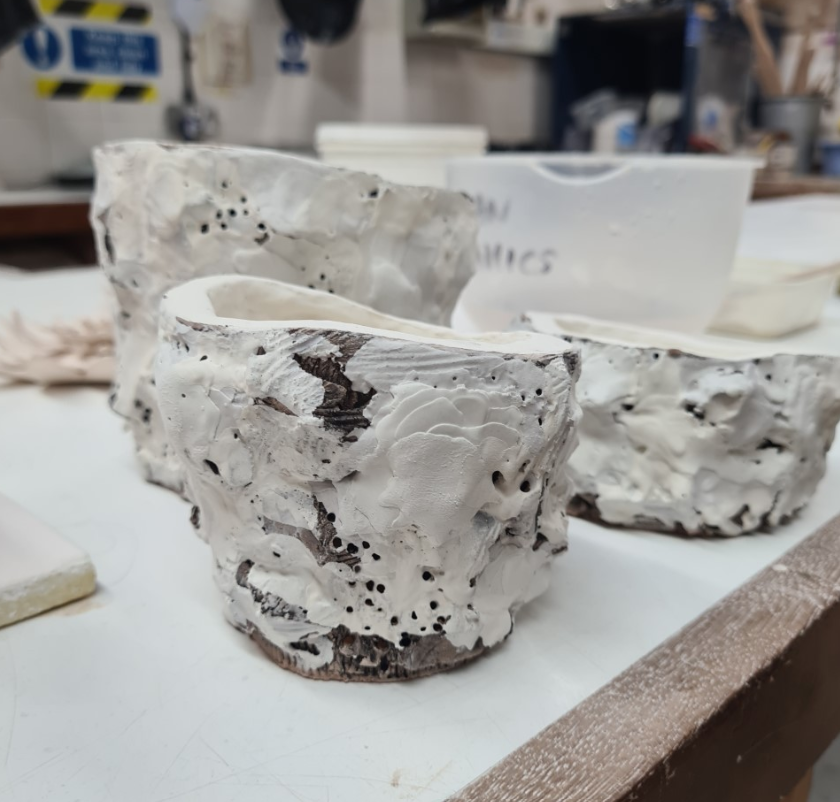
My air-dried moss pots and concrete inspired platter
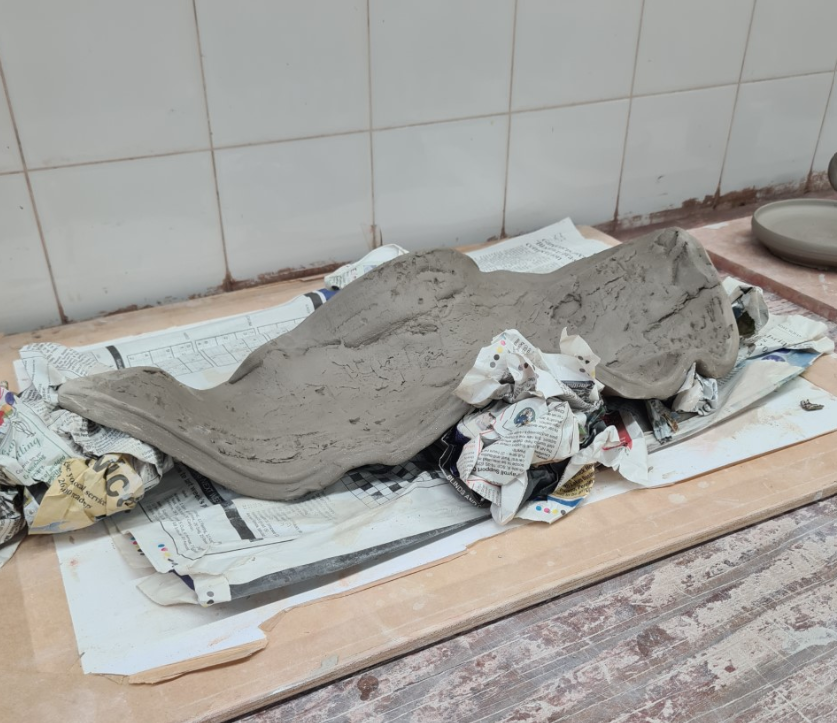
The slab carved and manipulated using newspaper as a support whilst it dries.
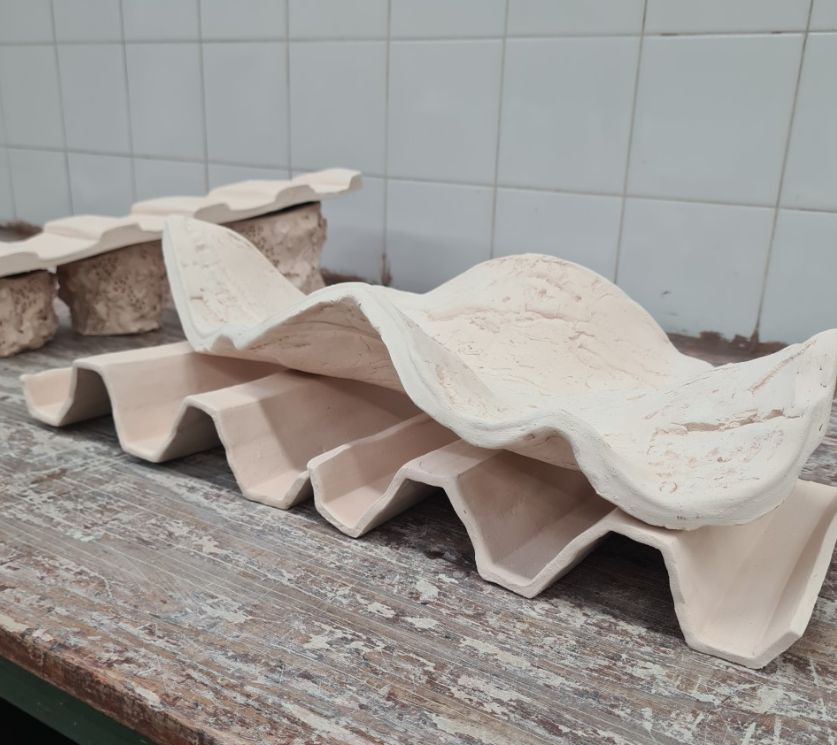
It survived the bisque firing!
The platter was coated in Iron Oxide Yellow then covered in transparent stoneware glaze

Glazed stands in a stoneware white/pink semi gloss ready for the kiln