

Upping the Scale
Following on from my previous blog post from when I made the wooden formers, I’ve decided to use them to create a large-scale piece. I’ve never made a piece this large before so it was a challenging experience for multiple reasons, but also fascinating to see how these formers could support a larger form and manipulate the outcome.
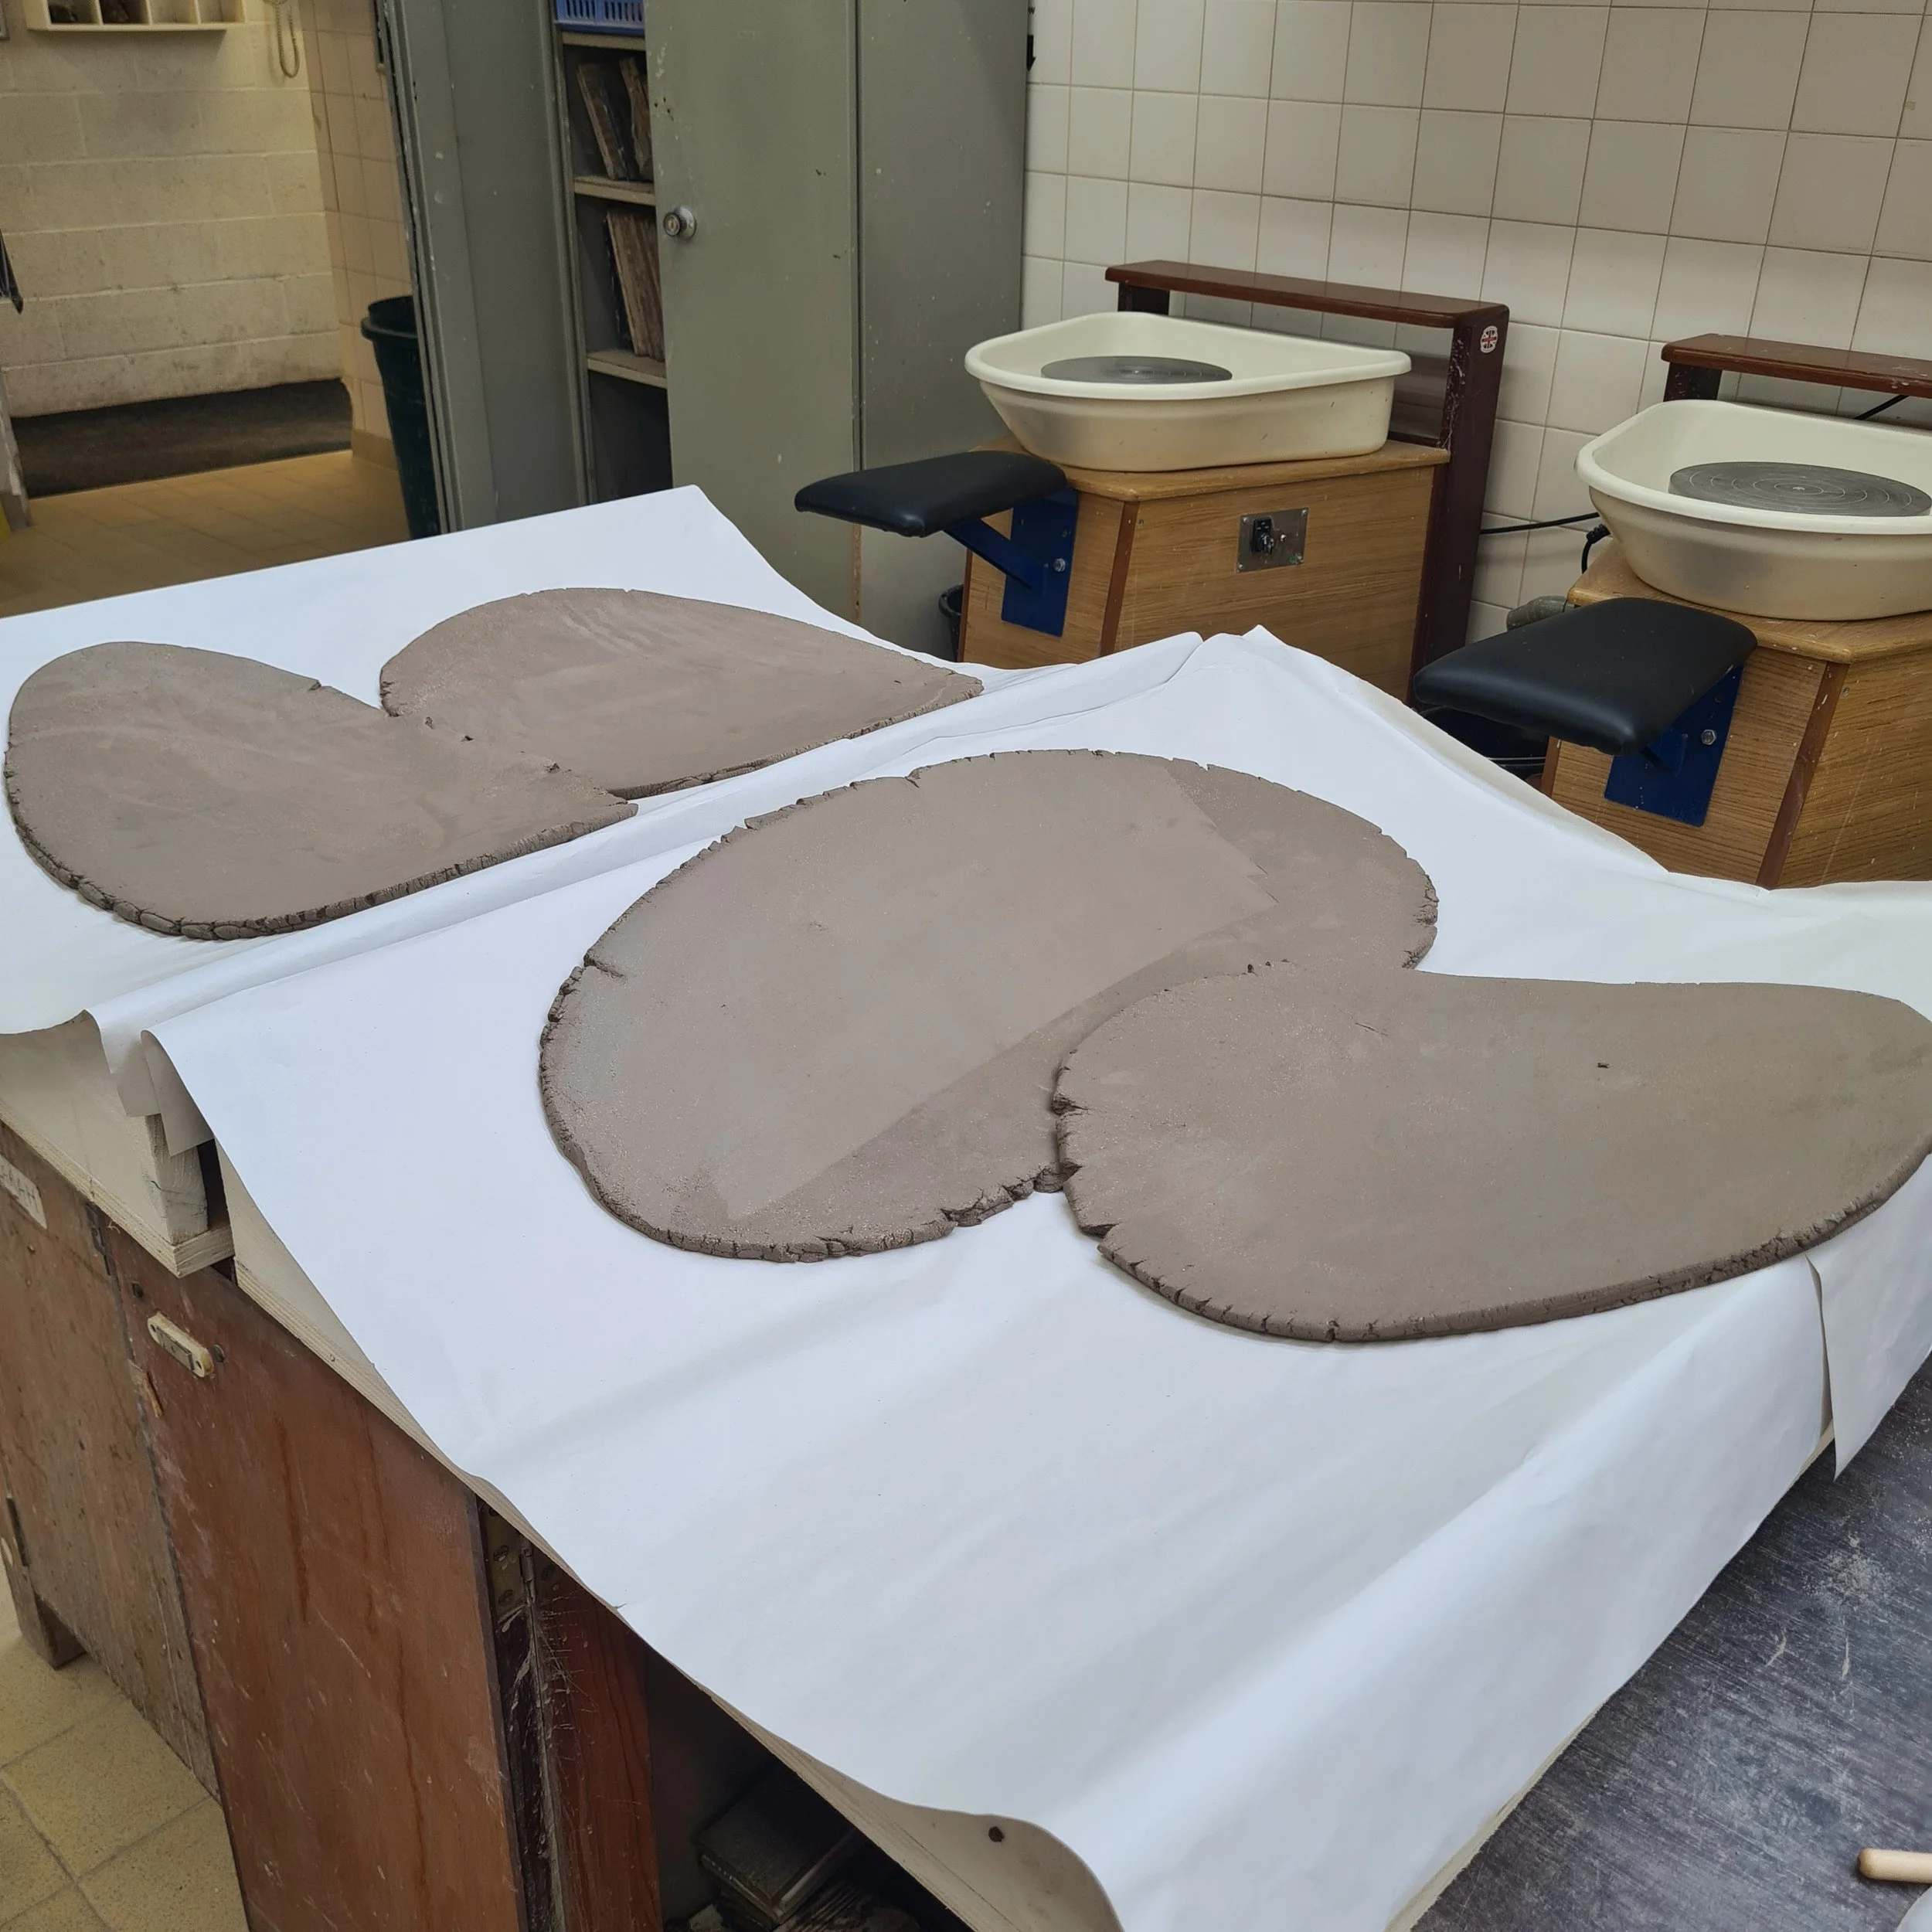
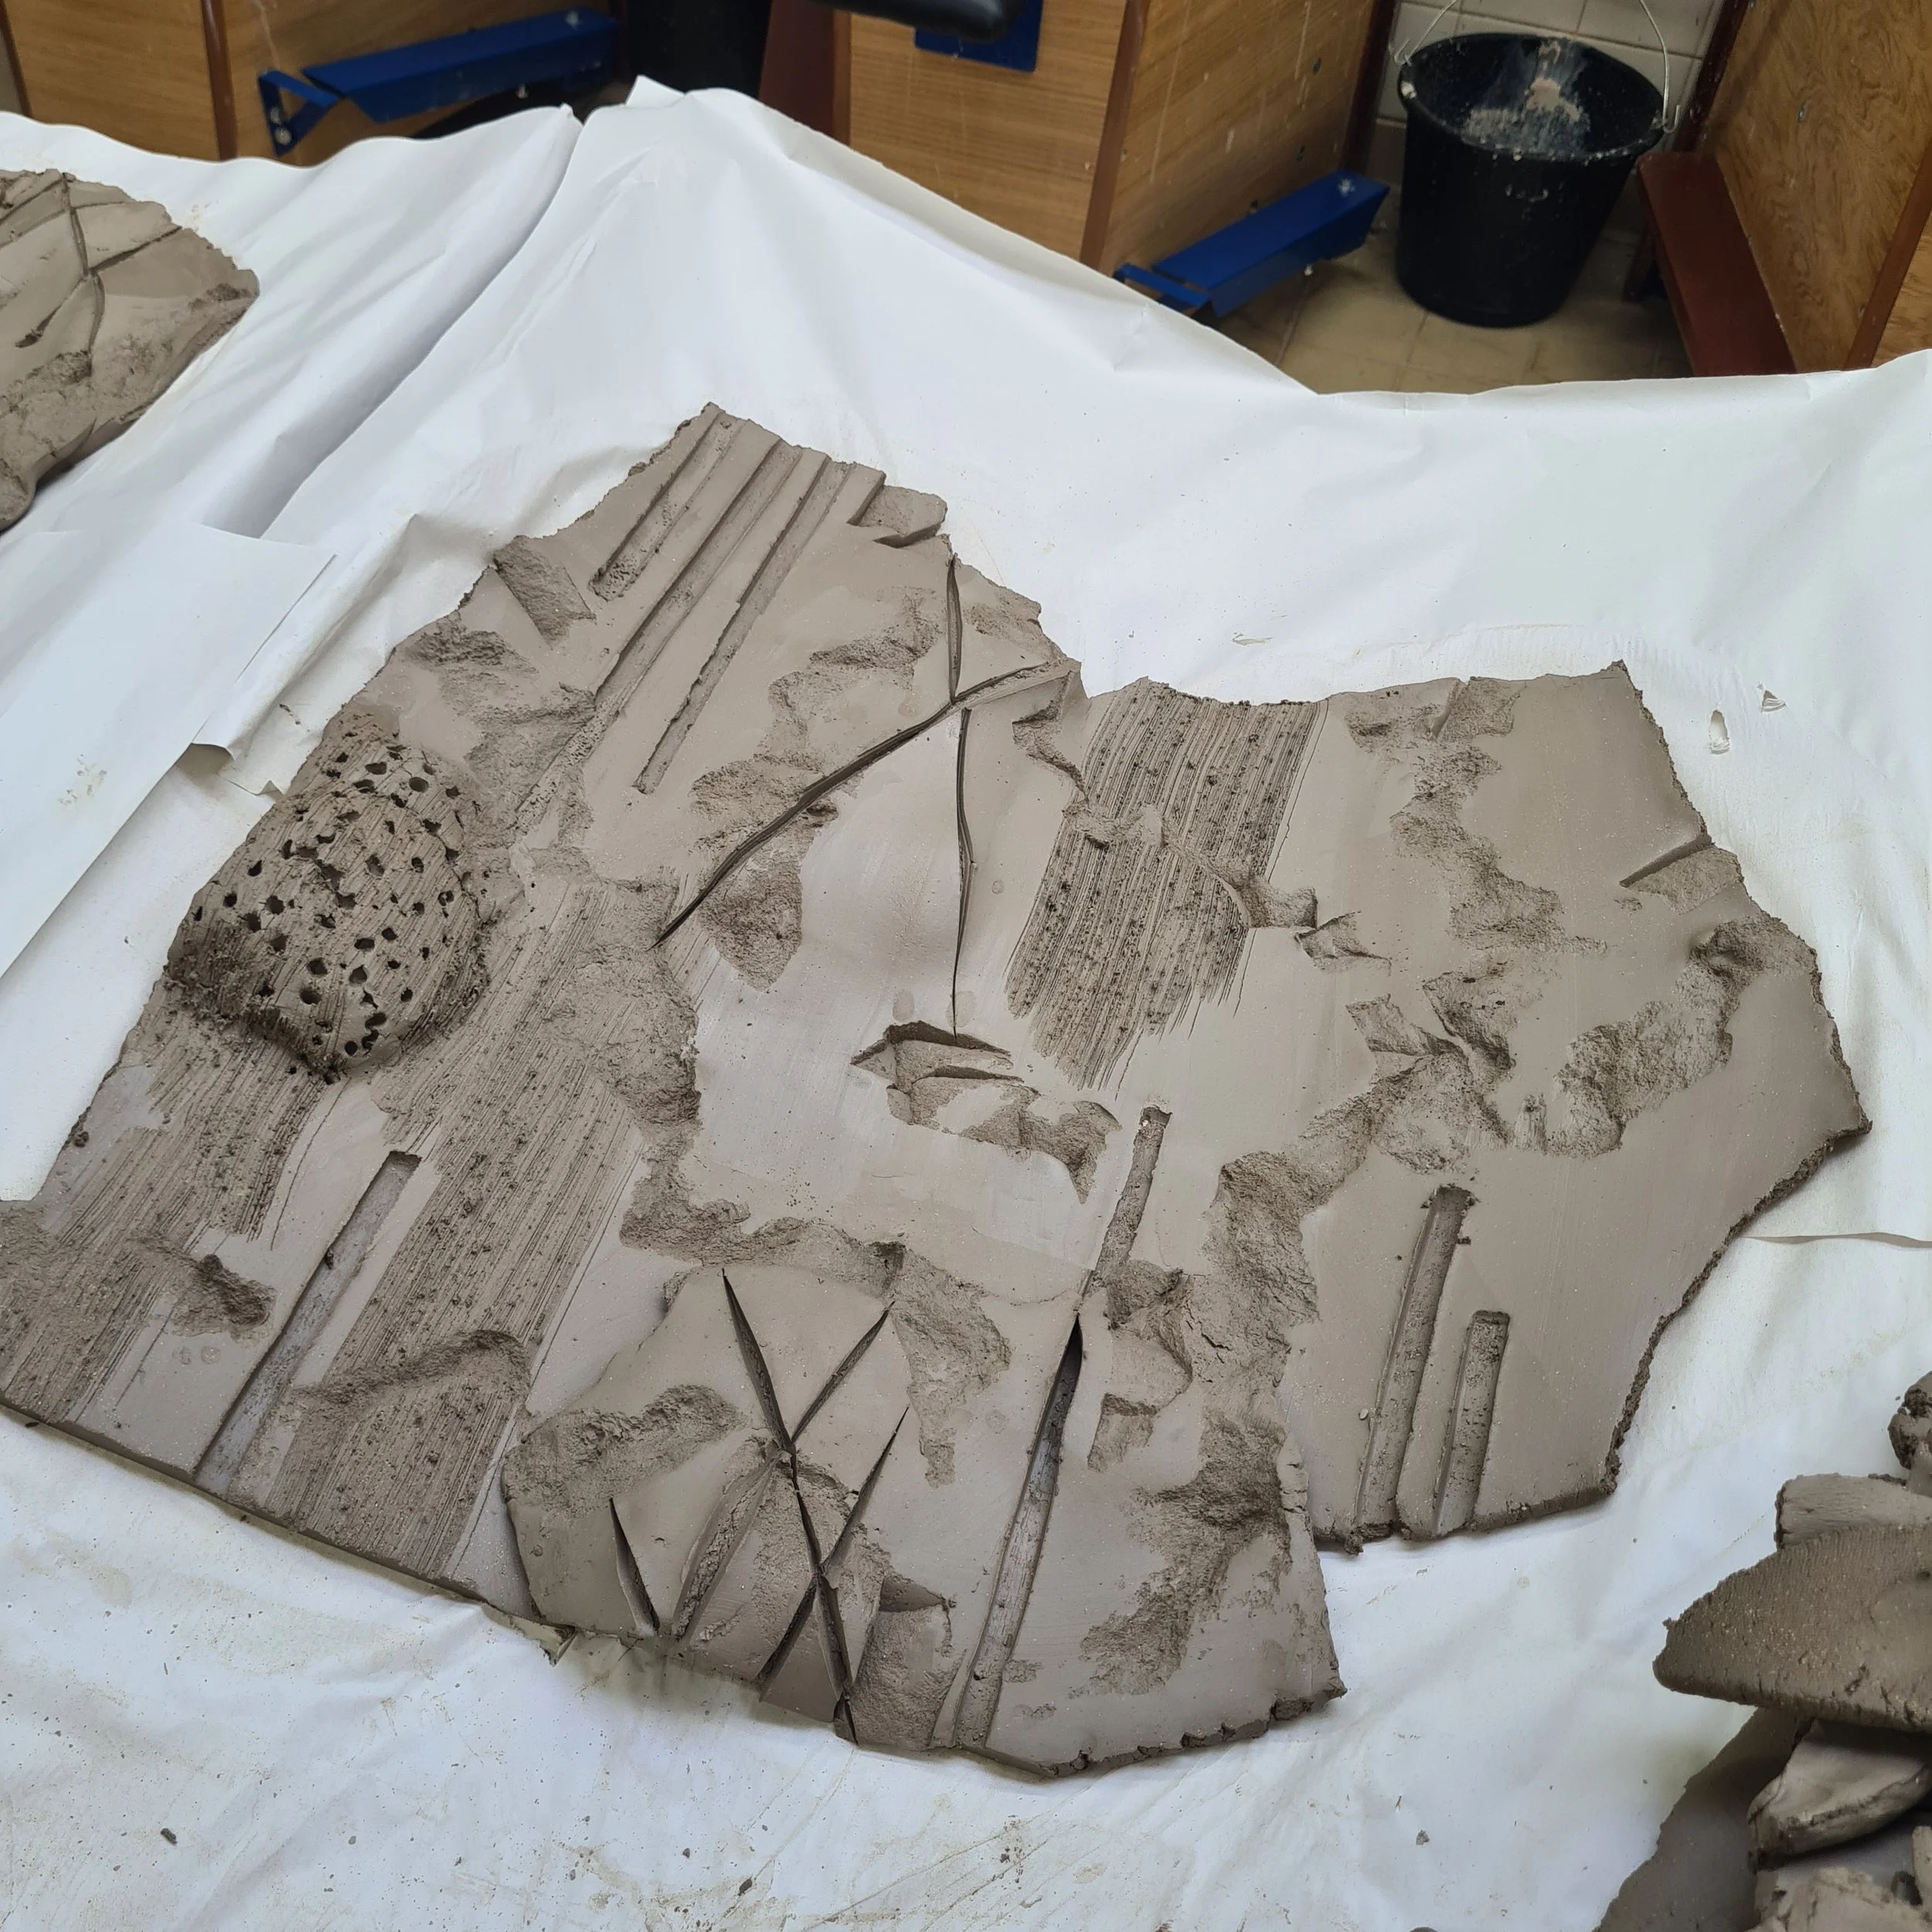
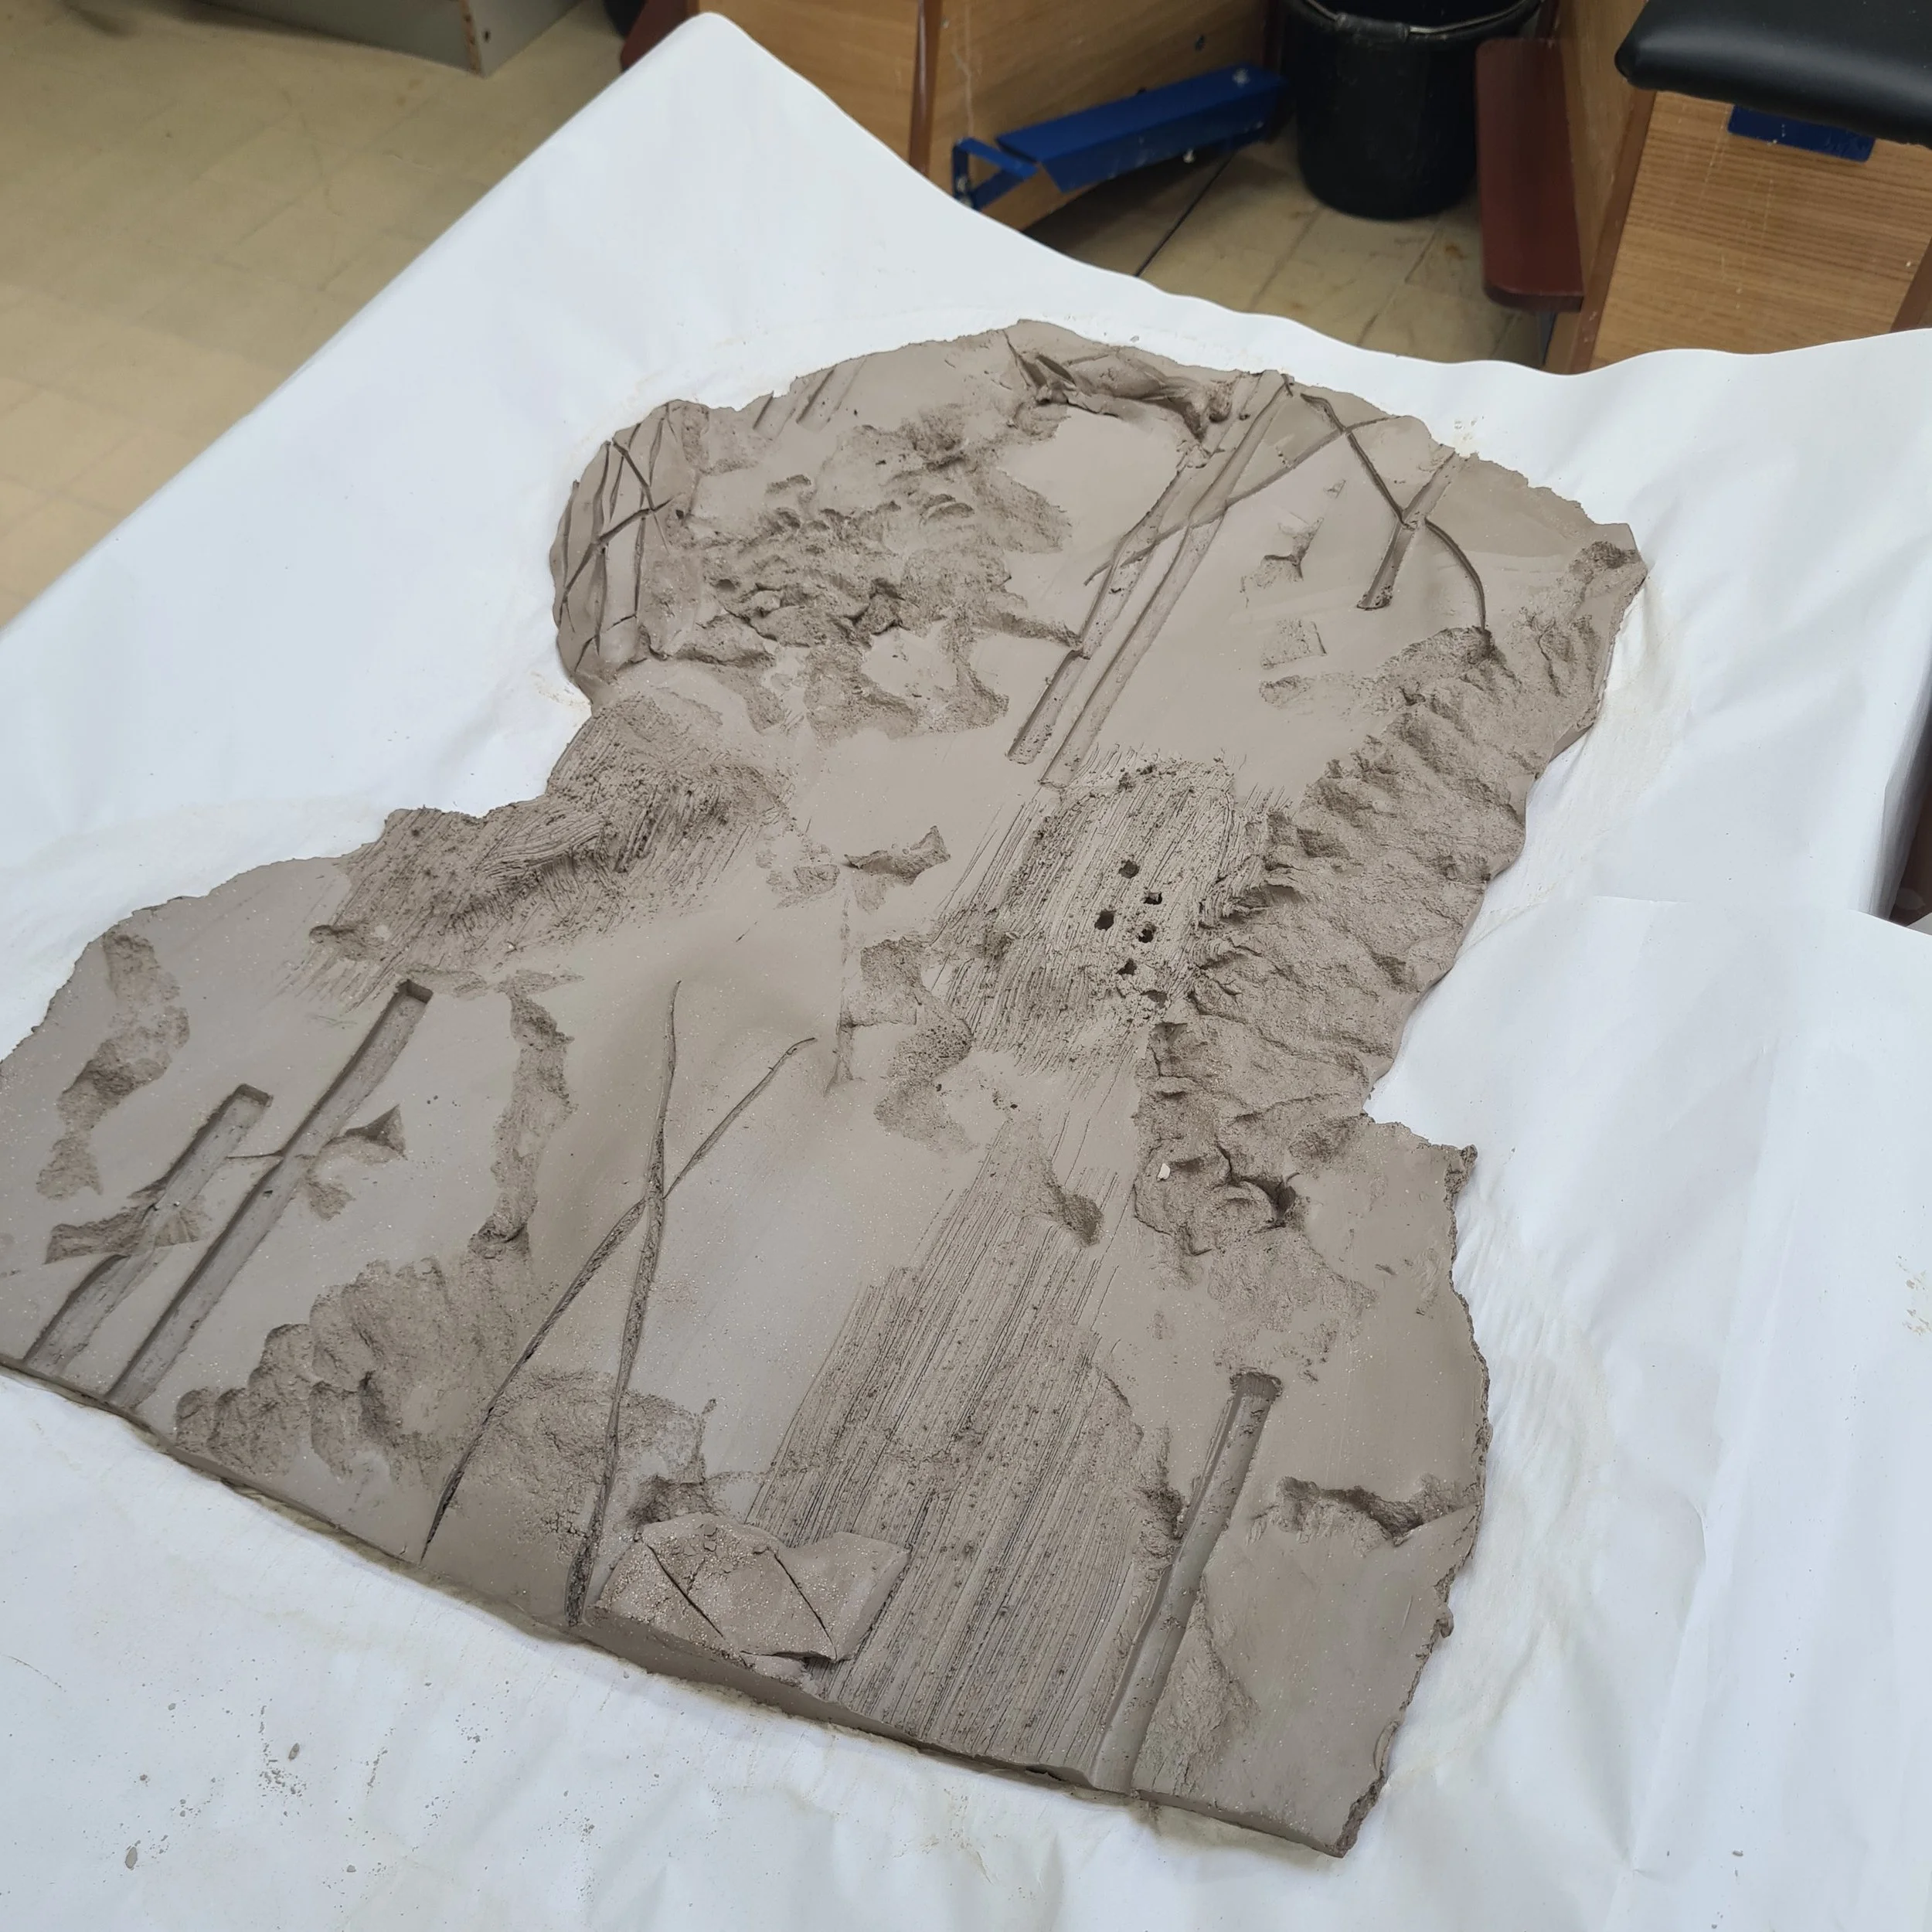
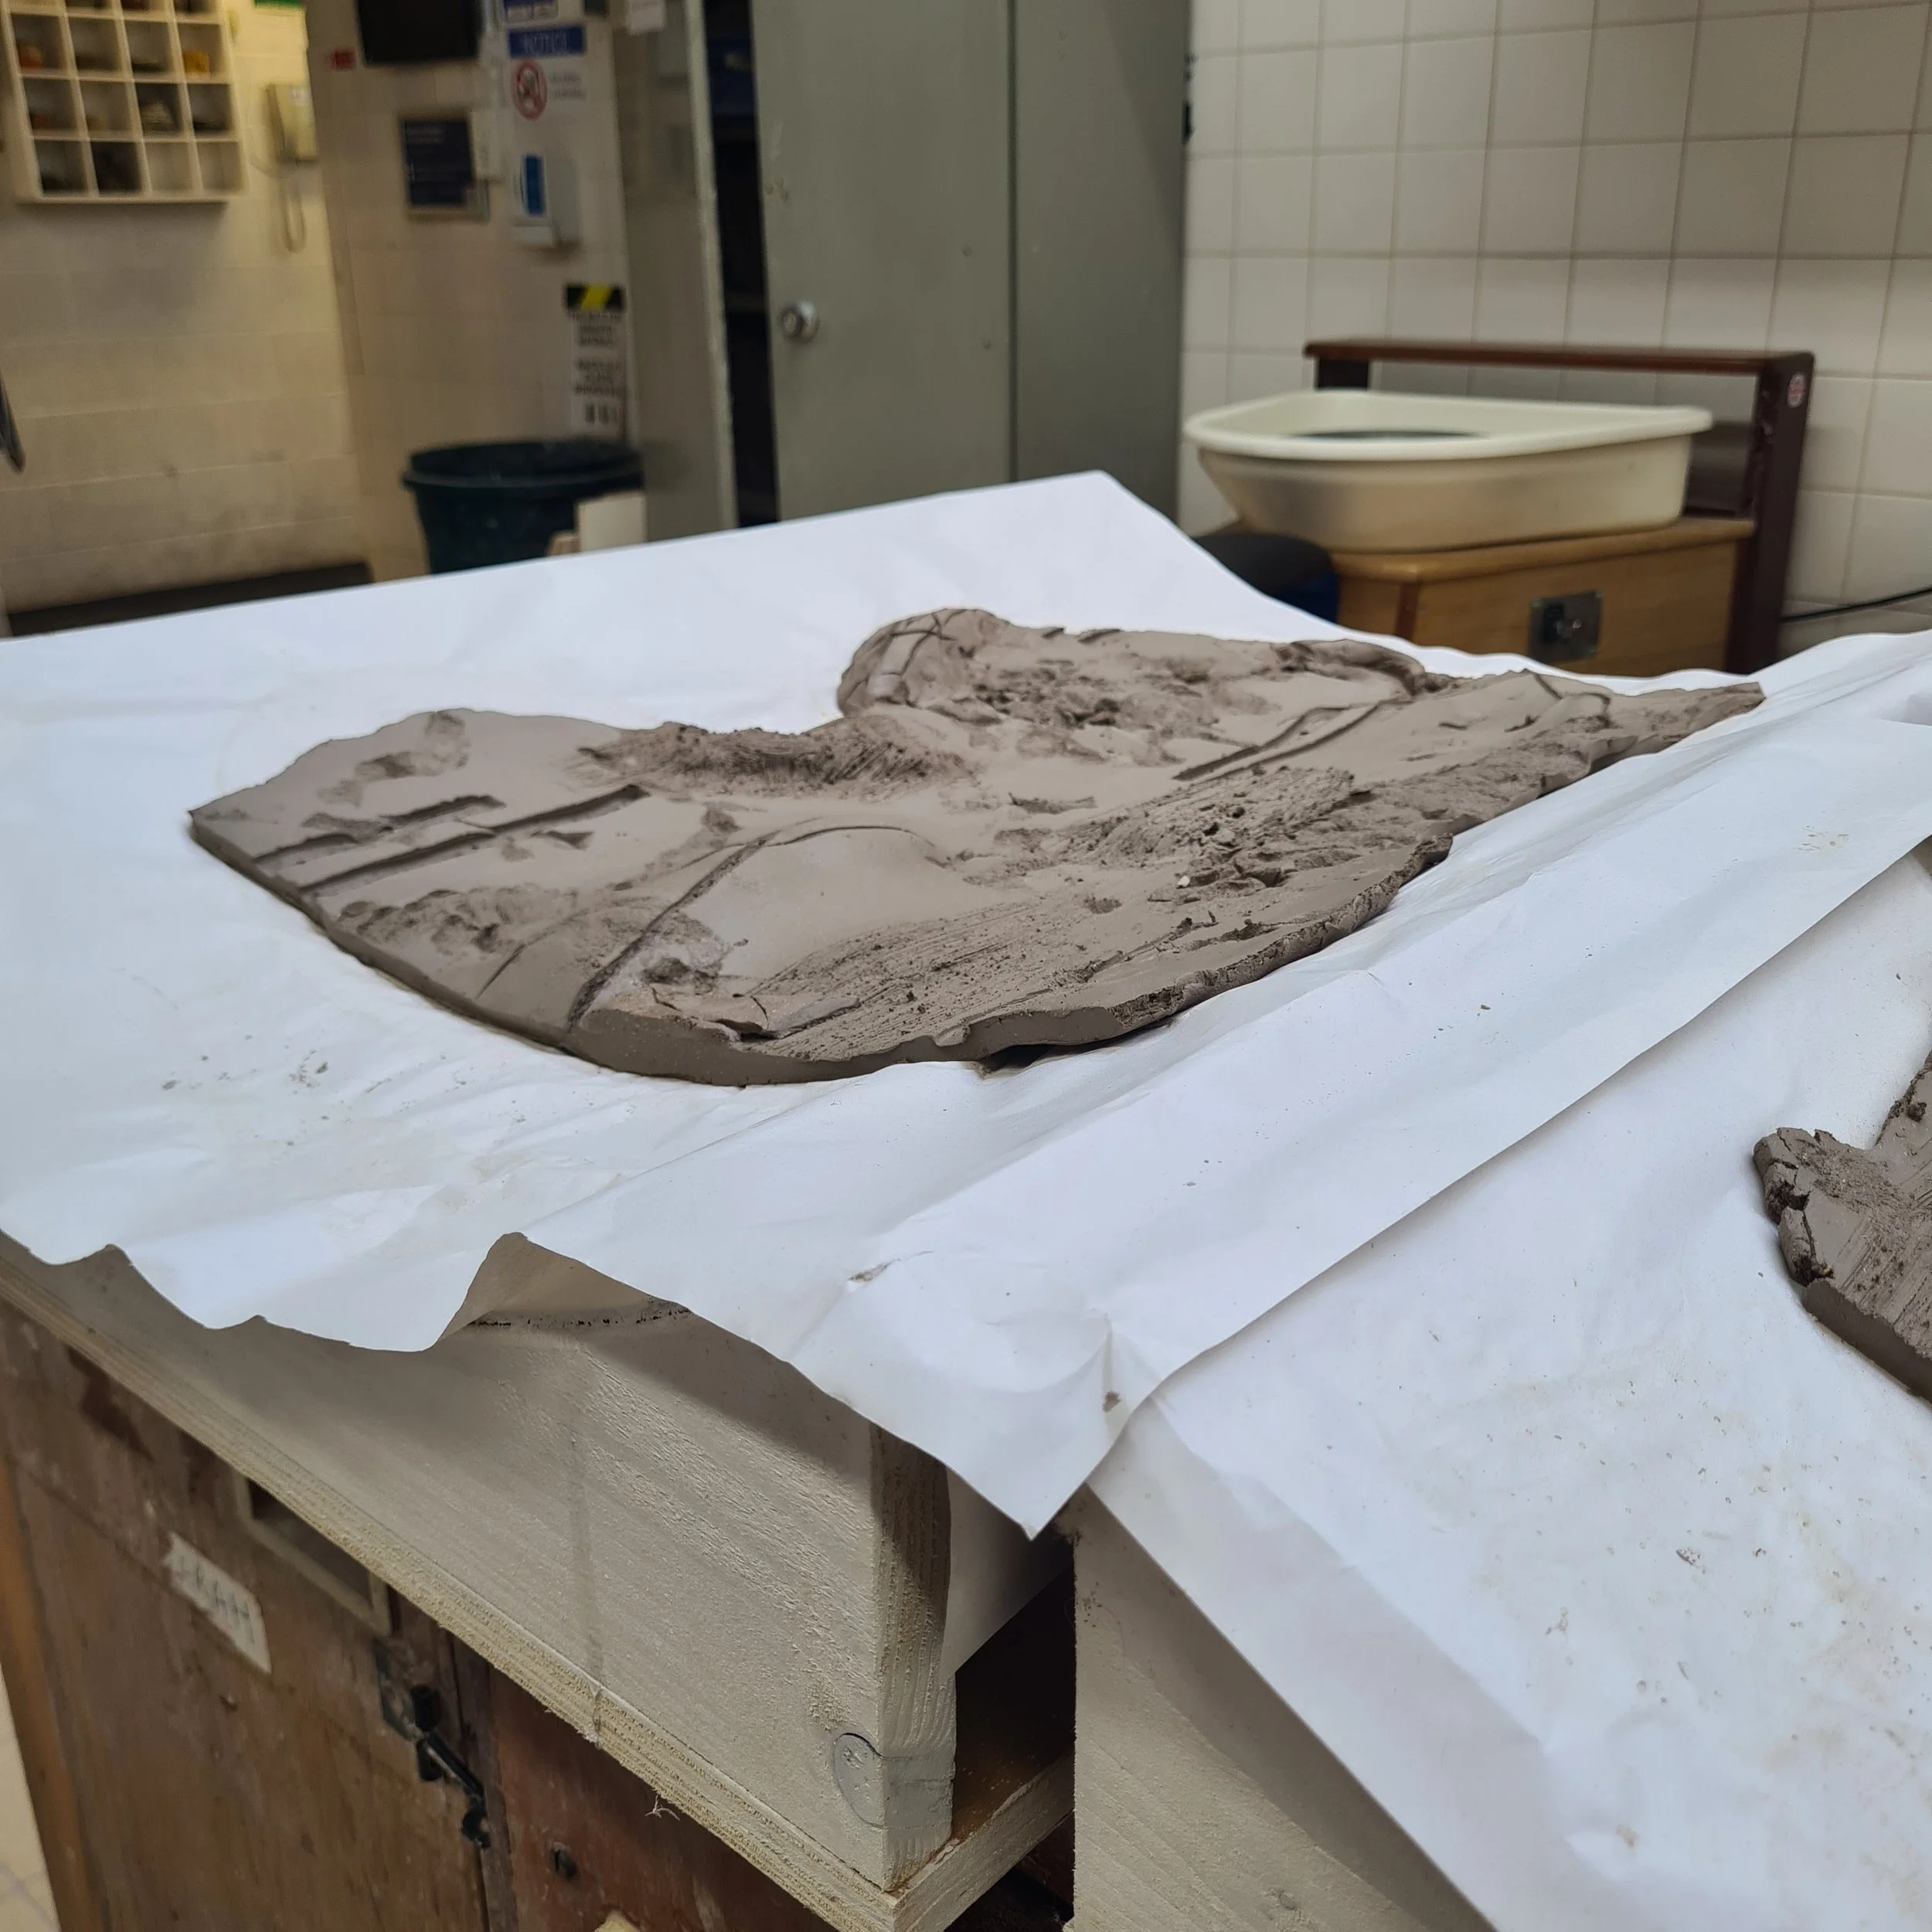
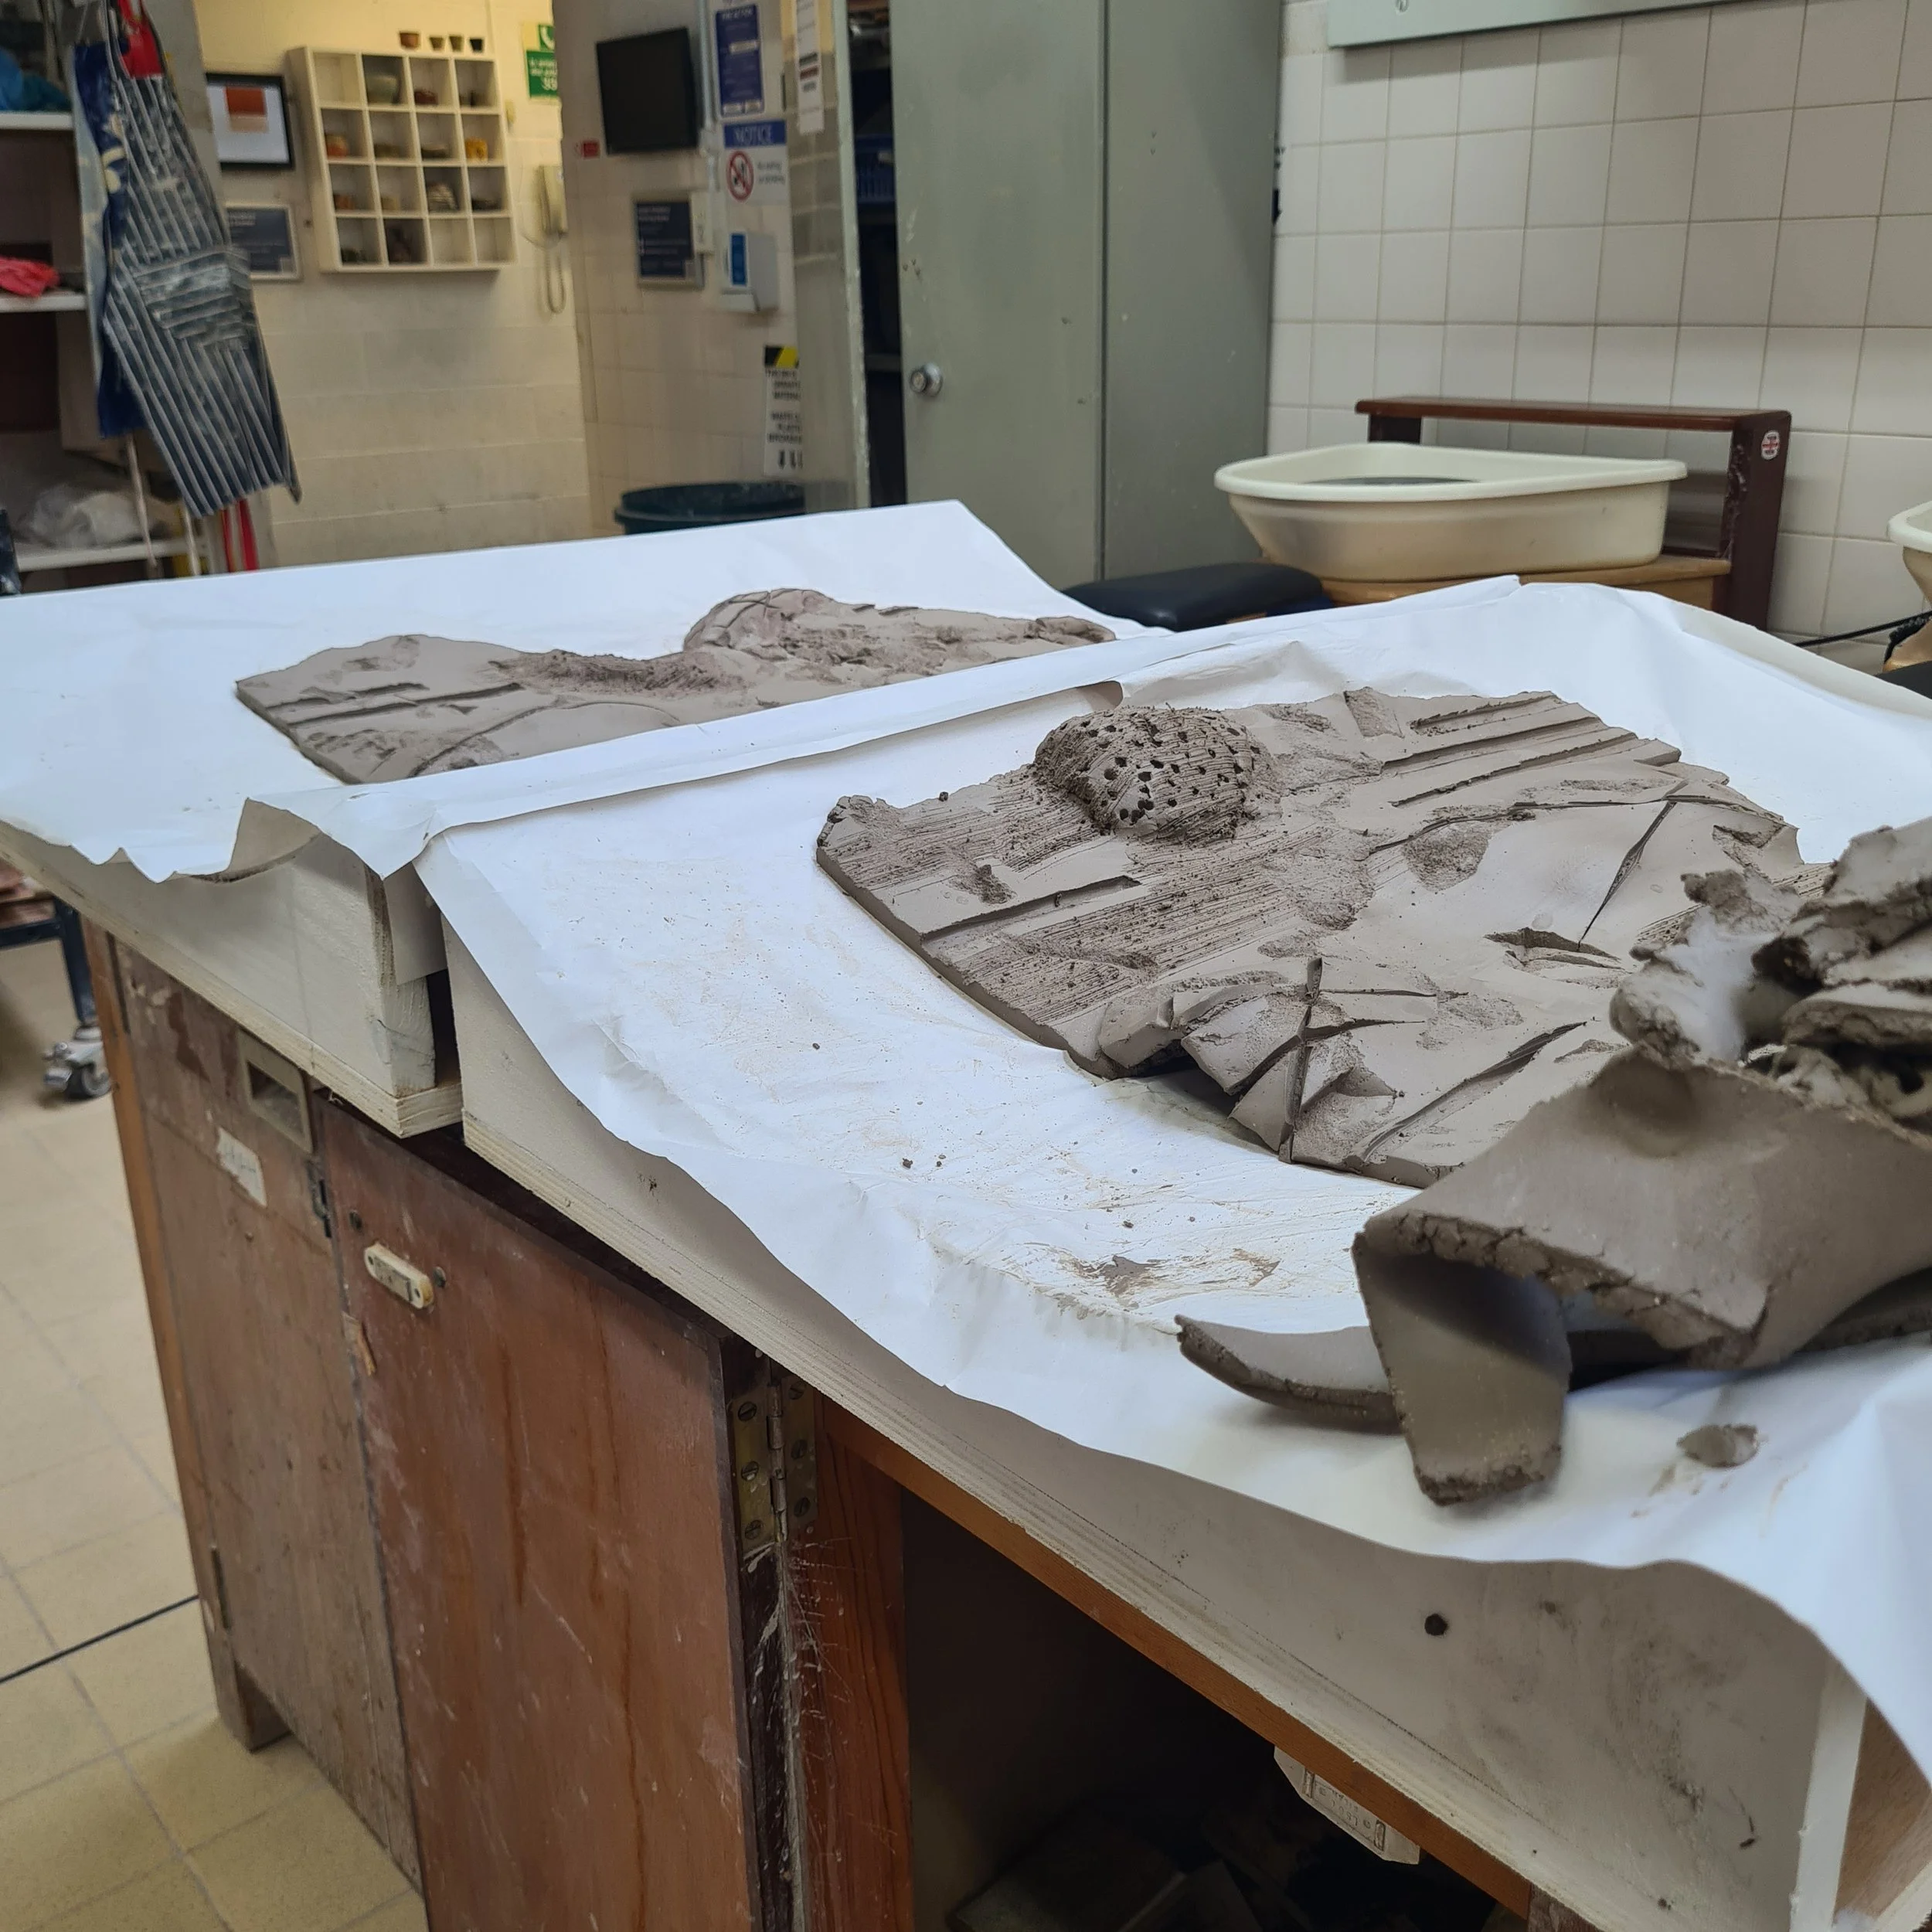
This is the piece taking shape on the former. I just used the university stoneware grey clay. I rolled out four fairly thick slabs and then joined them together. I then ripped the edges to create my desired shape. Both sides were different sizes, one taller and one wider. I then pressed in textures, sliced it and pushed it out and carved into them. I used these fronts in an experimental manner. I wasn’t trying to create a well balanced, harmonised visual appearance, but just trying out how these textures and marks would respond on a larger scale. I kept some slabs to the side to use as the side panels and pressed in a rock to add texture. I left these out in the sun to go leather hard.
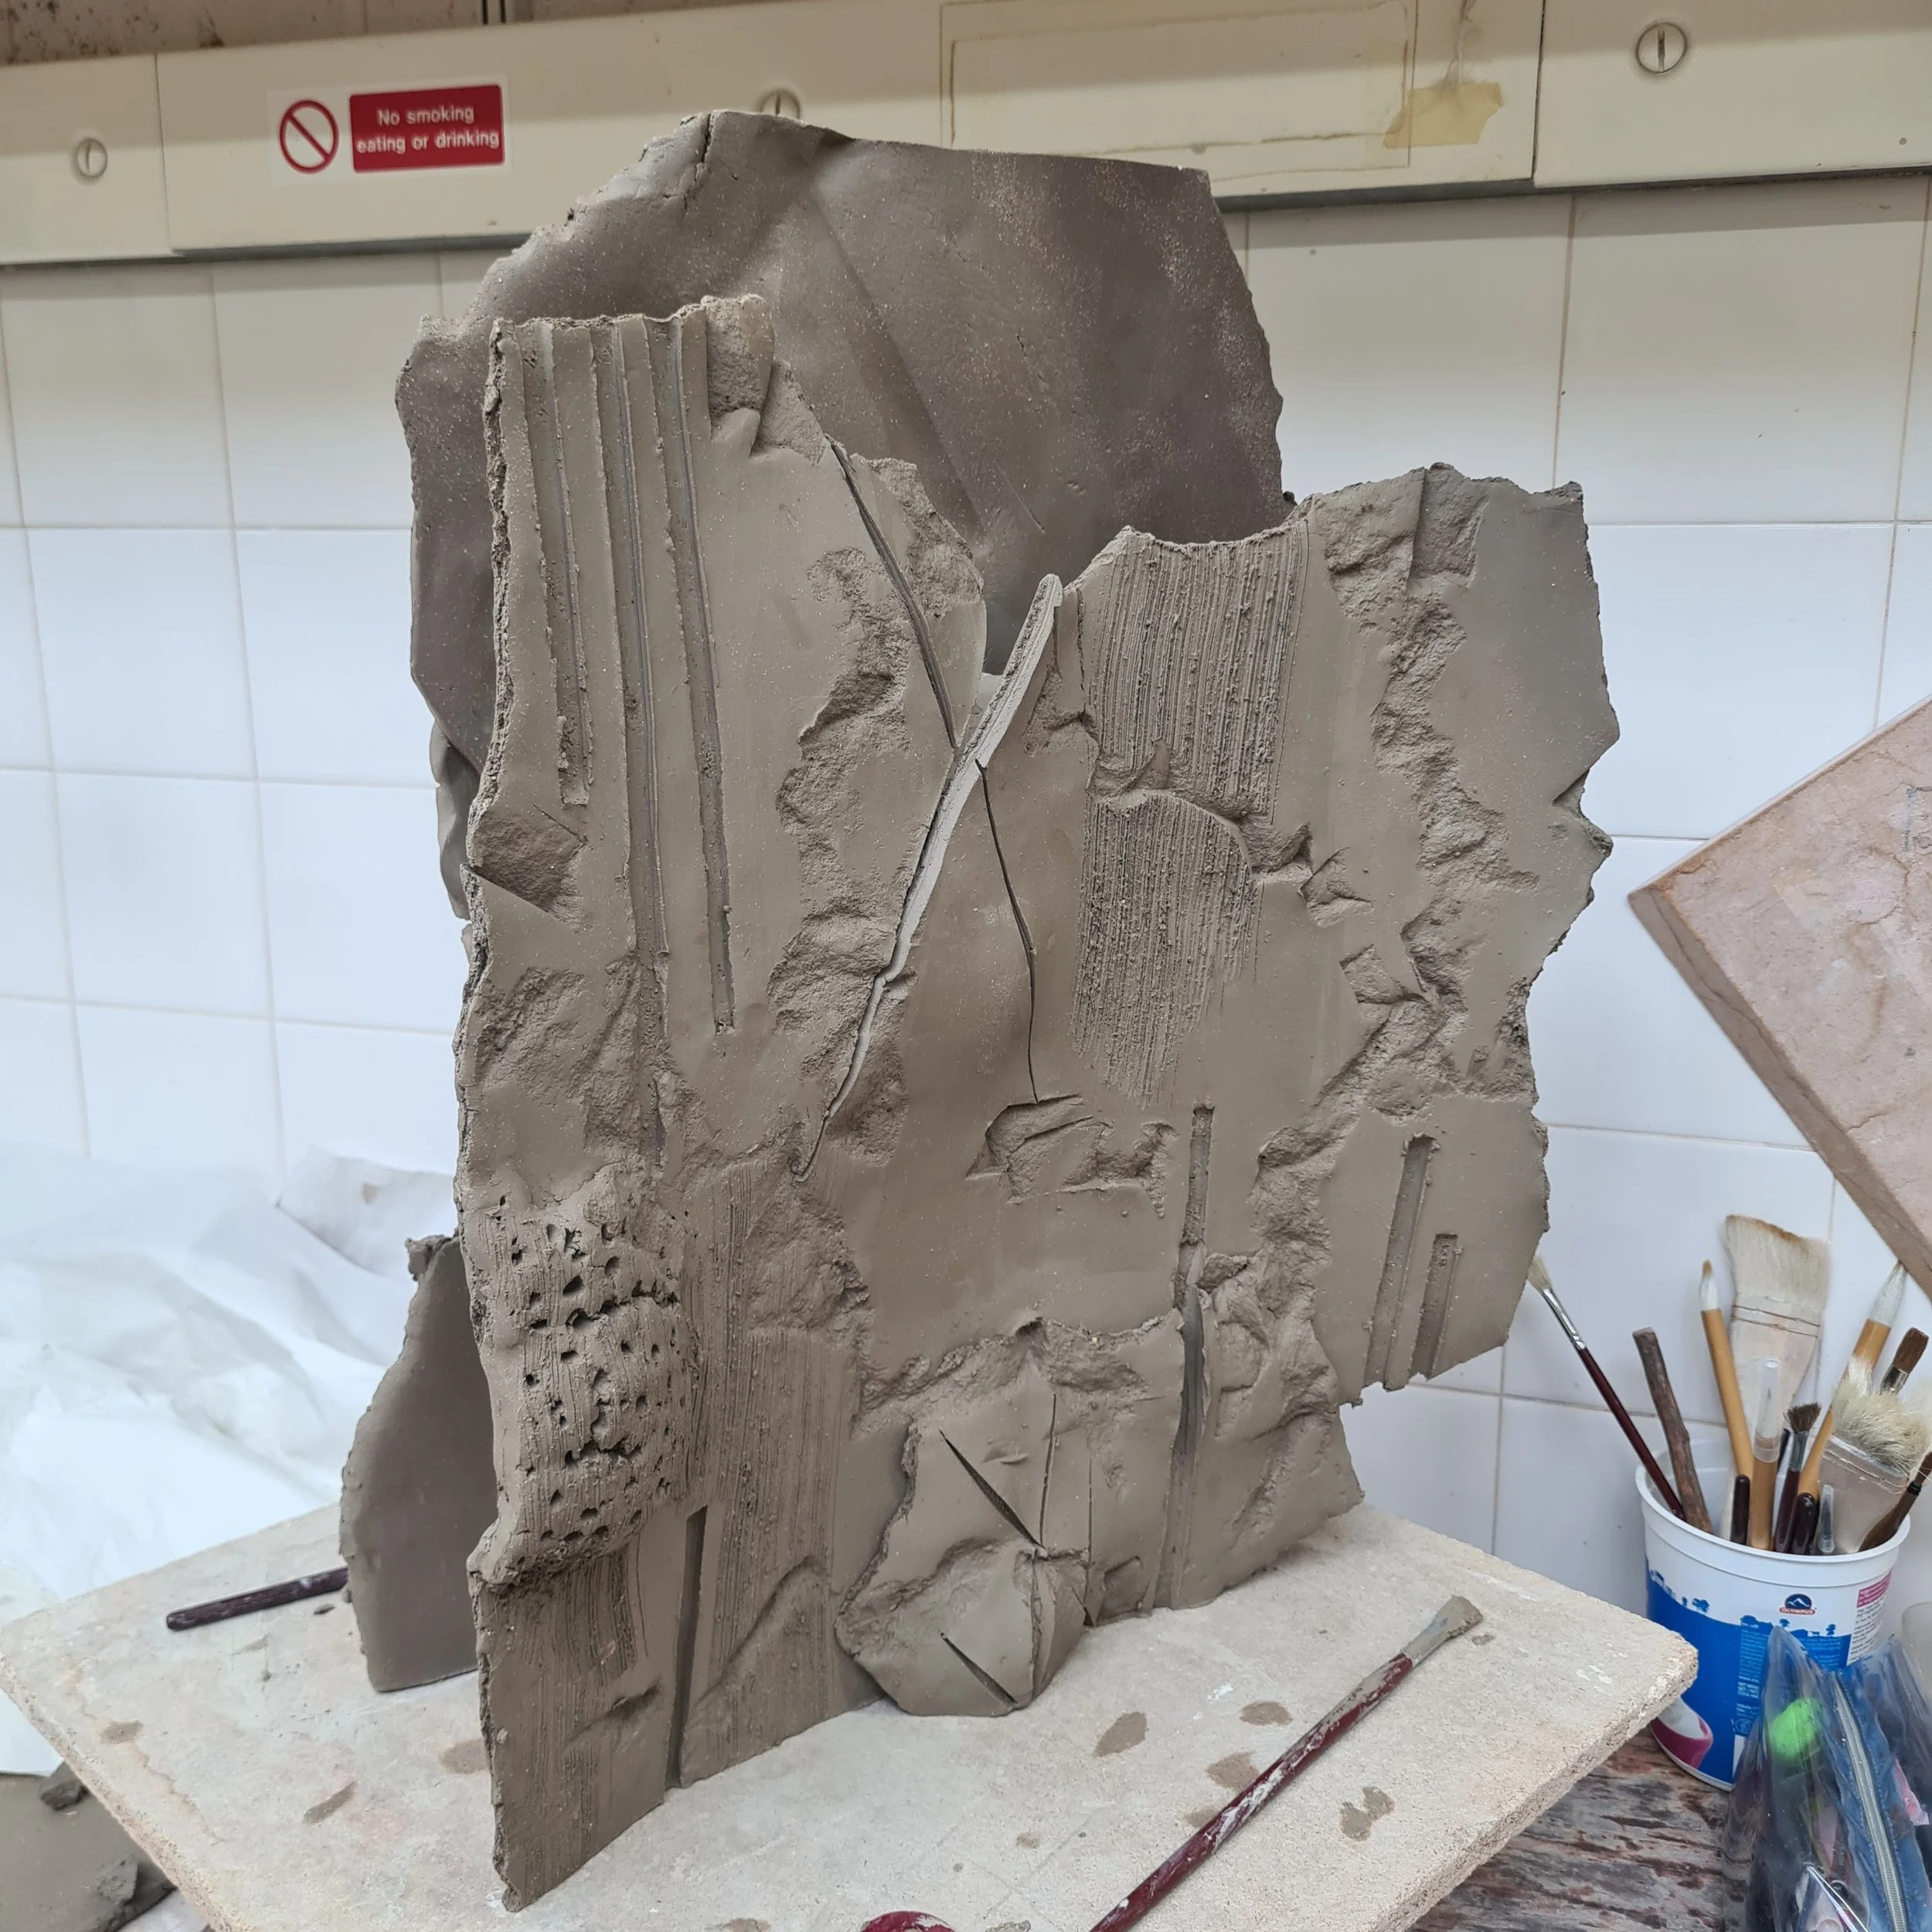
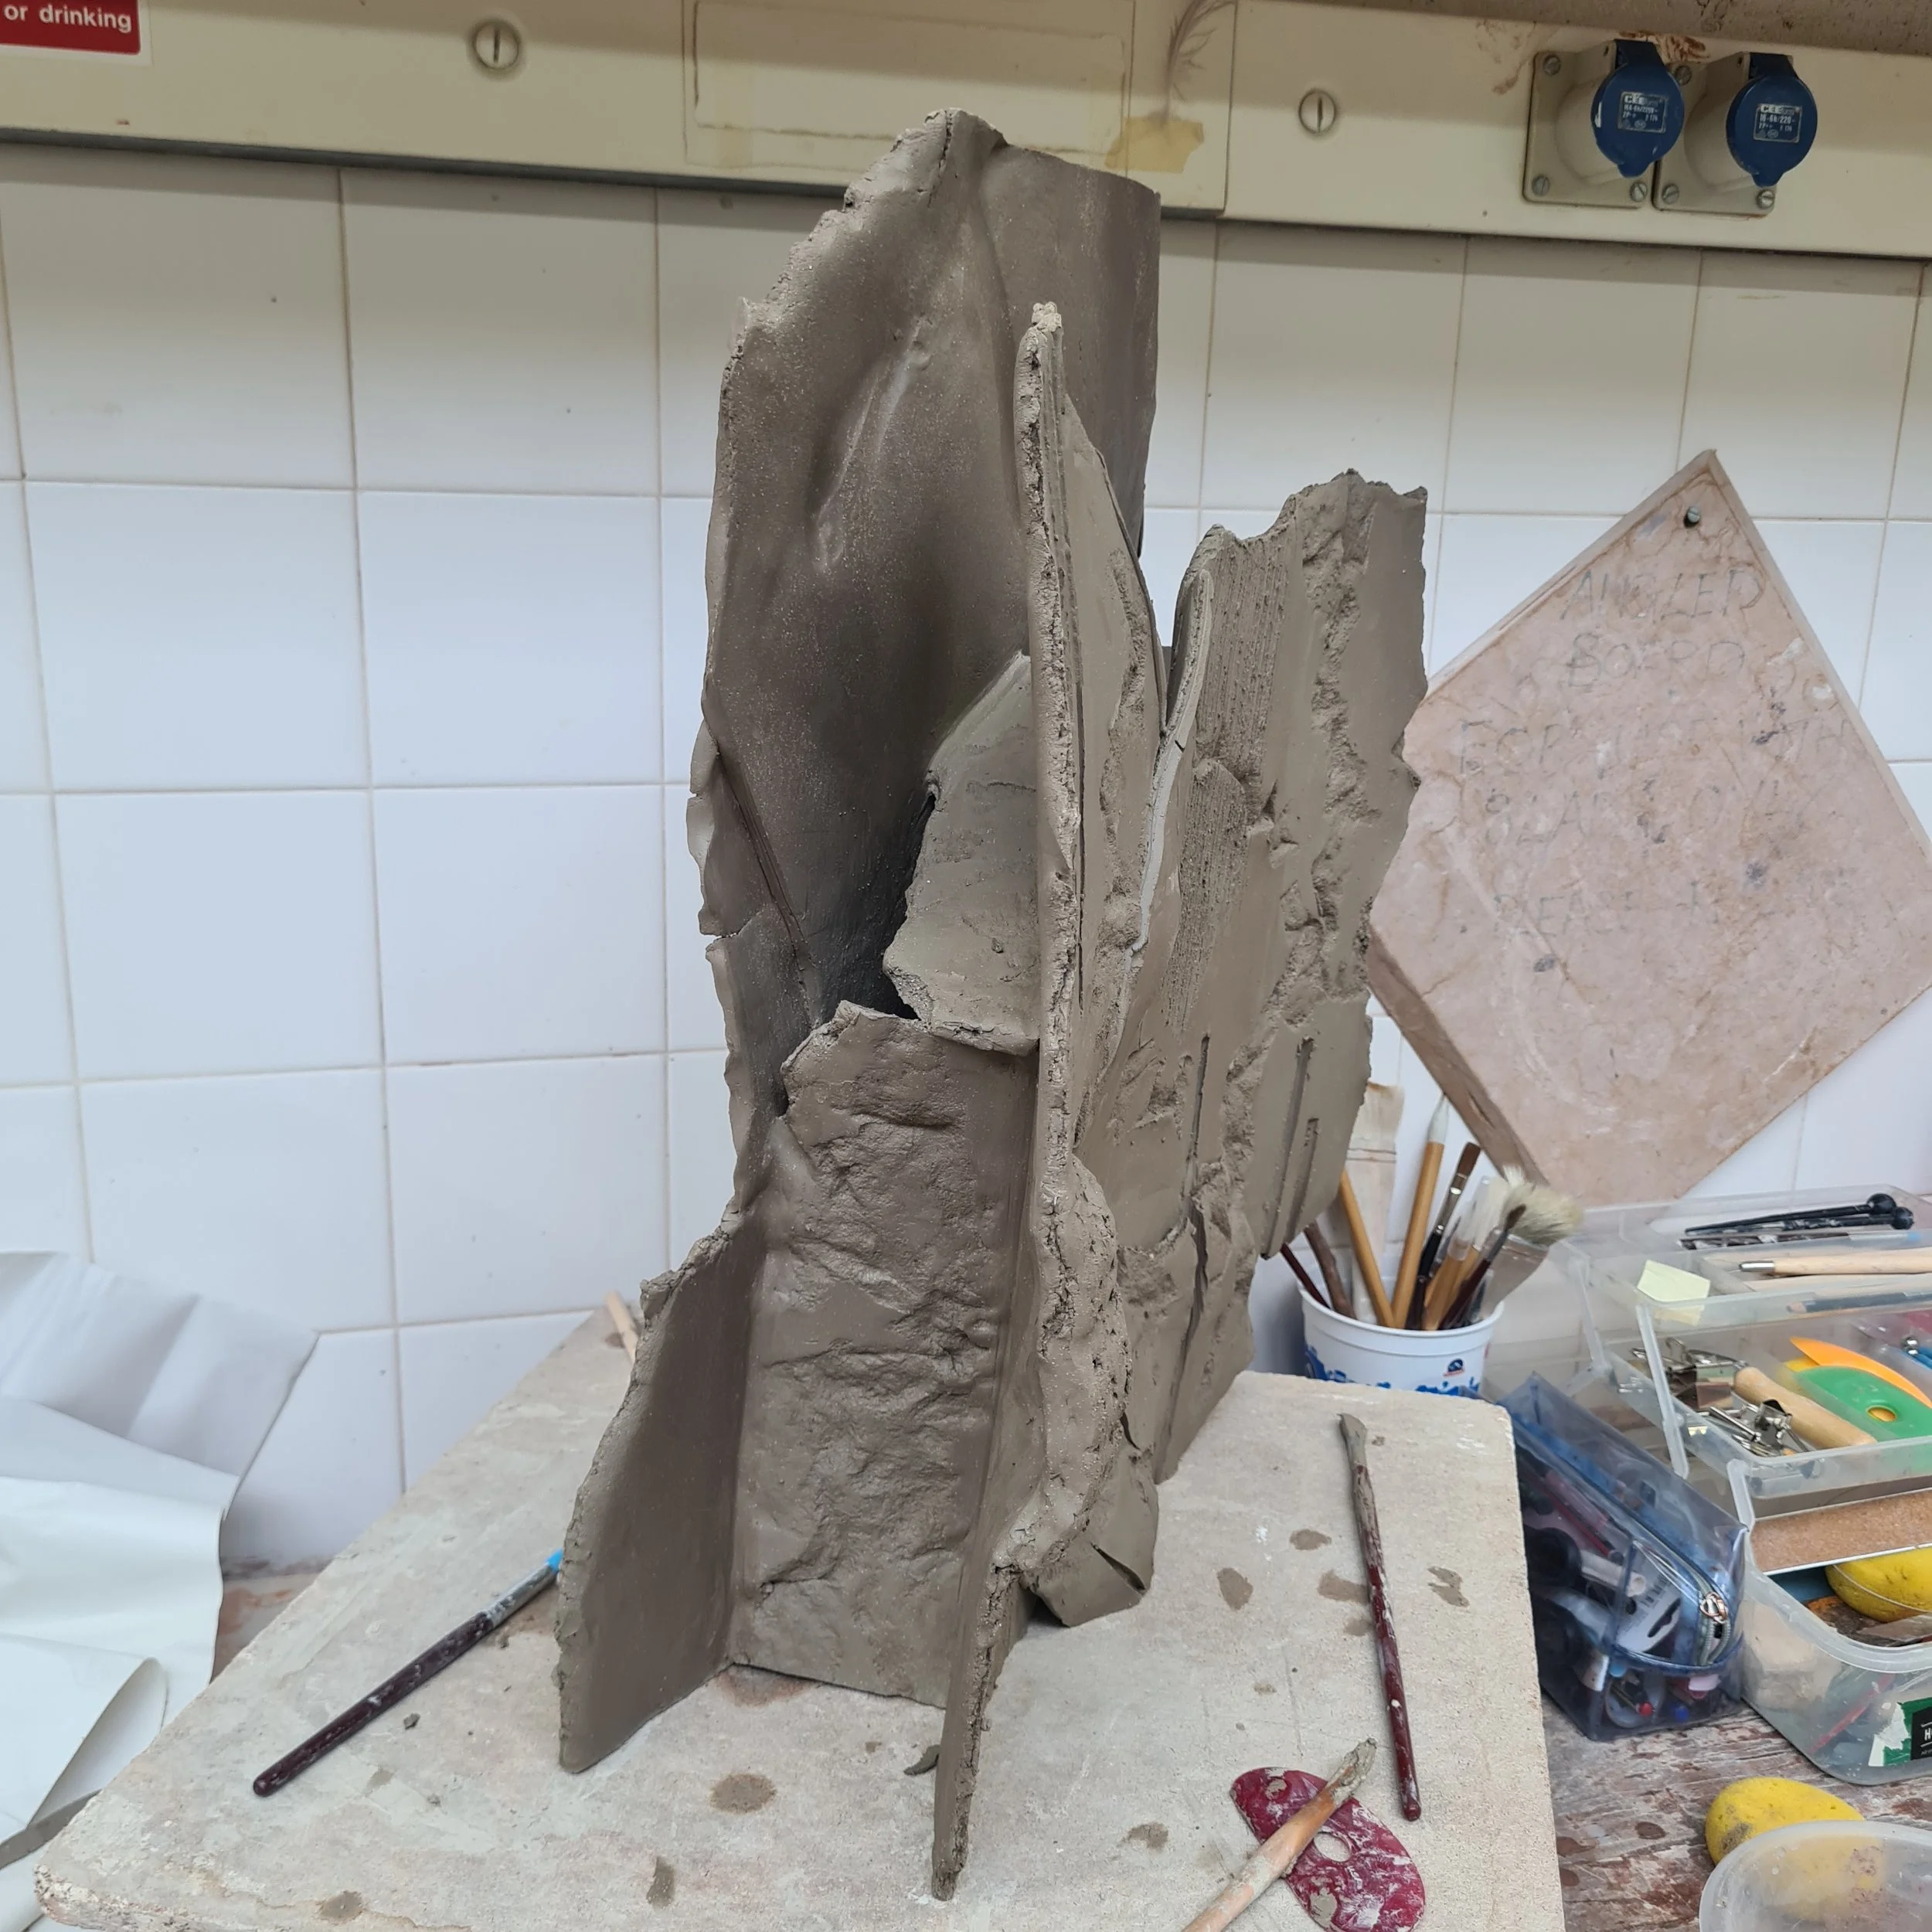
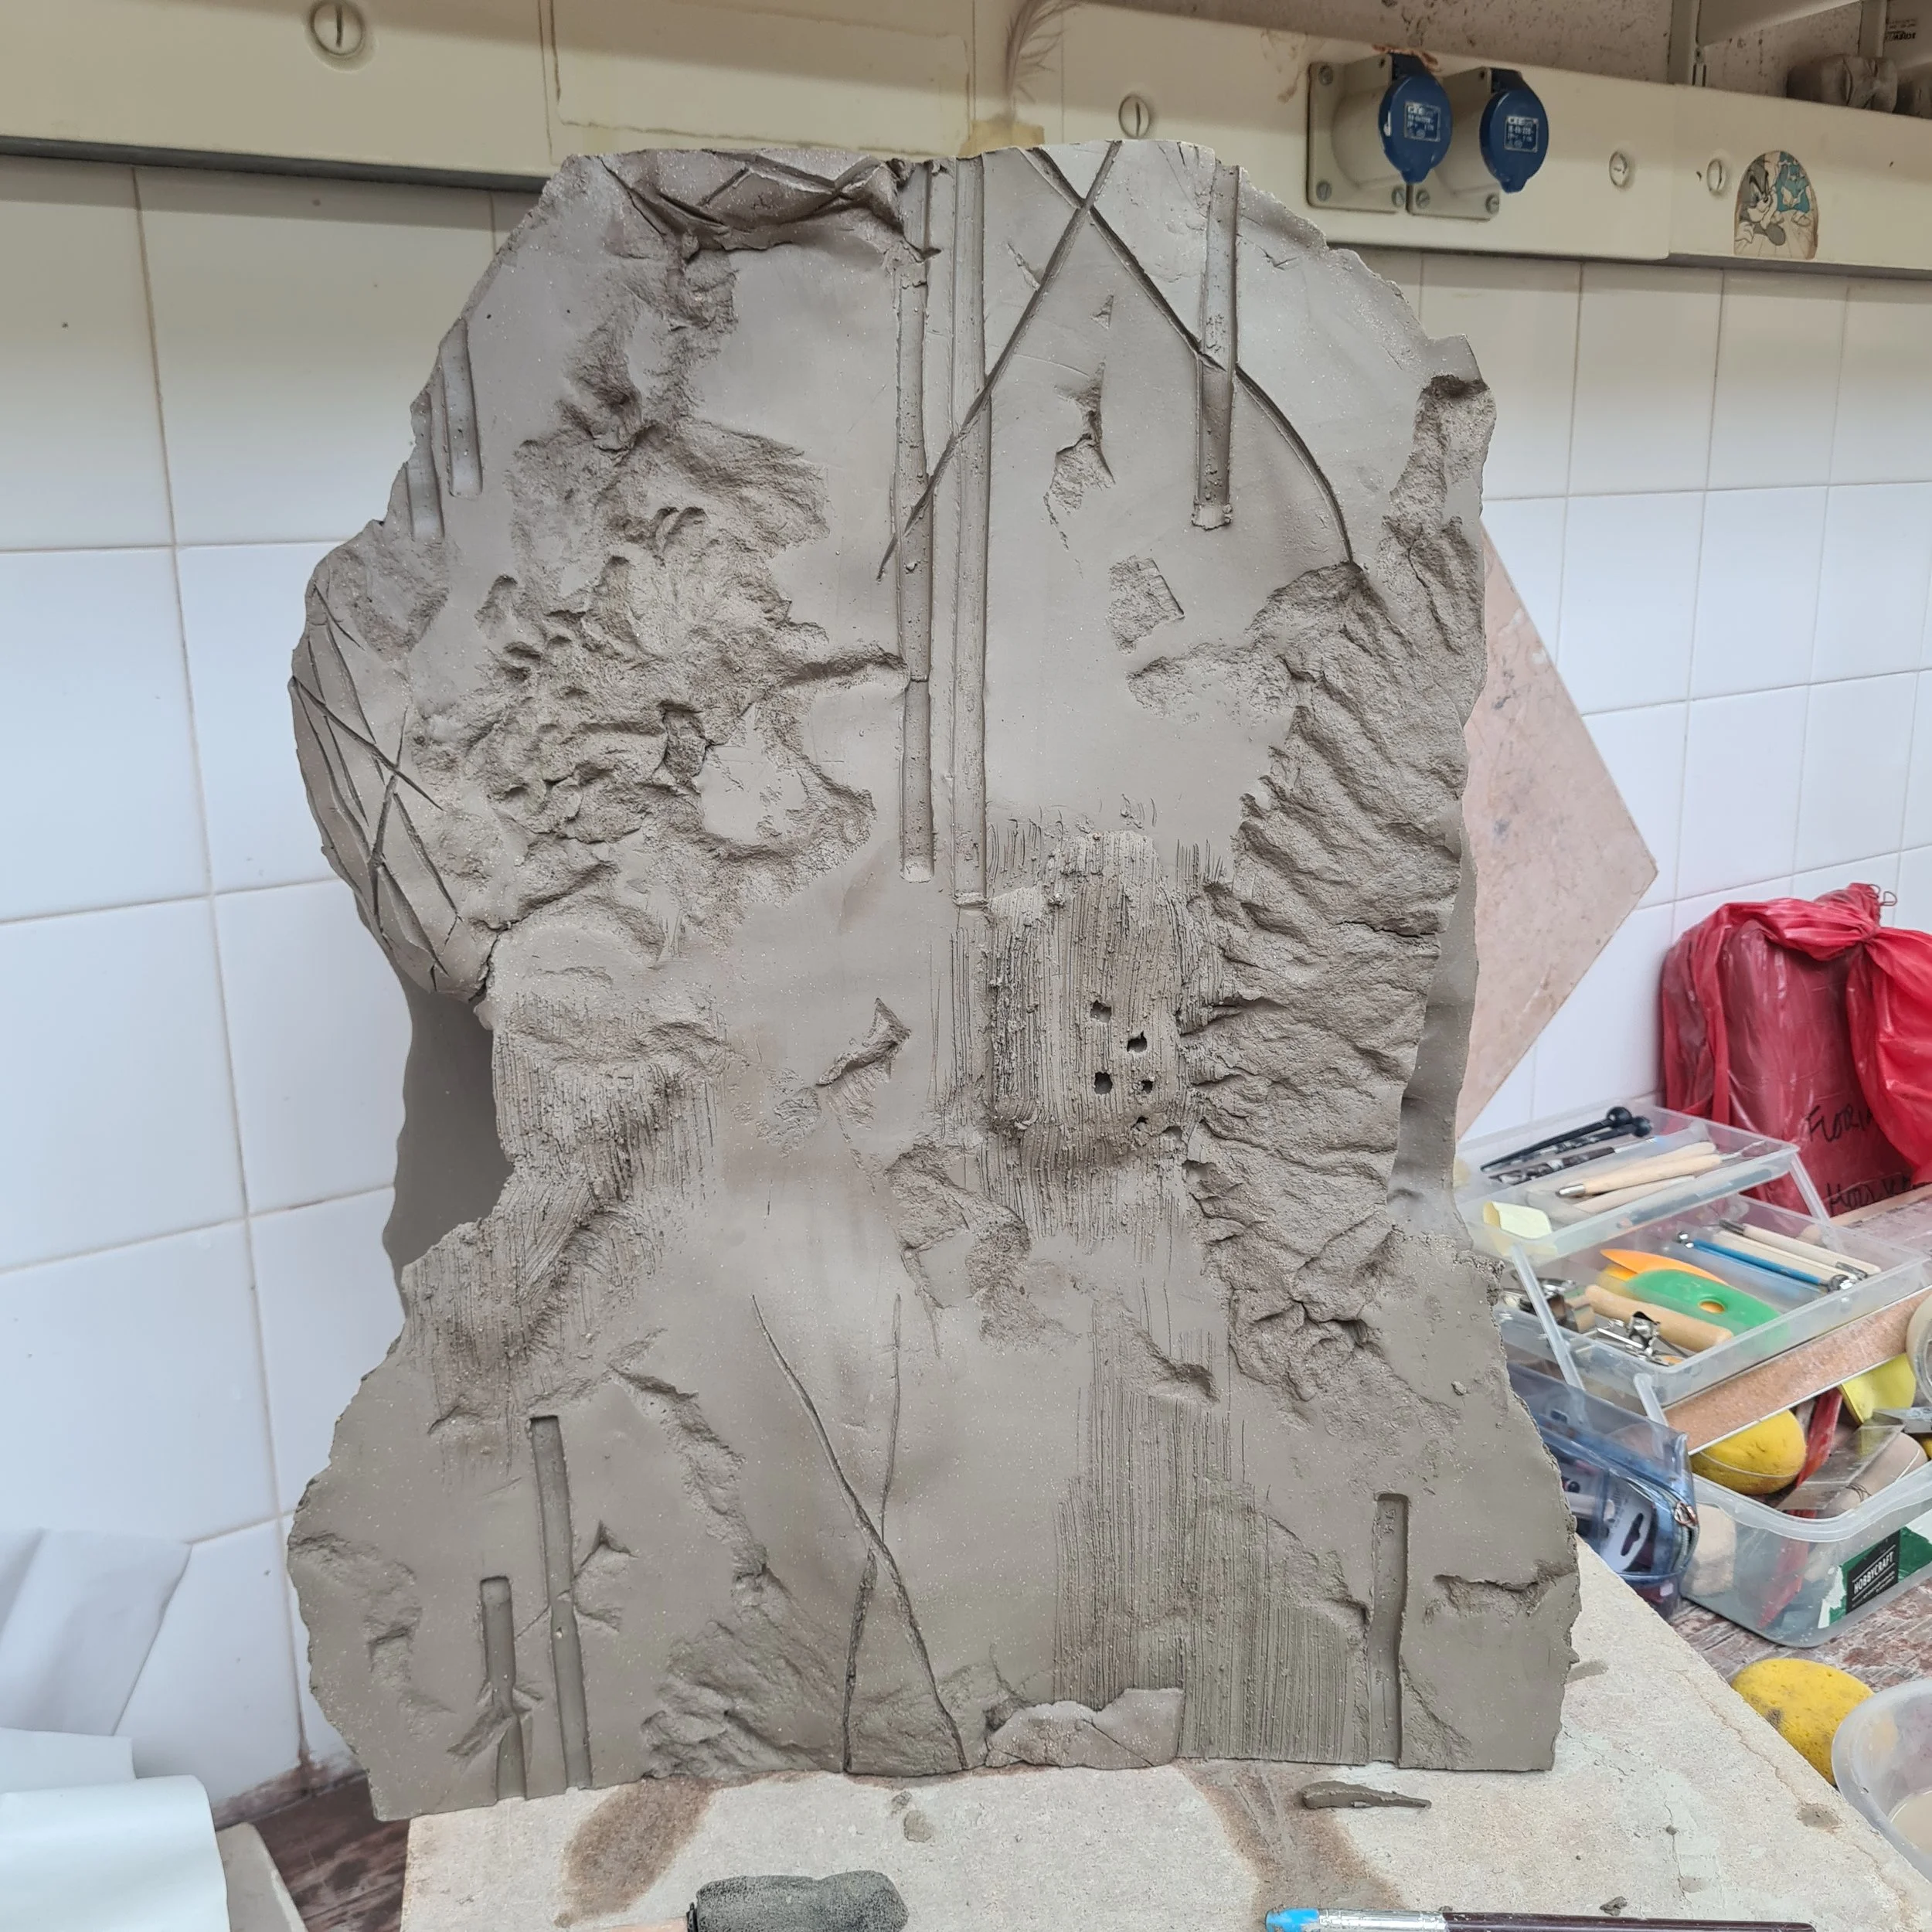
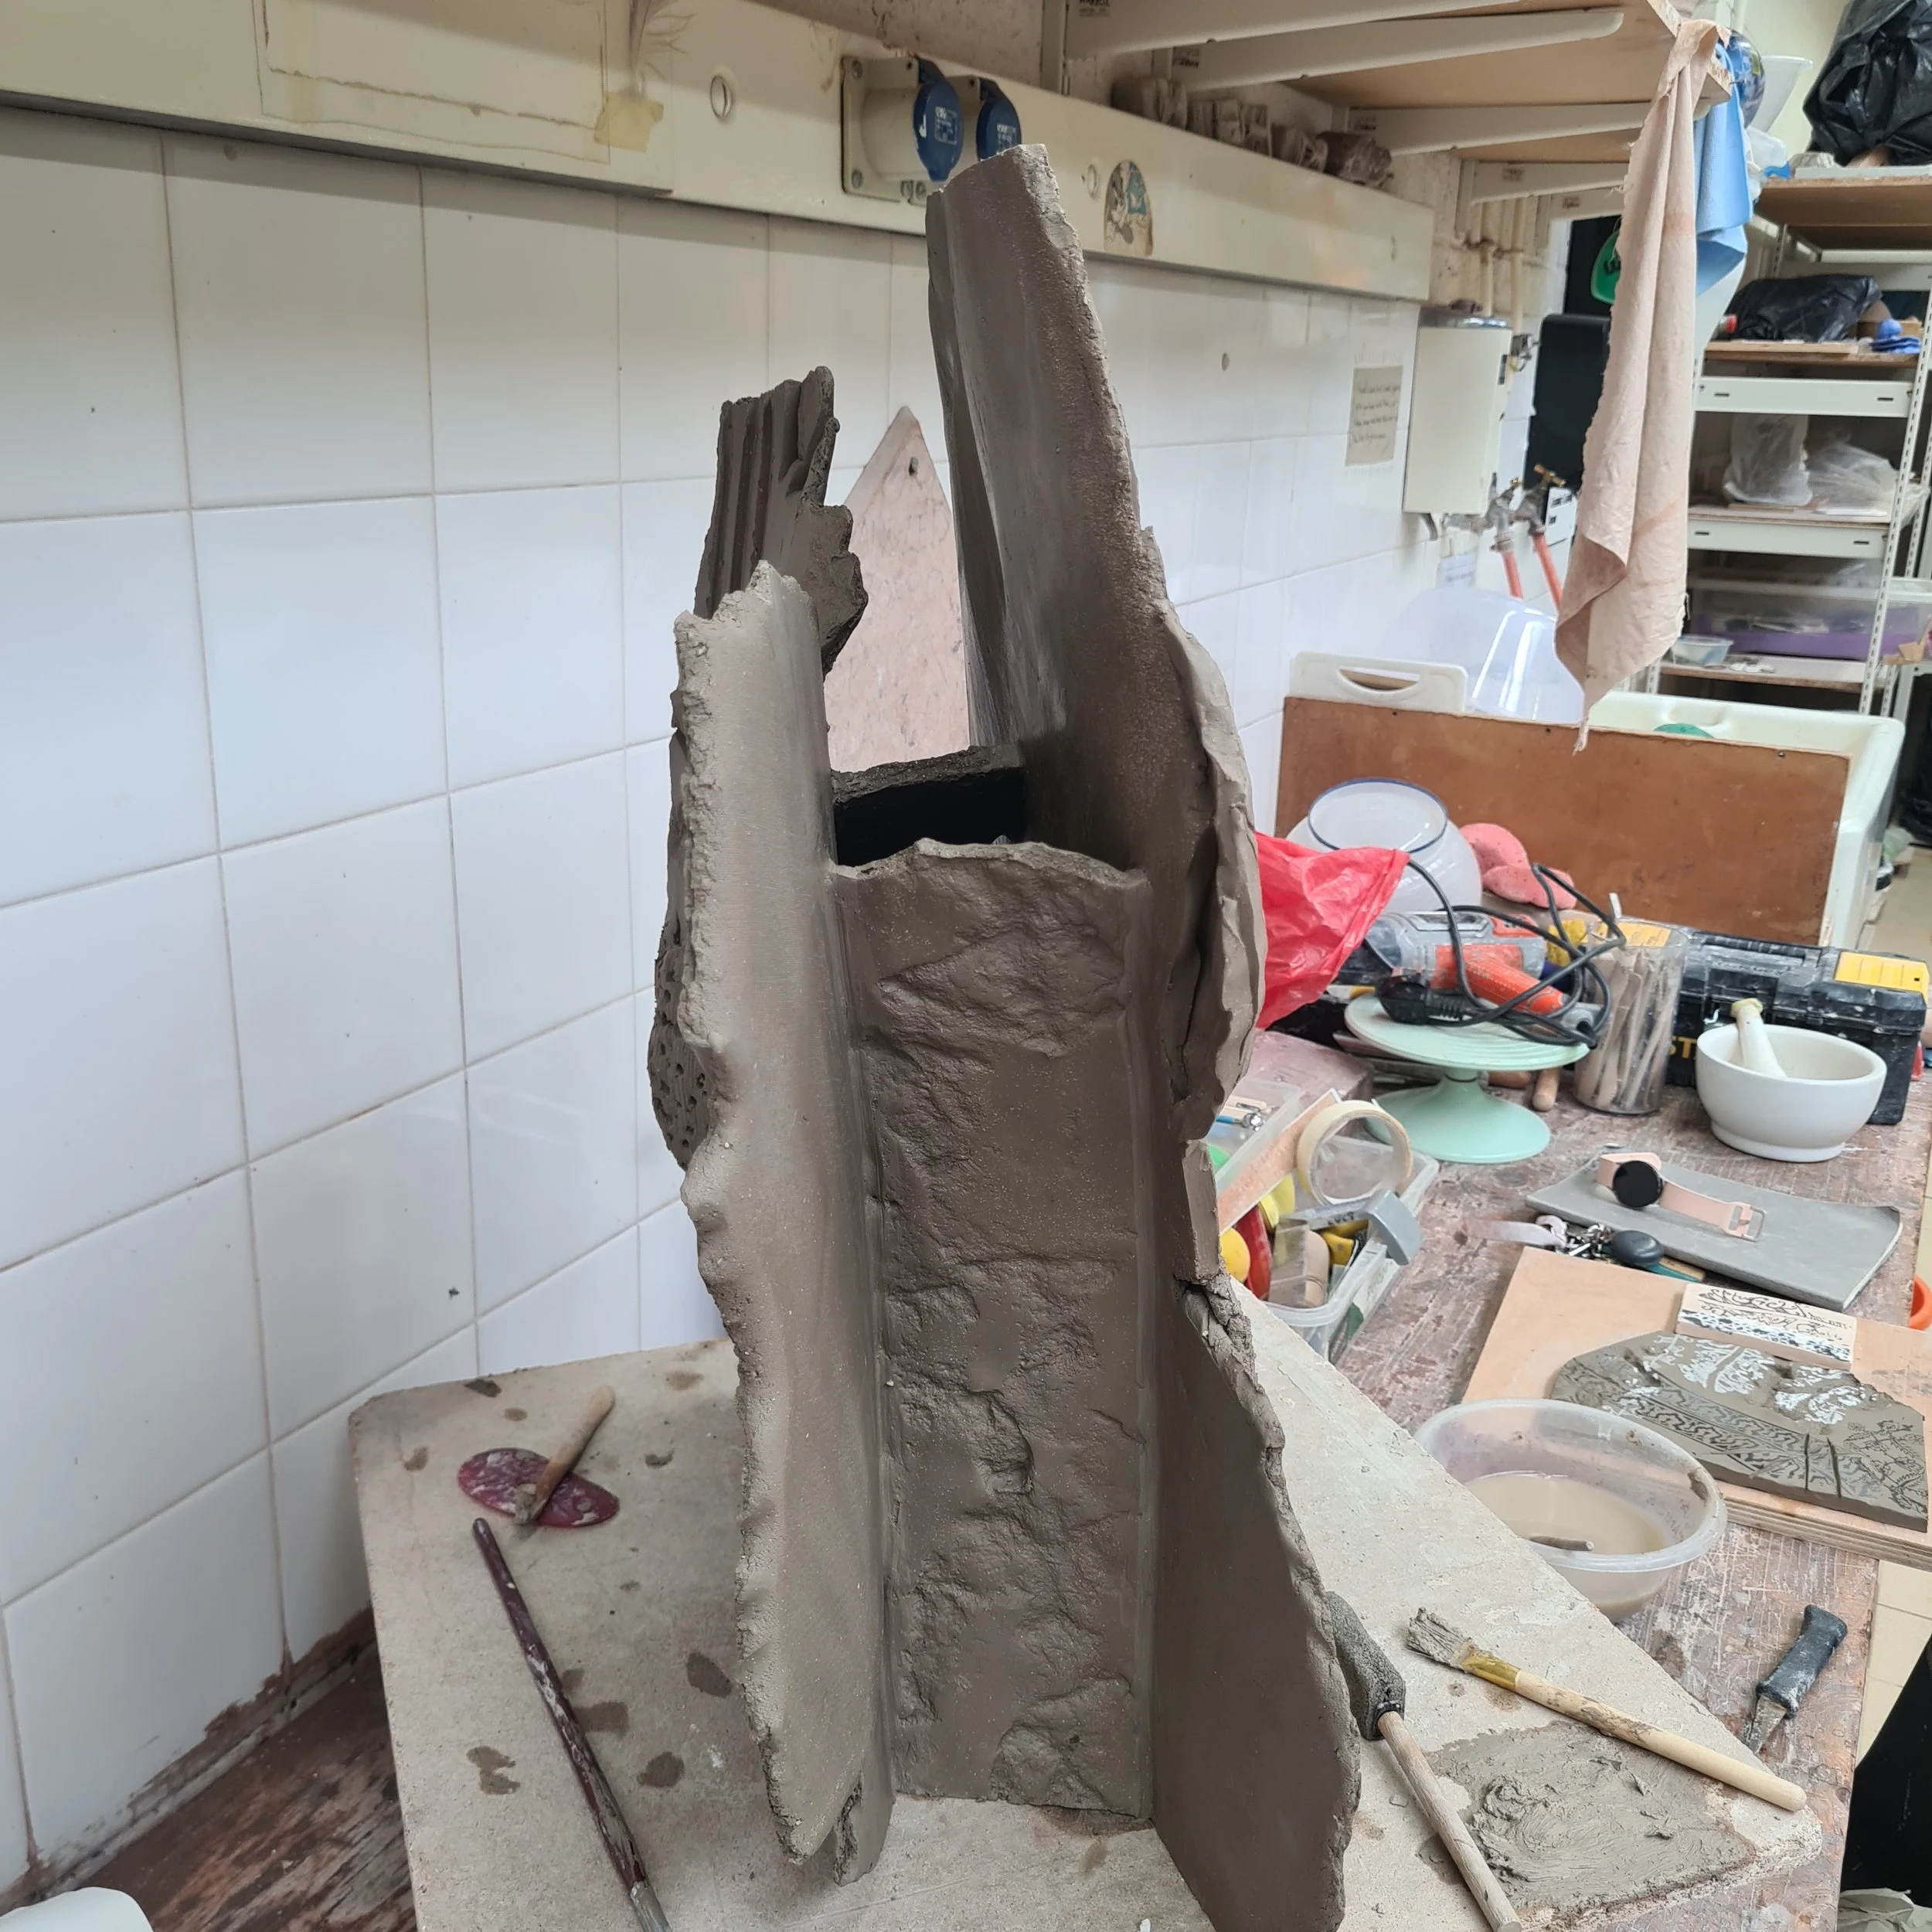
I then pieced together the form the following day. I made this during the first heatwave of the year, it was very humid at the time, so the clay didn’t really dry out that well! Therefore, I found it challenging to pick up the large heavy slabs and maintain their form created from the formers. There is evidence of the formers though, the side panels connecting the two together, show the subtle curve of the former. I was quite pleased with it once it was finally assembled. The joining was difficult as the inside panels became quite tedious to finish.
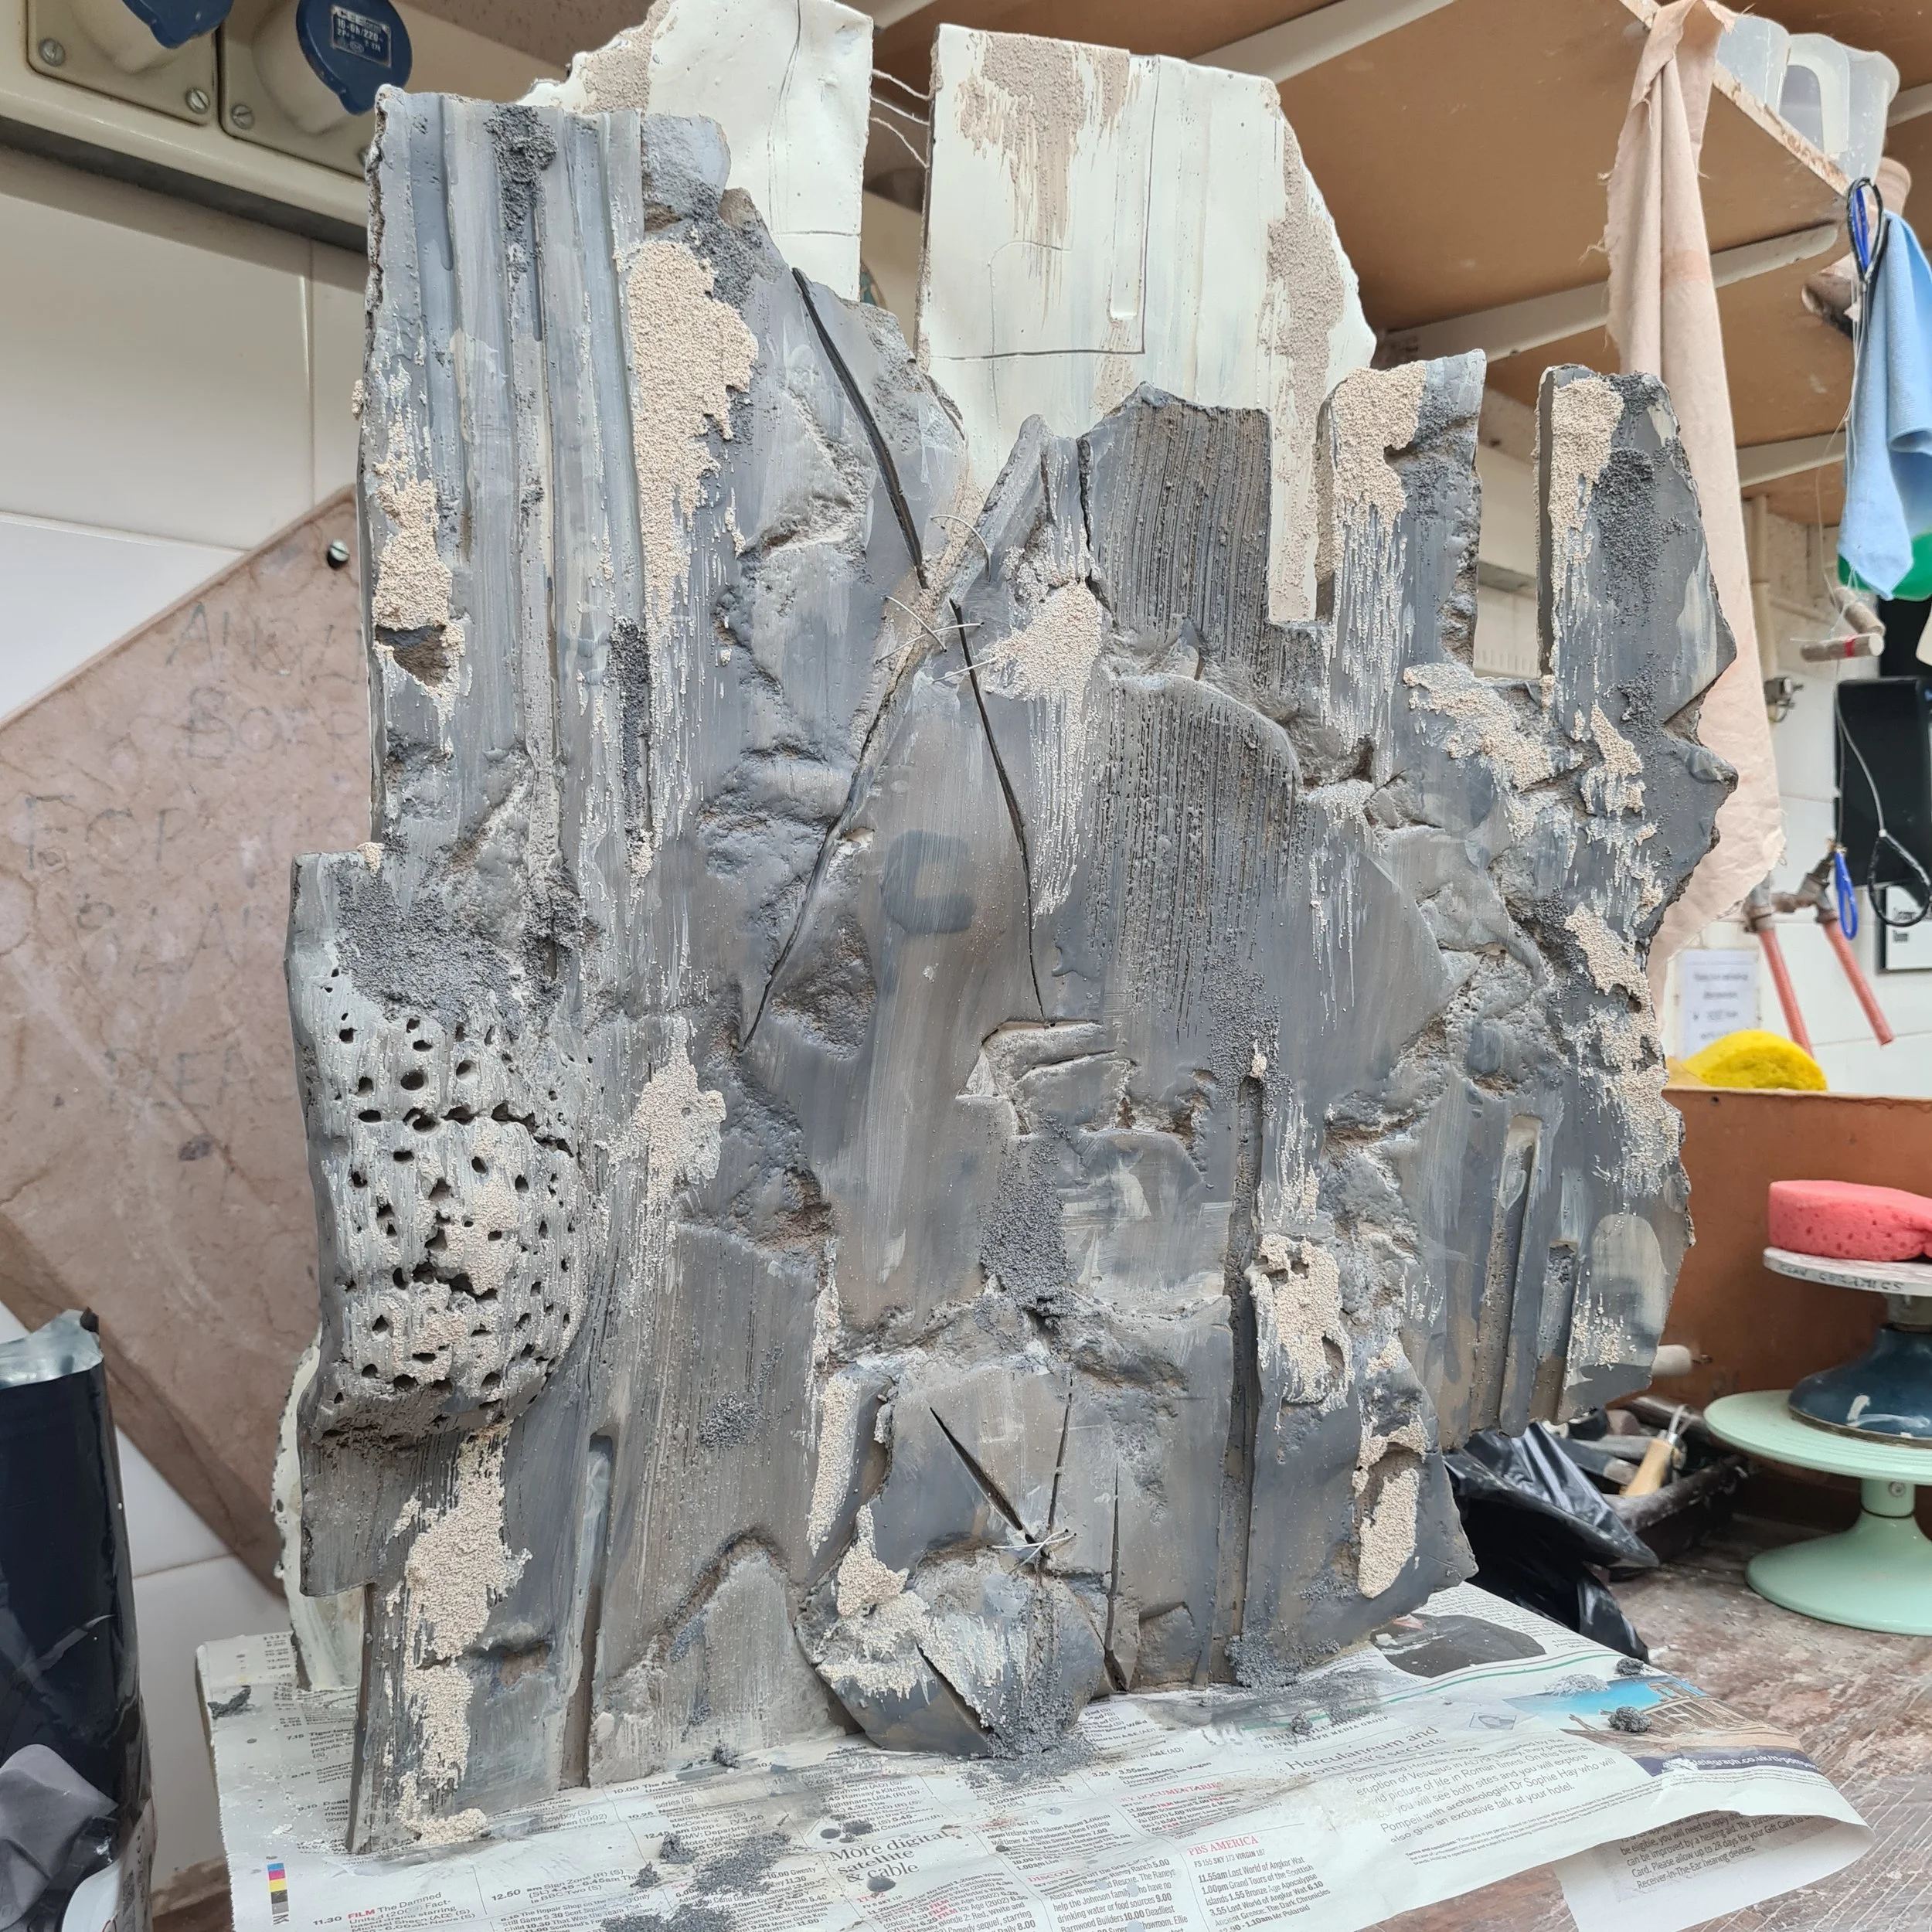
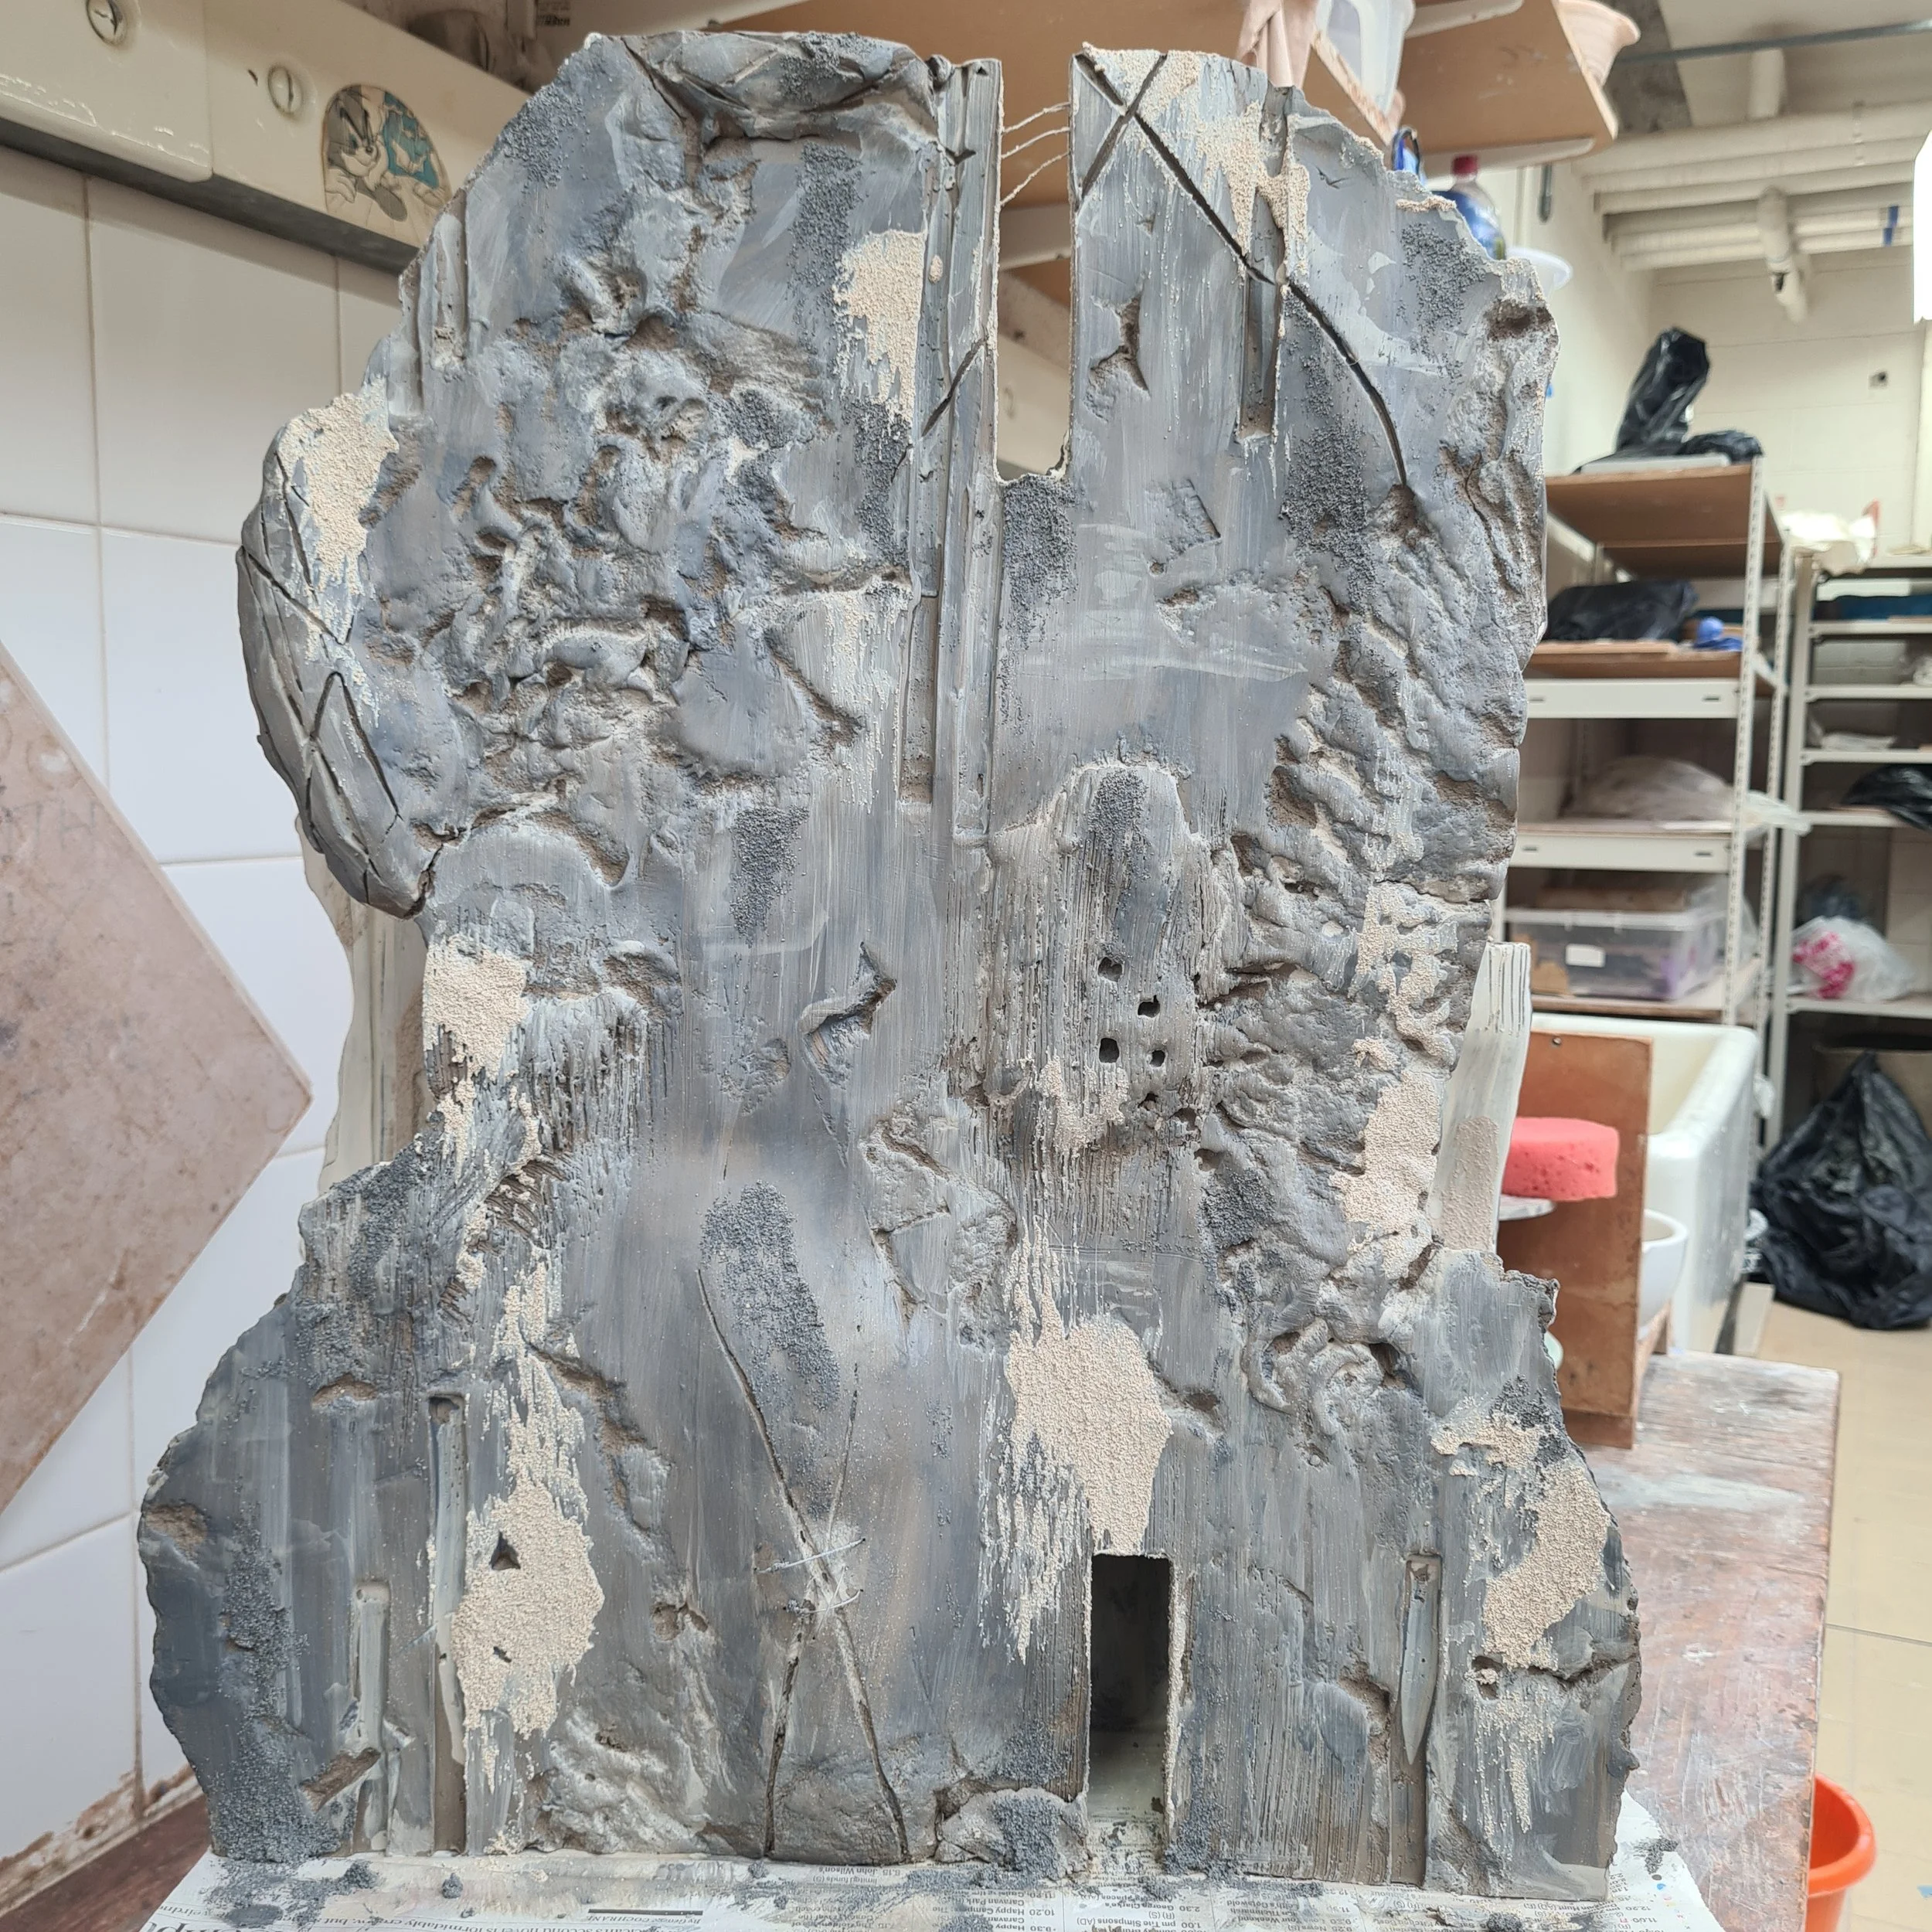
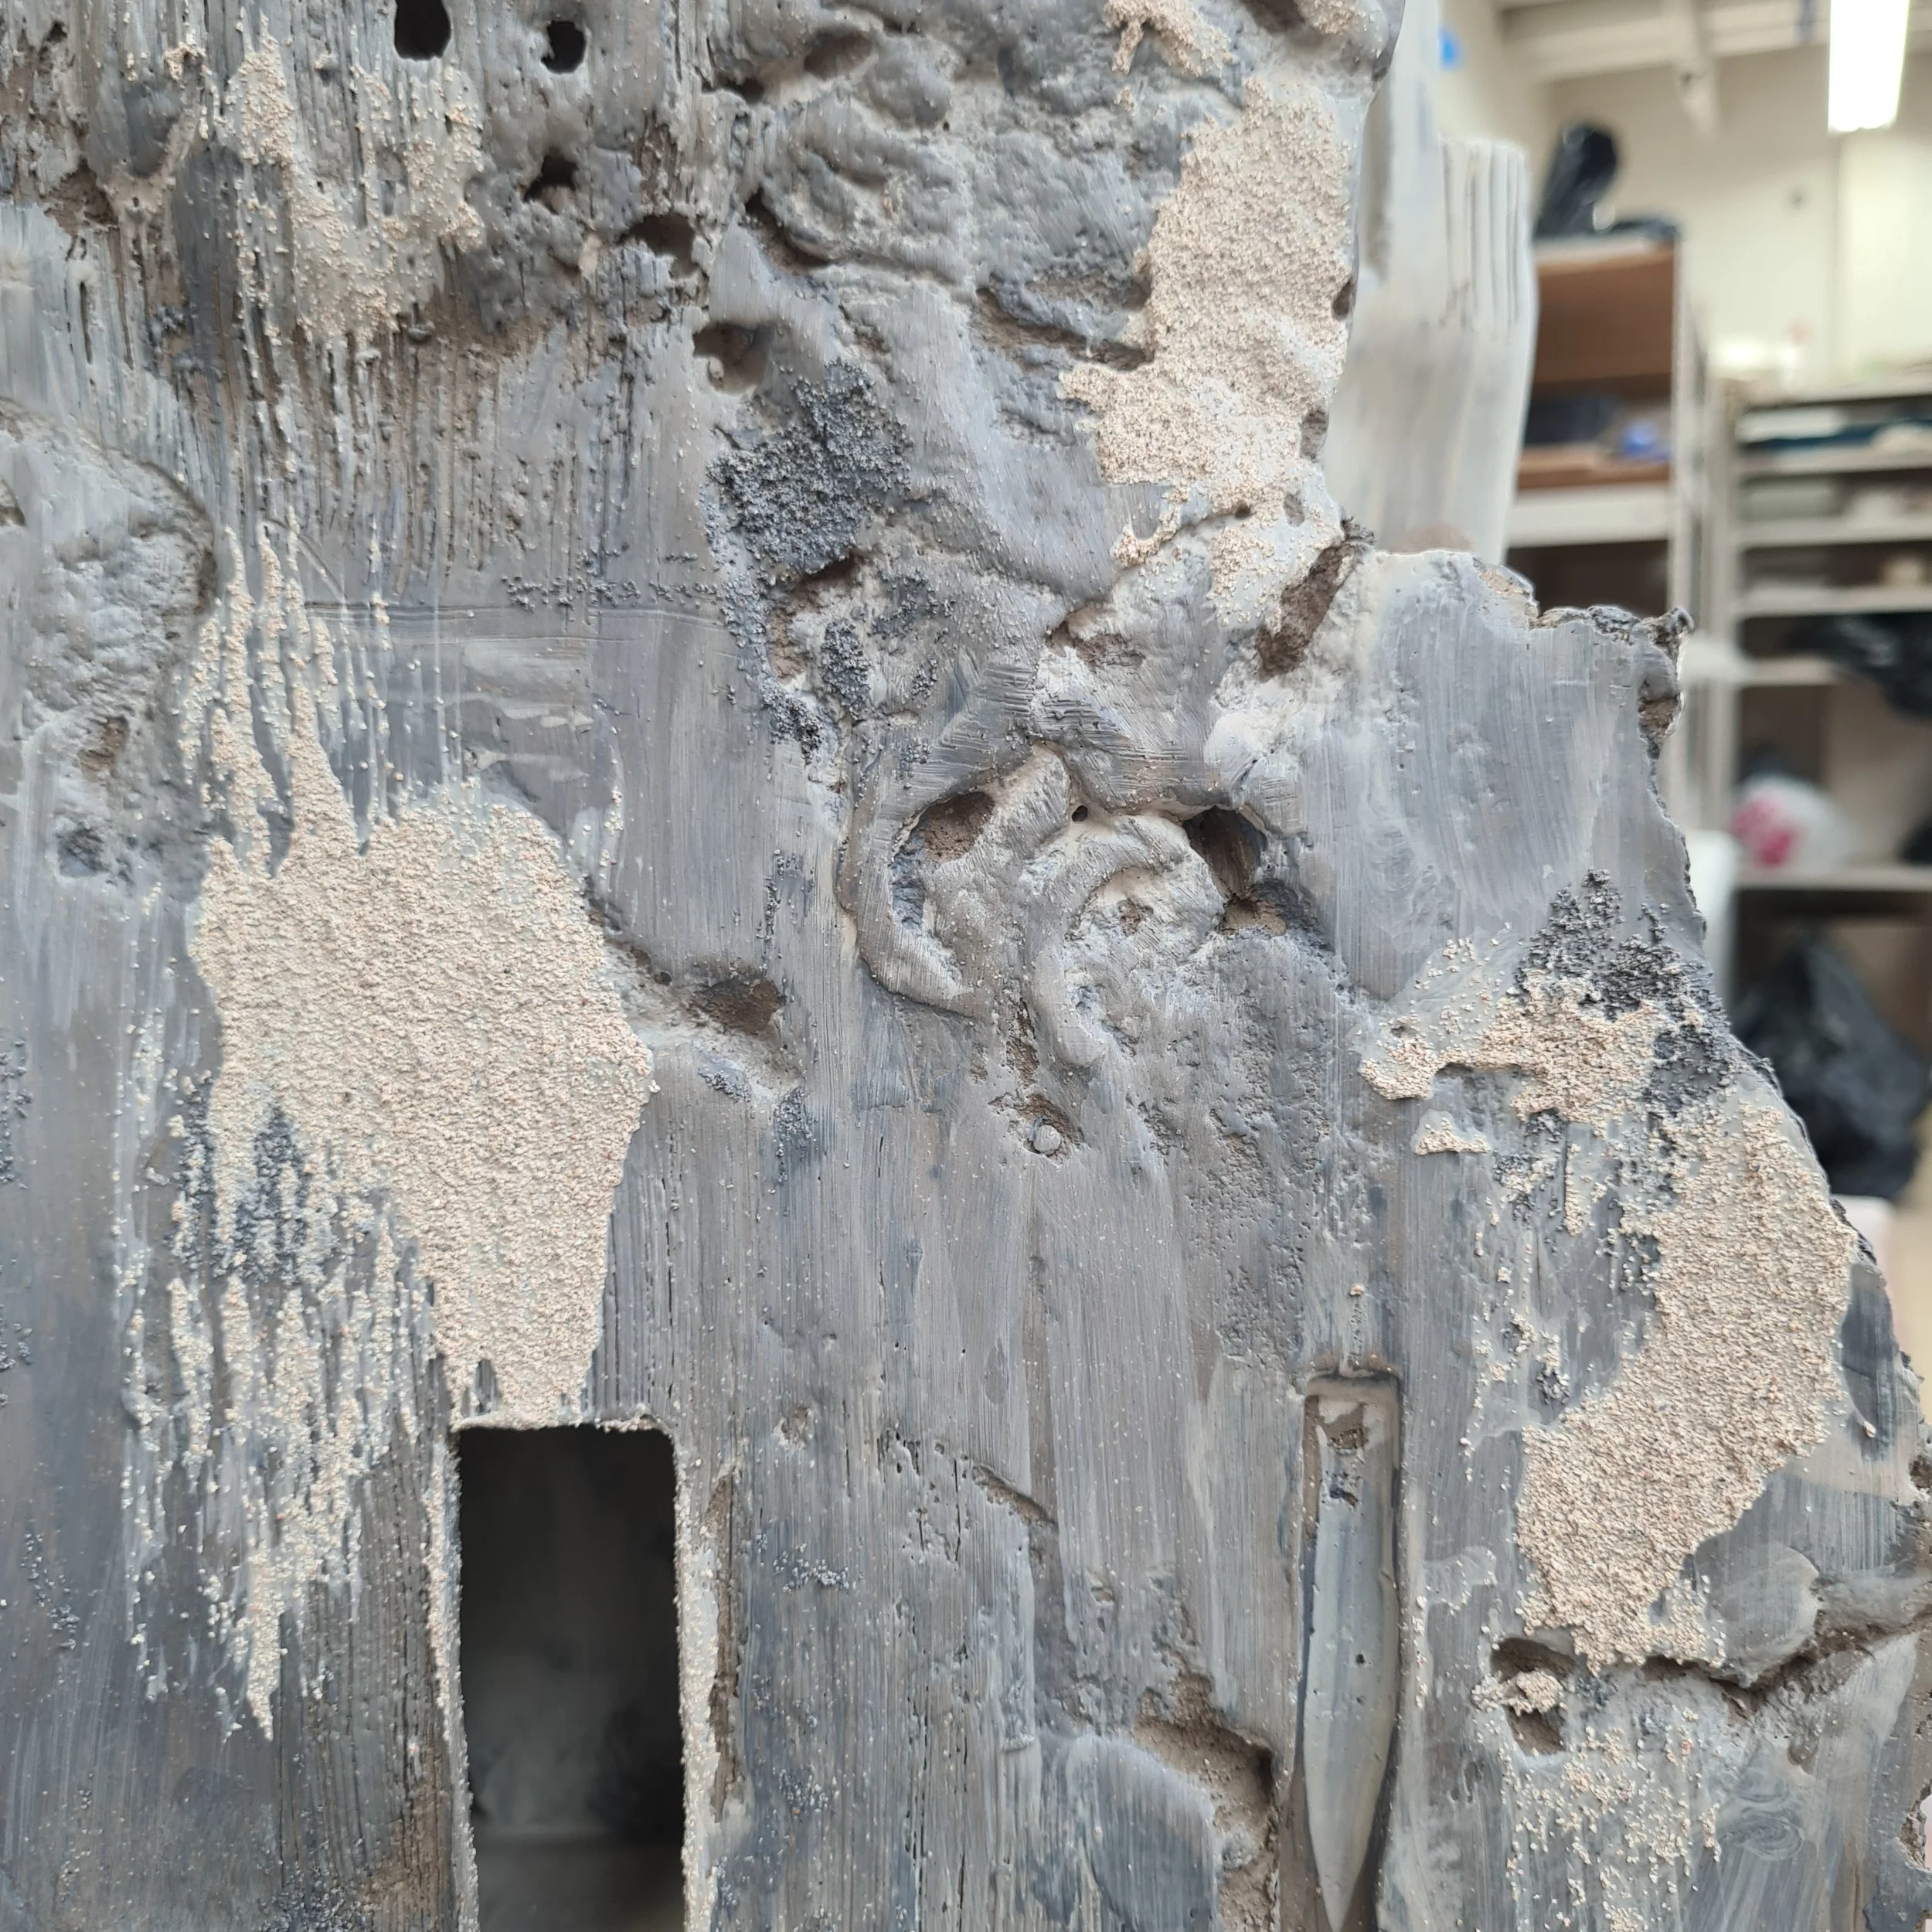
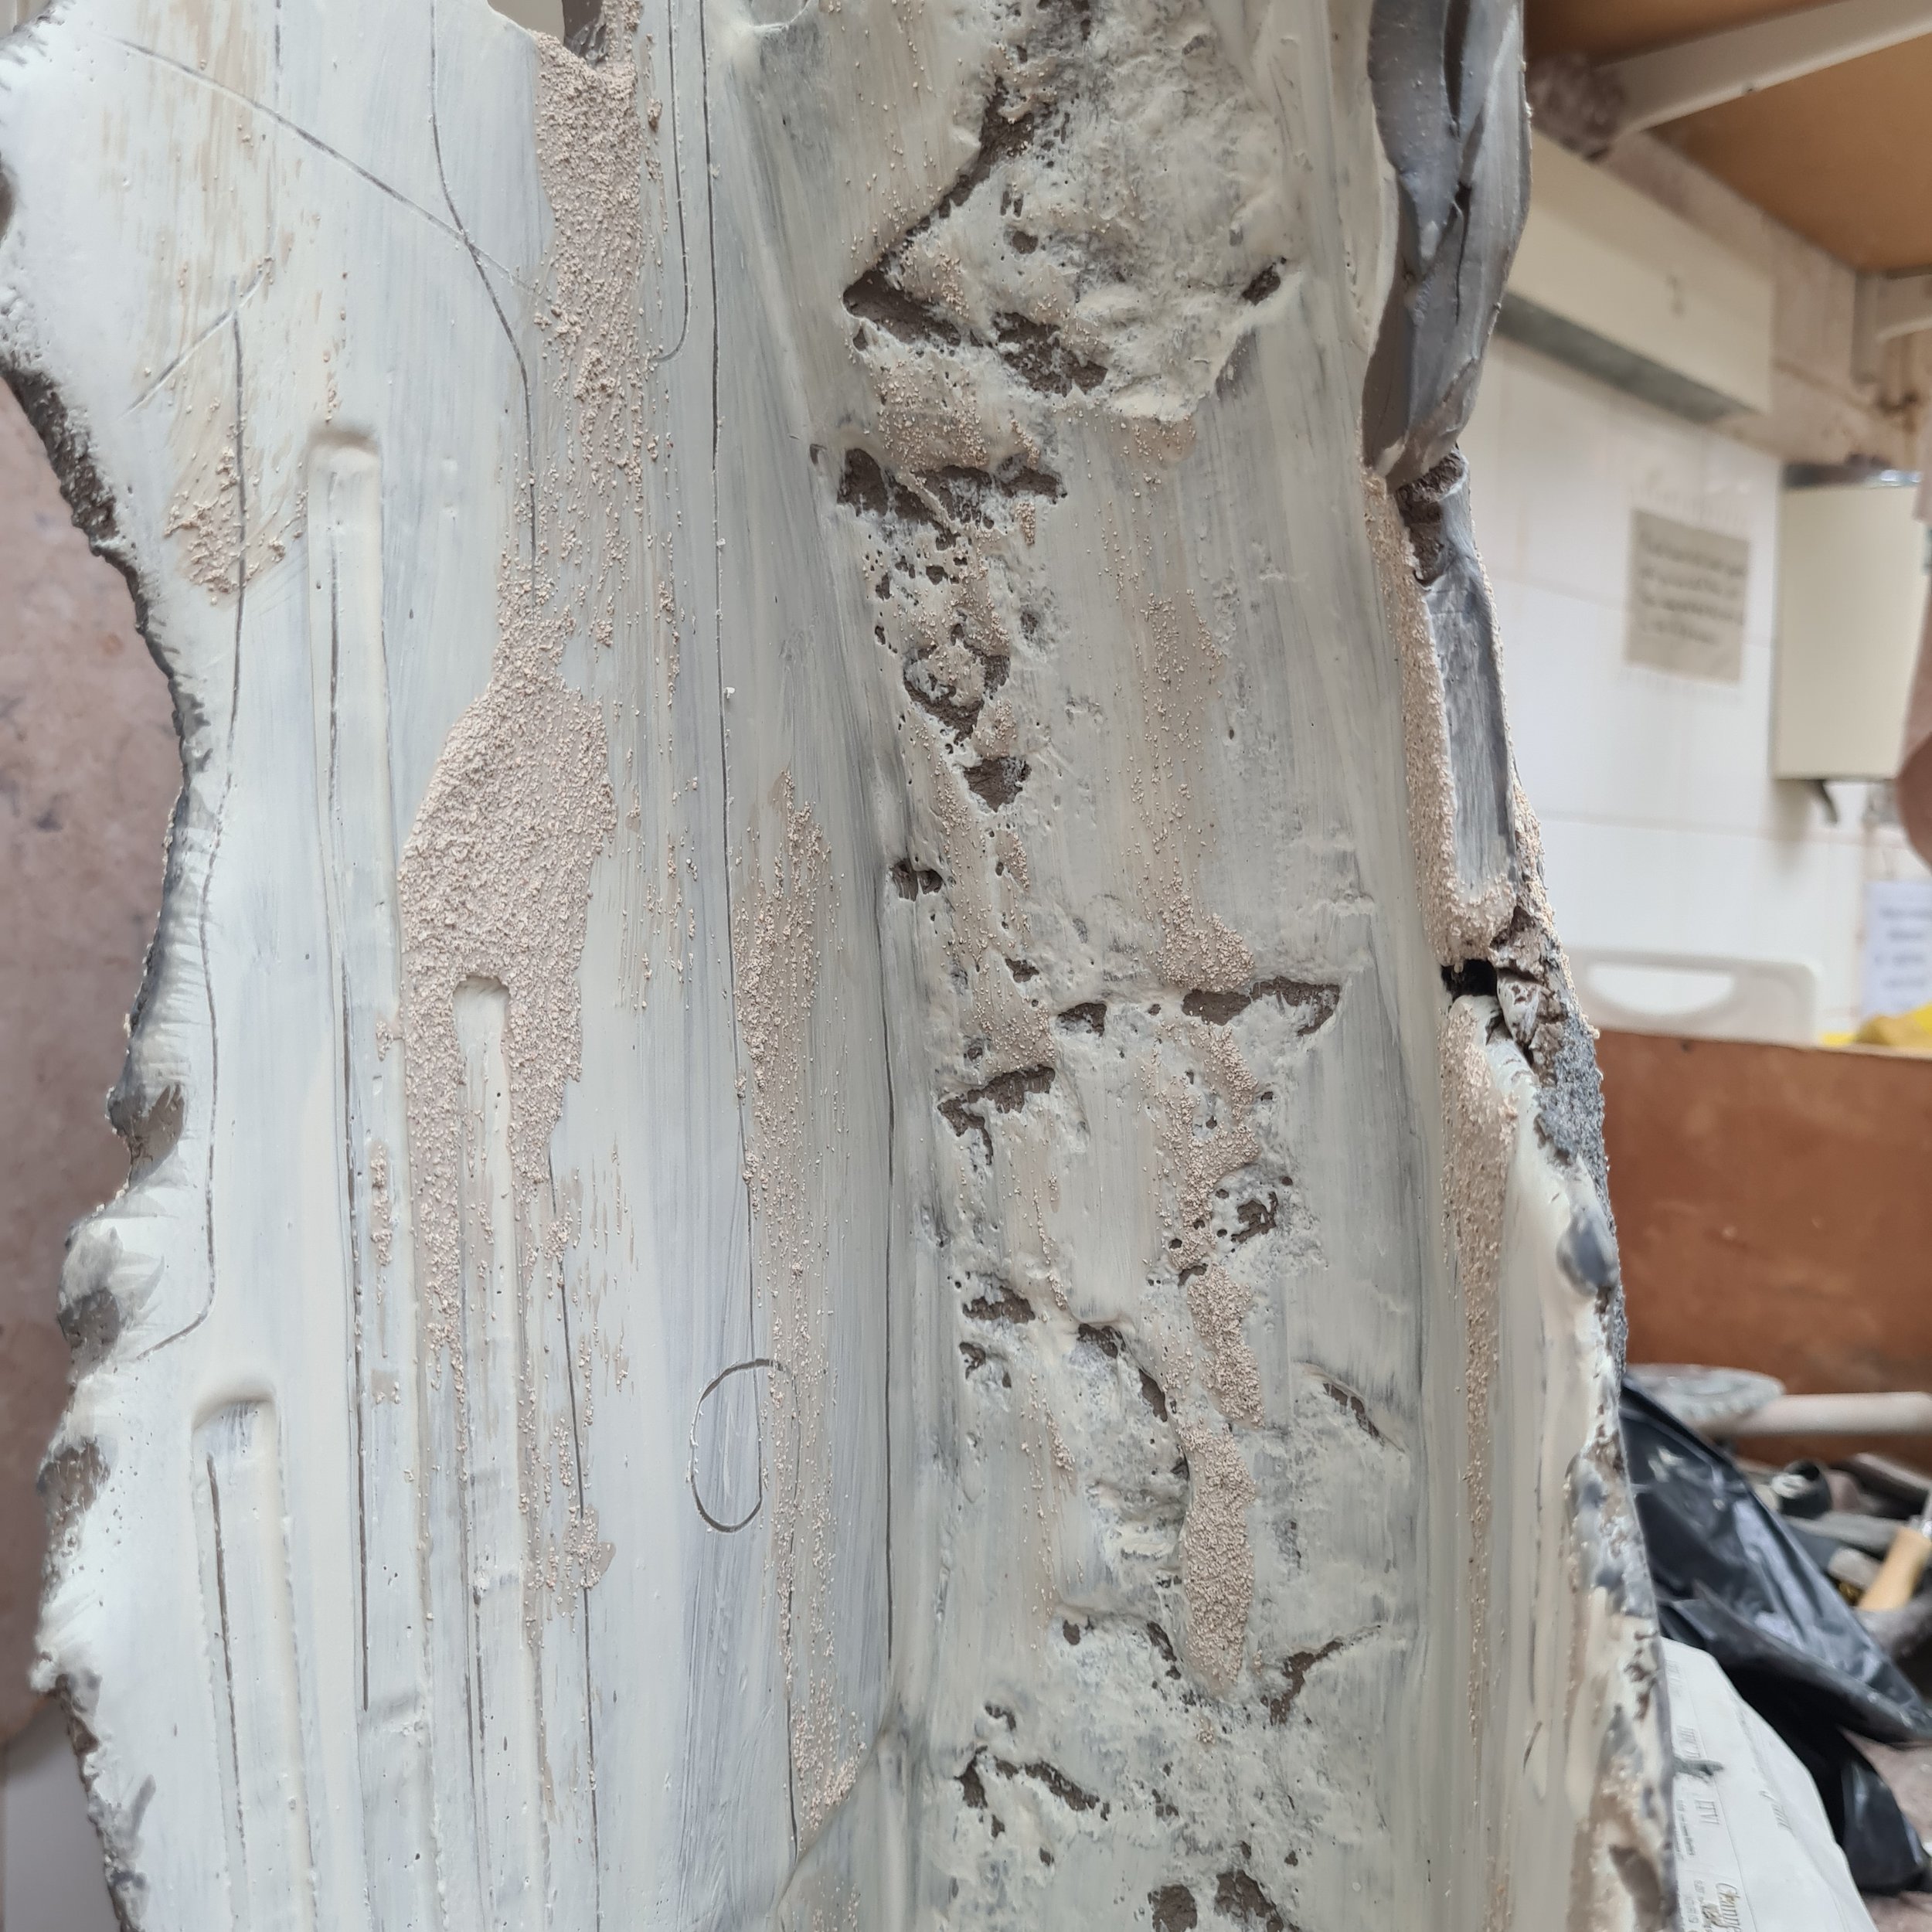
Once dry, I then applied black and white slip in a watercolour fashion. I made it super watery and developed layer upon layer to create depth. I also added on areas of grog, to enhance the texture. Similarly to the first images, I explored surface design in an experimental way. Again, I wanted to see how the slip would respond on a larger scale and if it was effective used in this way. I also made my own porcelain slip and used that on the inside of the sculpture. I then carved into the slip to create fine line details and marks. At this stage, I liked where it was going and I left it like this for a number of weeks.
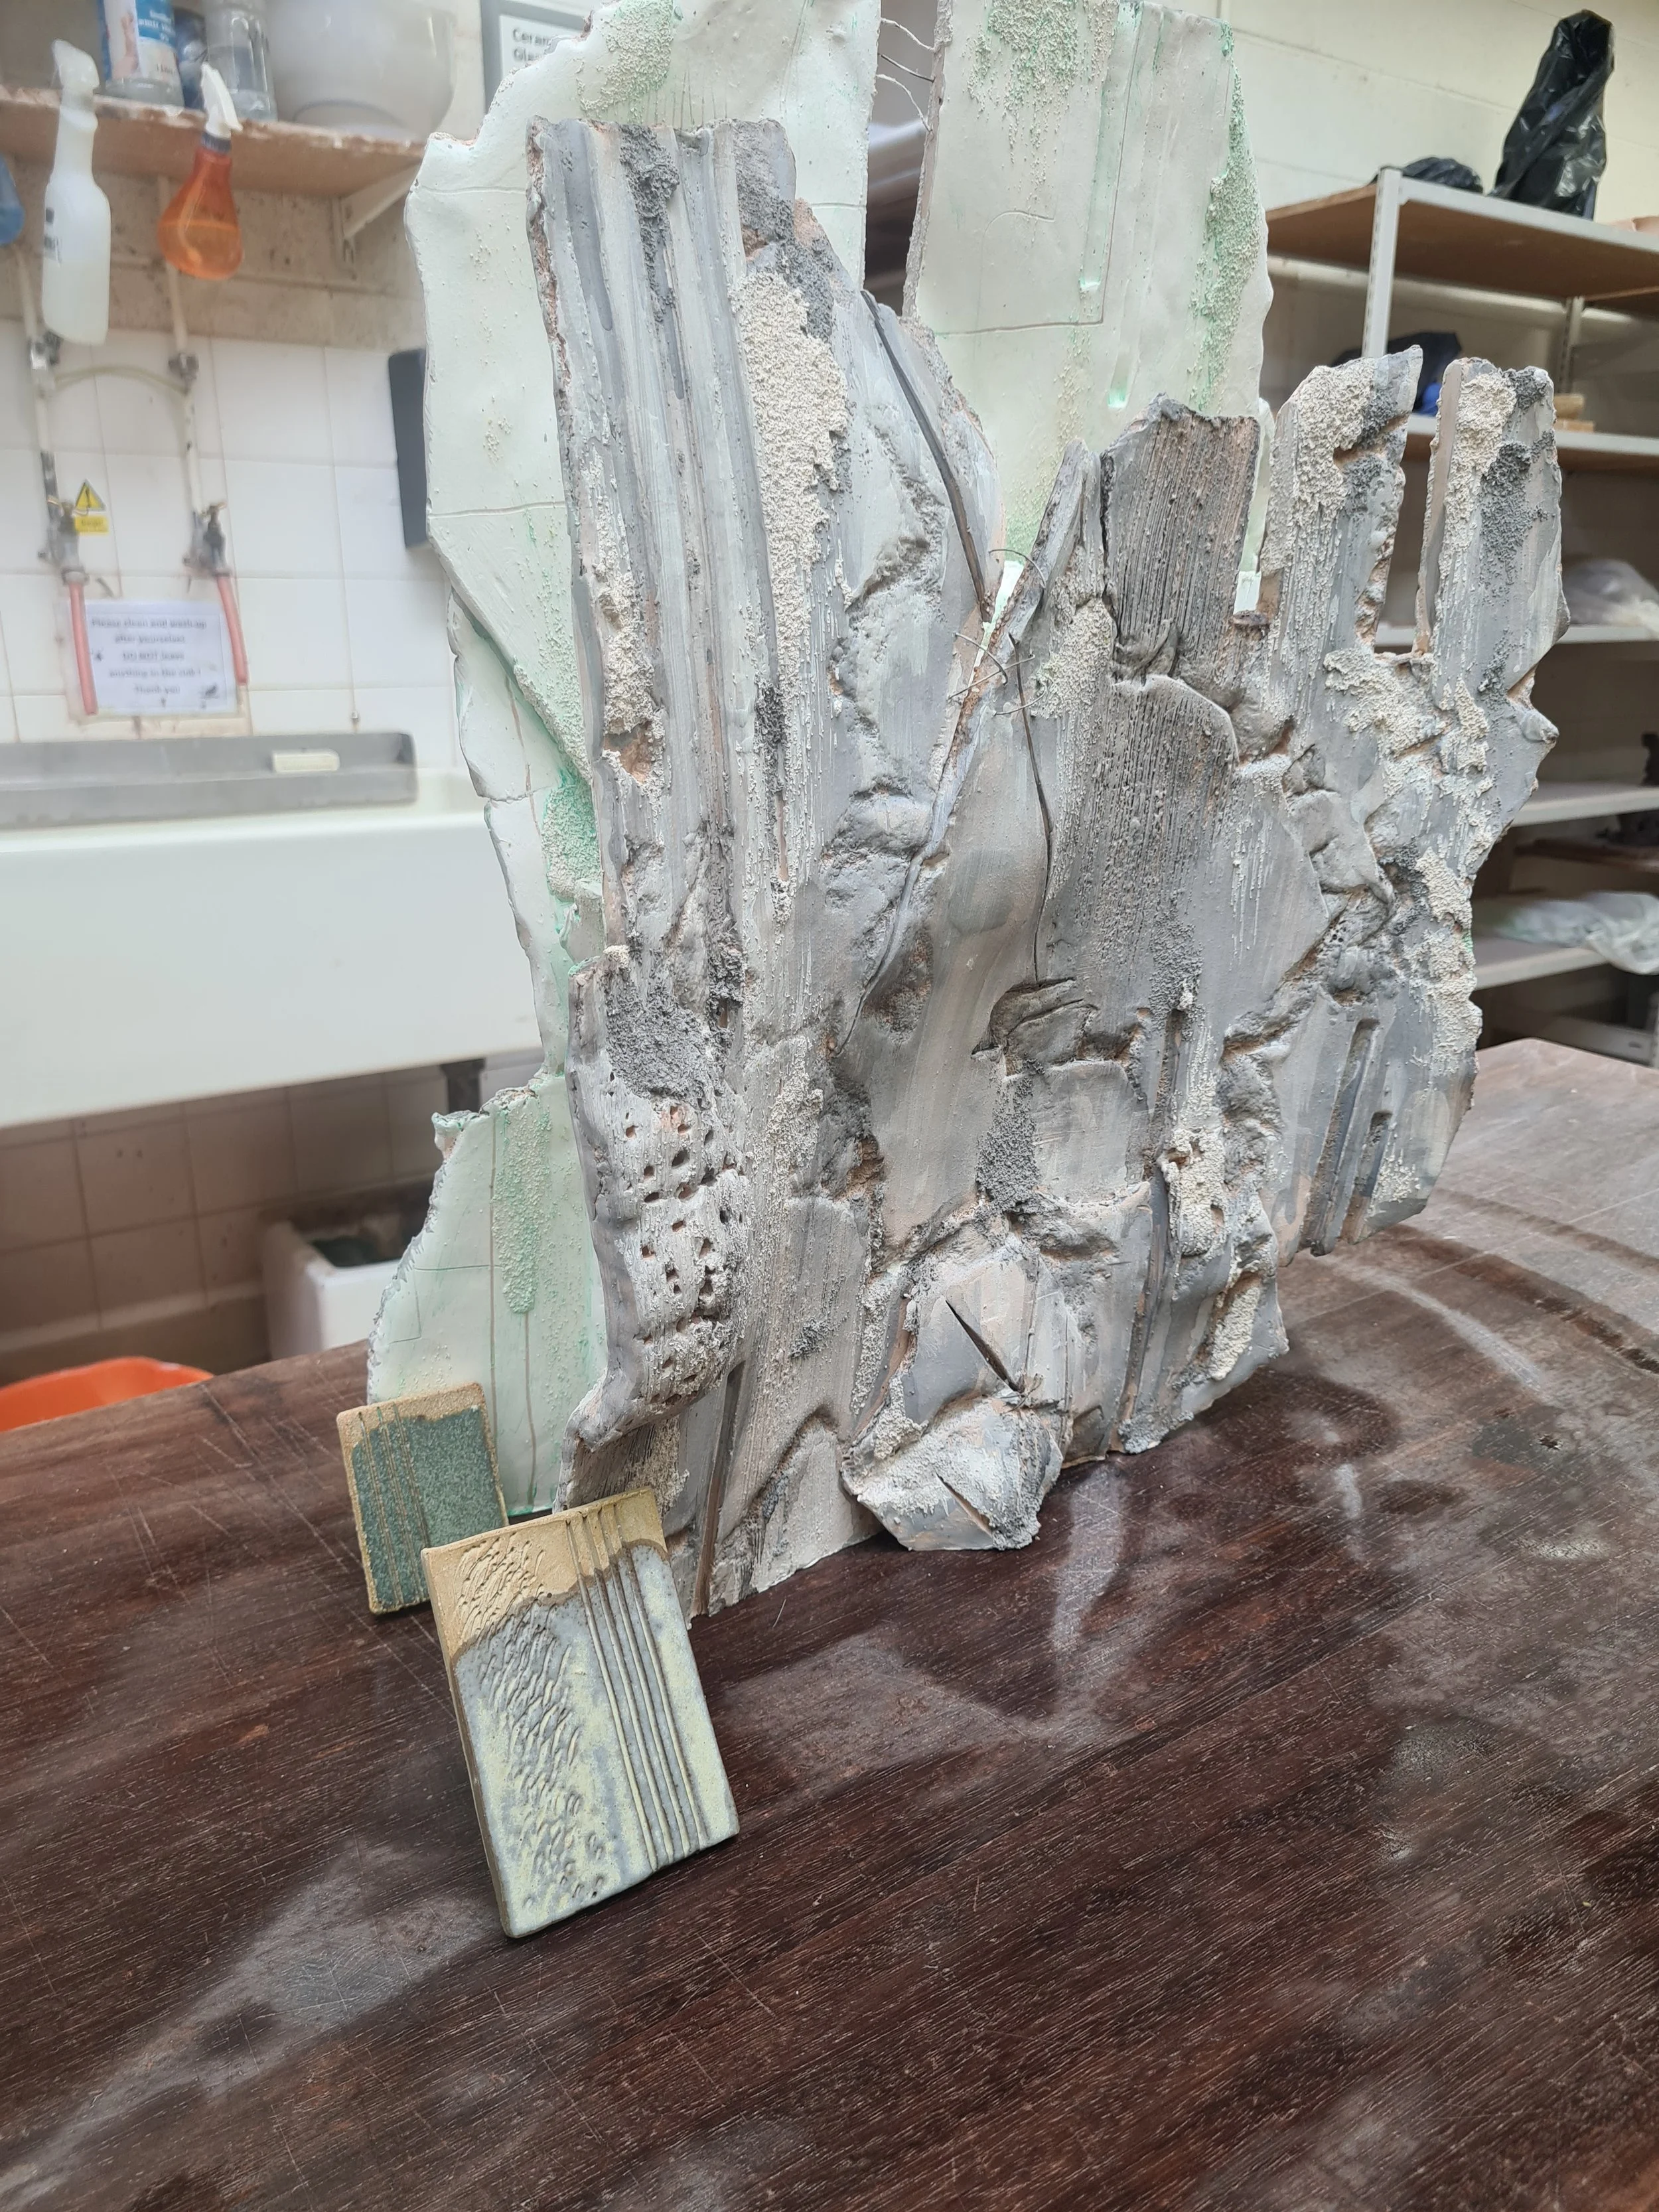
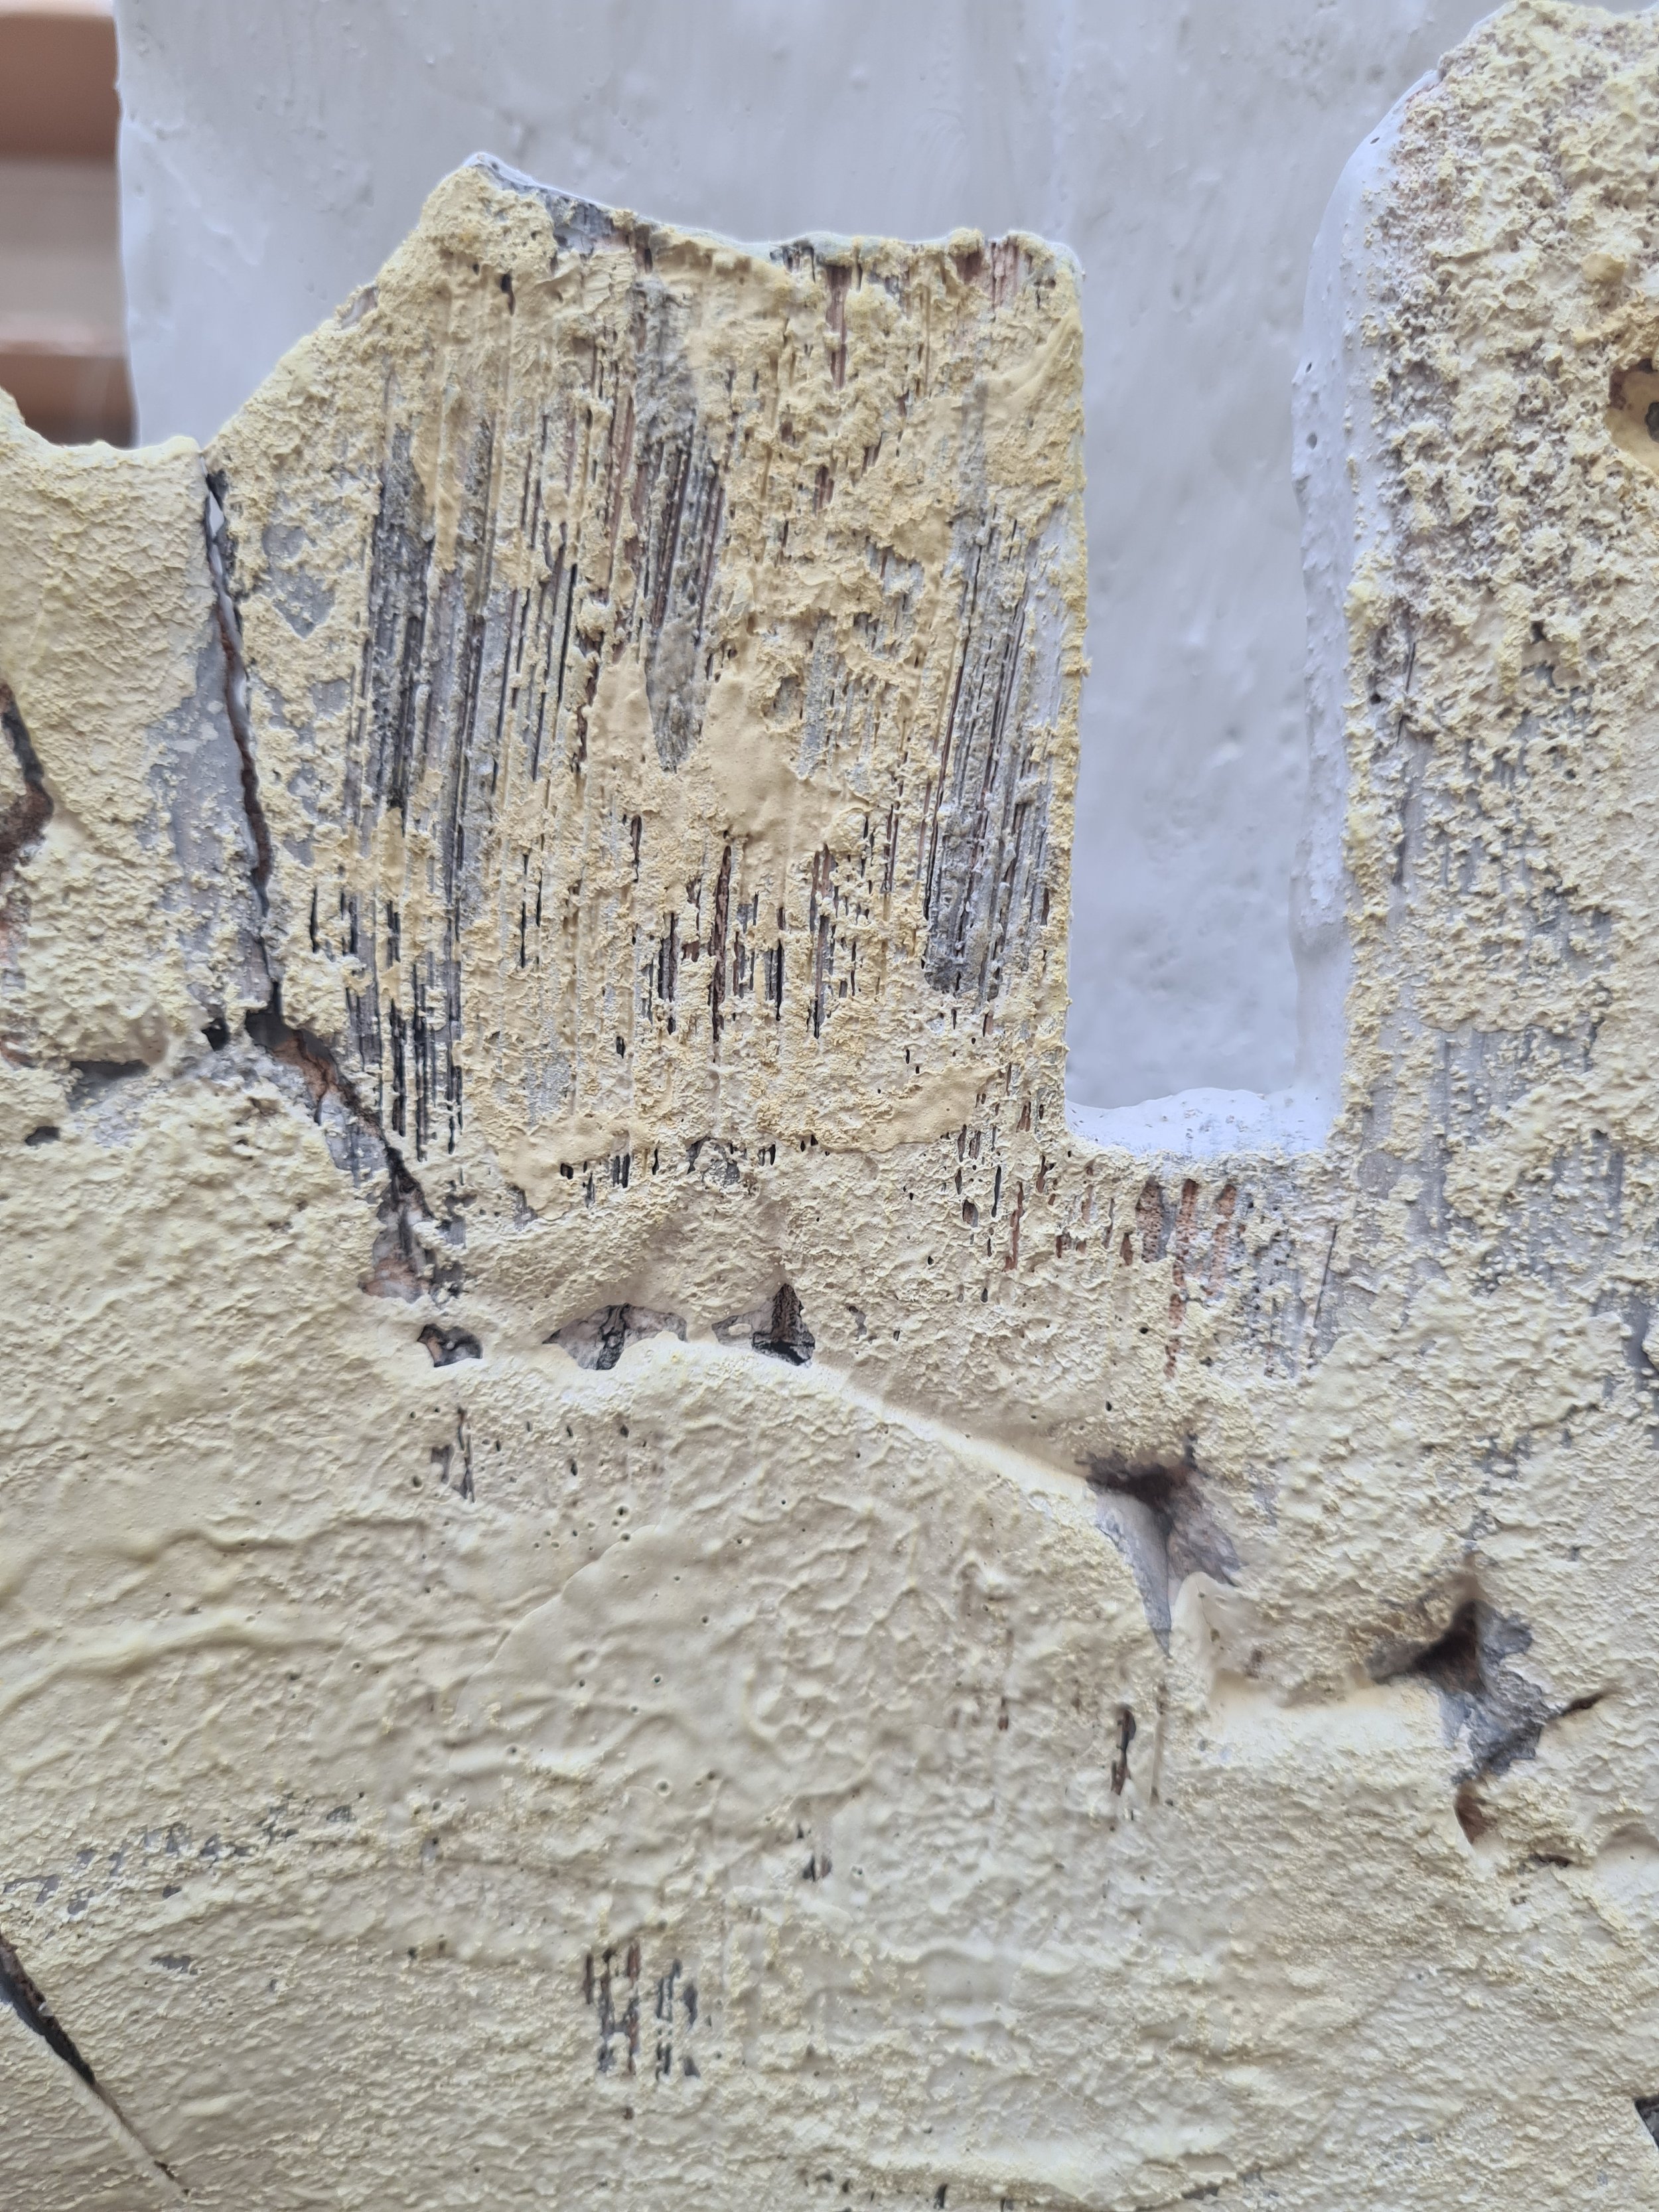
At this stage, I was fairly confident in my glaze choices. I just had a few really successful glaze test tiles out of the kiln (Oxidation Green and ‘Free Solo’ glaze) and I thought these would pair together nicely, with the slip enhancing the depth of the form underneath. So on the inside, I began pouring the Oxidation Green glaze over the bisque piece. With the porcelain slip, I thought it would really bring out the green…
One thing I didn’t account for on this test tile, was the use of oxides. I used the copper carb oxide on the interior, just thinking it would enhance the cracked and textured areas. (The results were not what I imagined)
On the outside, I used the ‘free solo’ glaze- I used this on one of my previous pieces and I loved the outcome. I used oxides with it on that piece also so paired copper oxide with this glaze on the larger piece. I sponged on this glaze however, as I wanted the slip to come through in areas. (Another mistake perhaps)
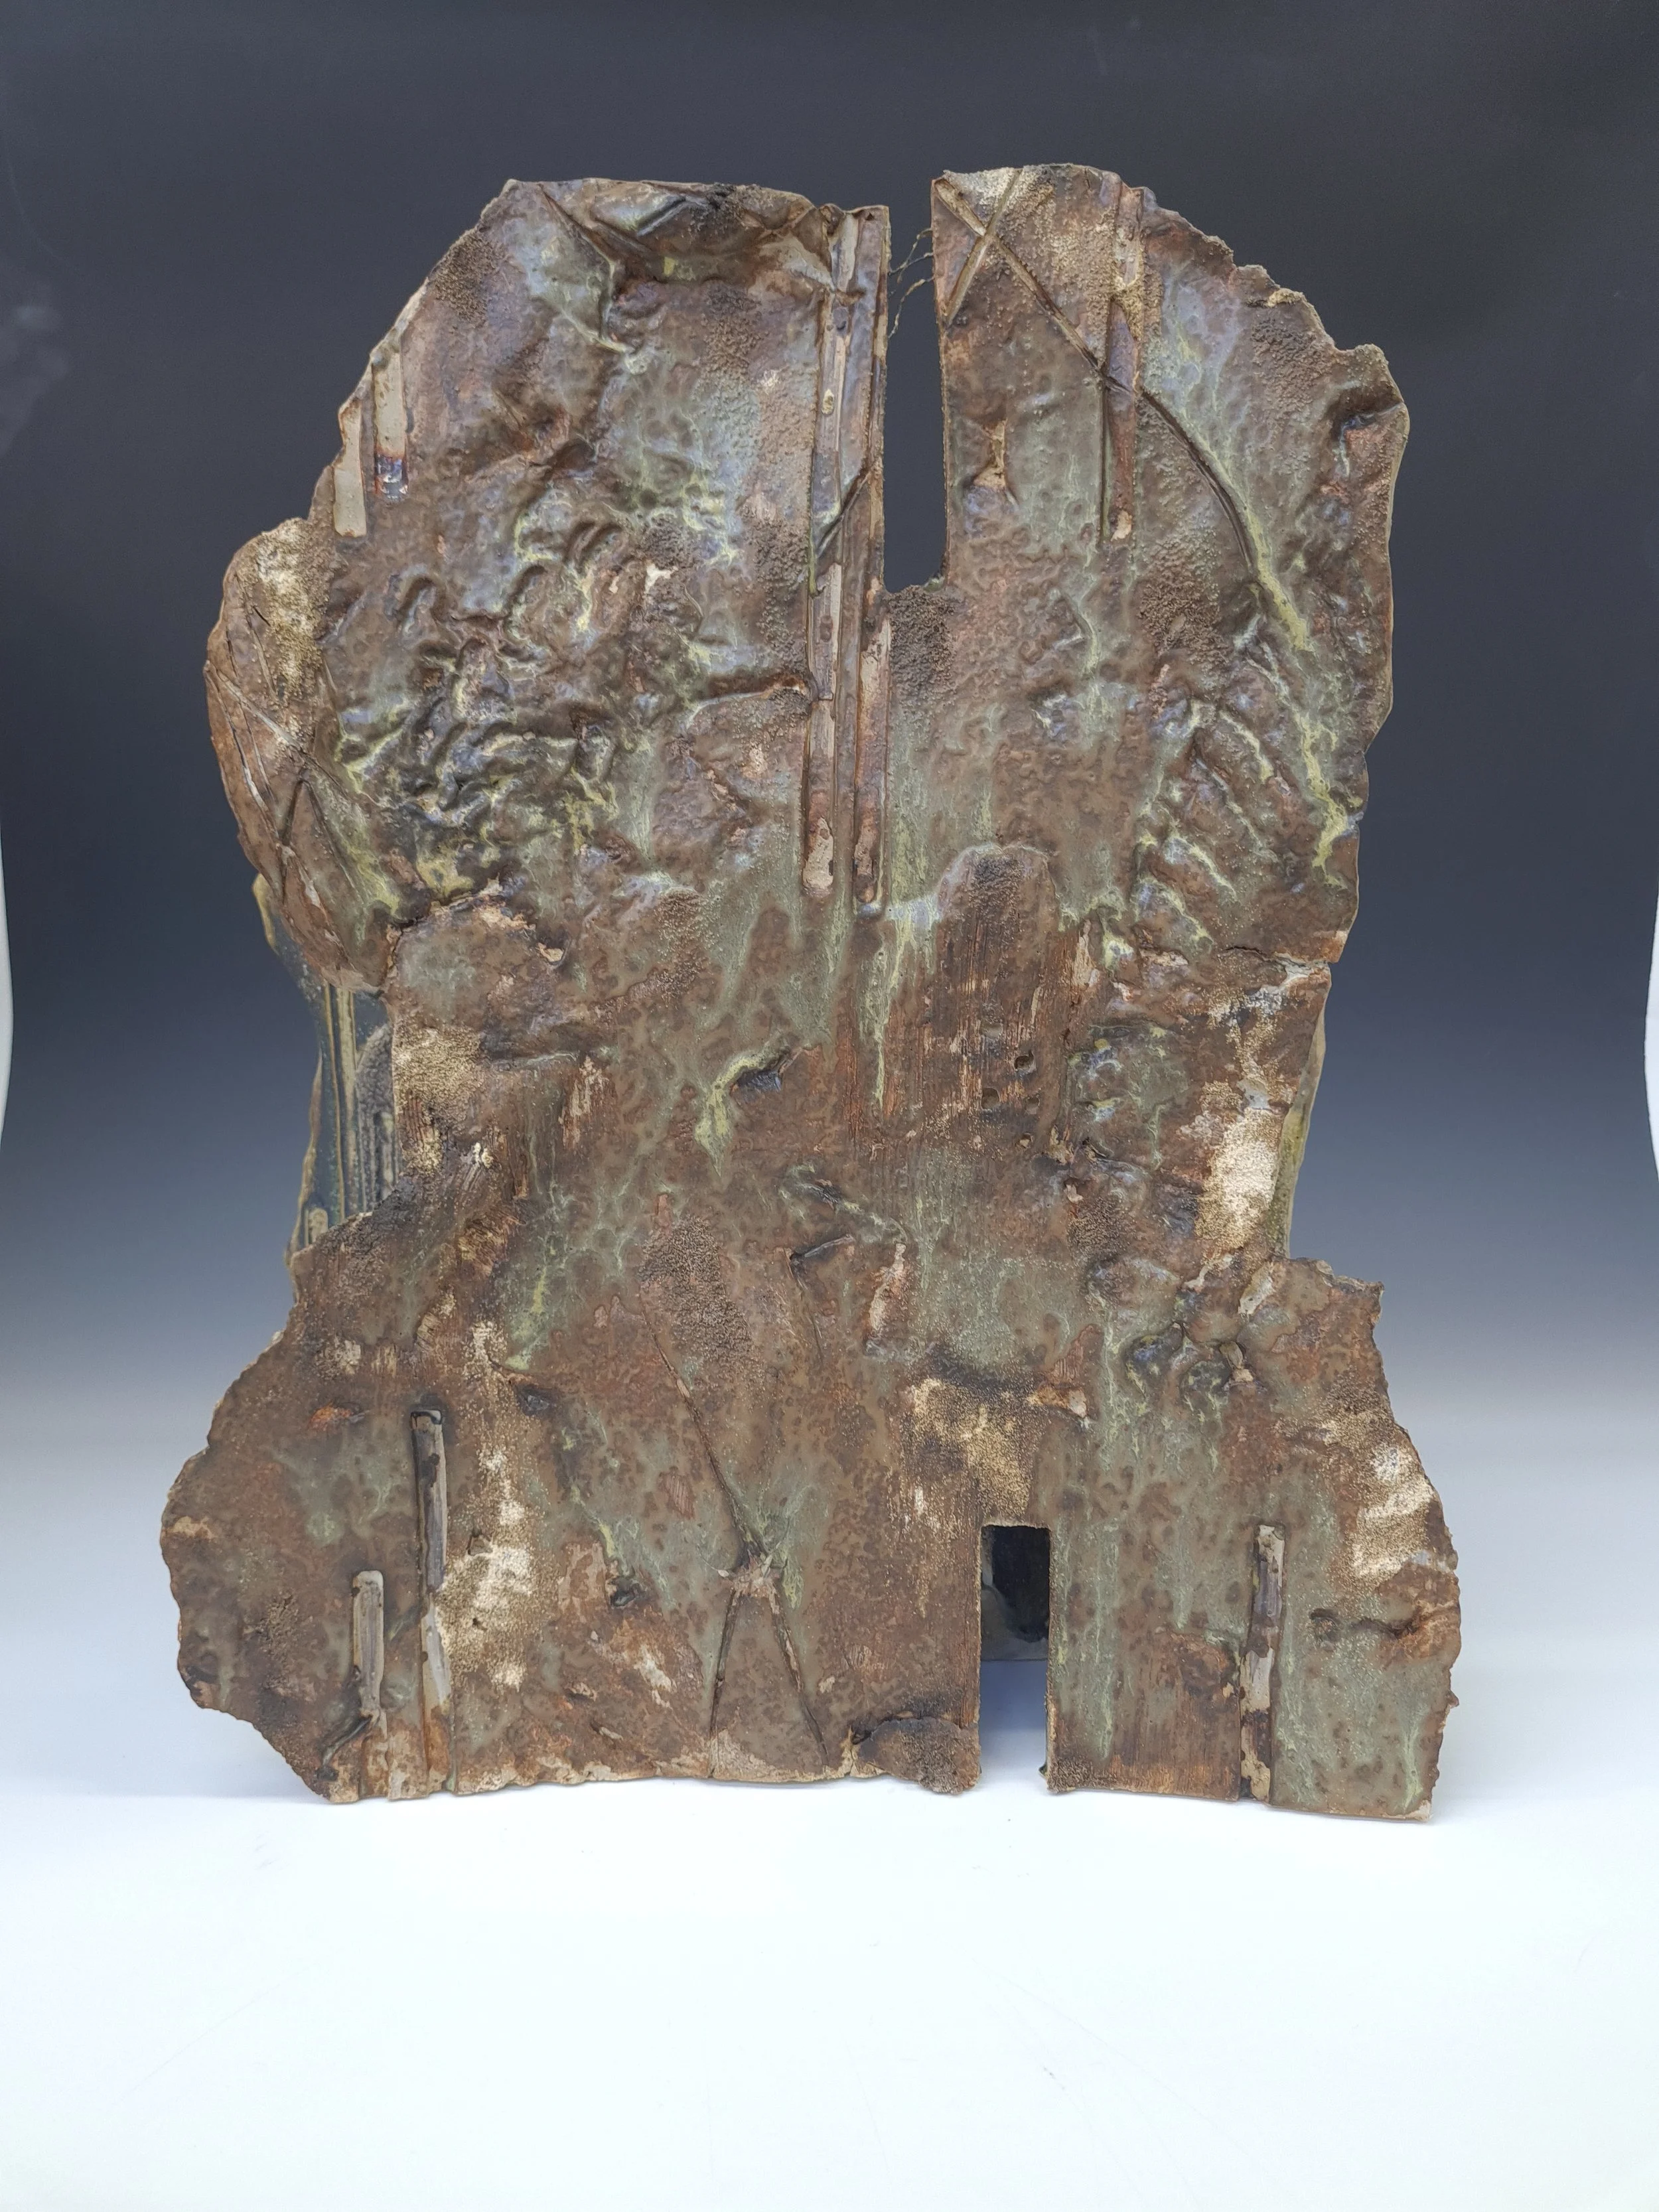
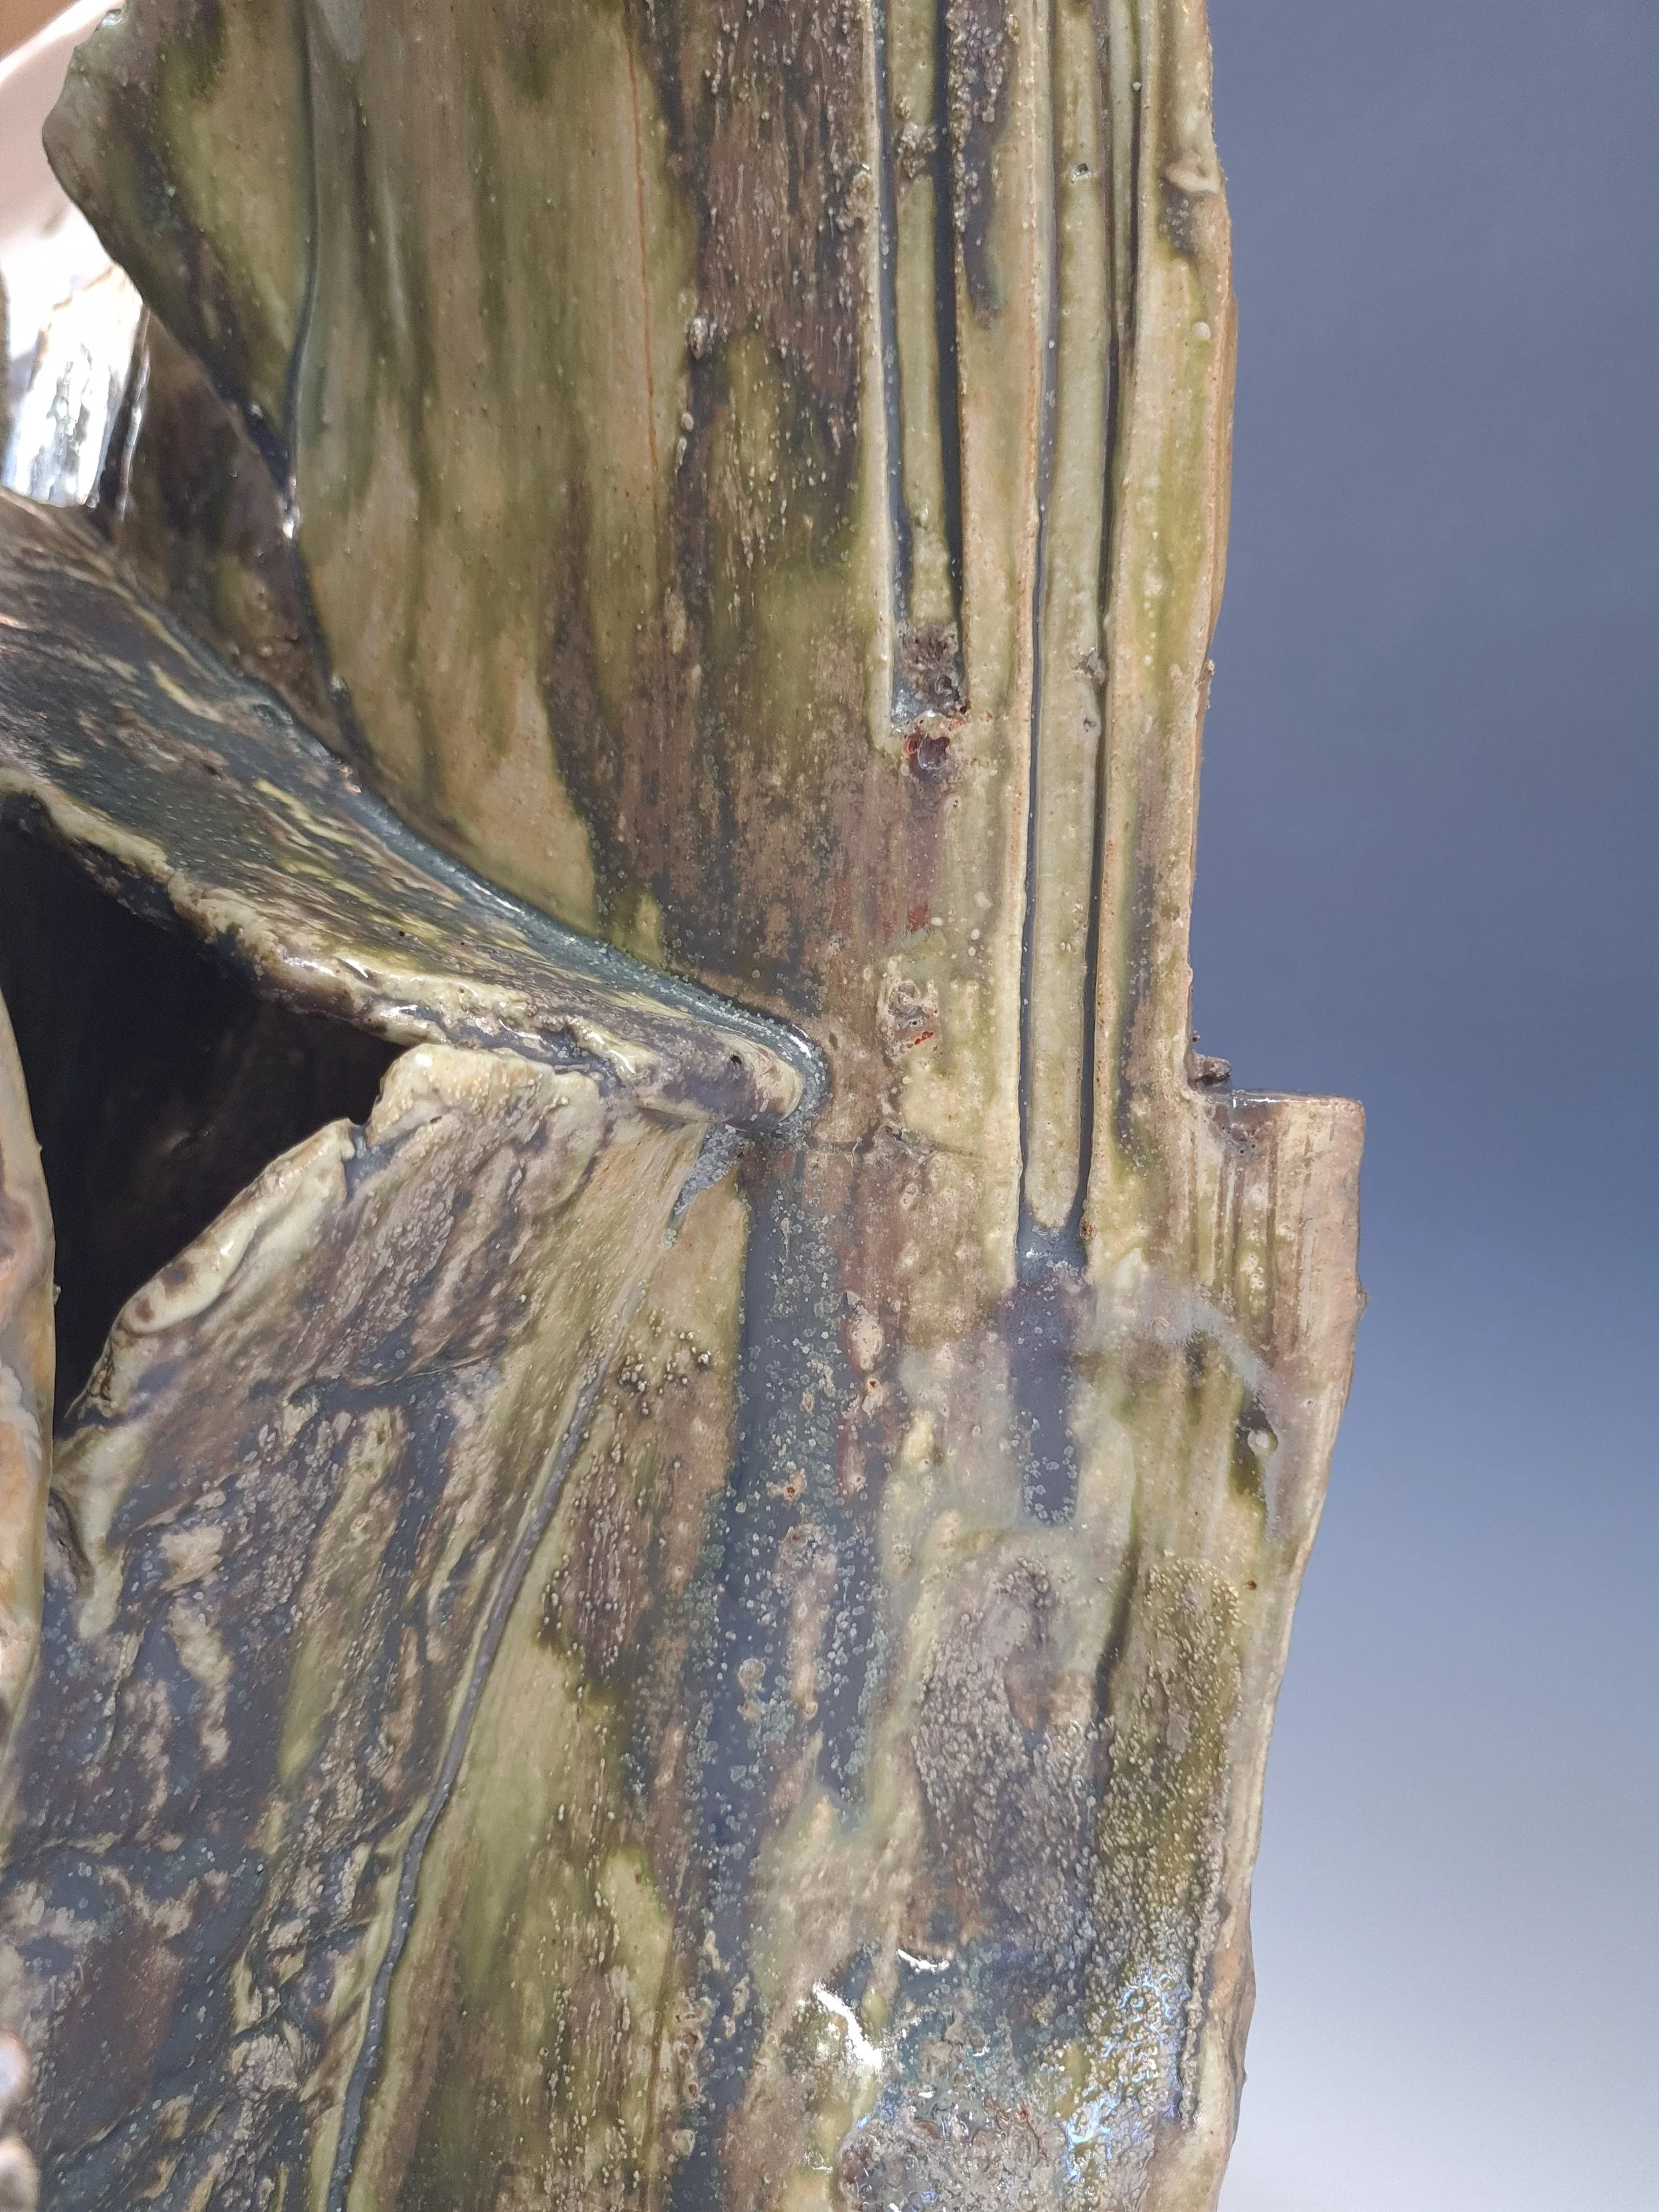
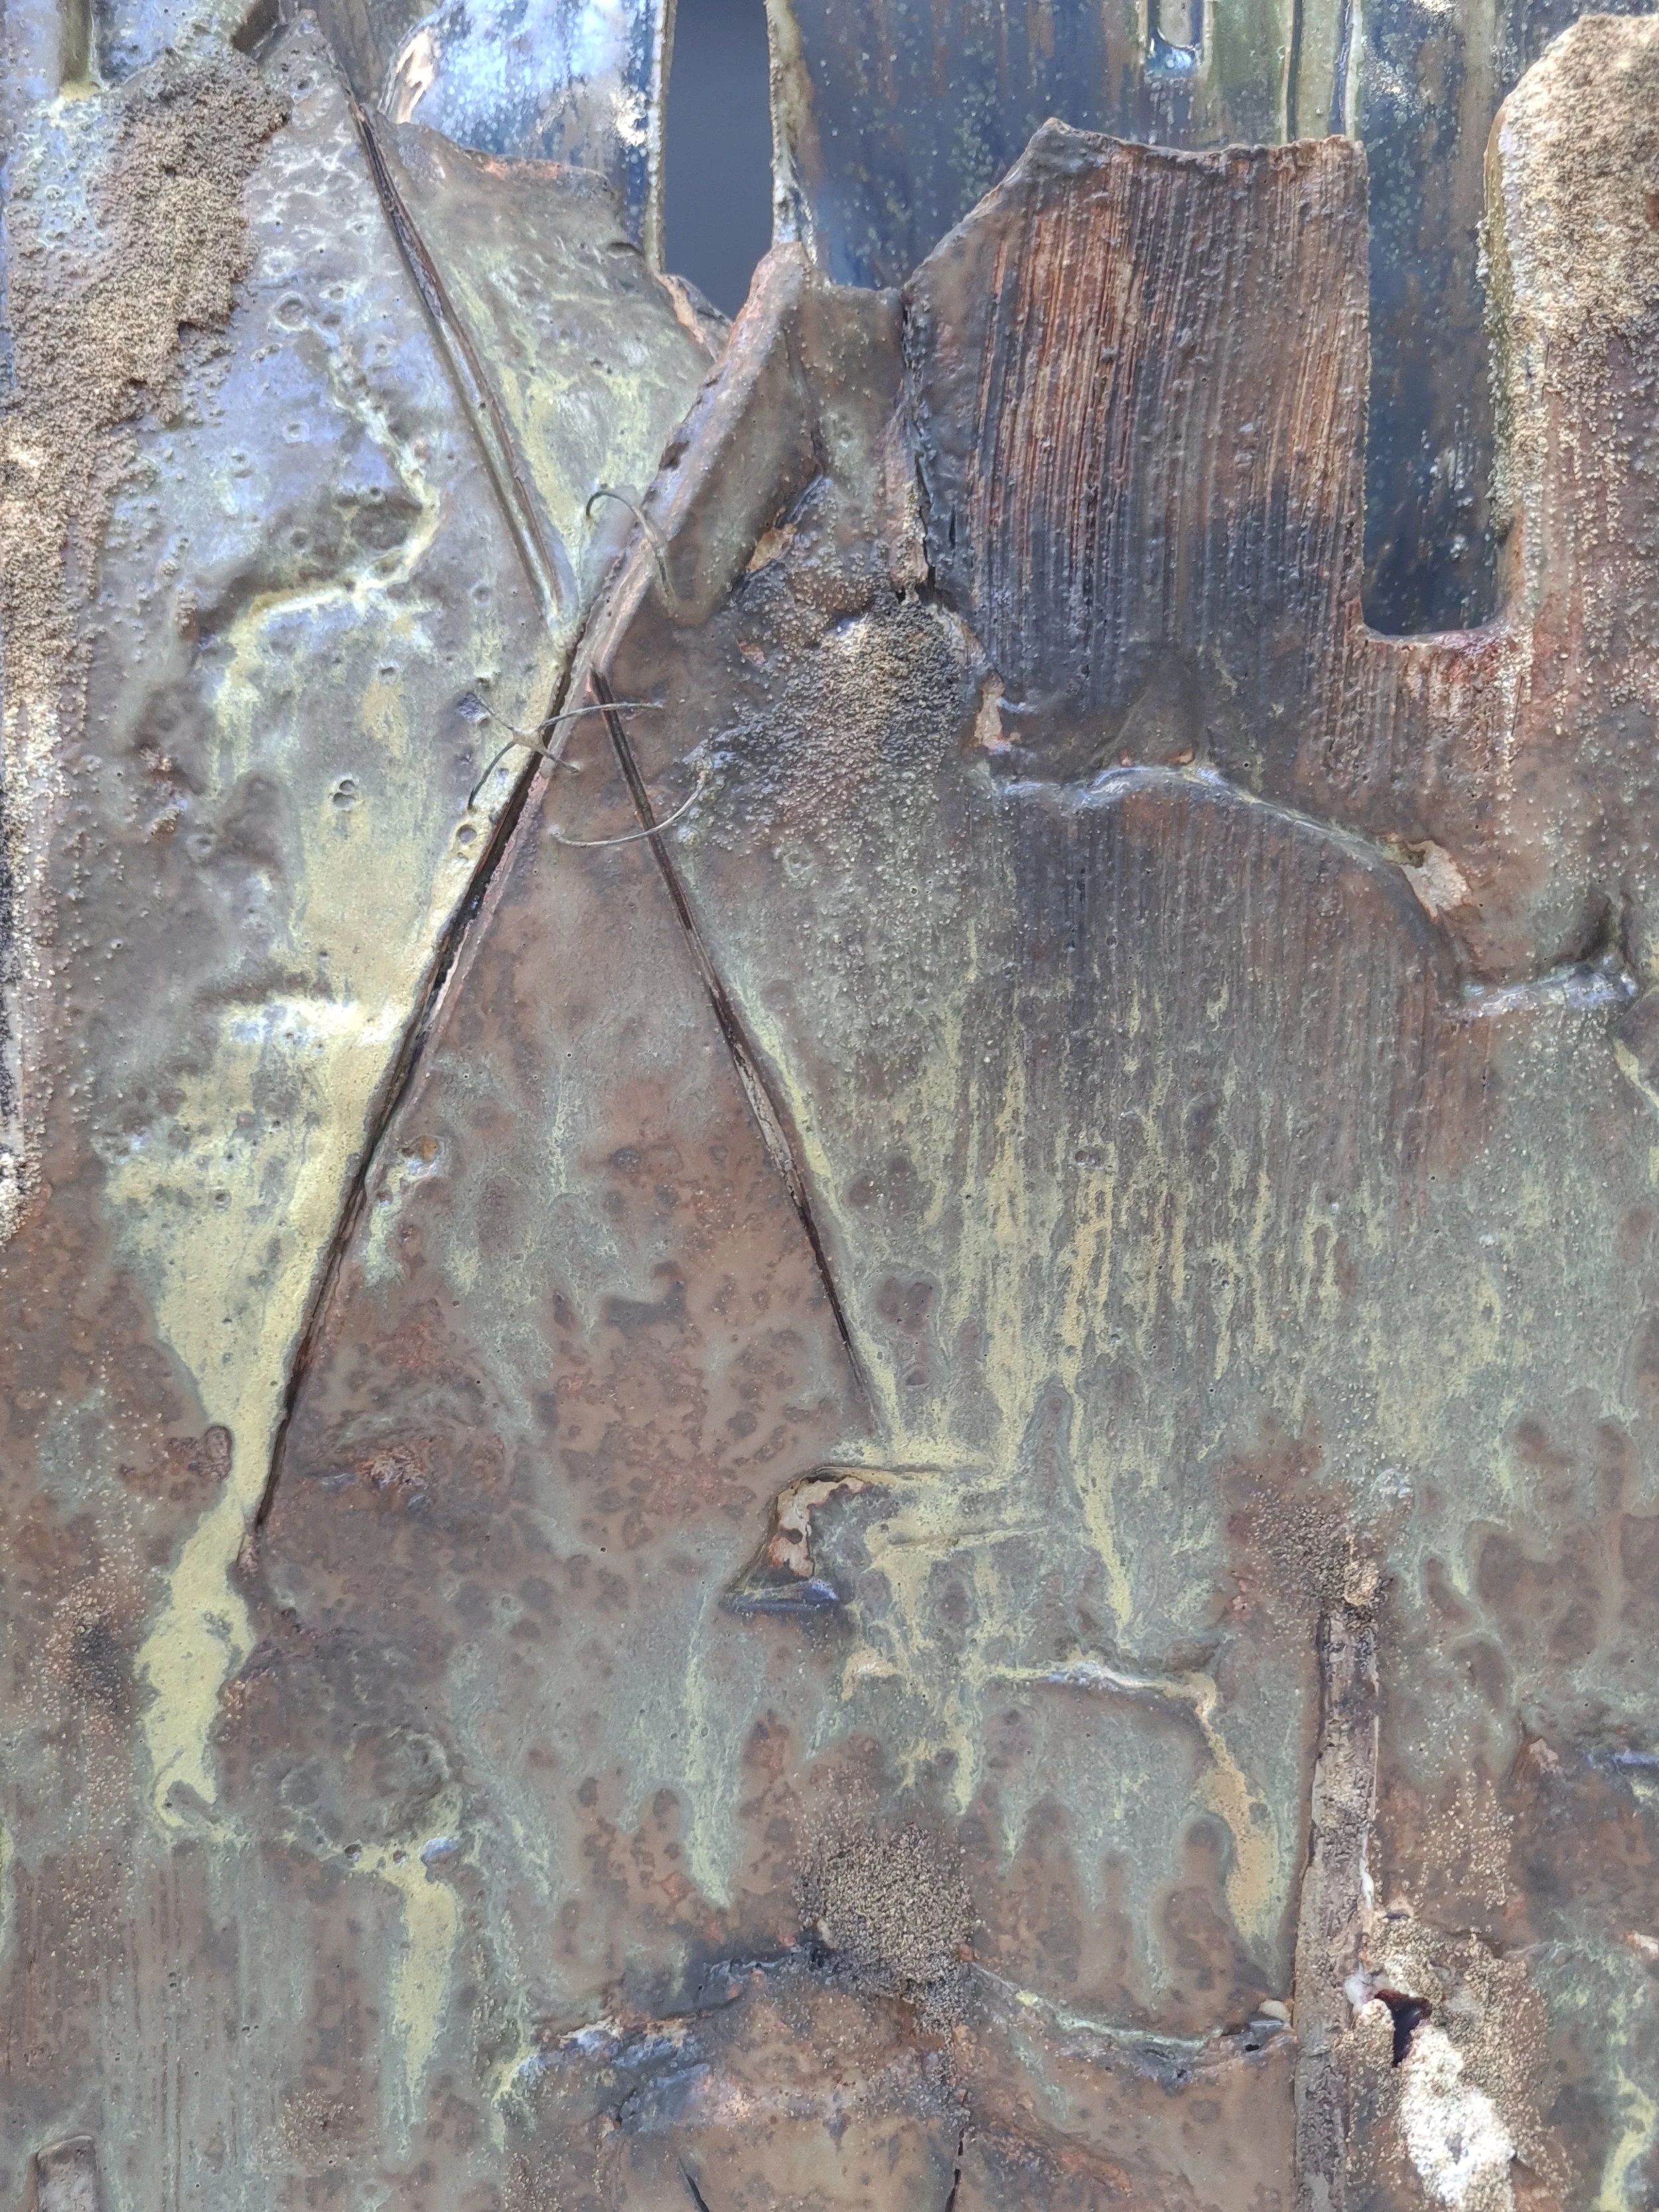
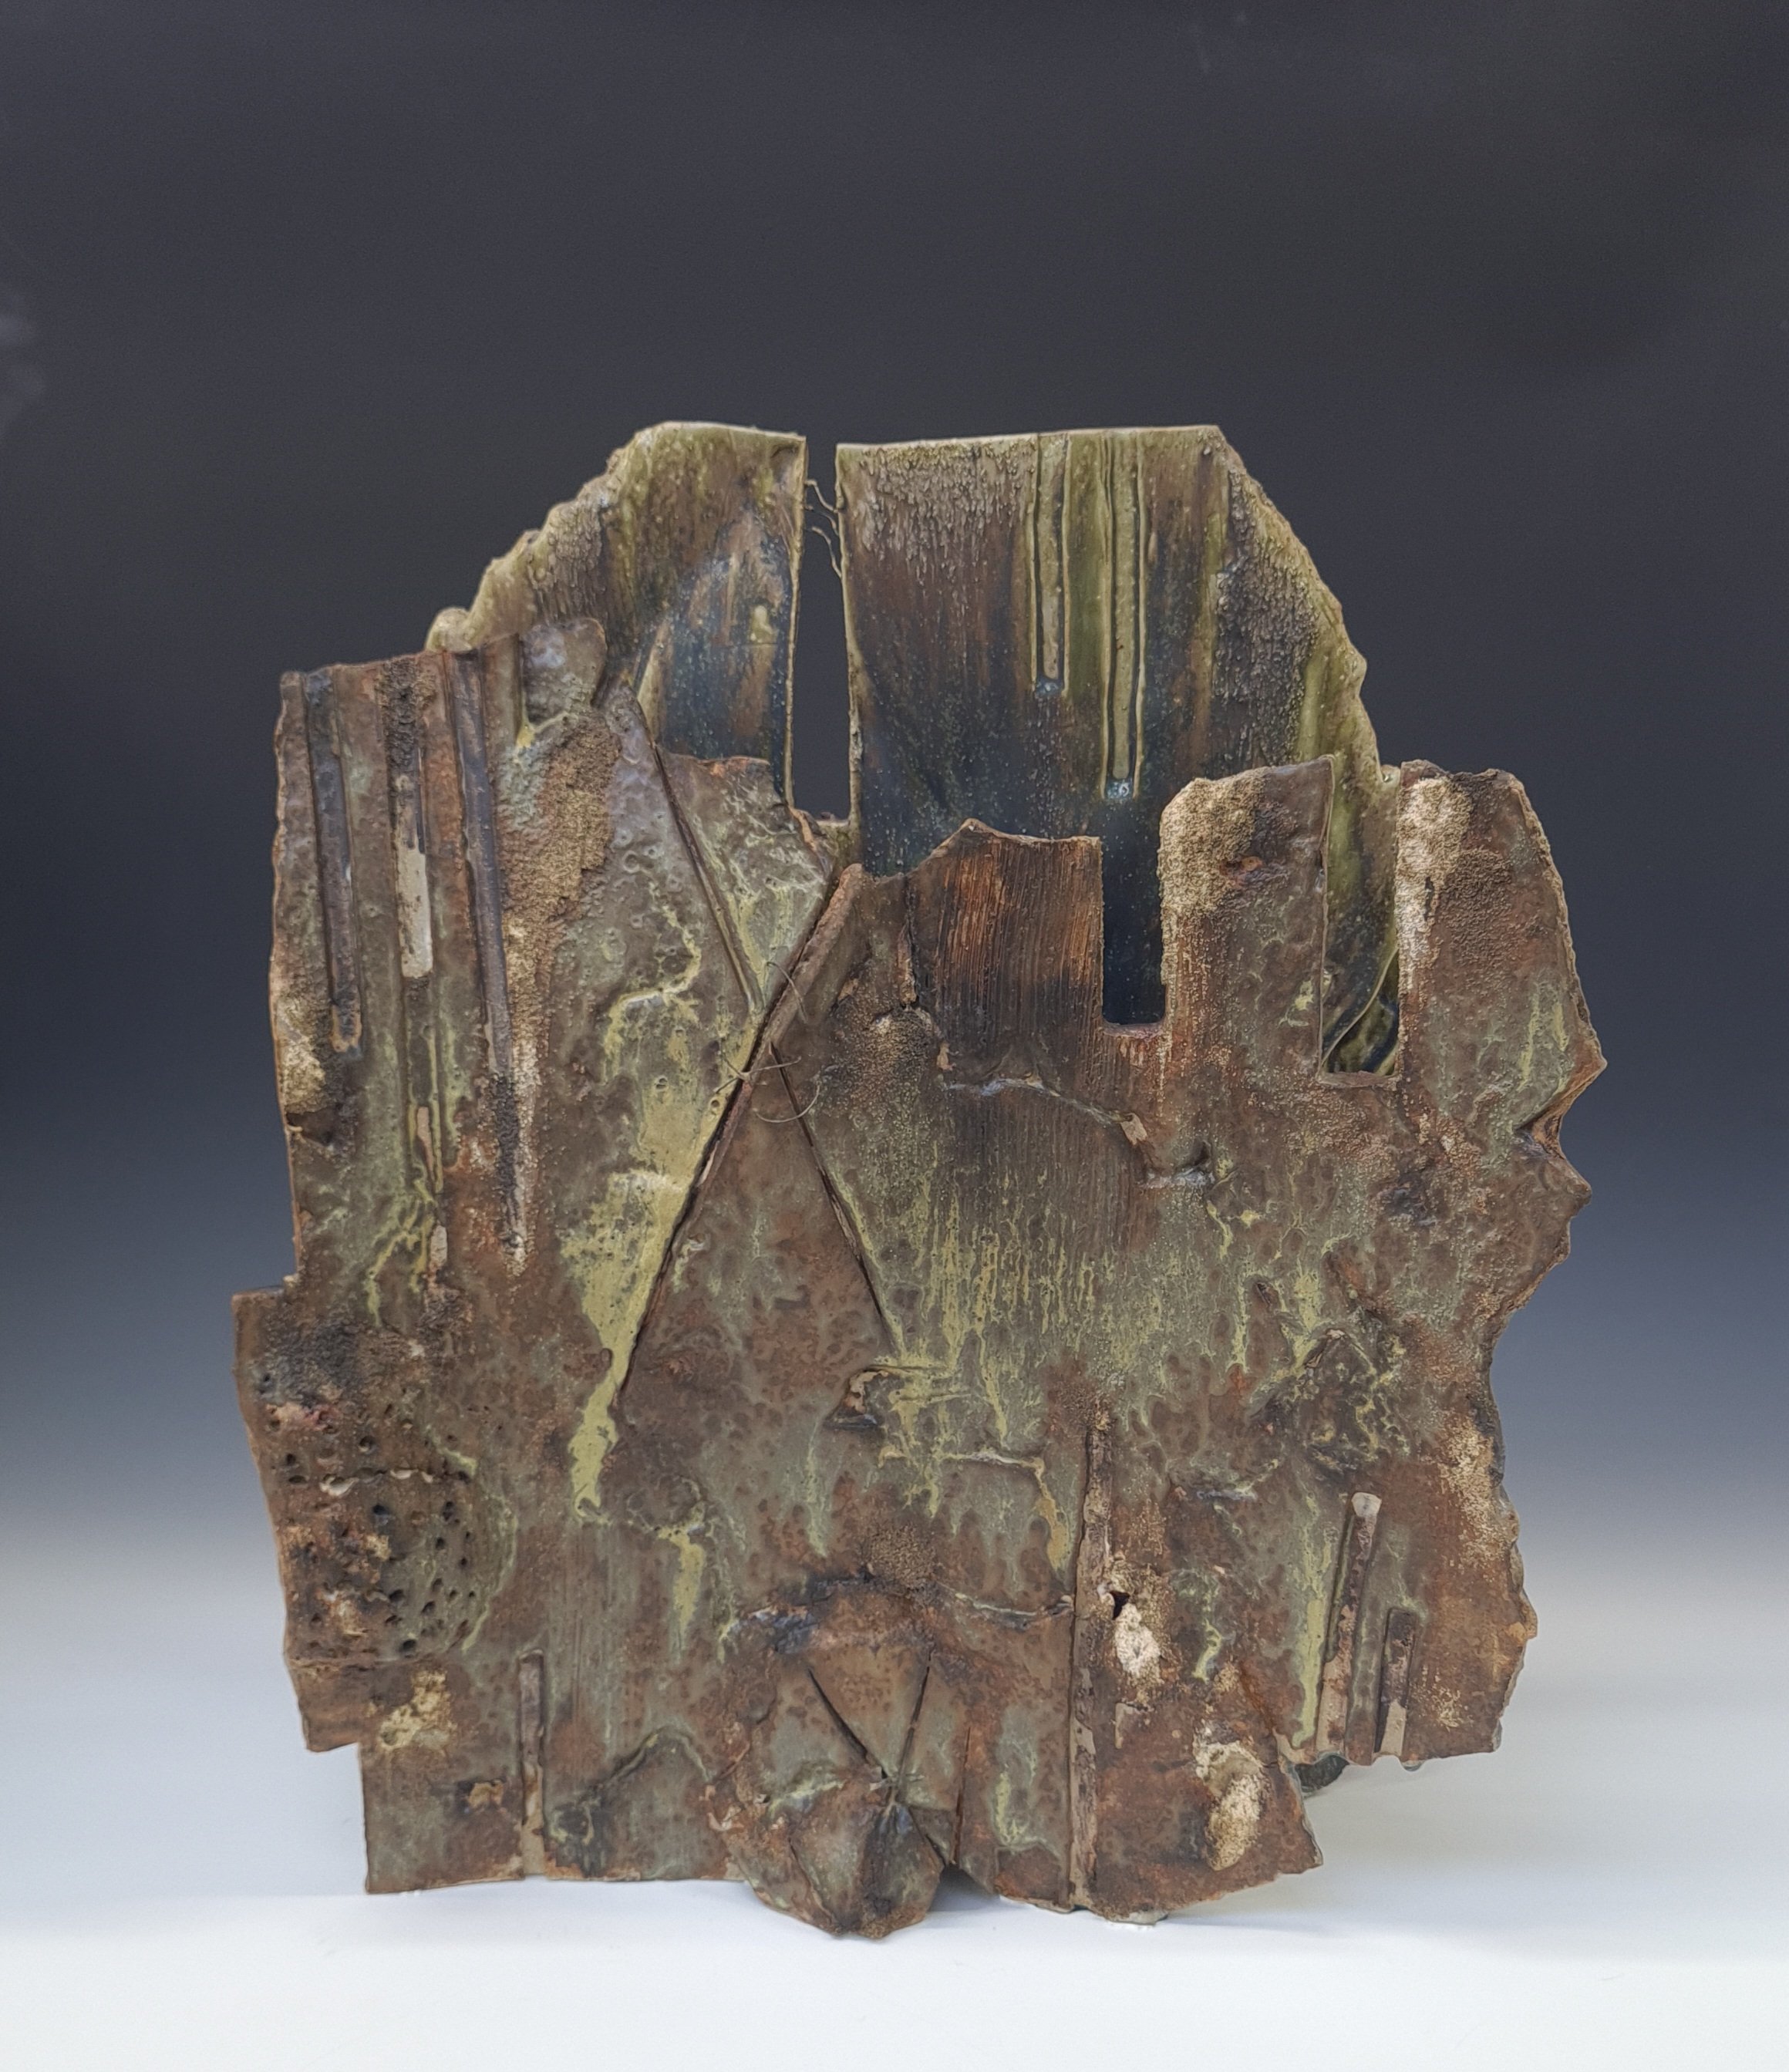
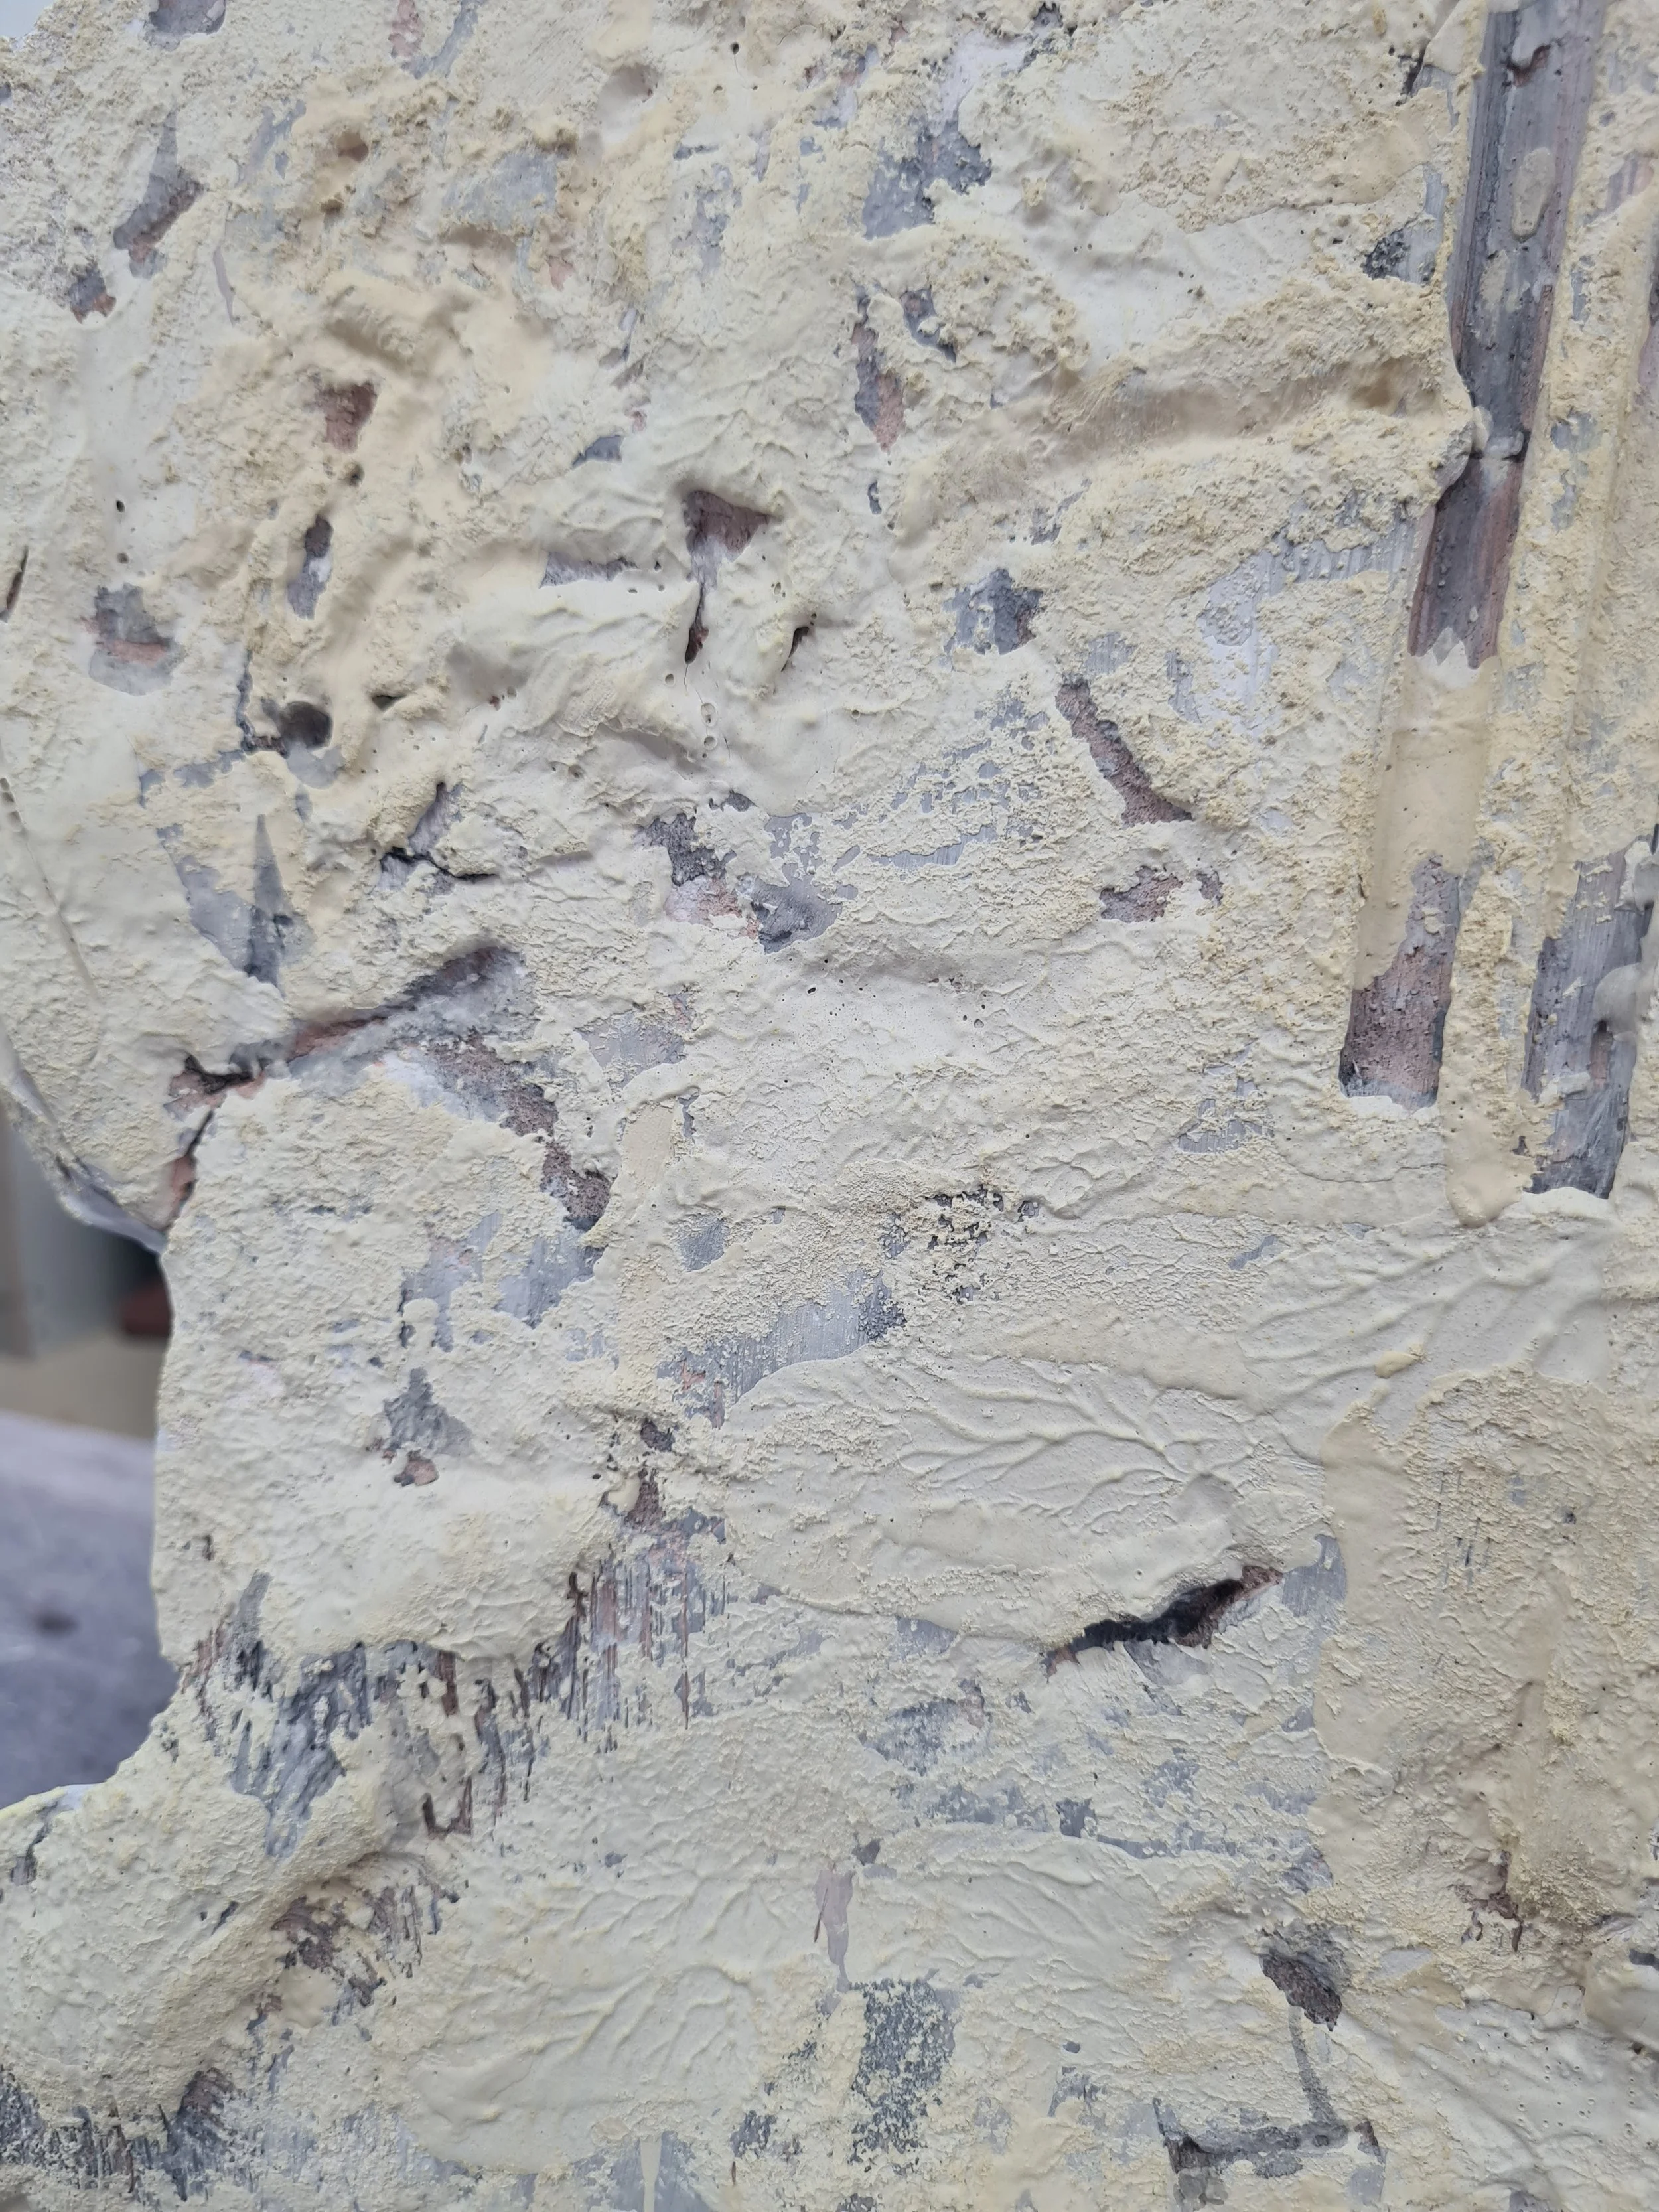
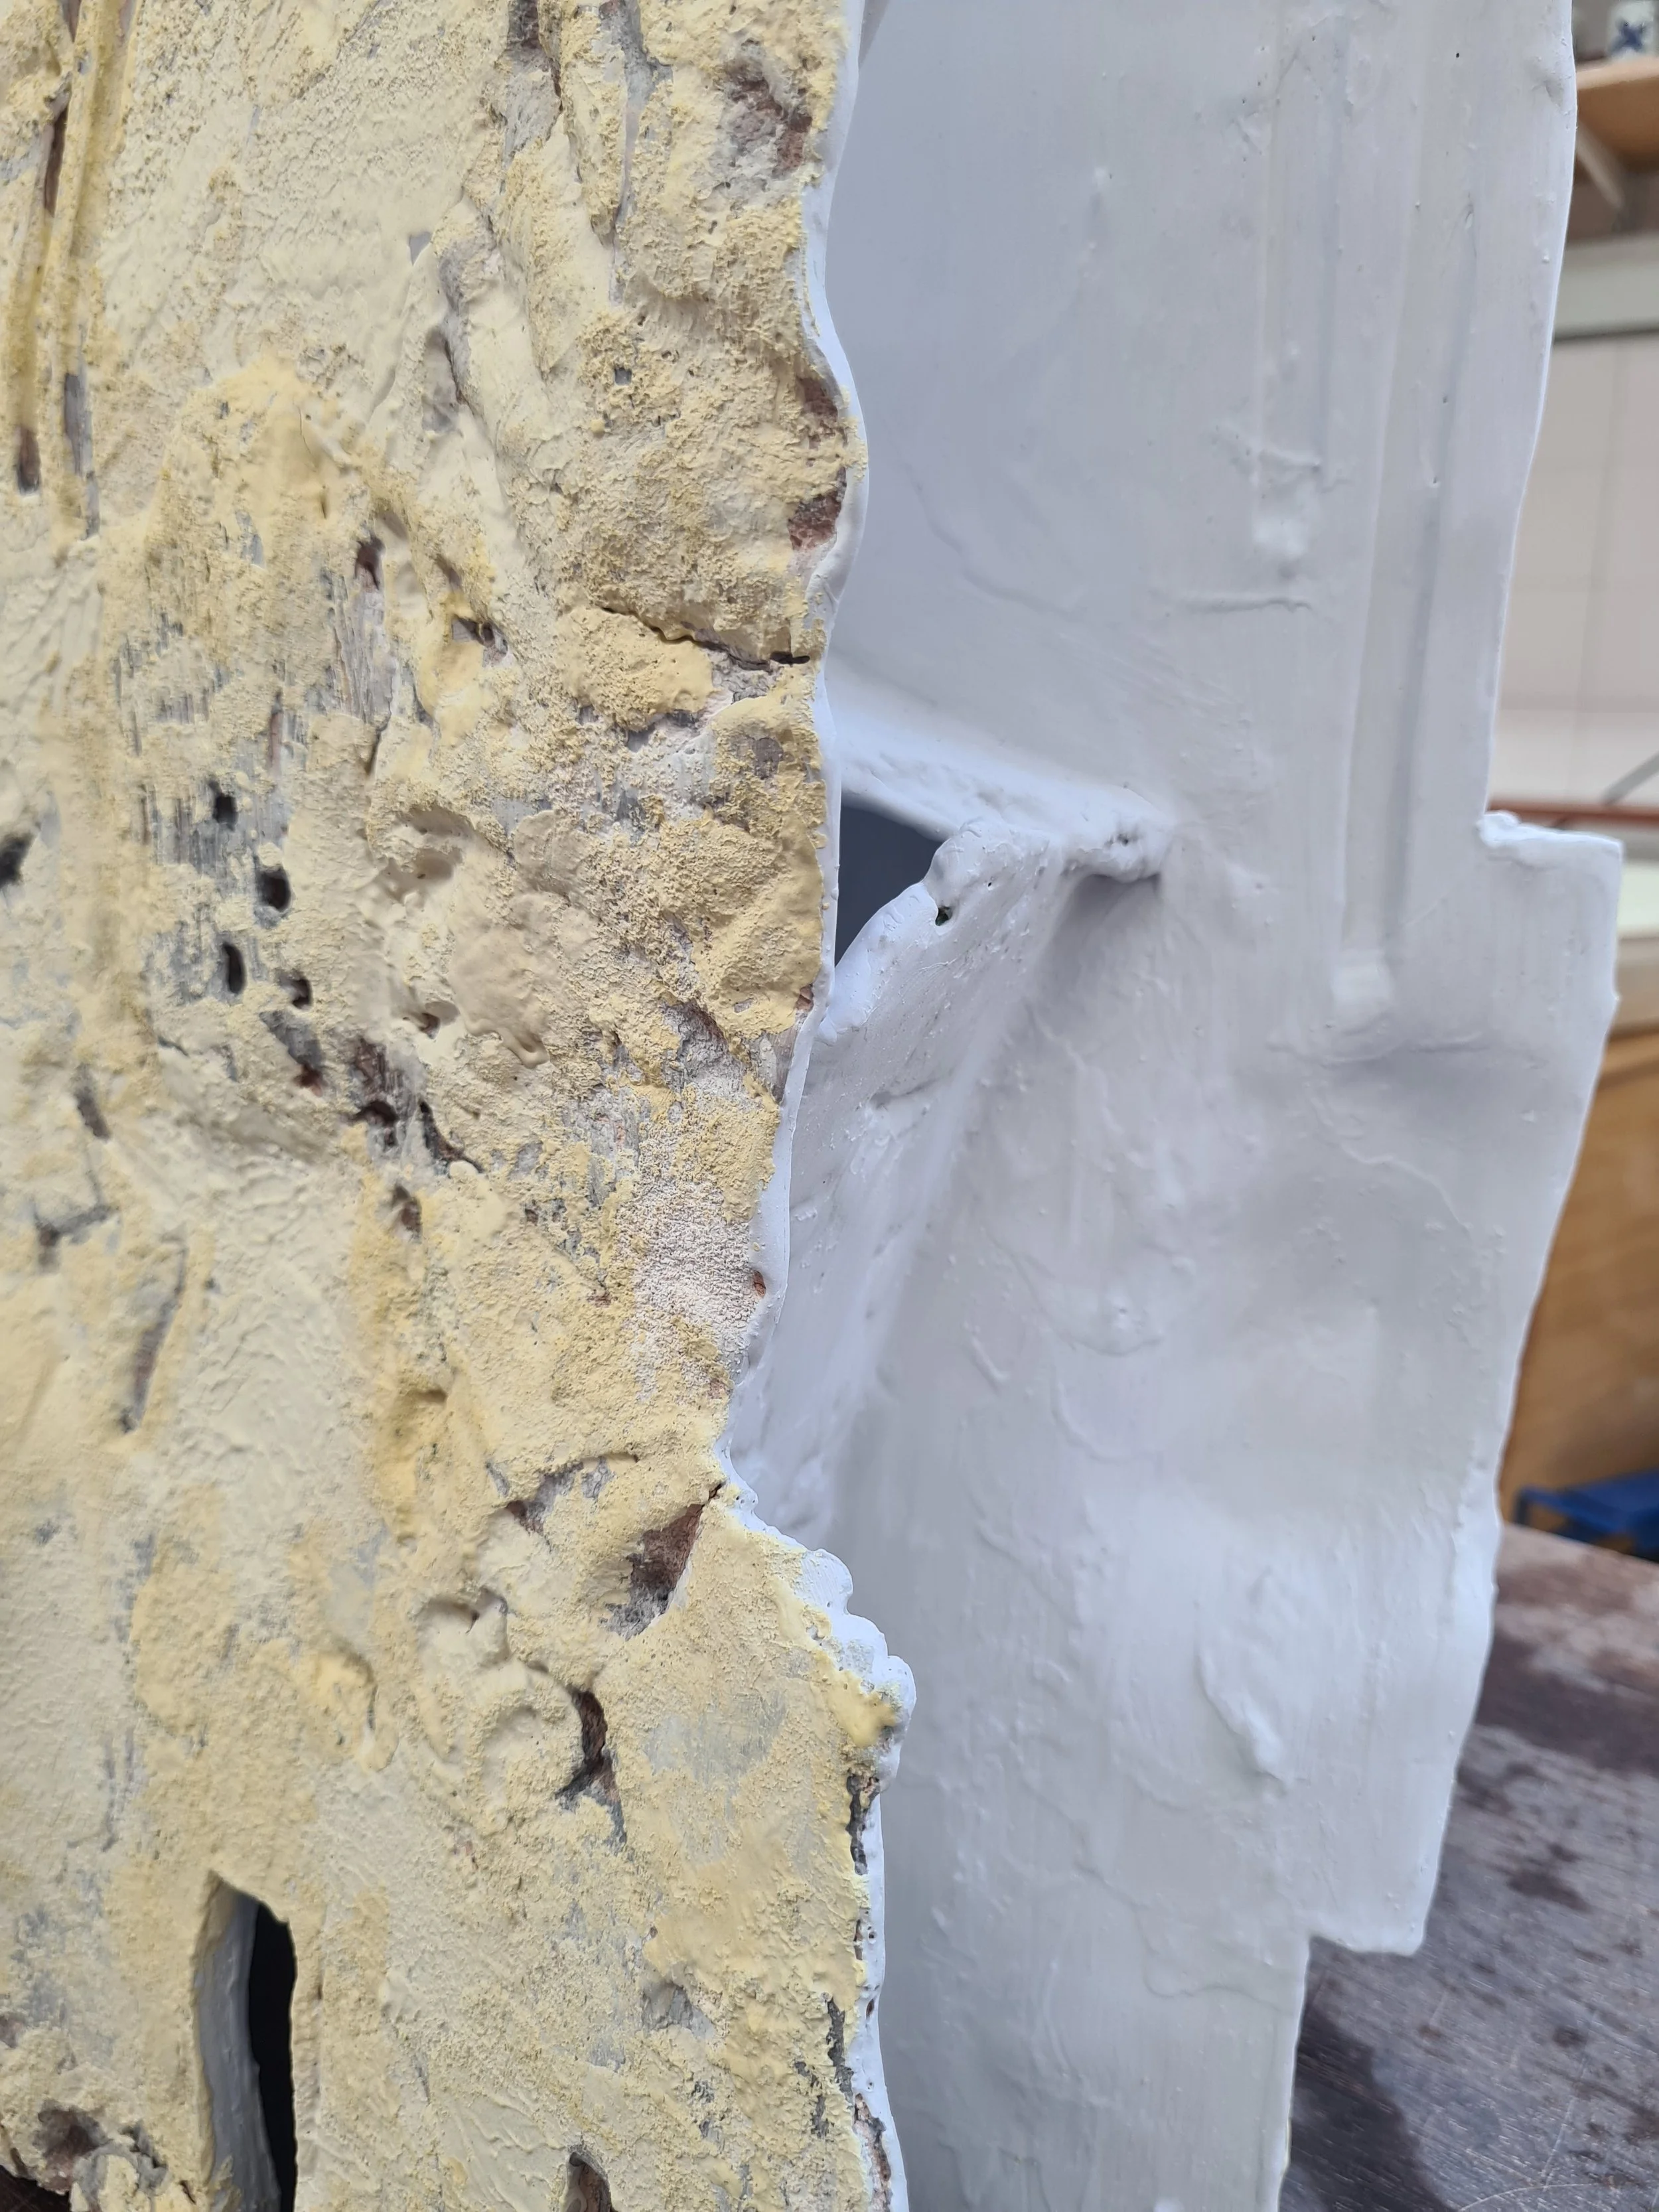
As you can see, the glazes came out VERY brown. This was a disappointment, as I feel this whole semester I’ve been fronted with a lot of brown glaze results on my work. I’ve been trying to dissect WHY this could have happened.
The slip and oxide application may have darkened the glazes on the front, deadening the layers and just creating a murky overall visual. Too many ingredients essentially. However, I used porcelain slip on the inside and that’s still come out brown. I can see the copper carb oxide, with the green in areas.
My glaze recipe may have failed- I did have to remake the oxidation green recipe, so I could have messed up the recipe.
I sponged on the glaze at the front- Therefore, only a thin layer was applied and it burnt away in the kiln, just revealing the slip (But why is it brown?)
Overall, I’m still not 100% sure why this has happened. I think too many components are involved and it’s just tainted intended vision for the piece.
REFLECTION
I would like to re-glaze this going into semester four. Just to see if it can be salvaged in anyway and try and dissect and learn why this happened. I have spoken to Cath about the outcome and we discussed the points I mentioned above. I will re-test my newly made oxidation green glaze on a test tile to see if it was the glaze or another factor. I also had to remake the free solo glaze, so perhaps I’ll do the same for that.
Overall, I need to make sure I’m testing out all variables and then commit to the piece. This year, it’s not an issue really as I’ve learnt from this process. However, going into 2nd year, I’d really like to refine my glazes and learn why things work / don’t work.
In terms of form- I like the piece, and the use of the Nichrome wire. However, it was created as a base to experiment on really, if I used the craft crank clay, I’d get a different result due to the groggy nature of the clay.